Scandinavian Cabin Touches

Last week I posted my thoughts of adding more Scandinavian touches to our cabin in the White Mountains of Arizona. The typical decor in our area is mountain-style, lots of carved bears and pine wall treatments. If you missed that post, click here to see some lovely ideas.
Unfortunately, our cabin is a remodeled flip so many of the finishes are over-the-counter hardware store. The choices aren’t offensive, but very vanilla. Without realizing it, I have been collecting items that are along the Scandinavian, Black Forest, European theme.

By the front door, this umbrella stand is painted in the traditional Norwegian style of rosemaling.
Also, in the front entry we have a Black Forest style carved bear shelf with a lodge-like bird/twig mirror.

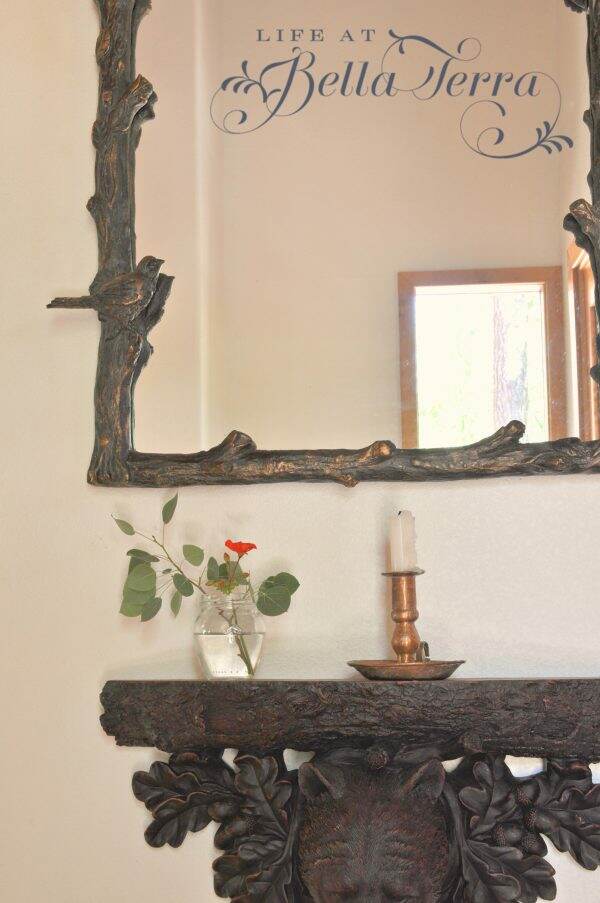
And there happens to be another carved mirror of similar style on the staircase landing.

Subconsciously, I have been designing the cabin with a more old Scandinavian style. Being a Connecticut Yankee, I am always looking for affordable ways to make changes that can add some charm and warmth.

During my numerous trips to Home Depot, I know they have decorative molding in stock. You can see their vast selection online. Would I be able to add more interest to my very plain kitchen cabinets using affordable hardwood trim?

Using this very inexpensive mitre box and saw by Stanley (also Home Depot), I cut the molding at 45 degree angles to fit inside the existing Shaker style cabinet door.


The molding cut rather easily and fits nicely inside the the cabinet stile. If I am going to add this to all the cabinets, I will definitely use a power tool to make all the cuts.


After all four sides are mitered, I taped them in place. Next I repeated the same process with the narrower trim. At this point, I don’t want to affix anything permanently until I can step back and get a good look at it.

Here is how the cabinet looks with the additional decorative trim. What do you think? Granted the finishes are different but my options would be to stain and finish the trim like the cabinet (and get rid of the dated knobs), or paint the cabinets and the trim? Or just paint the molding?

In order to get a sense of what a painted cabinet looks like, I made a drawing paper template by taping 3 pieces of sketching paper together. Using a leftover can of green paint, I paint the template of the cabinet’s panel.
Unfortunately, I didn’t take pictures of the steps, but you can envision it, right? Next I watched a 3 minute tutorial on rosemaling by Sea Lemon on YouTube (what did we do before YouTube). Here is my first attempt at rosemaling. Try not to laugh.

So this gives you a sense of what a painted, rosemaling cabinet front would look like! Since I really didn’t have an artistic plan, and am using whatever paint is available, you will need to have some vision here. Maybe more rosemaling? Or just a few images on opposite corners would be enough~~or even some squiggles in the middle? Or nothing at all?

Do you like it better before?

Or after? Remember this is just a very rough mock-up. Colors and design can be changed.

As much fun as I think this project would be, I am afraid the granite is all wrong. The color and style is definitely not my choice, but to change it? Yikes. Maybe it would make sense to do something like this on the island cabinets first and see how it goes?

As always, I LOVE your input. There’s so much about this room that needs help. Either I will leave it as is or just jump in with both feet. It’s all a bit intimidating!
As the ideas swirl around in my head, I hope you are having a relaxing weekend. Any projects on your horizon?

P.S. To see more of our cabin from a previous post, click here.