Refinishing Outdoor Furniture

Thanks for joining me today for our DIY Monthly Blog hop. This month our focus is something to do with seating. Over four years ago, I did a DIY project where I repainted our outdoor furniture. Fast forward to today, and the pieces look as new as ever! Here in the Arizona sun, our outdoor furniture takes a beating. It is rewarding to know that this technique is still producing gorgeous results. Let me share how easy it is to refinish outdoor furniture.
The Before

Here you can see the metal frame of the lounge chair in its oxidized condition. Instead of being a dark, rich brown, the finish almost looks purple.

The pieces that need work are a lounge chair, a regular chair, a large ottoman and a round table. All these pieces are on our deck outside the master bedroom. The seating is rubber straps that do not require any work.

Supplies
I purchase 5 cans of Metallic Oil-Rubbed Bronze spray paint from Rust-oleum. There is something about the depth of this color that I love for outdoor furniture. You can find it here
If you have ever done a lot of spray painting, you will know how challenging and tiring it is on your index finger. With this handy attachment, spraying is so much easier.
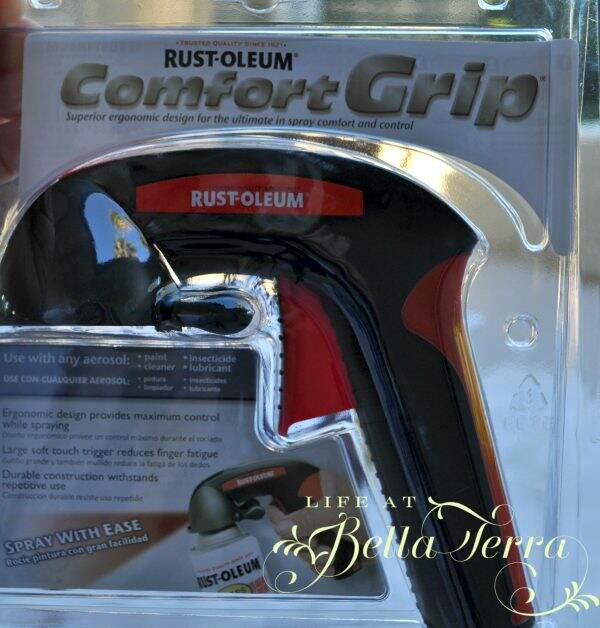
The Comfort Grip attaches to the top of the can and the handle helps to apply the paint evenly. It is so inexpensive and well worth it! You can find it here.
After wiping down the seating frames with a damp cloth, I am ready to paint. Using large drop cloths, I lay the furniture down and spray the bottom sections first. I tend to spray paint my feet (or socks) so be aware of where the paint is landing!
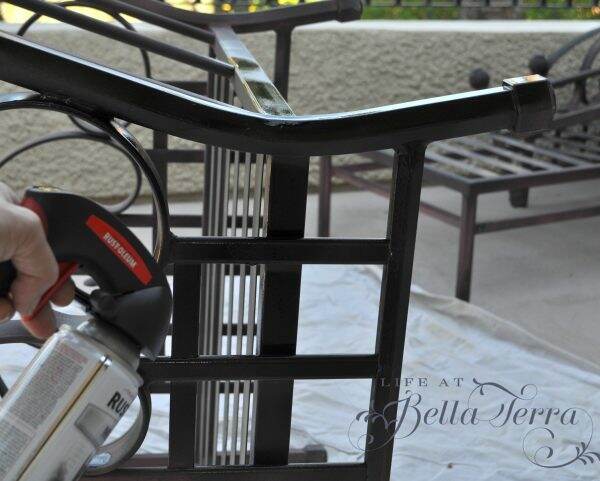
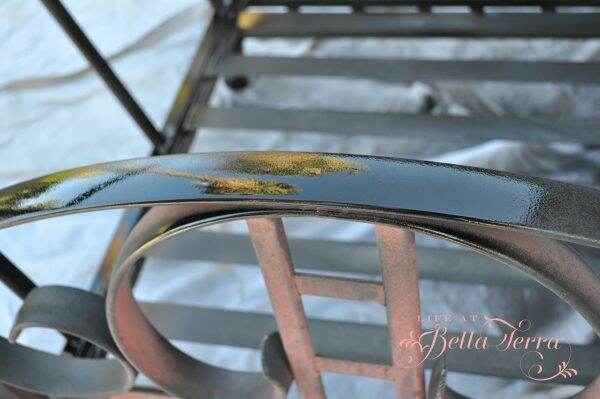
You can see in this photo the huge improvement from a new coat of paint.
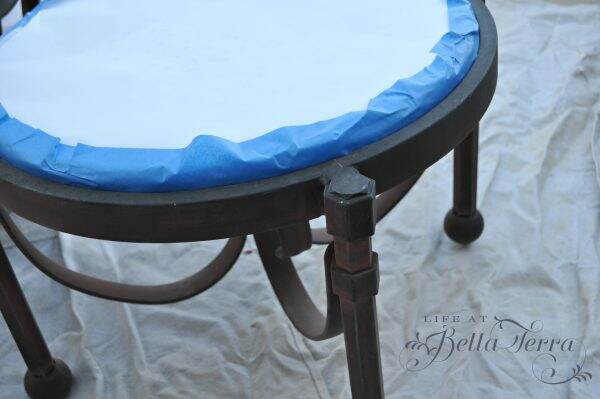
Since the stone top of the table is not removable, I carefully tape the edges with painter’s tape and make sure not to overspray the top.
Allow to dry according to the manufacturer’s instructions. Also make sure you look around the furniture for missed painting spots.
The After
Here is the furniture 4 years ago. Doesn’t it look clean and new?
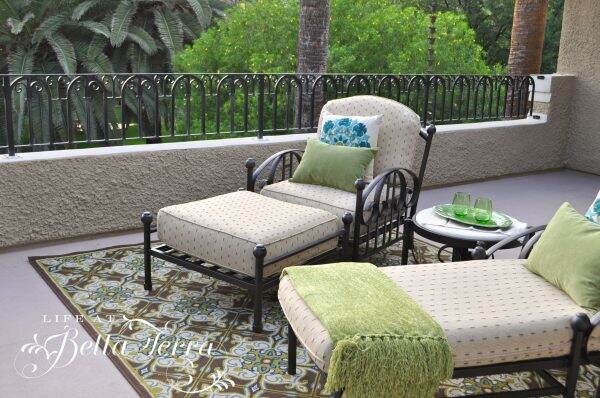

Now here is the same furniture today. We did move the pieces to a different location on the covered portion of the deck. But even after 4 years of being outdoors in the Arizona weather, all the seating pieces still look good!

The spray paint did hold up beautifully. Actually, the only thing that has changed is the pillows are a bit faded now from the sun.

Outdoor furniture can be pricey but with a bit of maintenance they can last you a long time.

Now onto the DIY Blog Hop

Thanks for joining me today. Now onto the other bloggers who will share their seating projects!

Andrea from Design Morsels shows how to cover your office chair here. I need to check this out as my office chair is looking a bit skanky.

Allison from Darling and Dapper Life creates a DIY Farmhouse Bench here.

Chas from Chas Crazy Creations gives us a great tutorial on How to Clean a Sofa.

Tarah from my Grandmas House DIY has two favorite rocking chairs that she has updated. You can see it here.
If you enjoy this post, please feel free to share on Pinterest.

This post shared with Between Naps on the Porch Metamorphosis Monday #649.