Refinishing Lamps
My son’s bedroom remodel is taking FOREVER. I wish I had one week without interruptions to finish it, however, that is not my life right now. But this weekend I was able to refinish 2 lamps and wanted to share the process with you.
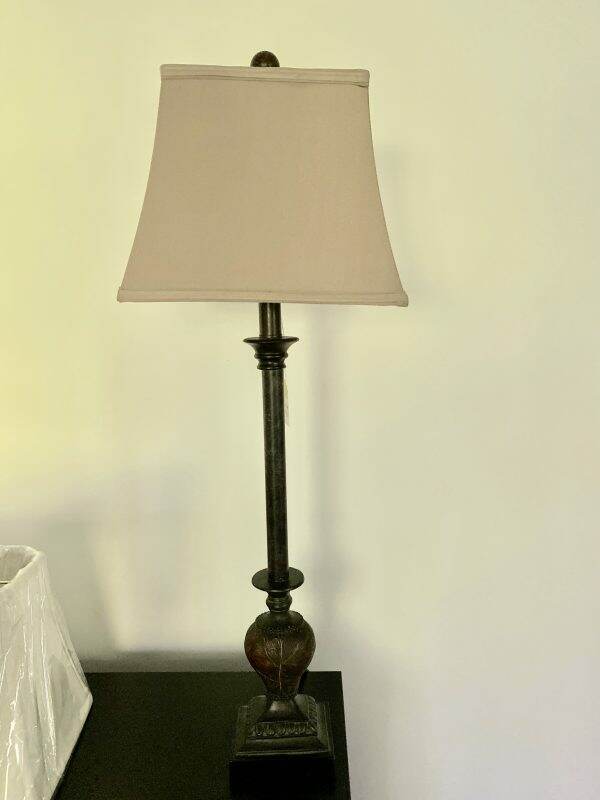
You know you are blessed with good friends when they are out shopping, see a bargain and call you. My friend, Janie, found 2 sets of candlestick lamps at a thrift store. Personally, I have difficulty finding lamps that I like. I bought both sets, knowing that I could probably use them SOMEWHERE, plus they had really nice silk shades.
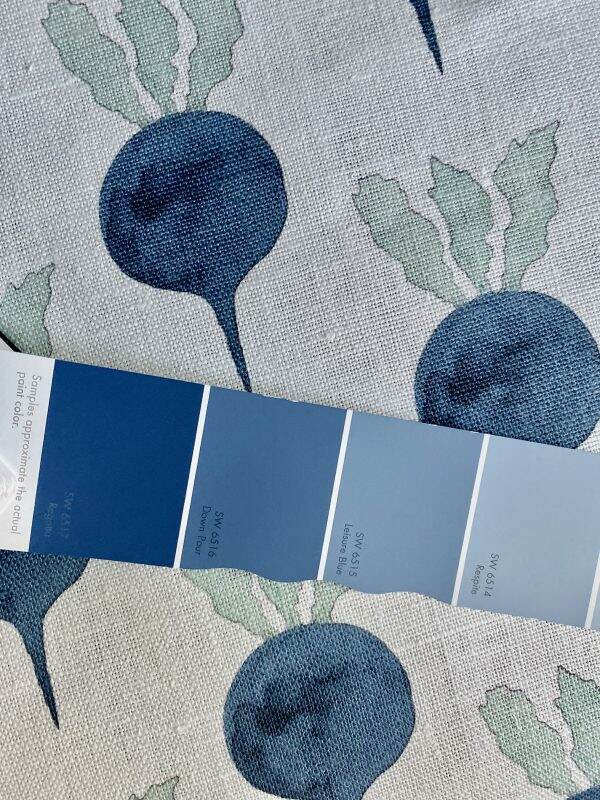
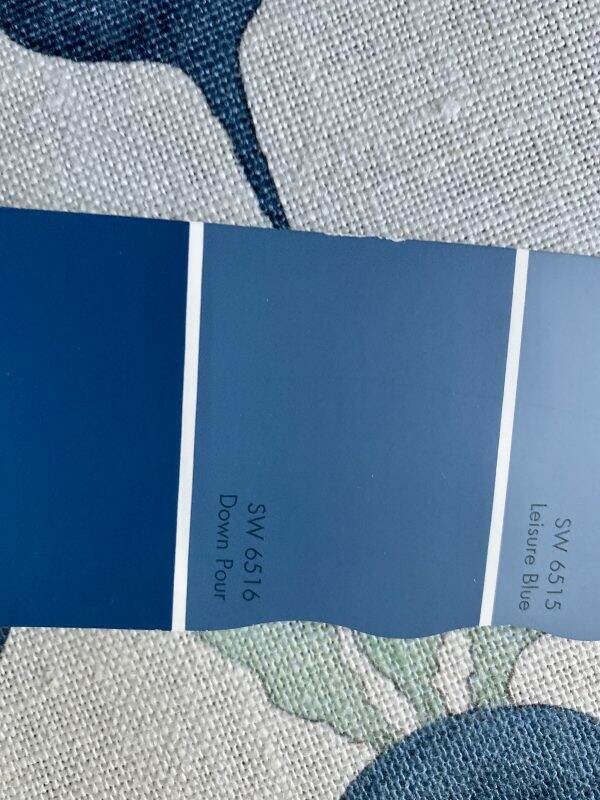
The lamps will sit on the headboard table attached to the existing Ikea bed, which is a java finish. All just too dark. Not thrilled with the style of the bed, however, I couldn’t justify buying a new one right now. Since the bed color isn’t something I can change, I decided to repaint the lamp bases. Working with my primary fabric, I selected a shade of blue, Down Pour by Sherwin Williams.
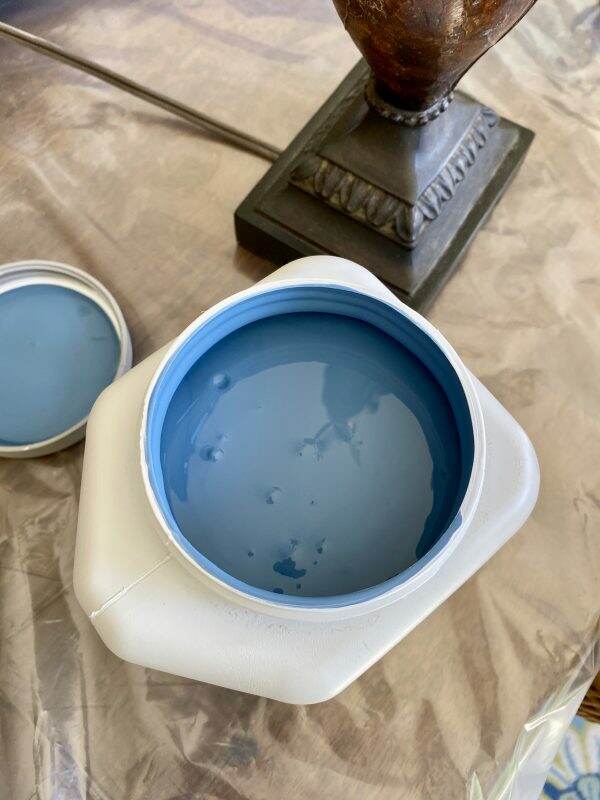
My husband was kind enough to pick up a sample size of the paint, but I failed to tell him to get enamel. I went with what he purchased~~~a satin latex, not confident if it would work. At this point, it would have been much easier to use spray paint, but if you want a custom color vs. something over the counter, you have to use a brush (or add it to a paint sprayer, which I don’t own).
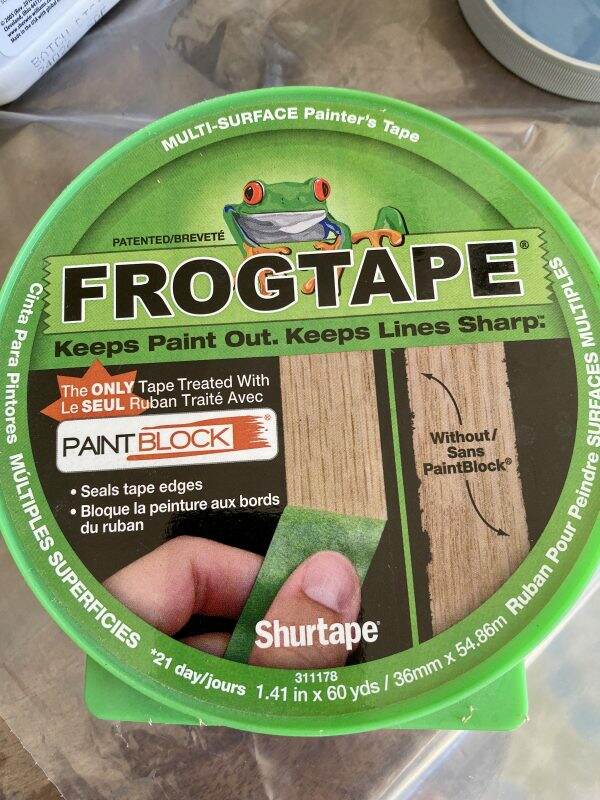
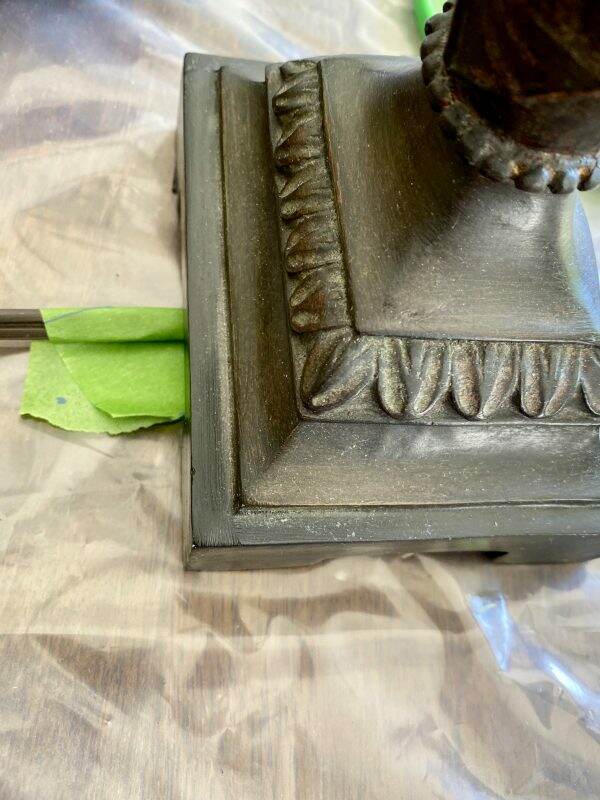
Prepping for a painting project is important and I used Frog Tape to cover the areas I wanted to protect.
The minute I started painting, I wasn’t wild about the color. It was a little too bright for me….and reminded me of the 70s.
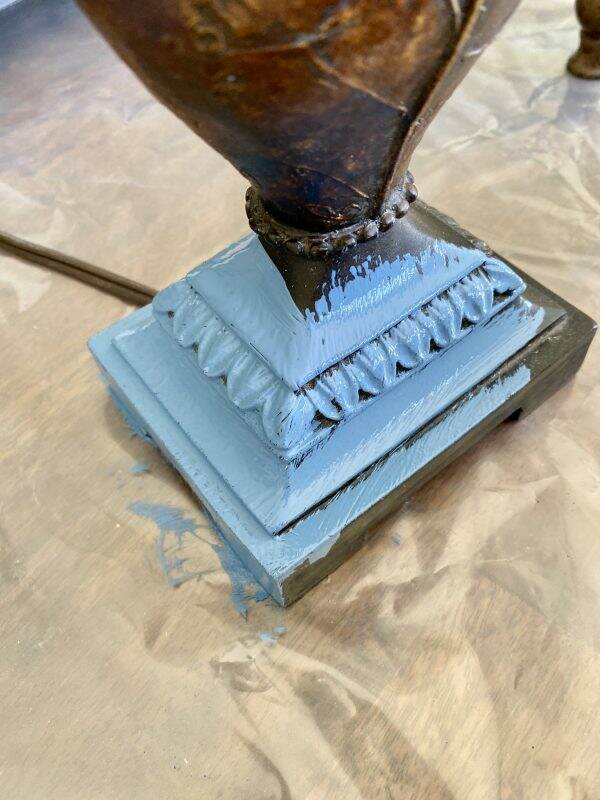
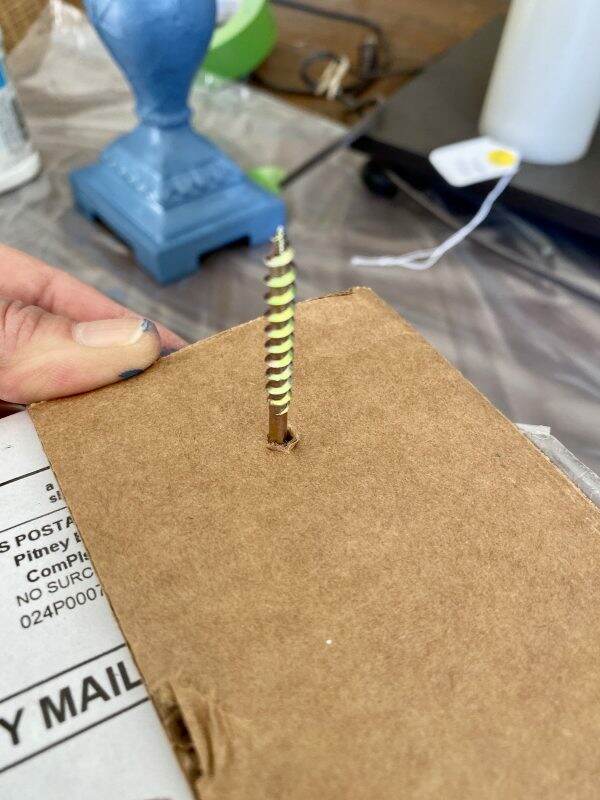
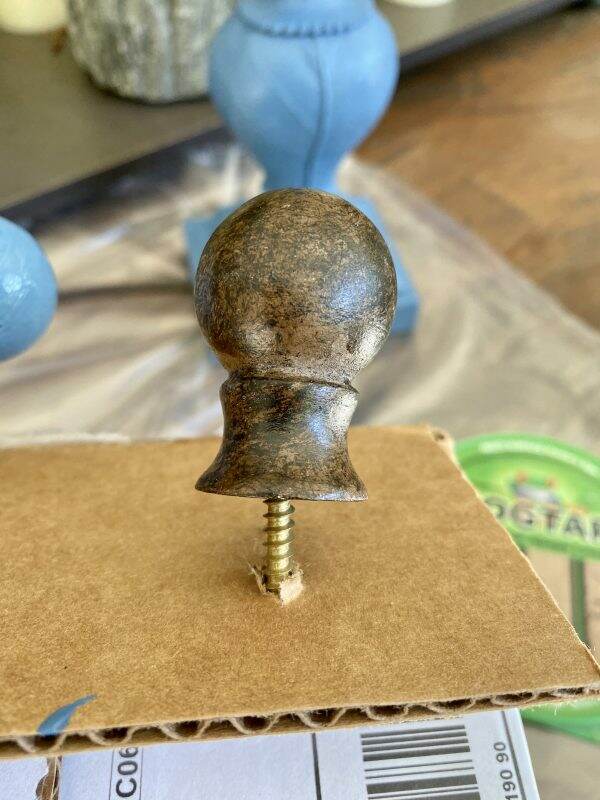
Fortunately, latex paint is very forgiving and the brush strokes melted away during the drying time. Both lamps were done and I clearly didn’t like the color. In order to paint the top shade lock, I inserted a screw into a piece of cardboard and then mounted the lock on top so I could paint around it.
I stepped back after I was finished and didn’t like the color AT ALL. So I waited a day as paint tends to darken as it dries.
The next day I still wasn’t fond of the color and then remembered I had some wax metallic finish somewhere. Here is Rub ‘n Buff and it comes in a variety of finishes from gold to ebony.

At this point, I felt like I couldn’t lose anything by trying this product. Worst case I could just repaint the lamp bases and start over.
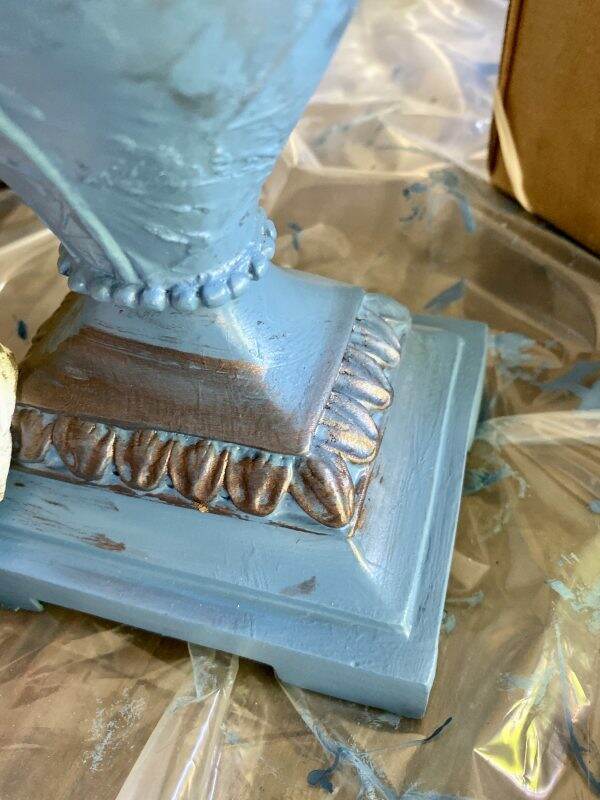
The instructions say to apply it with your fingertips, which was messy. But by the end I was adding it with a soft cloth. The Spanish Copper highlighted the details of the lamp nicely. It adheres very quickly so apply with caution.
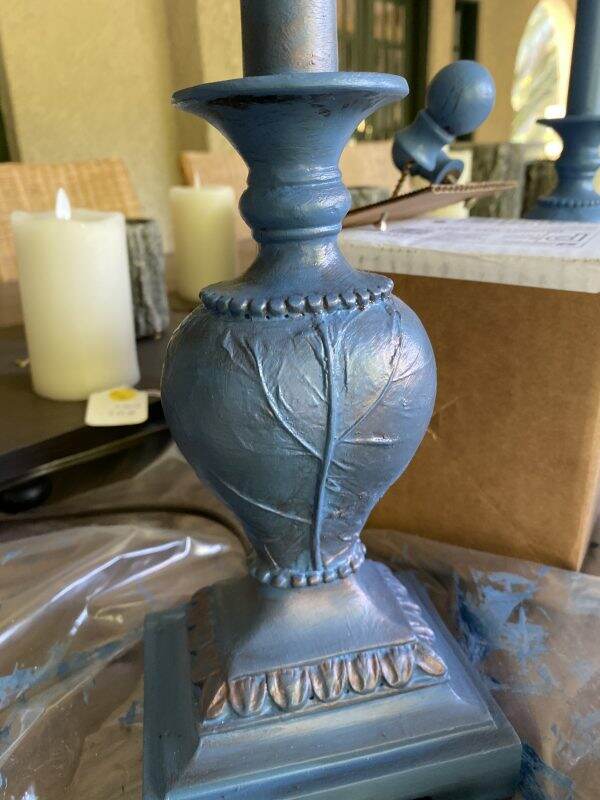
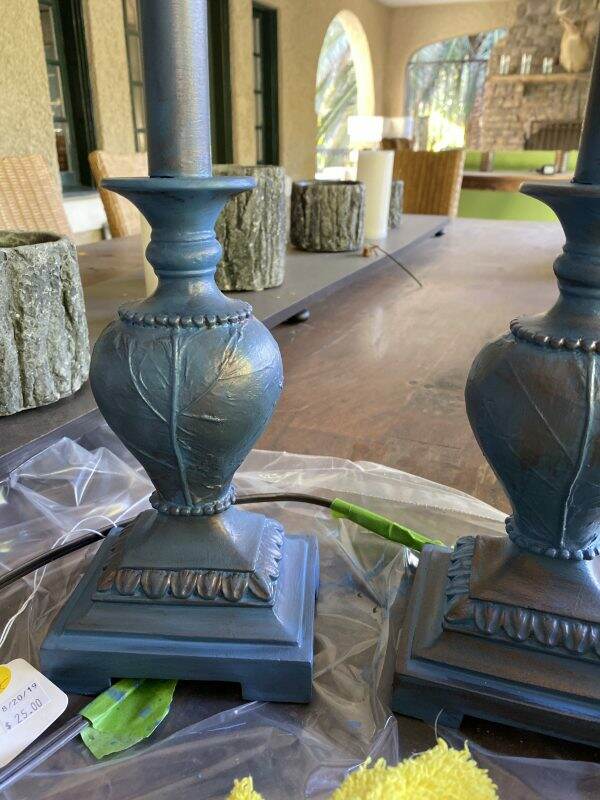
The metallic wax toned down the bright blue and I actually started liking it.
The original shades were too dark. The room is painted a crisp white (not sure why my photos seem so yellow). I went online to buy new shades and my, oh my, are silk shades expensive! I only paid $25.00 for each lamp and I couldn’t justify spending over $300 for a new shade.
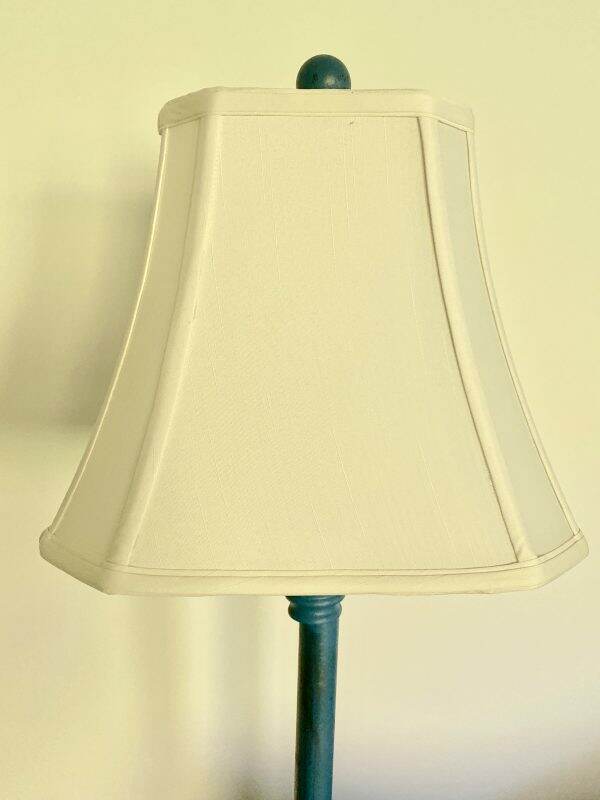
I continued my search online and finally found a Royal Design shade on Amazon, in white, for $39.99* each! I quickly ordered 2 and got them within a day or two (how do they do that?)
So here is the finished product. Again, the walls are white, the shades are white~~must be the northern light from the windows in the opposite wall creating a yellowing effect.
Such terrible pictures but hopefully you get the gist of the DIY project.
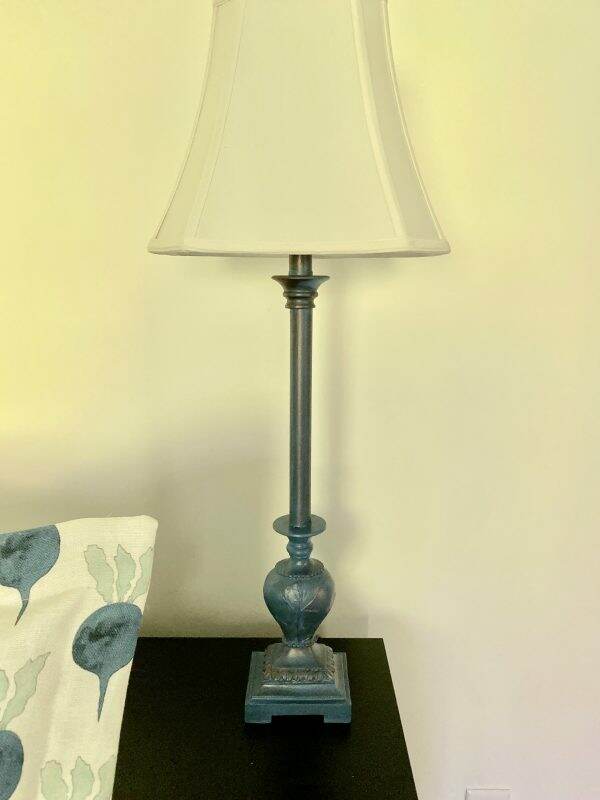

I think the blue contrasts nicely with the dark bed and compliments the pillow shams. Can’t wait to finish the rest of the room!
Hope you had a wonderful Veterans Day weekend. I keep thinking today is Monday!

*When I purchased these lamp shades they were $39.99 each. However, when I included the link to Amazon, the price was $59.99. If you were to buy these shades, I would recommend checking to see if they lower the price back down to $39.99.