Making Quilts, Making Mistakes
Before I left for college, my Mom made me a sweet, simple quilt. Quite frankly, I was surprised that she had the time to make this. Being the middle of 5 children and often overlooked, her gift made me feel extra special. Today it is a bit dog-eared and frayed around the edges but it remains an endearing keepsake.
Because I cherish this handmade gift from my Mom, I wanted to make quilts for my two girls. How hard can it be, right? I took Home Ec in 7th grade….
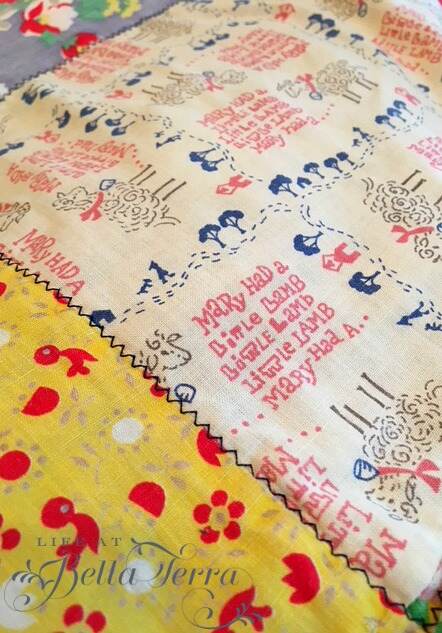
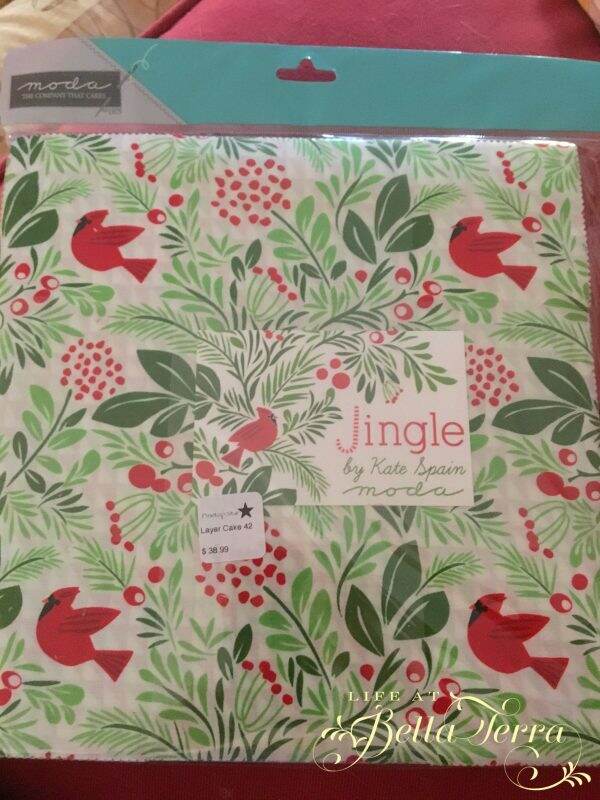
Finding pre-cut 10″ x 10″ squares in Christmas fabric helped push the decision over the edge. I found these in a quilting store in Pinetop, AZ but you can also find them online in various colors.
The designer is Kate Spain and she has a website filled with colorful items such as rugs, bedding, pillows, quilt fabric bundles and patterns. On her website, she has new designs for 2018, if you are feeling ambitious!
Having all the coordinating fabric pre-selected is a big time saver. The packet comes with 42 – 10″ x 10″ squares (you can buy 5″ ones too). Depending on how creative you want to be, you can design the quilt any way you’d like. Julianna’s fabric is predominantly red, green and black (her favorite color). Elisabeth’s is red, turquoise and green.
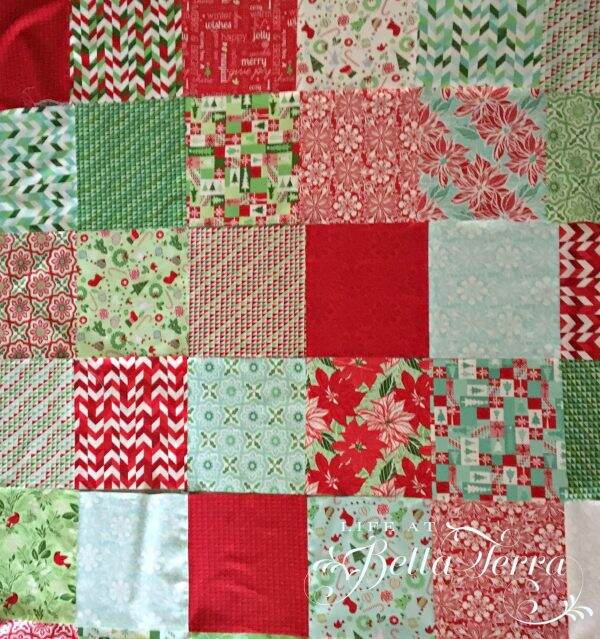
Since I’m a novice, I decided to just keep the 10″ squares and make a block print quilt. Nothing fancy schmancy.
I laid the squares out in the pattern I liked best,
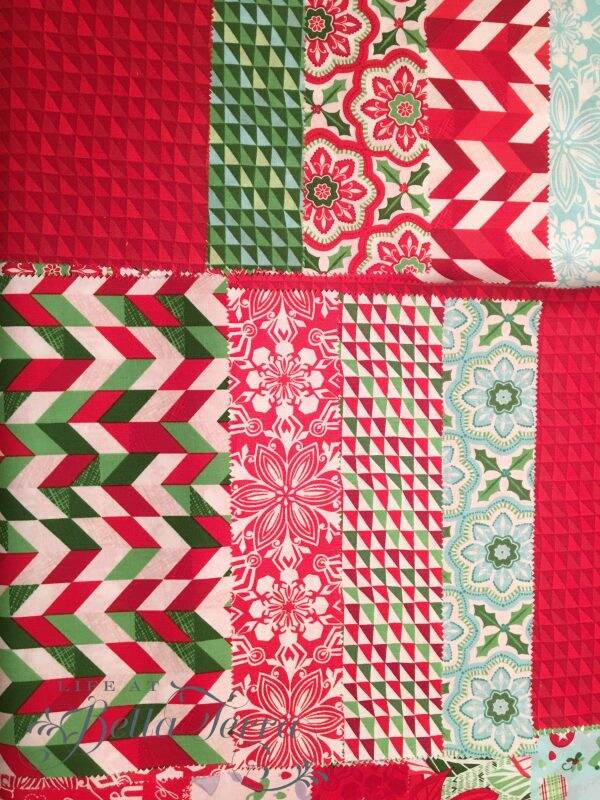
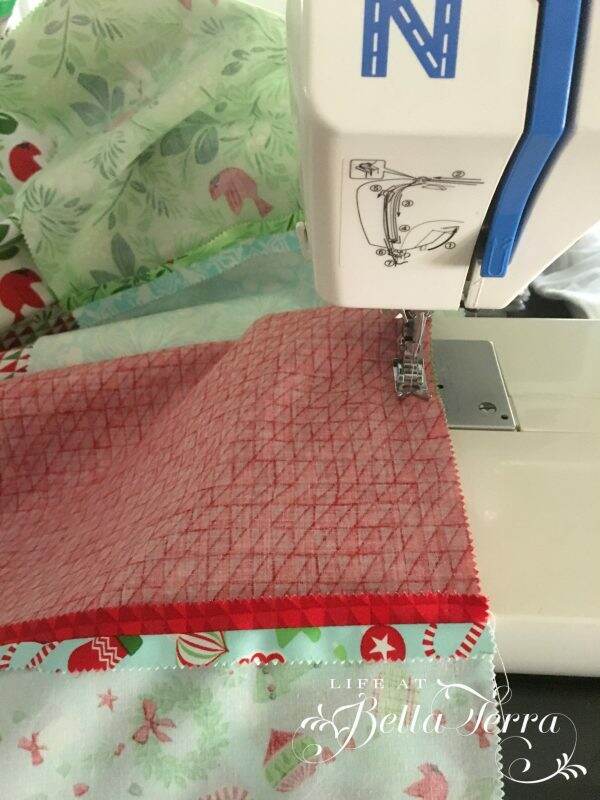
and then sewed them together, a row at a time.
My first mistake: I wasn’t careful in sewing the seams at the same 1/2″. As a result, the squares didn’t line up exactly as they should, which caused problems later on. I was trying to do this secretively and precision wasn’t top of mind.
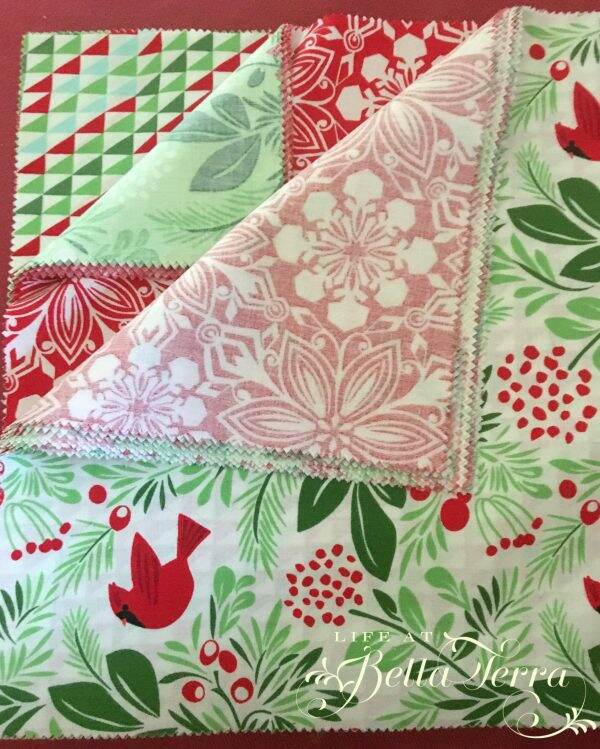
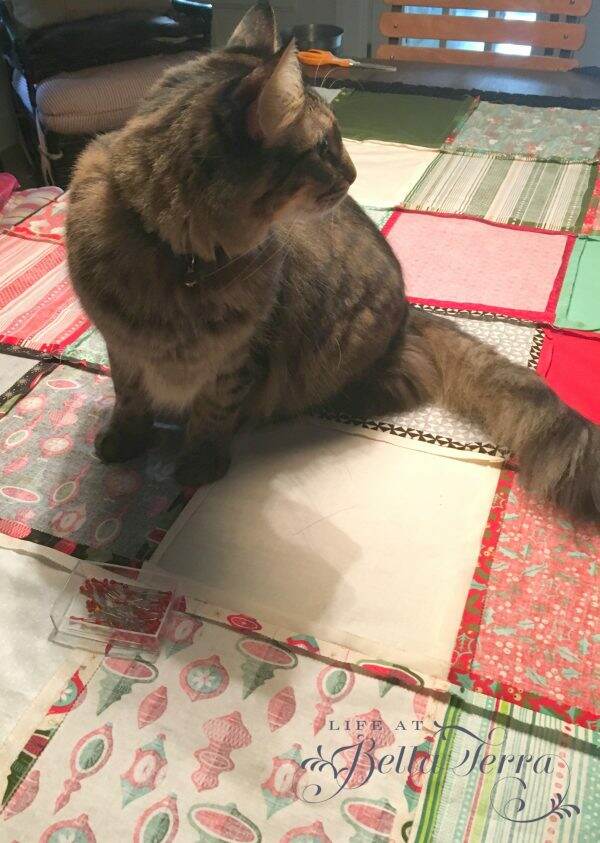
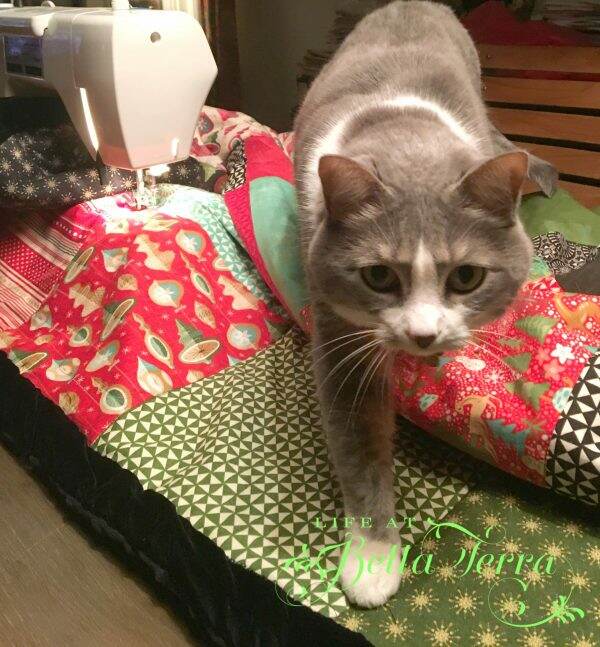
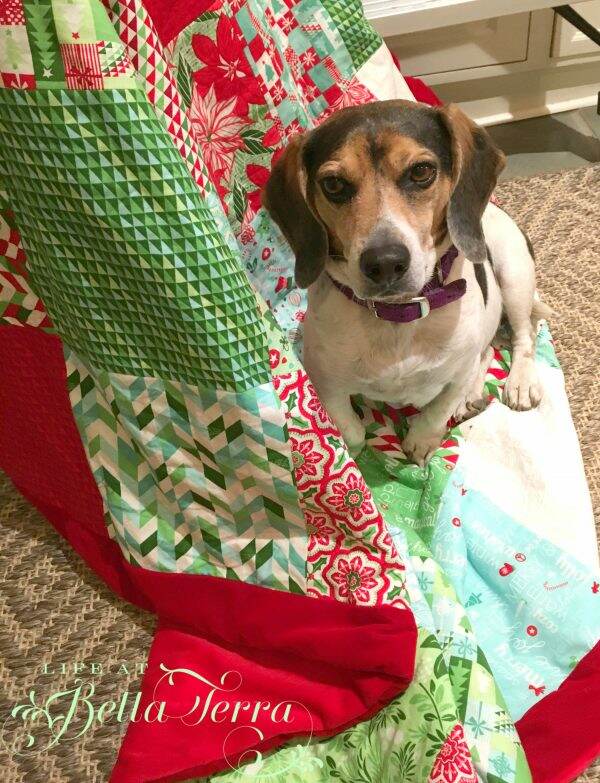
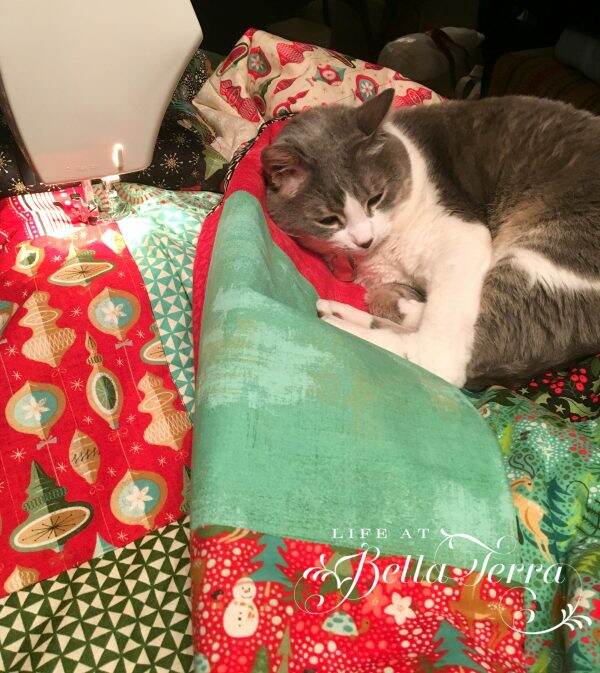
I pressed all the seams flat…feeling rather professional. Here’s a look at the underside of the top layer. I don’t know what the attraction was, but every time I took the quilt out to work on it, the cats and our dog, Sox felt a need to help.
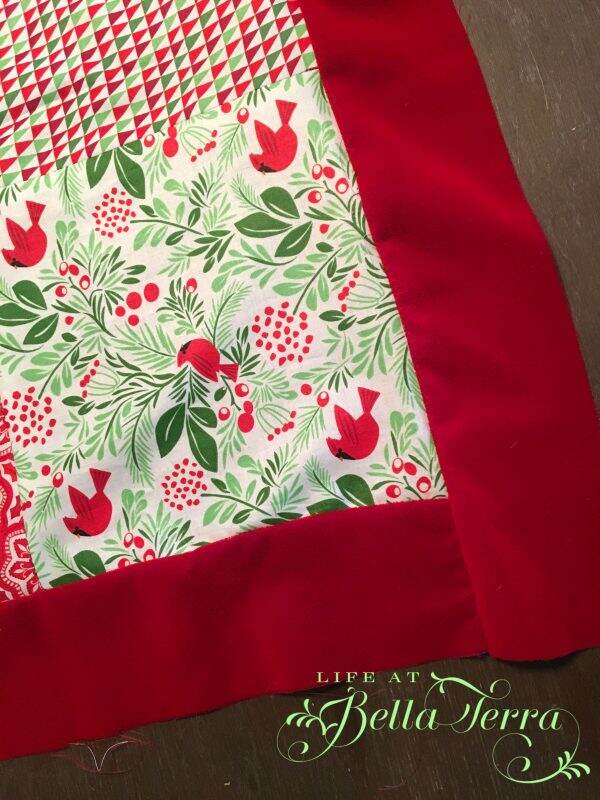
After all the pieces were sewn together, I selected velvet for the borders-red for Elisabeth and black for Julianna.
My next mistake: I didn’t realize how hard it is to sew velvet. I don’t know if it was due to the fabric or combining the surfaces of velvet and cotton. The border kept slipping and as a result I am sure the seams were not consistently 1/2″.
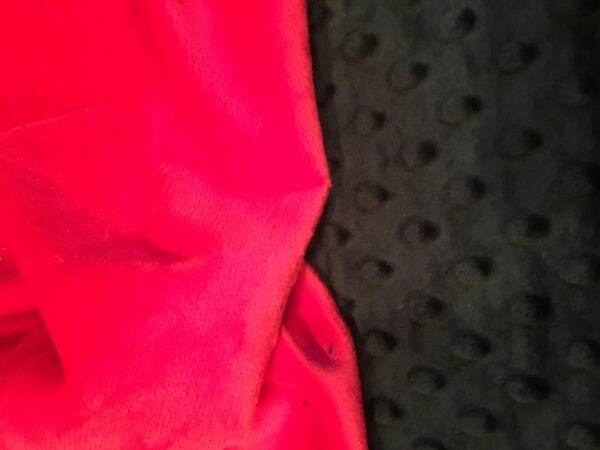
I found really soft black and red fabric for the back of the quilt.
For the filler, I used a thin polyester batting. All fabric, thread and batting supplies were purchased at Hobby Lobby.
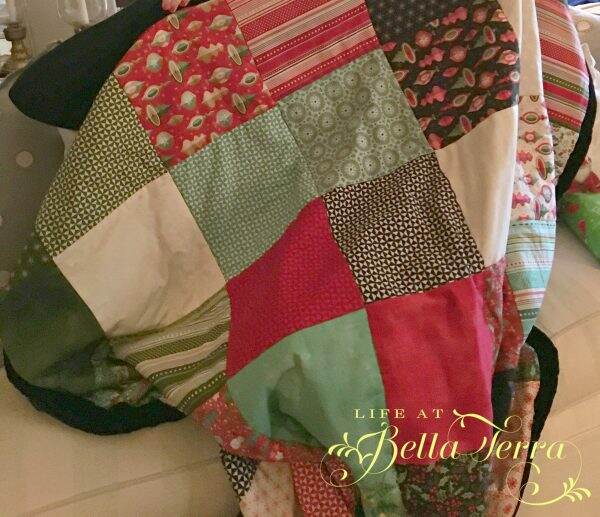
For the quilting part, I machine stitched all the squares in Julianna’s quilt. This became problematic when the squares weren’t completely square and it didn’t lay flat properly. I had to undo some of the stitching and correct my problem later. A complete pain.
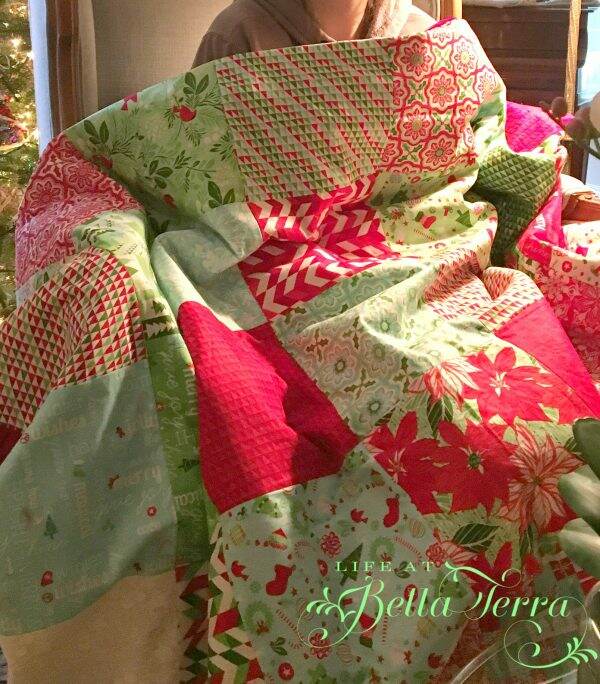
To quilt all 3 layers of Elisabeth’s, I hand stitched only where the squares intersected.
Here is the finished product that the girls opened on Christmas morning.
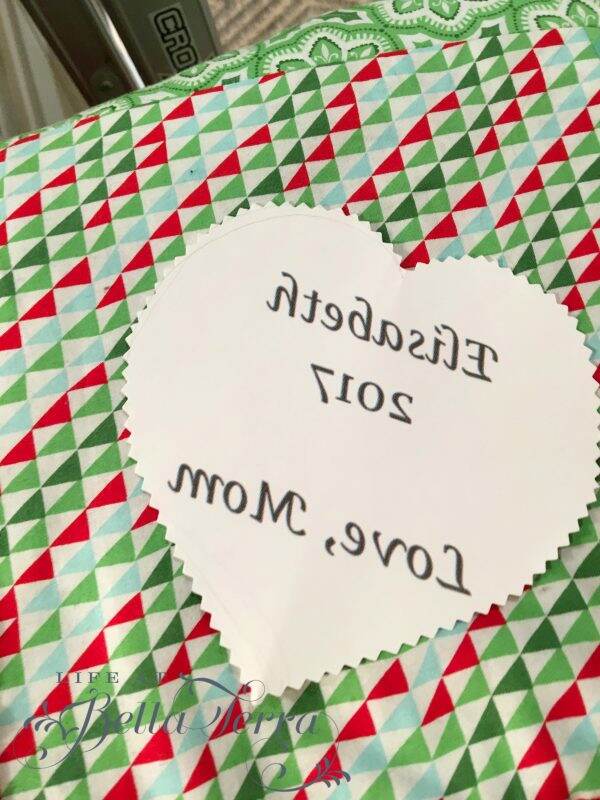
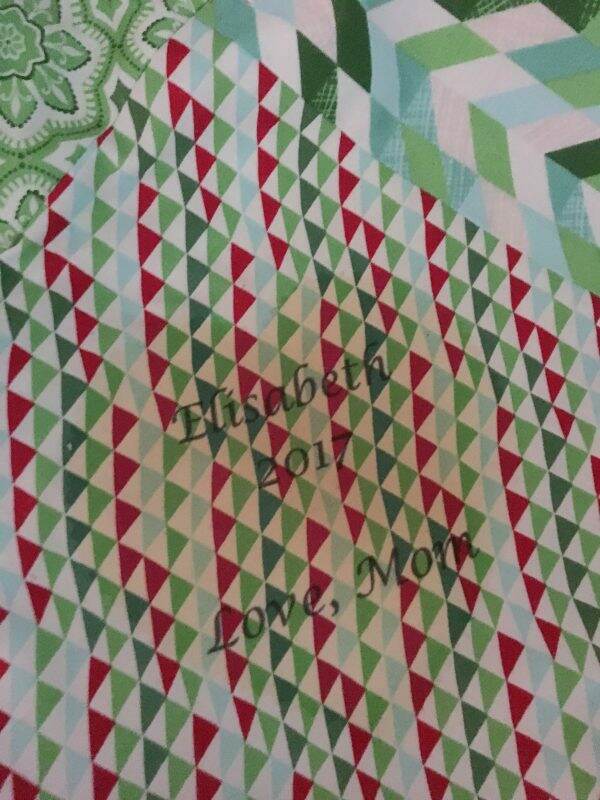
After the fact, I realized I had not put their names on the quilts. I should have embroidered one of the squares before I assembled it. Then I got the great idea to do an iron-on label, using Avery Labels light fabric transfers. I created the wording on my computer, printed the mirror image and followed the directions.
I practiced ironing the transfer on a scrap piece of cotton fabric and it looked fine. So I proceeded to add the transfer to the quilt.
I thought I was being careful to keep the iron moving, but then the fabric started to smell.
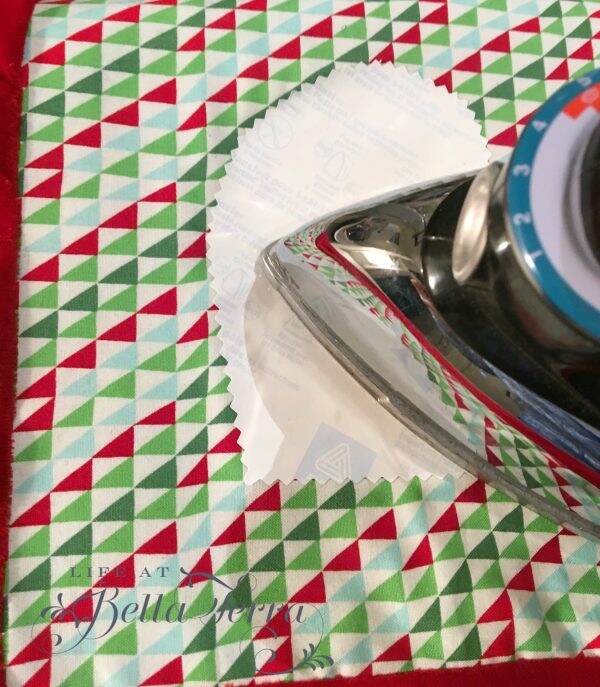
And it ended up looking like this!!!! I had burnt the fabric and ruined the square.
I was sick over this. What I failed to consider is that when using the hot iron, the polyester batting must have overheated and melted. Not only did it smell bad, but the texture of the square was now stiff and scratchy.
I quickly went online and found another packet of these same holiday squares from Etsy. I am awaiting shipment. When it arrives, I plan to take a new square, embroider it, and then carefully remove the burnt square and replace it.
Here are the lessons I learned from this project:
- Be as accurate as possible when sewing the seams. A square stops being a square when one side is not sewn straight. It will show up later when you quilt all three layers together.
- If using velvet or another “slippery” fabric, know it will move while sewing. Use plenty of pins or slowly stitch it. Again, straight seams are important.
- Do not use an iron transfer with the quilt completely assembled. Do any personalizing prior to assembly.
In spite of some of the challenges, the girls really love the quilts. Elisabeth was such a good sport when I showed her the damage and tried boosting my spirits. The good news is I am confident I can repair this……I hope…:)
![]()