Making Fall Trees – DIY
The first day of autumn is September 22nd. However, now that we are nearing that date, I can finally embrace fall decor, in spite of the heat here.

In August I visited a store filled with fall decorations. They had artificial fall trees that were quite attractive. I miss the beautiful autumn colors of New England and wanted to purchase two of the trees….until I saw the price tag ~ a whopping $350 each! So what does a typical Yankee do? Take lots of pictures and try to re-create them for far less money.
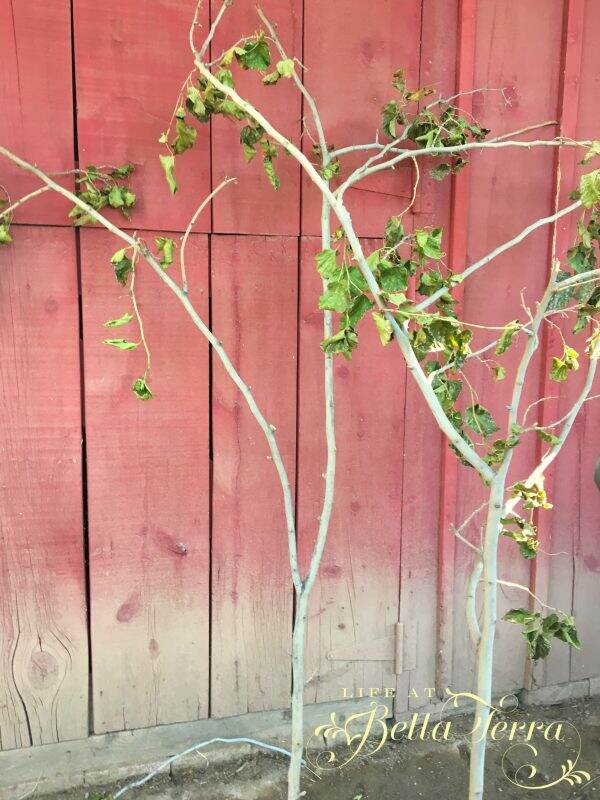
We’ve had several storms here in the last few months and lost many tree branches. I picked through the debris pile and found these.
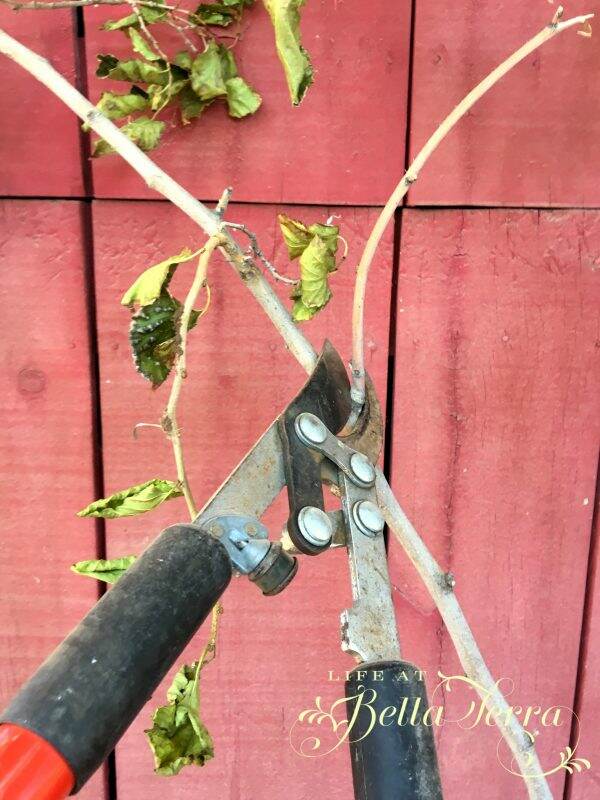
I trimmed off the side branches.
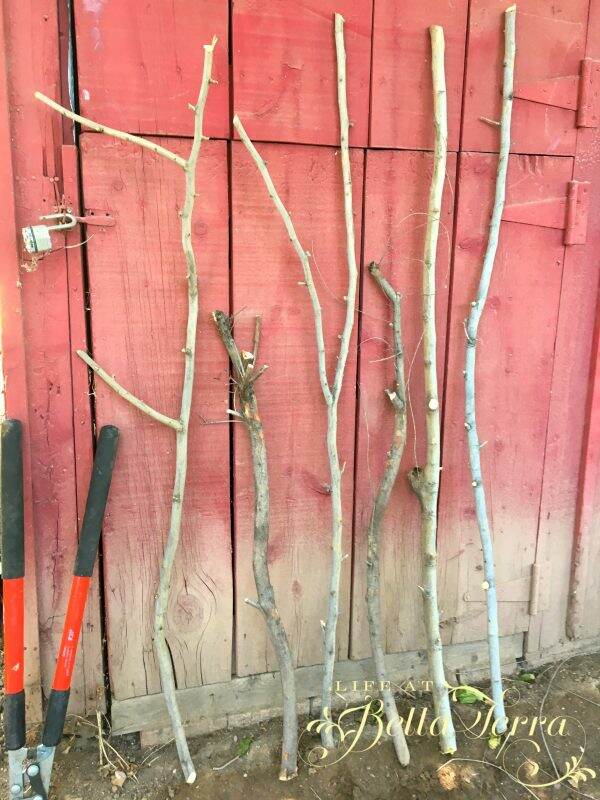
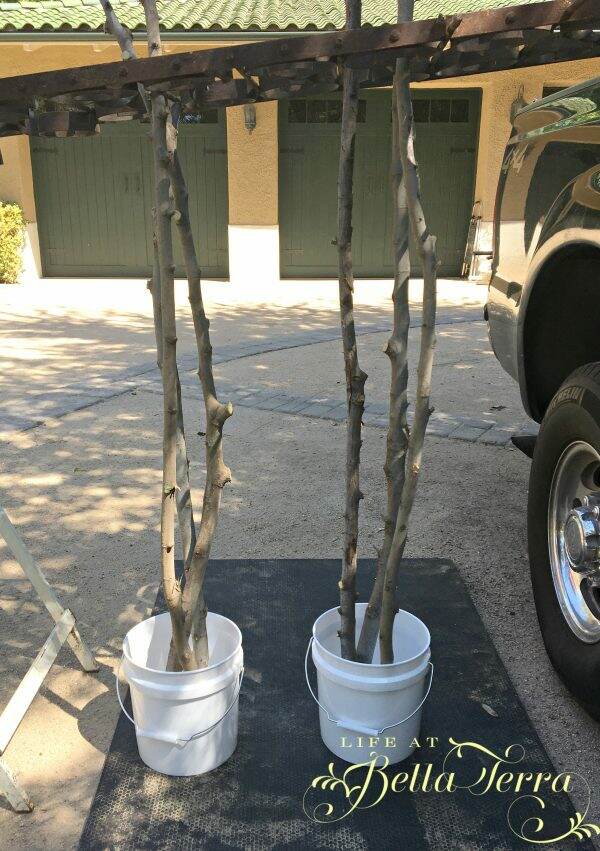
And ended up with six trunks. This view is the back of the old original barn-looks like it’s time to repaint!
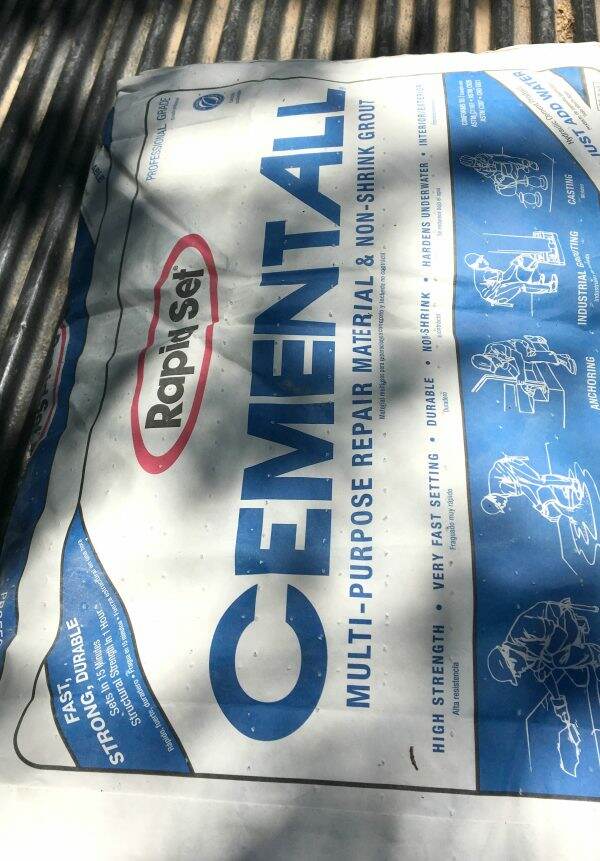
Using a fast drying cement, my husband secured the branches into two buckets. Cement is a good choice for the bucket because it will secure the branches, but also weight them so they don’t tip over.
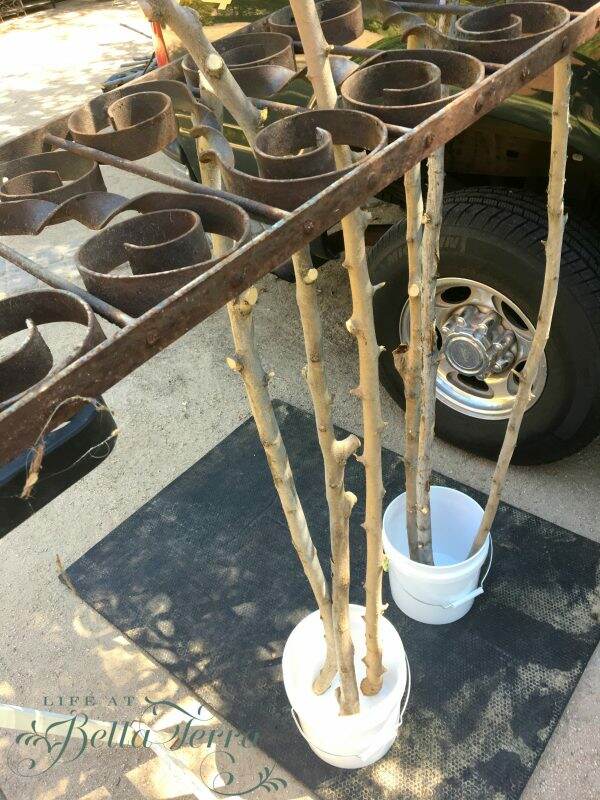
Look at the ingenious way he stabilized the branches while the cement dried. This short piece of decorative railing was left over from my last historical restoration. I hope to use it somewhere in our yard or garden.
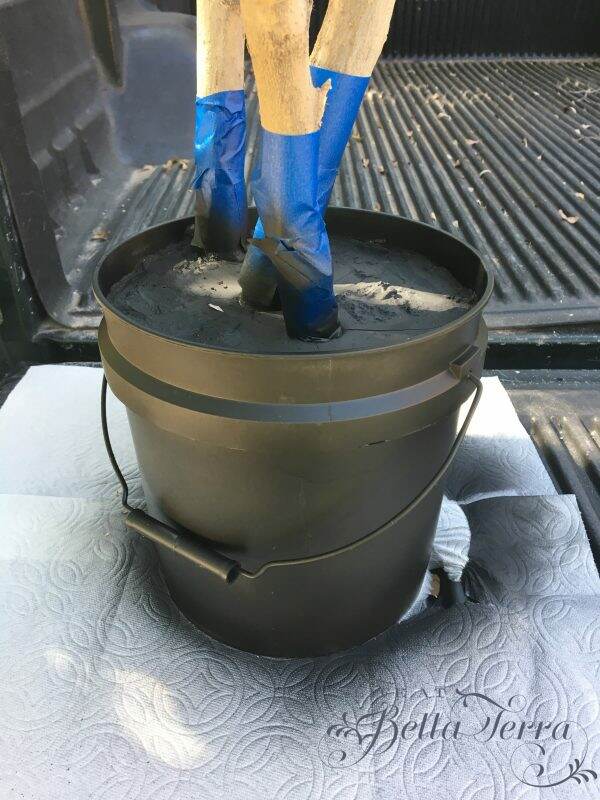
The bases were sprayed with black paint. Remember to tape off the trunks with blue painter’s tape so they remain a natural color.
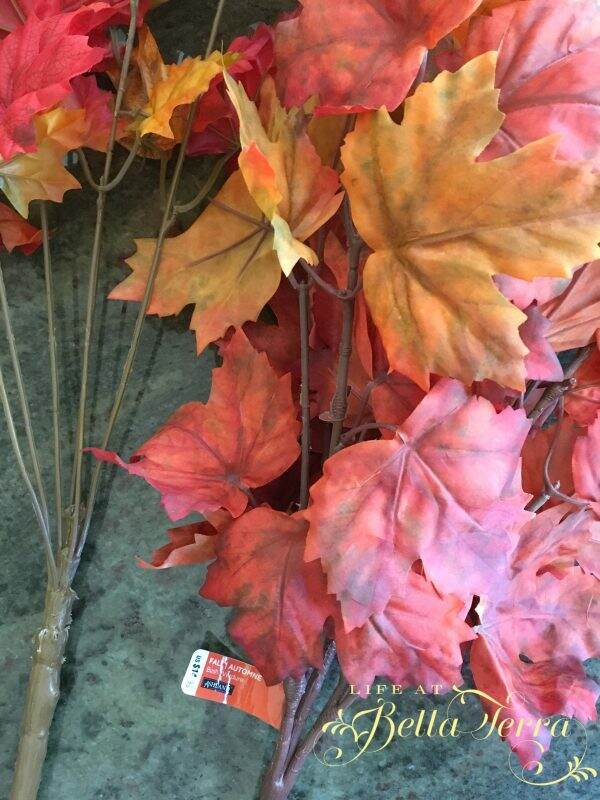
I purchased a few bunches of fall leaves from Michaels when they were having a buy one get one free sale. Unfortunately, I wasn’t paying much attention to the leaf style so I ended up getting both maple and oak leaves. I suppose you could mix them on the same tree but I chose to be a purist and make one maple and one oak tree.
Using a small drill bit, drill holes into the trunks.
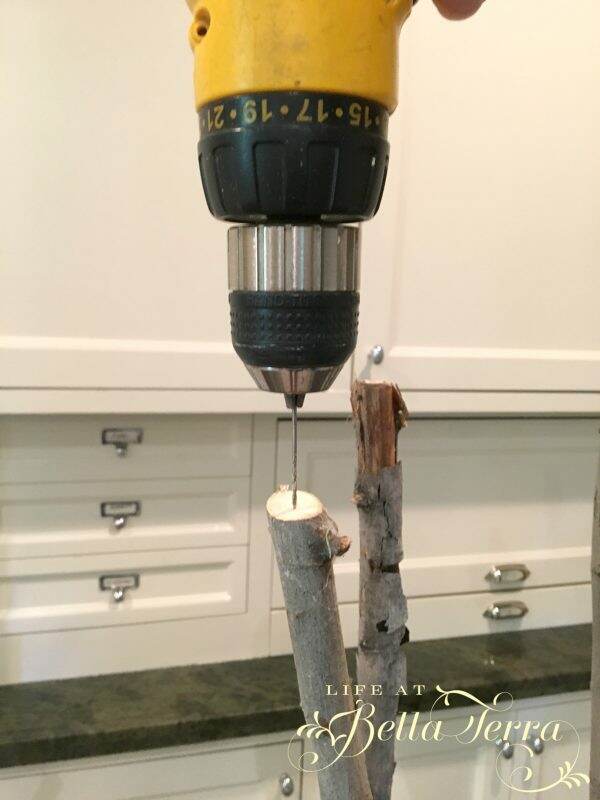
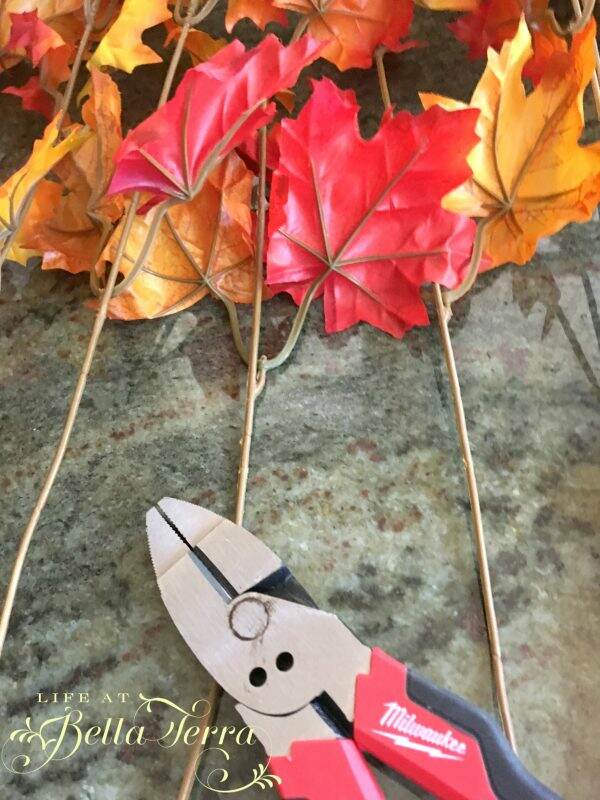
Remove the stems from the artificial bunches using wire cutters and expose the bottom of the wire.
Insert the stems into the holes that were drilled in the trunks.
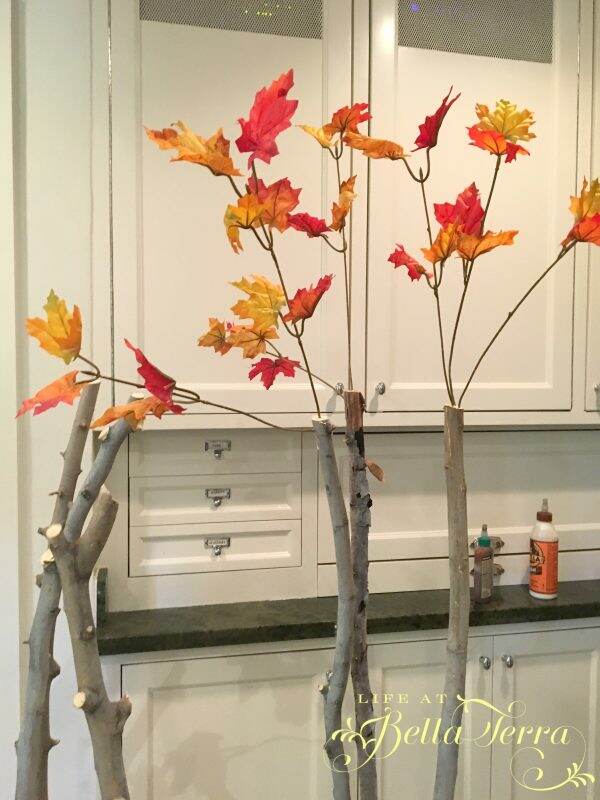
Keep repeating until the trunks are filled with leaves. We used a liquid glue to secure the branches.

After the glue dries, the branches will easily bend to the position you want. We used some blue tape during the drying process on those branches that were floppy.
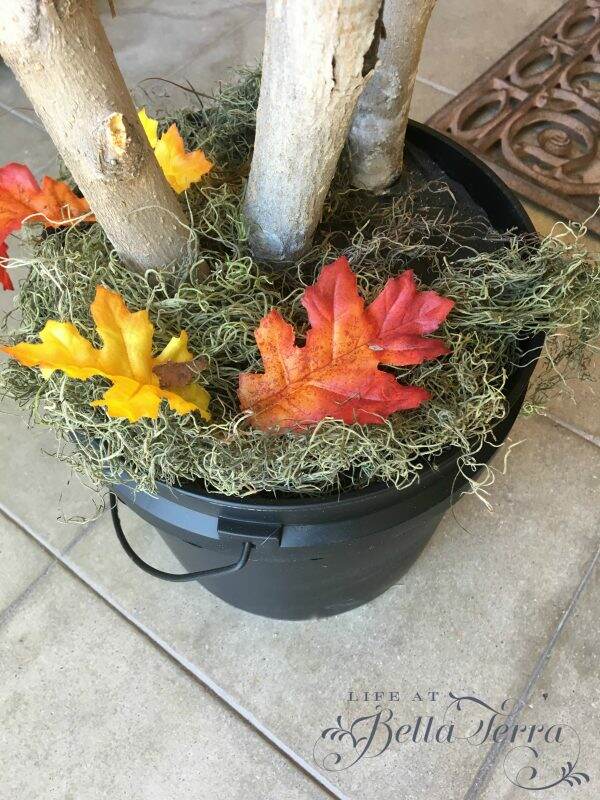
When the top was finished, I used moss and a few artificial leaves to soften the base.
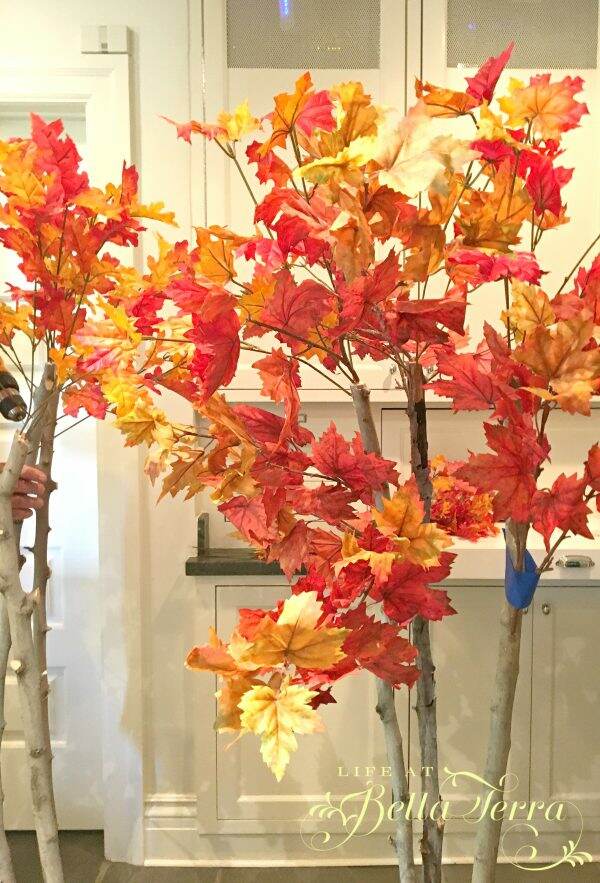
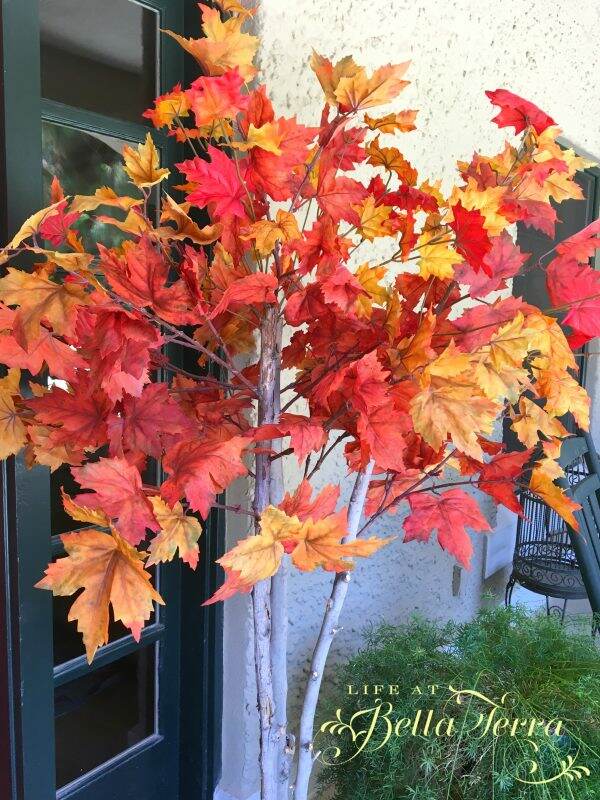
Here is my maple tree:
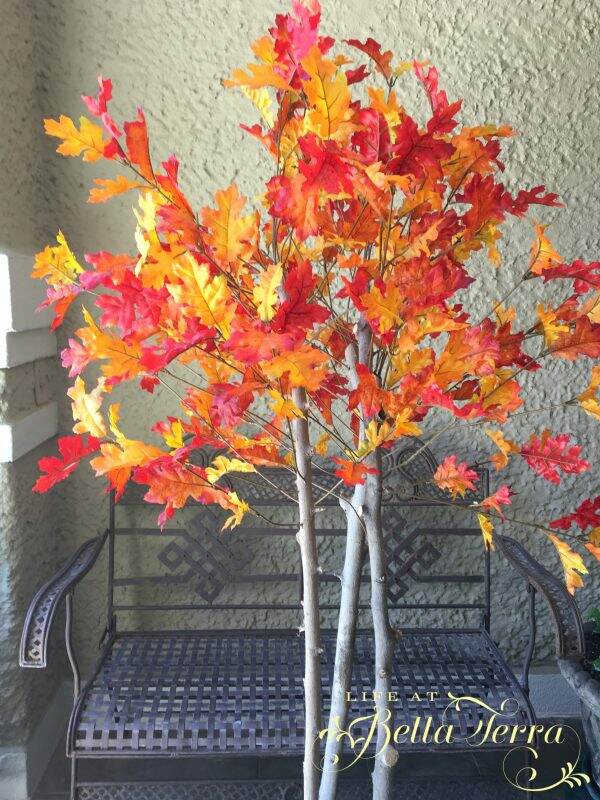
And here is the oak:
I can’t wait to share with you how I will incorporate these fall trees into my autumn decorating! I know the trend is to decorate with monochromatic colors (white pumpkins, white gourds), however, I LOVE the oranges, reds and browns that this season brings.
Happy Fall Decorating!
![]()