How to Make Bleached Pinecones

I don’t recall where I saw this DIY, but it sounds like a project that I could tackle. We have lots of pinecones at our cabin and I brought some back with me during our last trip. But I can’t find them anywhere. Go figure. So I did a garage search and came up with enough pinecones to try this. Actually these are cinnamon-scented pinecones, but it doesn’t seem to matter. Here is how to make bleached pinecones.
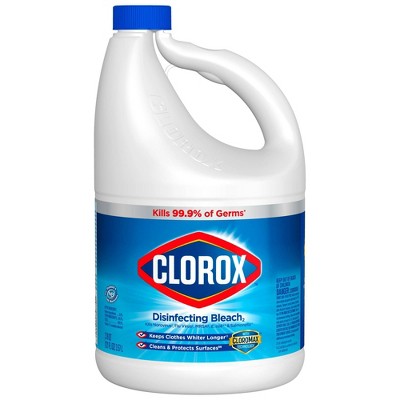
The supplies you will need~pinecones (in good condition), bleach, water, a bucket, and bricks (or something to help submerge the pinecones), and rubber gloves. I also wore an apron because I tend to be a bit messy.
Take precautionary measures

First of all, bleach is a caustic substance and not only will it ruin your clothes and eyes if you splash, but the fumes can be overwhelming and dangerous. Why do I know this? Because I tried doing this DIY in the kitchen, vs. outside in the fresh air. It took a matter of seconds but I could feel the negative effects of the bleach fumes. Not smart.
Also make sure your vessel does not leak. I unfortunately didn’t see the hairline crack in my container and had bleach leaking out….in my kitchen while I was nearly overcome with fumes.

Put your bucket outside. Toss in any amount of pinecones you’d like (20-30). Cover the pinecones with bleach (1.5 gallons) and add water to cover.
Submerge the Pinecones

Place the bricks on top of the pinecones (as they will float) and leave for 24 hours.

24 hours later…
Remove the pinecones and let dry. What I didn’t realize is that pinecones, when wet, will close up. But as they dry, they spread open again.

When the pinecones first came out of the bleach solution, they did not look white. But over time, as they dried, the pinecones will get lighter.


I did read that if you leave them in the bleach longer than 24 hours they start to break down. The first batch I did complete within the 24 hour time frame.

Not wanting to toss the bleach solution yet, I am trying another batch. We will see if the chlorine is still strong enough to bleach them. The second batch was left in for two days. They are still drying out, but look fine. You can see how tightly closed the wet pinecones are compared to the dried ones.
Add to Your Holiday Decor

Now I am excited to use these pinecones around the house for the holidays. Yesterday, I created a holiday theme for the top of a cabinet in the family room, using a few bleached pine cones. If you have a beach house, wouldn’t these look great? Also, the pinecones do not smell like bleach either.

So remember, if you do this DIY, please take more precautions than I did. I am really happy with the results. Since I love regular pinecones and now bleached ones, it will be fun to decor with both this holiday season.

Have a fabulous Wednesday. The decorations are going very slowly, but I am certainly not complaining. Trying to take my time and enjoy every minute.
