1

My Kitchen – Part 1

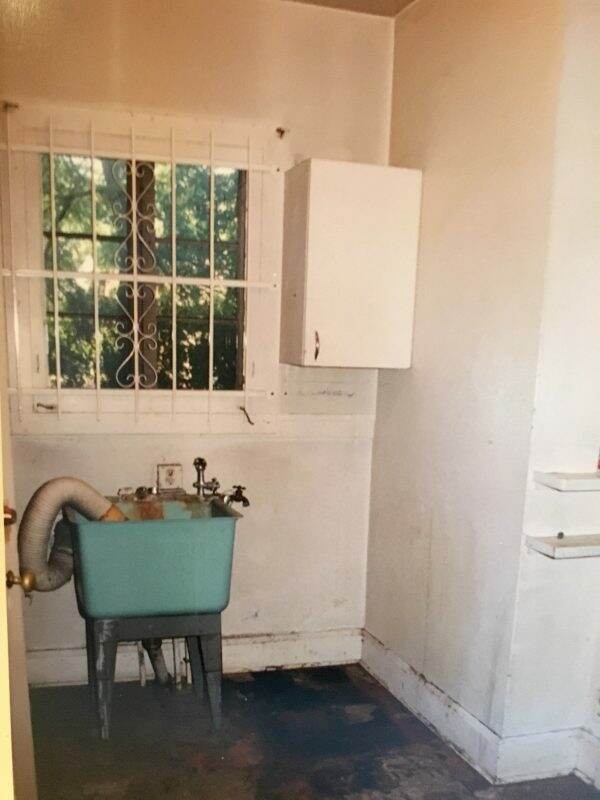
The original kitchen was woefully inadequate. Gotta love the electric cooktop right next to the sink!  It was so small we converted this space into the breakfast room.
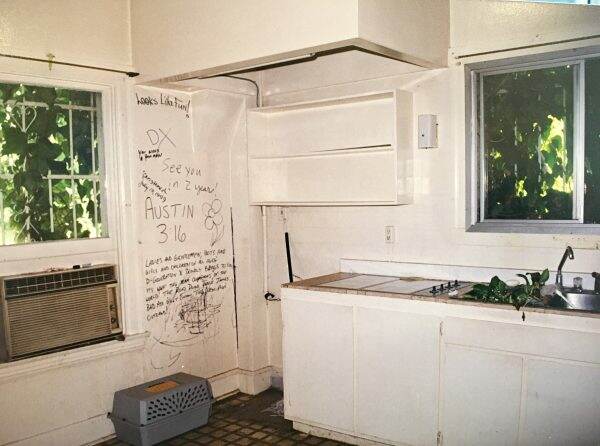
We desperately needed a new kitchen. Trying to add such a vital room to a 100+ year old home took some careful design and planning.  Thankfully we had a wonderful architect who understood how important it was to ensure the transition from the old to the new was seamless. I wanted the new kitchen to look like it was original to the house.

When designing the kitchen, I divided it up into working sections~~cooking, baking, prepping, cleaning, storage and dining.

The Cooking Section:

The cooking area is set off to the side in its own alcove.  The main focus is the 6 burner Dacor range. The two deep drawers below hold all the pots and pans I use on a regular basis.
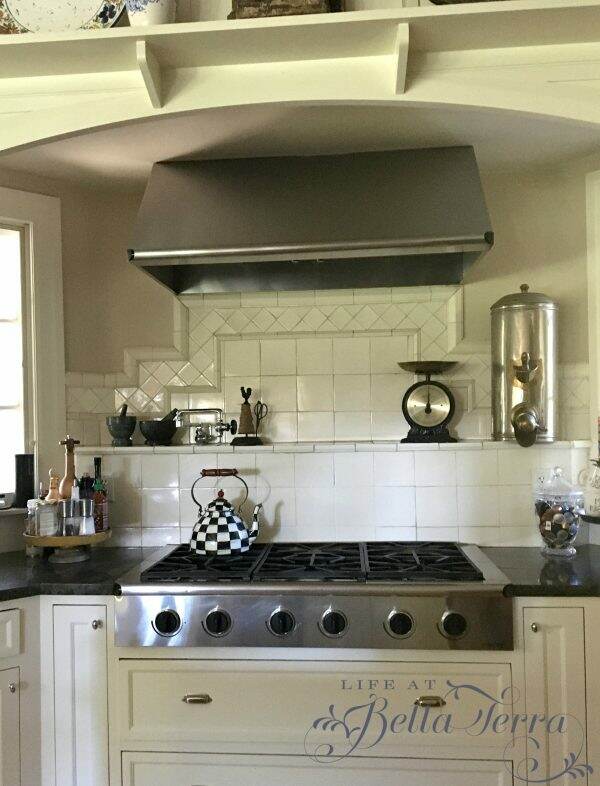
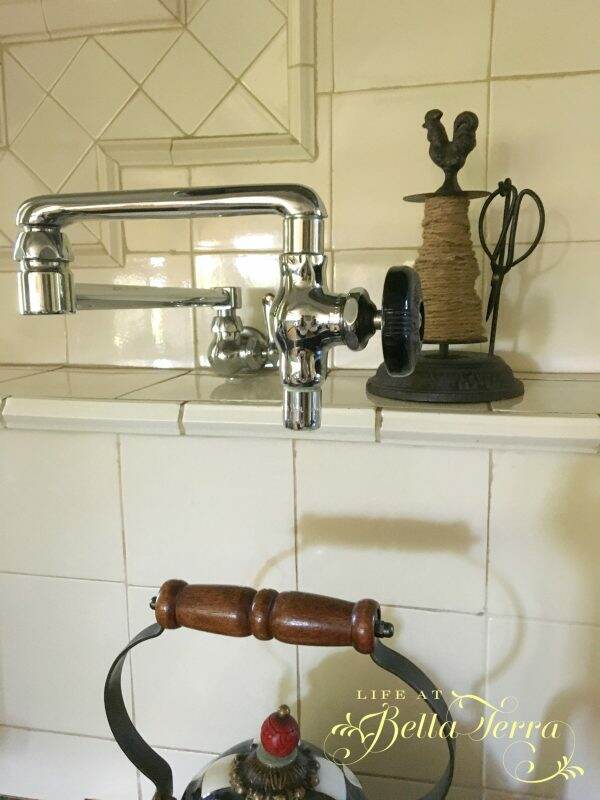
One of my favorite parts of the cooking alcove is the pot filler.  It is so easy to fill stock pots vs. carrying them across the room from the nearest sink.
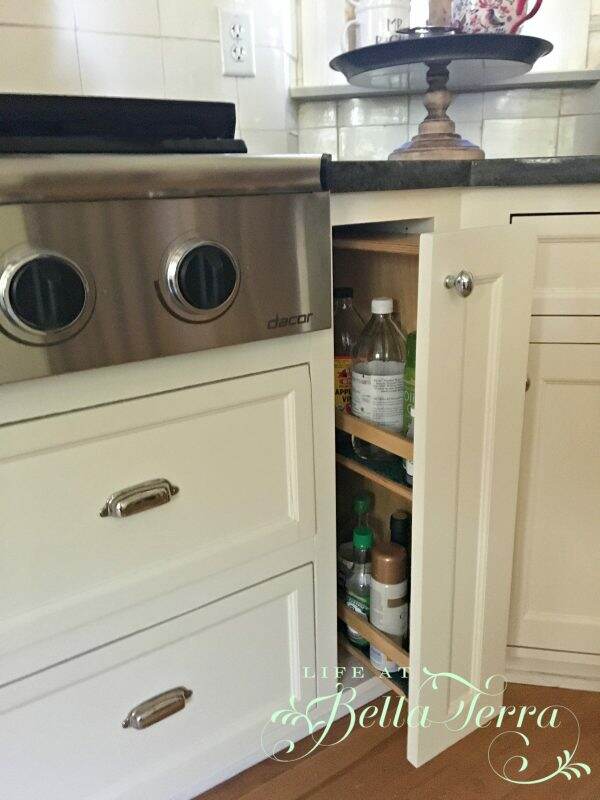
The two pull out drawers on either side of the Dacor 6 burner gas range as used for oils and seasonings.
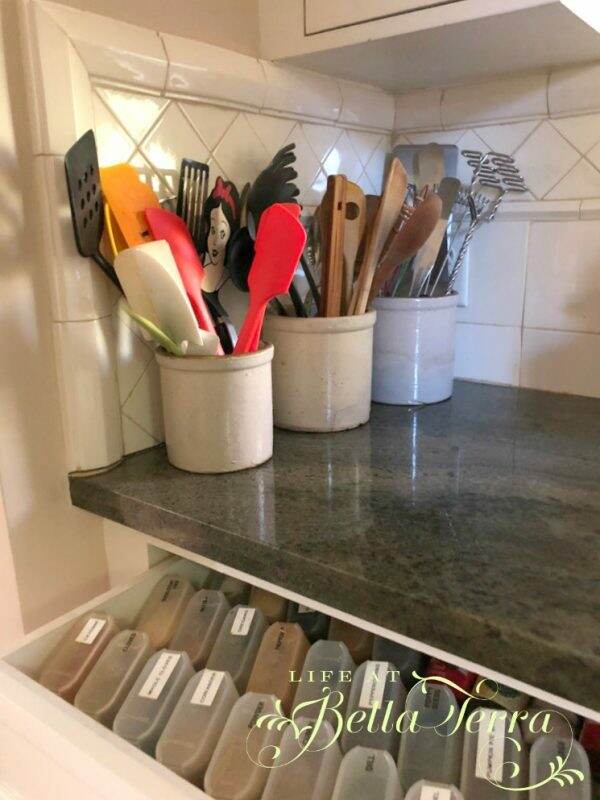
Everything I need while cooking is close at hand. Utensils are kept in vintage crocks within easy reach. Being left handed, all this sits to the left of the range.
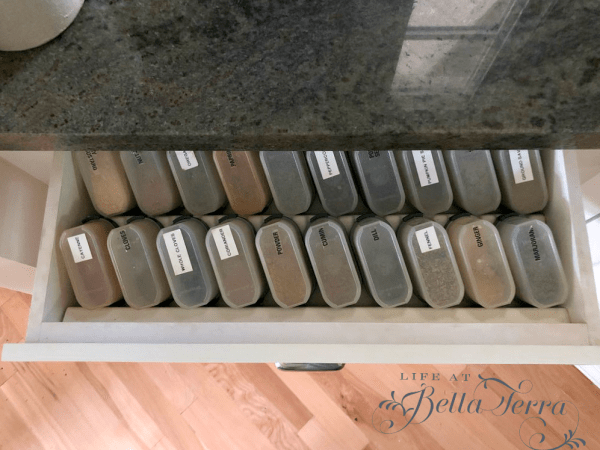
The spice drawer is filled with Tupperware spice containers that are labeled.  I do love matching labels but haven’t gotten around to making these look all the same.

I just read that narrow width, light flooring is back in style.  We matched the original floors using Canadian Beech.  See? If you wait long enough, everything comes back in style!
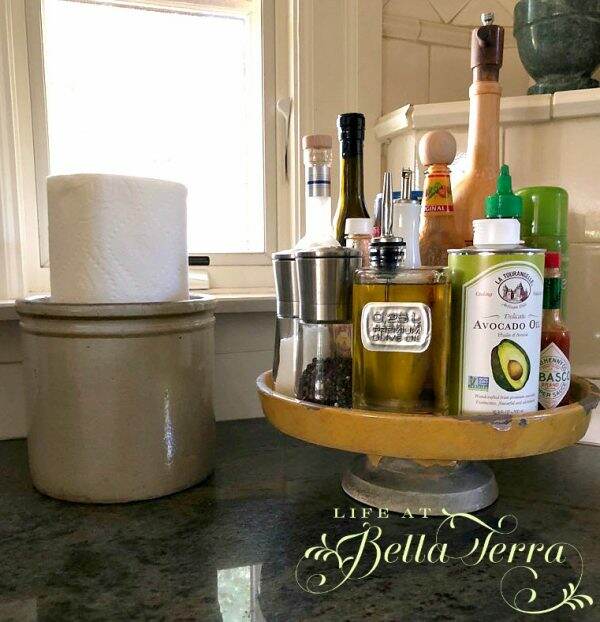
On a vintage pedestal stand, I keep the daily essentials~~salt, pepper, oils, sauces, vinegar out on the counter.  A roll of paper towel is very close to help with wipe ups and spills.
To the right of the range is our coffee/tea station.  To see more about this, click here.

The Cleaning Section:

The cleaning area supports 2 sinks with their own individual faucets.  I’ve never had a kitchen with 2 faucets (usually there is one faucet that both sinks share), but we use both sinks ALL the time.  The two sinks/faucets allows 2 people to do separate tasks without being in each other’s way.

The faucet pulls out and can be used as a sprayer.  Buttons on the faucet change the water from a stream to a spray.

Investing in good sinks is a must. These deep Franke sinks were well worth the money.  They still polish up nicely and provide enough space to wash the most difficult items.  When the children were little, they would sit in the water and play while I prepared meals.
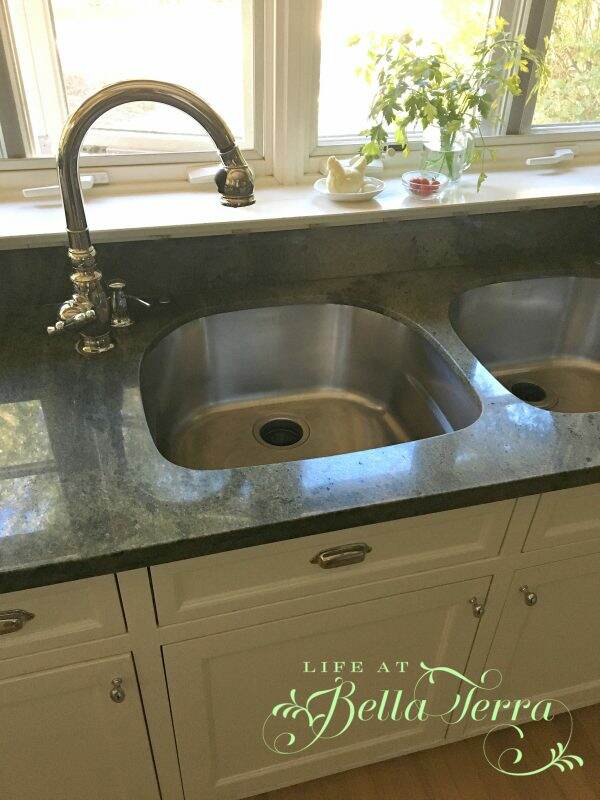
Dishwashers are on either side of the sink.  There are 3 pullout trash containers-one for regular trash; one for composting and one for recycling.

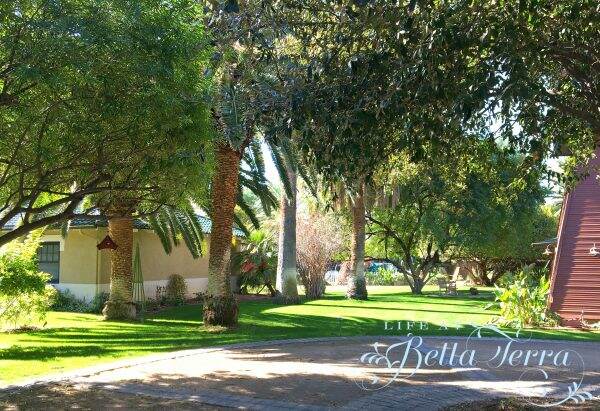
The L shaped bank of casement windows overlook the backyard and terrace, providing an abundance of natural light and ventilation.  These were installed so I could keep an eye on the children playing in the backyard and pool. The latest harvest from the garden is often found on the windowsills.
I hope you enjoyed seeing some of my kitchen.  My next post will focus on the baking, storage and dining sections.


Architect: Cathy Hayes Architecture, Phoenix

Dacor range

KitchenAid dishwasher

Fisher Paykel dishwasher drawers

Marvin Windows

The Chicago Faucet Co.-potfiller

Waterworks tile

Franke sinks

Cabinetry-custom, Lacquer finish in Cottage White

Hardware-Restoration Hardware

Flooring-Wildwood Custom Flooring, Phoenix

Kitchen Faucets- Clyde Hardware, Phoenix.


Making Quilts, Making Mistakes

Before I left for college, my Mom made me a sweet, simple quilt. Quite frankly, I was surprised that she had the time to make this. Being the middle of 5 children and often overlooked, her gift made me feel extra special.  Today it is a bit dog-eared and frayed around the edges but it remains an endearing keepsake.

Quilting Tips

Because I cherish this handmade gift from my Mom, I wanted to make quilts for my two girls.  How hard can it be, right? I took Home Ec in 7th grade….

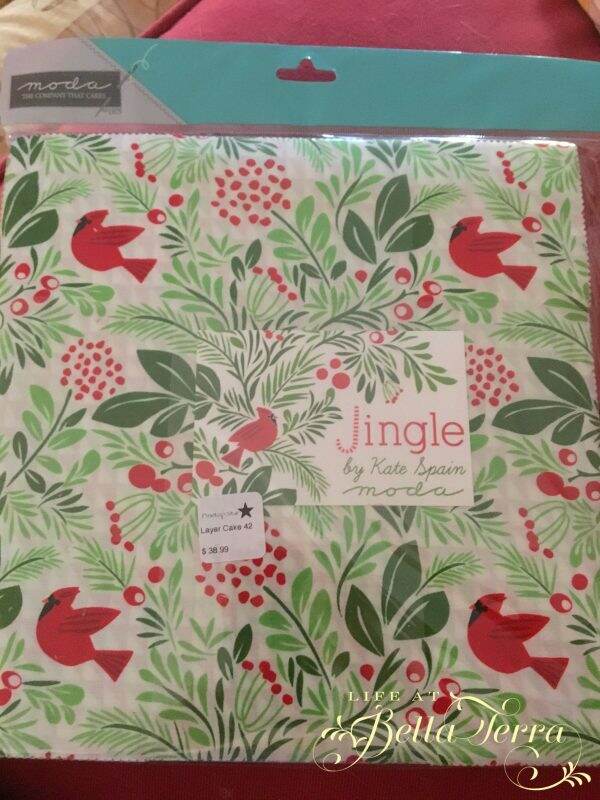
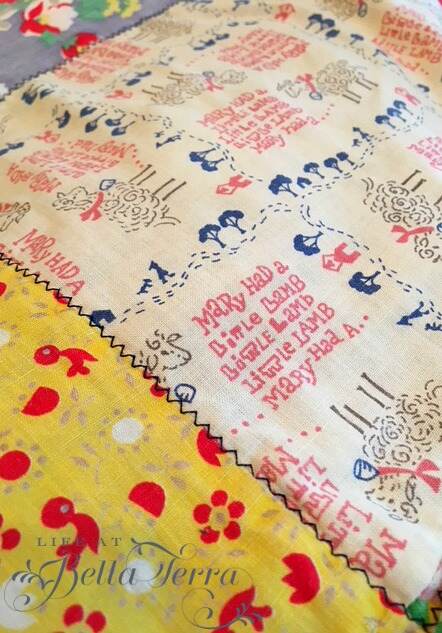
Finding pre-cut 10″ x 10″ squares in Christmas fabric helped push the decision over the edge. I found these in a quilting store in Pinetop, AZ but you can also find them online in various colors.

Quilting Tips

The designer is Kate Spain and she has a website filled with colorful items such as rugs, bedding, pillows, quilt fabric bundles and patterns.  On her website, she has new designs for 2018, if you are feeling ambitious!

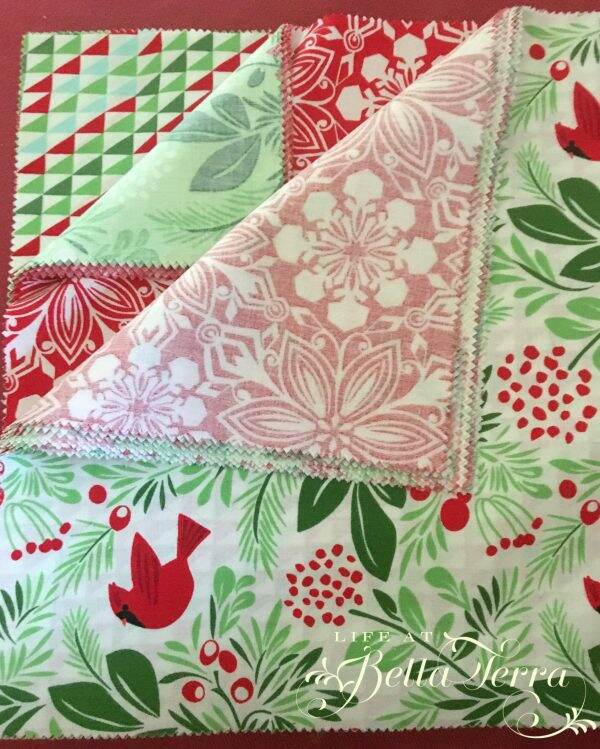
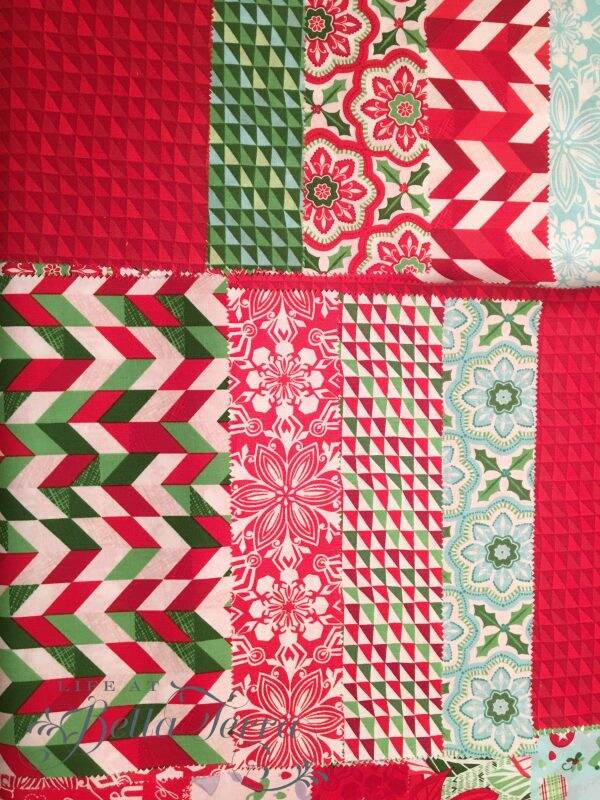
Having all the coordinating fabric pre-selected is a big time saver.  The packet comes with 42 – 10″ x 10″ squares (you can buy 5″ ones too).  Depending on how creative you want to be, you can design the quilt any way you’d like. Julianna’s fabric is predominantly red, green and black (her favorite color).  Elisabeth’s is red, turquoise and green.

Since I’m a novice, I decided to just keep the 10″ squares and make a block print quilt. Nothing fancy schmancy.

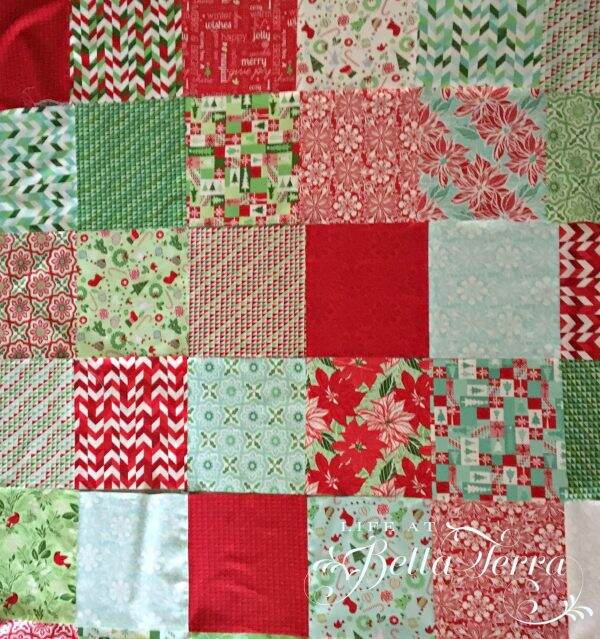
I laid the squares out in the pattern I liked best,

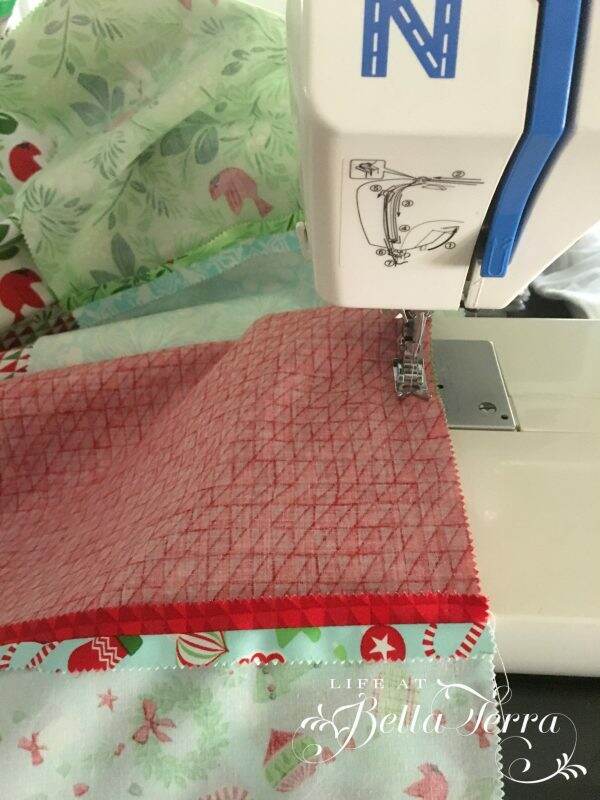
and then sewed them together, a row at a time.

My first mistake: I wasn’t careful in sewing the seams at the same 1/2″.  As a result, the squares didn’t line up exactly as they should, which caused problems later on.  I was trying to do this secretively and precision wasn’t top of mind.

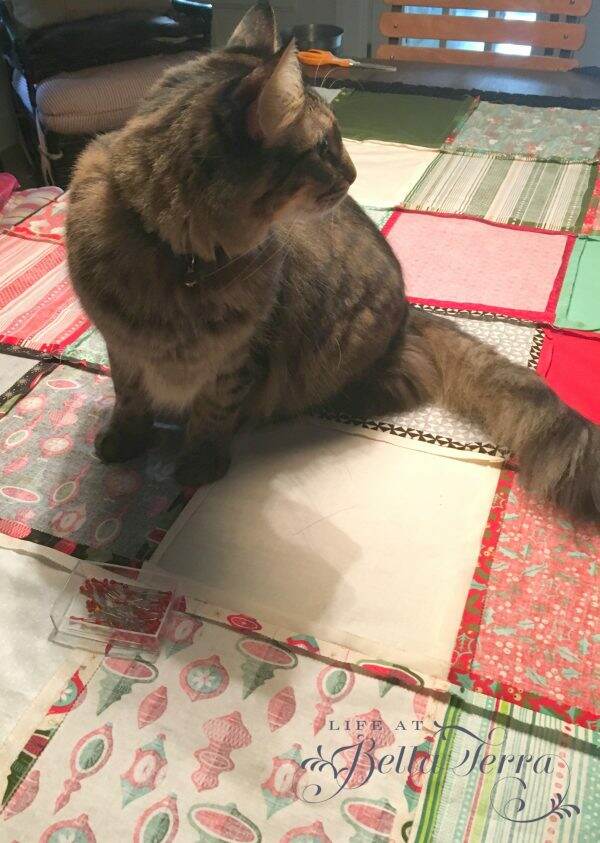
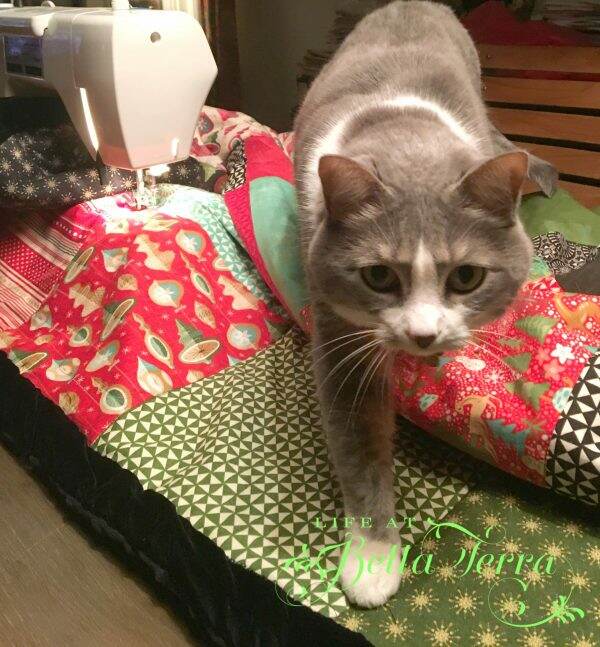
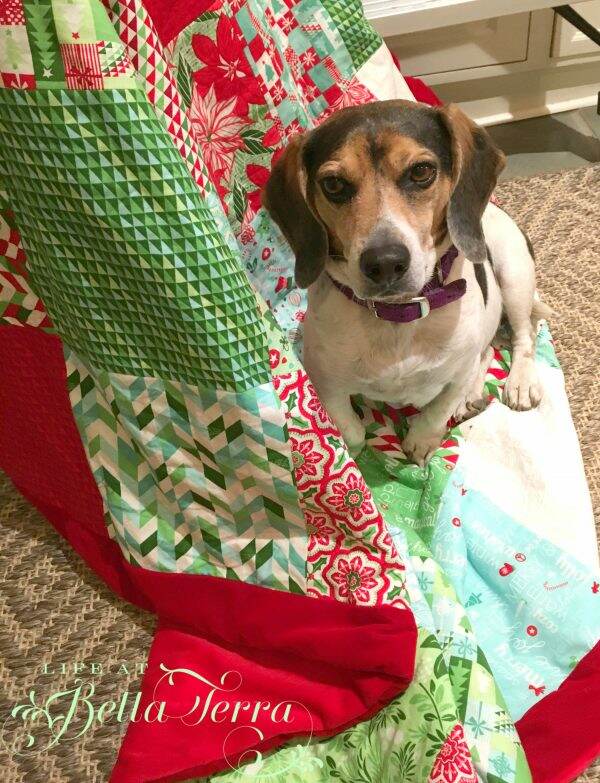
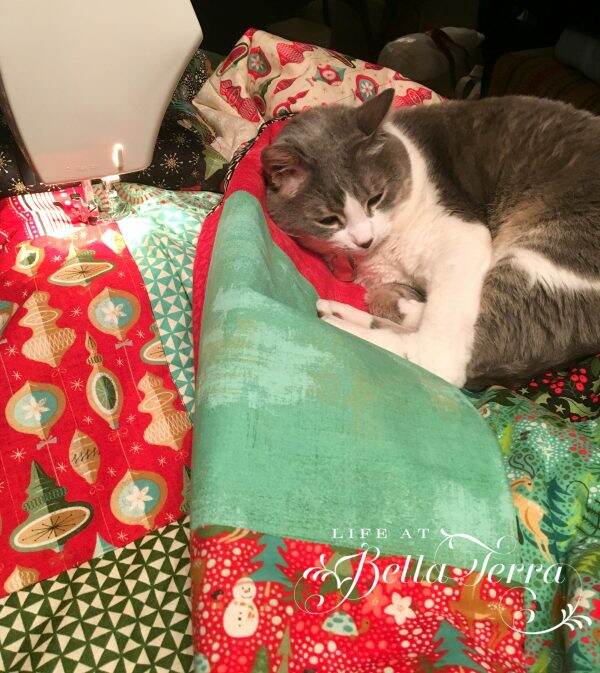
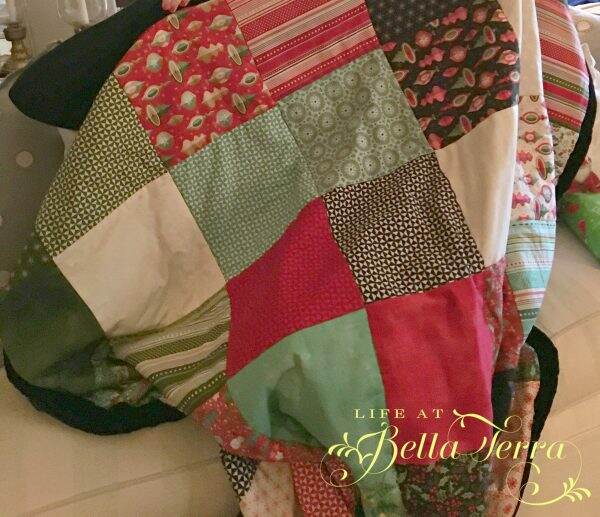
I pressed all the seams flat…feeling rather professional.  Here’s a look at the underside of the top layer.  I don’t know what the attraction was, but every time I took the quilt out to work on it, the cats and our dog, Sox felt a need to help.

Making Quilts

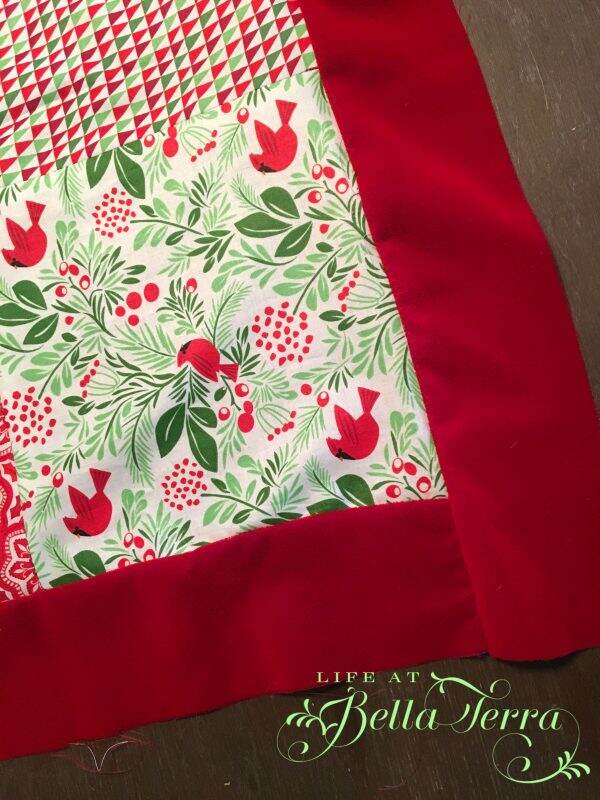
After all the pieces were sewn together, I selected velvet for the borders-red for Elisabeth and black for Julianna.

My next mistake:  I didn’t realize how hard it is to sew velvet.  I don’t know if it was due to the fabric or combining the surfaces of velvet and cotton.  The border kept slipping and as a result I am sure the seams were not consistently 1/2″.

I found really soft black and red fabric for the back of the quilt.

For the filler, I used a thin polyester batting.  All fabric, thread and batting supplies were purchased at Hobby Lobby.

For the quilting part, I machine stitched all the squares in Julianna’s quilt.  This became problematic when the squares weren’t completely square and it didn’t lay flat properly.  I had to undo some of the stitching and correct my problem later. A complete pain.

To quilt all 3 layers of Elisabeth’s, I hand stitched only where the squares intersected.

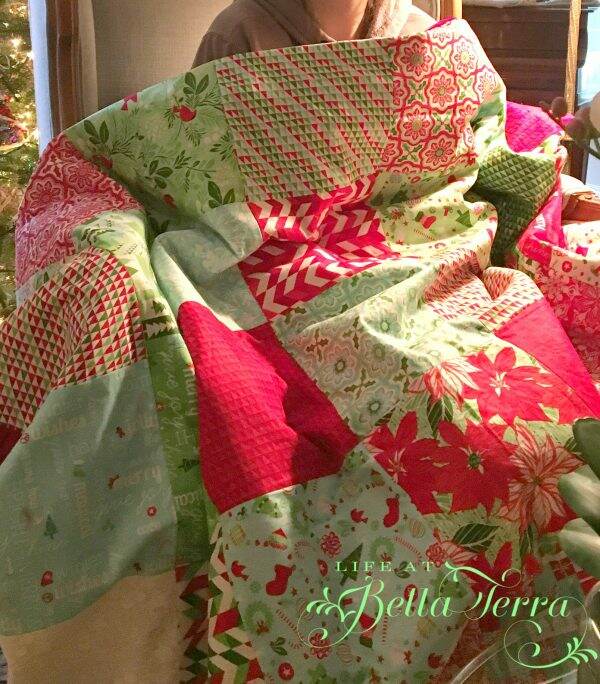
Here is the finished product that the girls opened on Christmas morning.

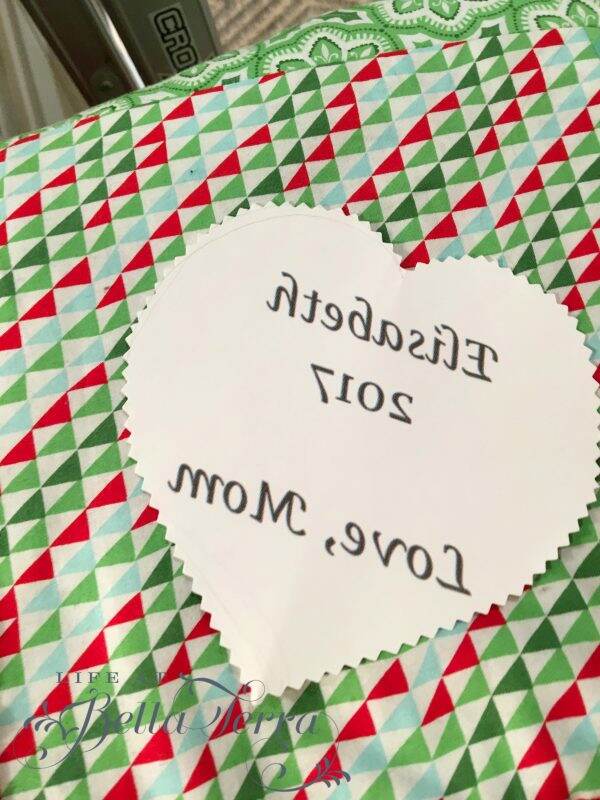
After the fact, I realized I had not put their names on the quilts.  I should have embroidered one of the squares before I assembled it.  Then I got the great idea to do an iron-on label, using Avery Labels light fabric transfers. I created the wording on my computer, printed the mirror image and followed the directions.

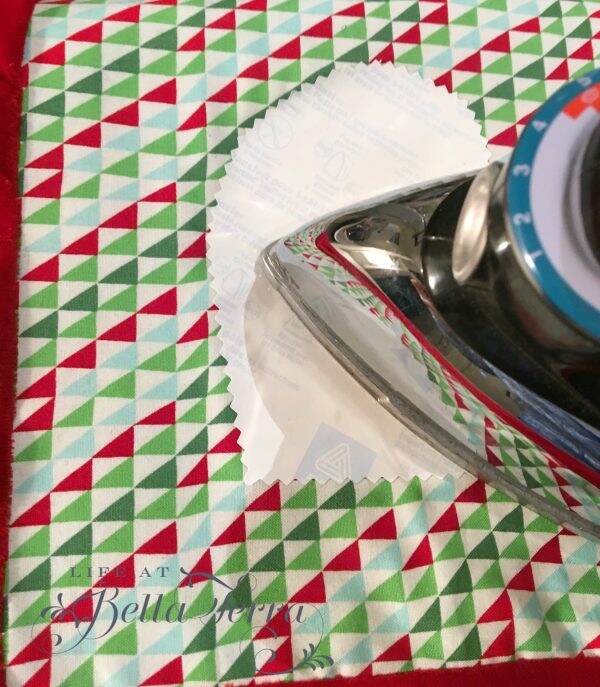
I practiced ironing the transfer on a scrap piece of cotton fabric and it looked fine.  So I proceeded to add the transfer to the quilt.

I thought I was being careful to keep the iron moving, but then the fabric started to smell.

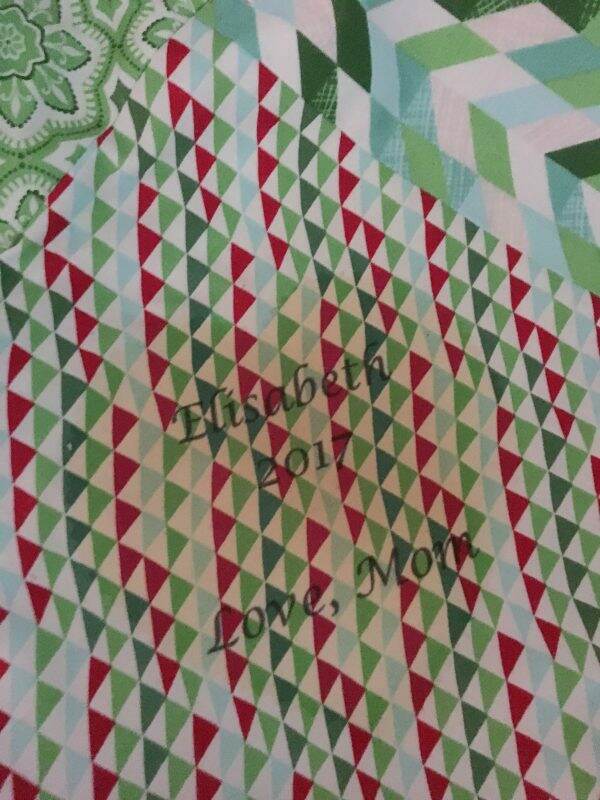
And it ended up looking like this!!!! I had burnt the fabric and ruined the square.

I was sick over this.  What I failed to consider is that when using the hot iron, the polyester batting must have overheated and melted. Not only did it smell bad, but the texture of the square was now stiff and scratchy.

I quickly went online and found another packet of these same holiday squares from Etsy.  I am awaiting shipment.  When it arrives, I plan to take a new square, embroider it, and then carefully remove the burnt square and replace it.

Here are the lessons I learned from this project:

  1.  Be as accurate as possible when sewing the seams.  A square stops being a square when one side is not sewn straight. It will show up later when you quilt all three layers together.
  2. If using velvet or another “slippery” fabric, know it will move while sewing.  Use plenty of pins or slowly stitch it. Again, straight seams are important.
  3. Do not use an iron transfer with the quilt completely assembled. Do any personalizing prior to assembly.

In spite of some of the challenges, the girls really love the quilts.  Elisabeth was such a good sport when I showed her the damage and tried boosting my spirits.  The good news is I am confident I can repair this……I hope…:)


The Mudroom

The mudroom is perhaps the most used, and abused room in our home.  Here is a “before the restoration” picture:

And after:

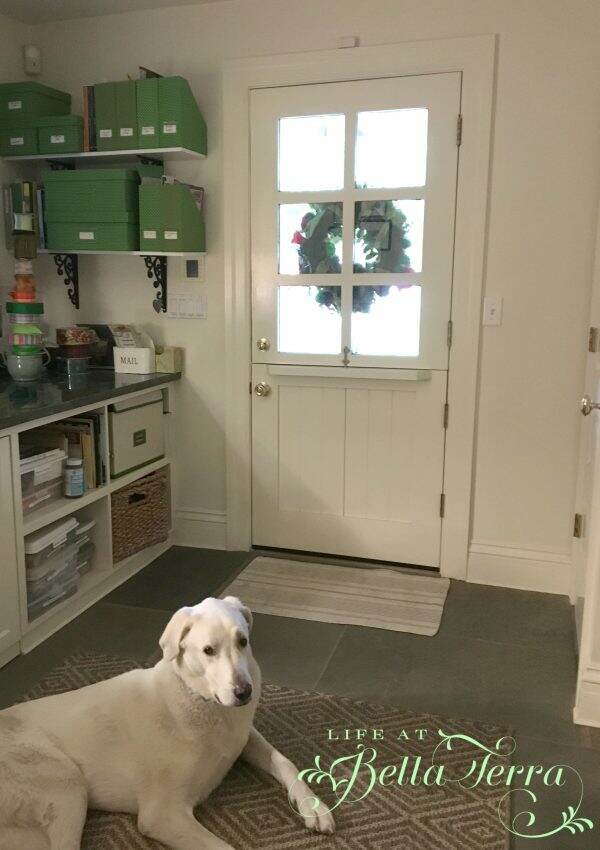
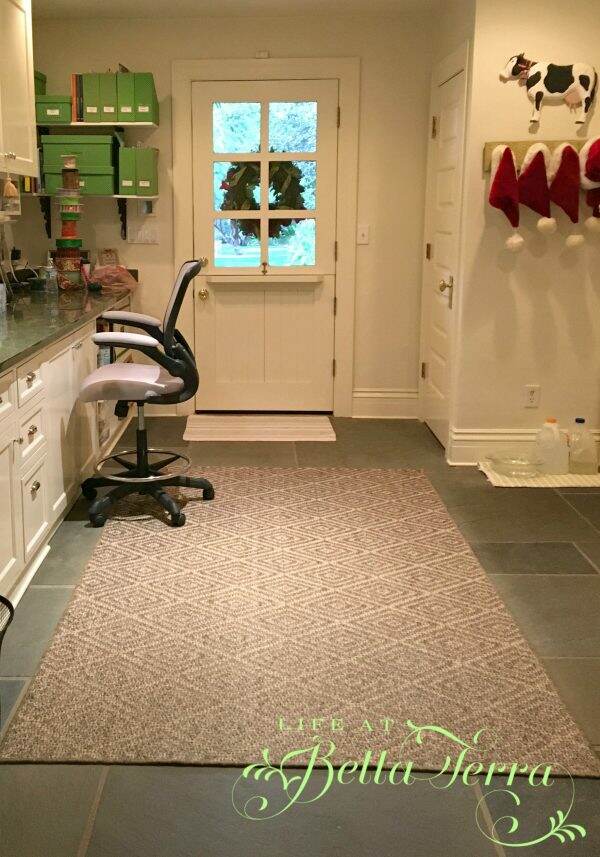
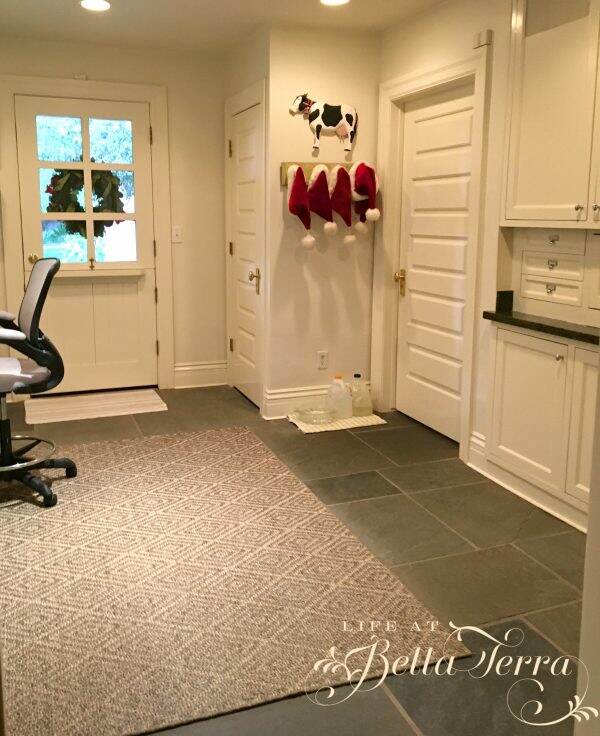
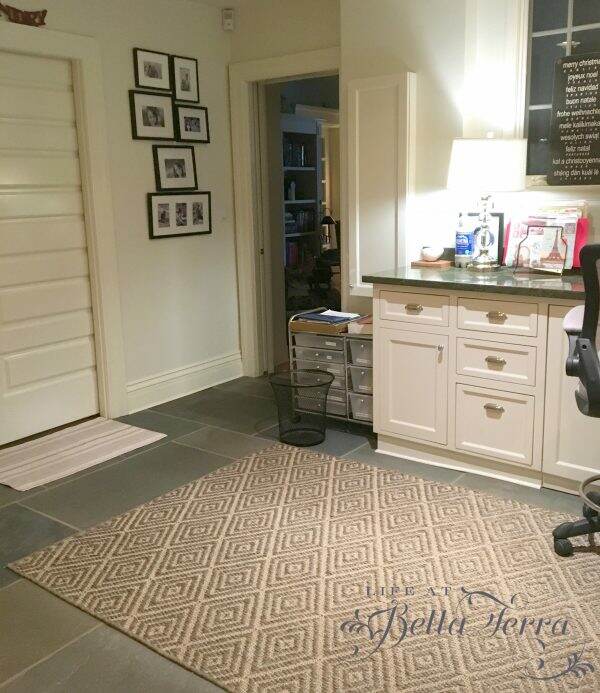
This room was designed to withstand a steady stream of muddy feet, wet bathing suits, dogs, cats, and sometimes chickens (when one is ill).  Located at the back of the house, off the kitchen, it is a hub of activity.  I chose a stone floor, a blue slate, to withstand the traffic.  The diamond sisal rug is from Ballard Designs and still looks new.

The dutch door leads to the back porch/yard.  To the right, there is a broom closet which houses all the cleaning supplies, batteries, light bulbs, vacuum cleaner and tool box.
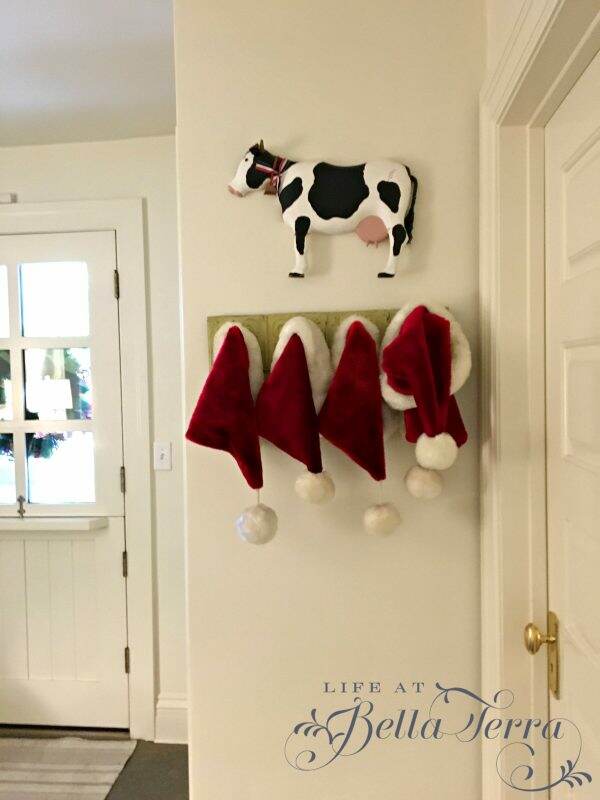
The kitchen is to the right of the hat rack.  Santa hats are still up but will be coming down this weekend.
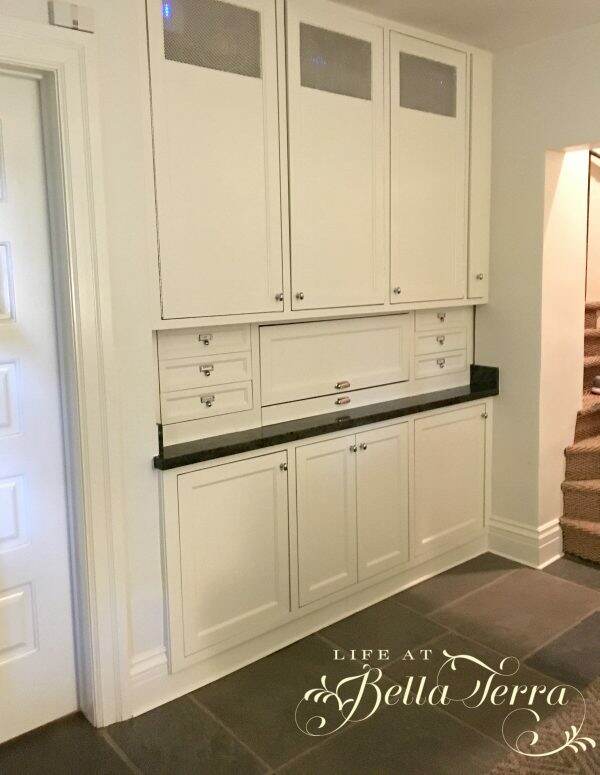
Below is command central.  All the brains/technology to the house are located in the top 3 cabinets.  The doors have metal screens for ventilation.

Below there is the gift wrapping area and numerous drawers for miscellaneous items-scissors, tape, glue gun, ribbon pieces, etc.

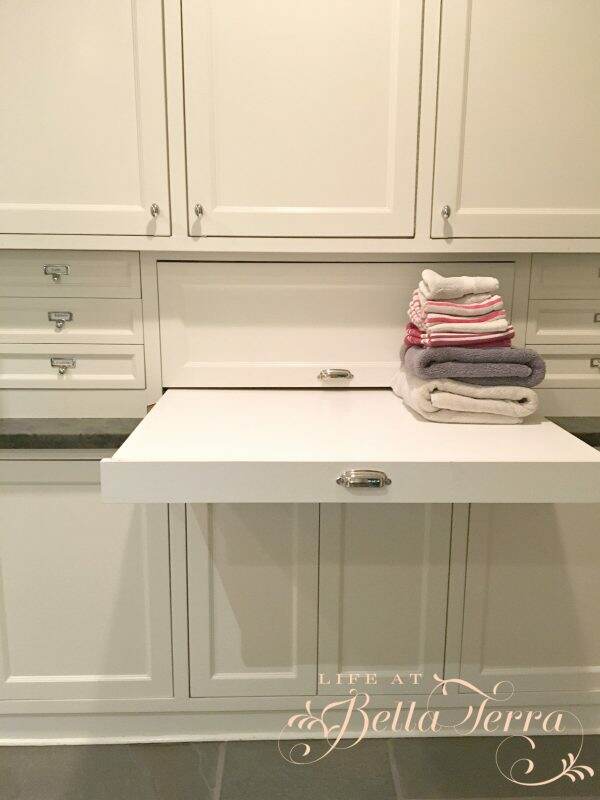
This also serves as the laundry folding area or a place to wrap gifts. The drawer pulls out when needed and provides a nice, large flat work surface.

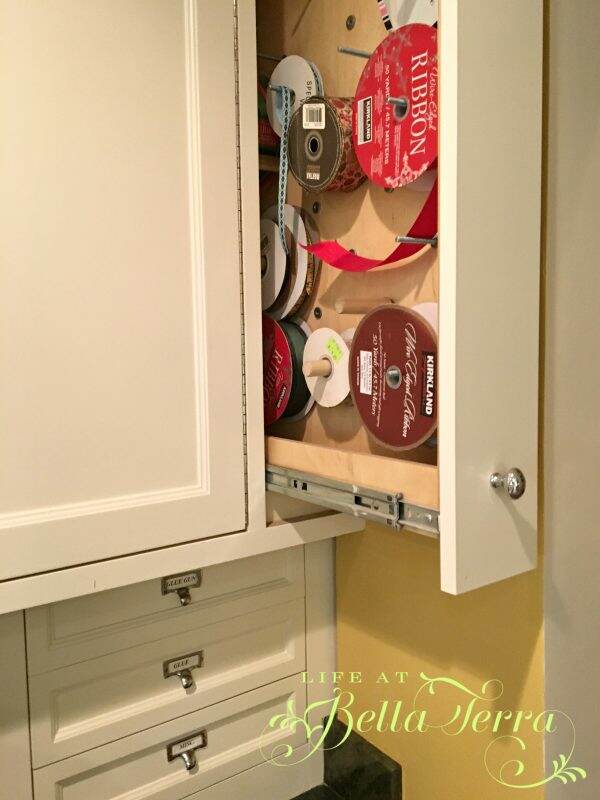
The narrow upper cabinet is where various rolls of ribbon are stored.  Notice the old wall color~~a golden rod (what was I thinking????).  I can happily report the entire room has been recently painted white.  What a difference!

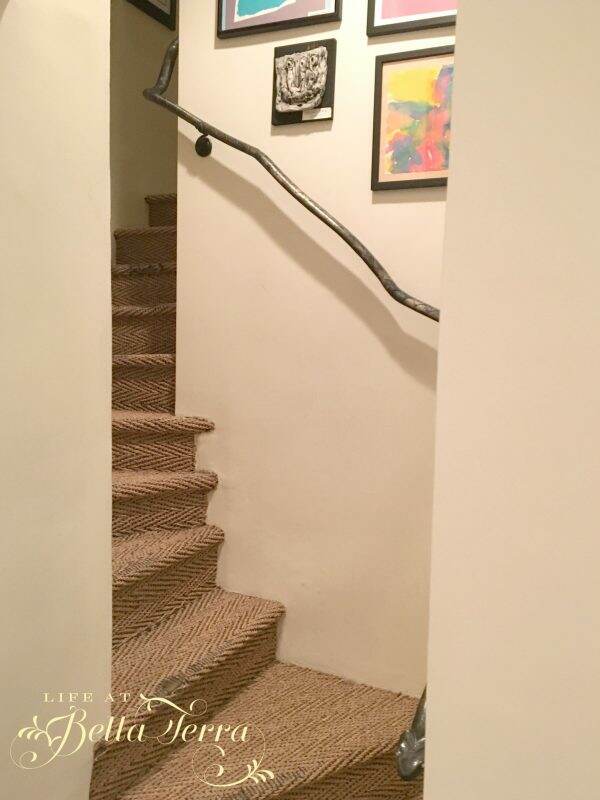
To the right of command central, is the back staircase.  This will be a 2018 project.  Since this staircase is used more than the front one, the sisal rug is in need of replacement.  It will be my third rug in 15 years..

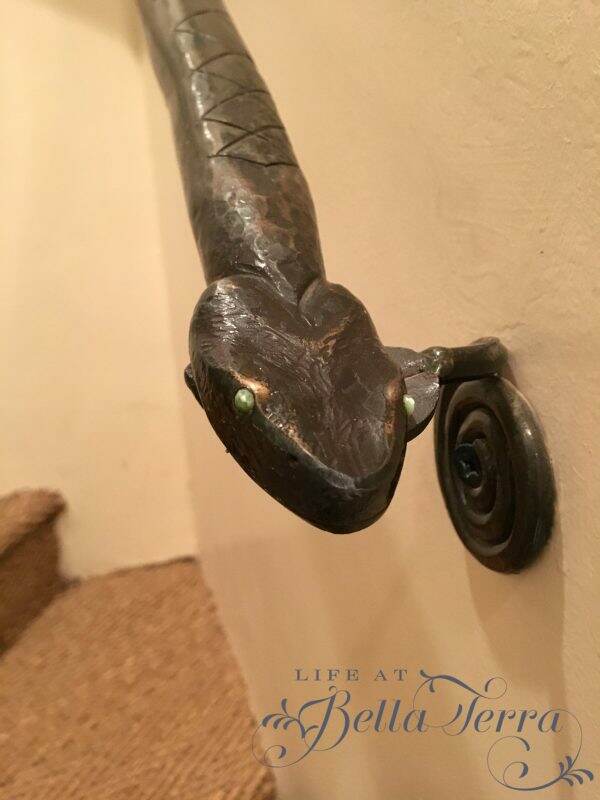
We had some fun in designing the railing.  Grizzly Iron, Inc. in Phoenix made a wrought iron snake that winds it way up the stairs. His rattle is at the end. All the custom iron work at Bella Terra was done by Rodger LaBrash and his company.  I highly recommend them.

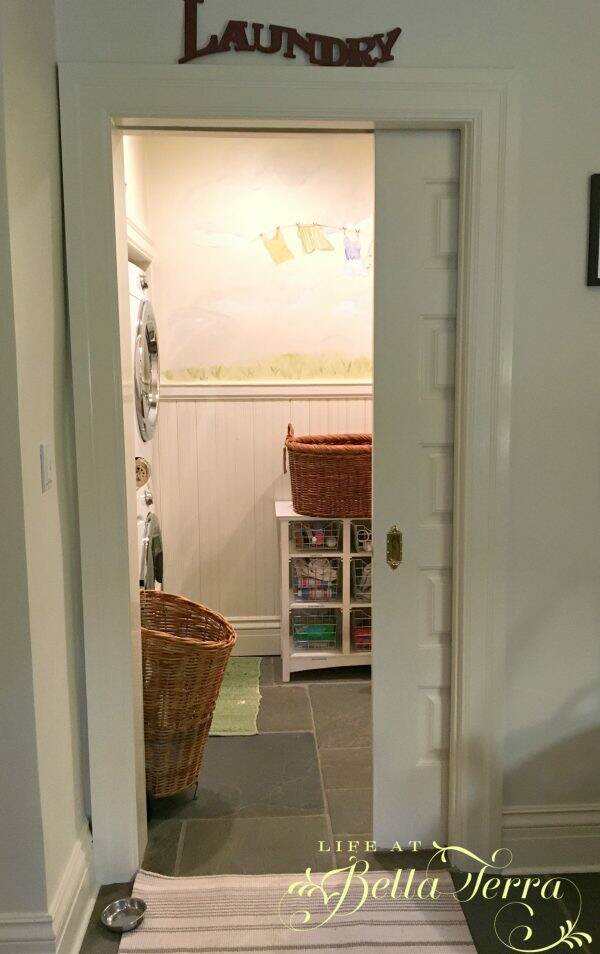
Behind the pocket door is our “smaller than I would like” laundry room and half bath.  A long story for another time.

I didn’t realize before writing this post, but this small room has LOTS of doors-5 in total!  The one between the laundry and my workspace is to the library.

Next to the entrance to the library is a wall mounted hidden ironing board, which is convenient to the laundry room.

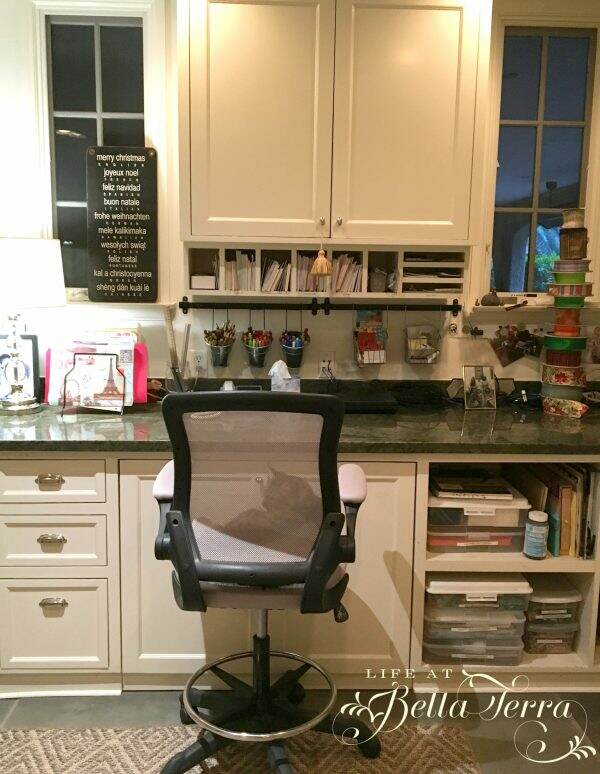
The long countertop and cabinets make up my office/workspace.

As you can see, I often have helpers…

I hope you had a wonderful holiday season!  Any New Year’s resolutions you’d like to share???

* designed by freepik.com


Happy New Year’s Eve!

Happy New Year’s Eve….hard to believe it will be 2018. I want to push a big brake pedal on life…it’s is going TOO fast!

We are having a nice dinner this evening with no plans for anything formal tomorrow. When I made my Thanksgiving centerpiece (to see the post, click here), my friend Tracy, wished I had provided more information on how I did it.  As a result, I created a similar one for our New Year’s Eve dinner table.

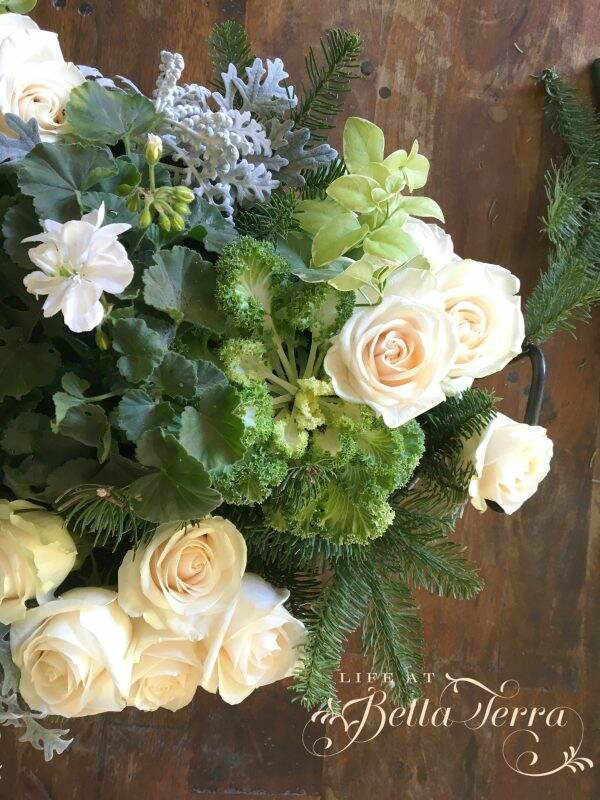
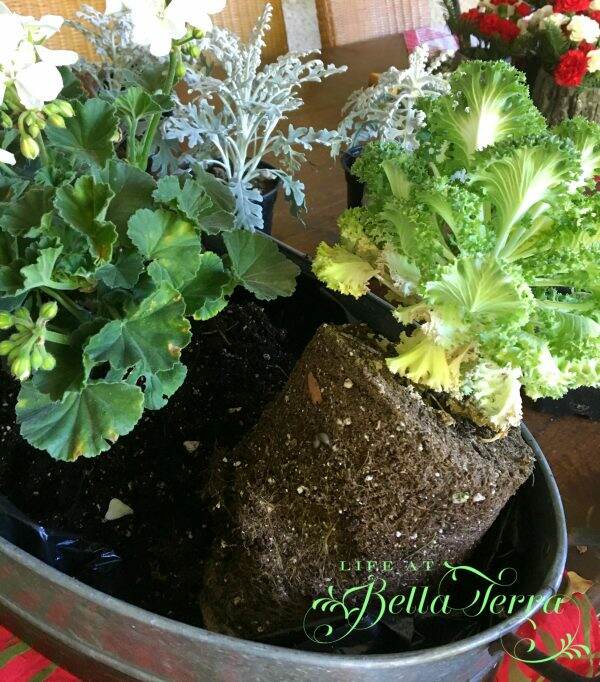
You can really use any tray or container that will hold plants and flowers and is somewhat waterproof.  For Thanksgiving, I used a wooden tray I lined with foil and plastic.  For this one, I went to the Garden Shop at Whitfill Nursery and purchased an oval, galvanized tin one with handles.  I had them fill it with water to make sure it didn’t leak.

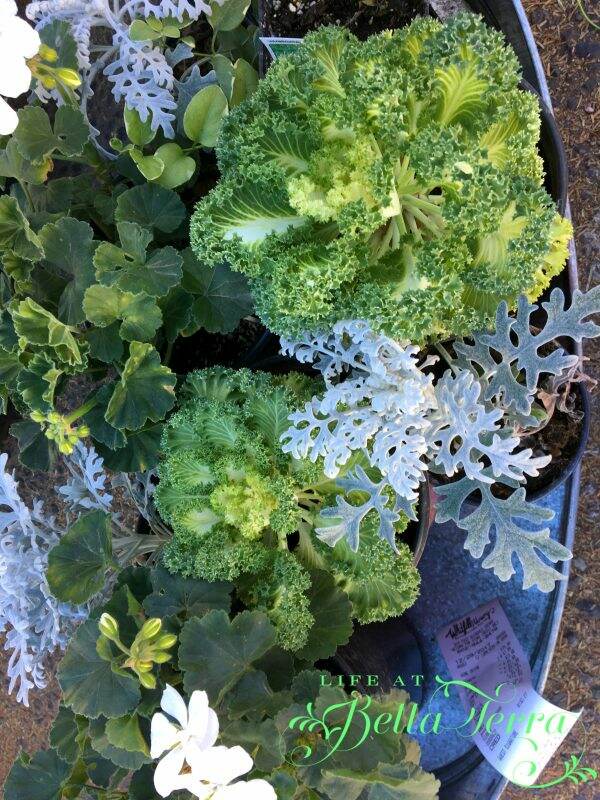
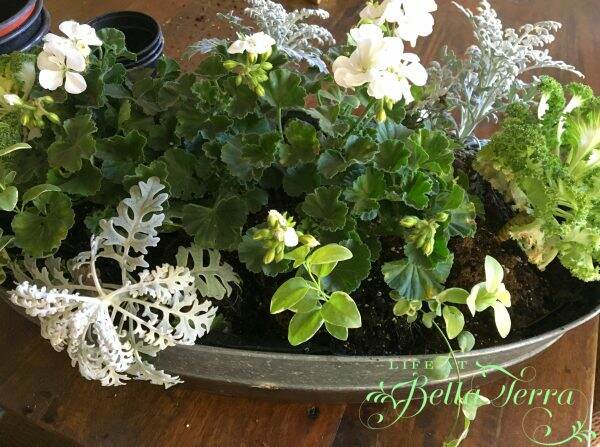
It was nearly waterproof, but leaked slightly on the side edge. I can work with that. While I was there, I selected a variety of green plants with white flowers-geraniums, ornamental cabbages, variegated ivy, and dusty miller.

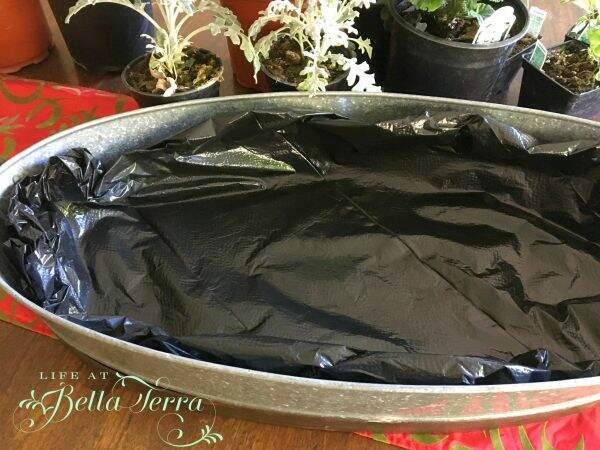
I lined the tray with a black plastic trash bag, covering the seam where there is a slight water leak.

I removed the plastic containers and arranged the plants in the tray.  I did not need to add additional soil, since I will be removing them and planting them in the garden next week. I really like the ability to re-purpose these plants after they have served their time as a centerpiece.

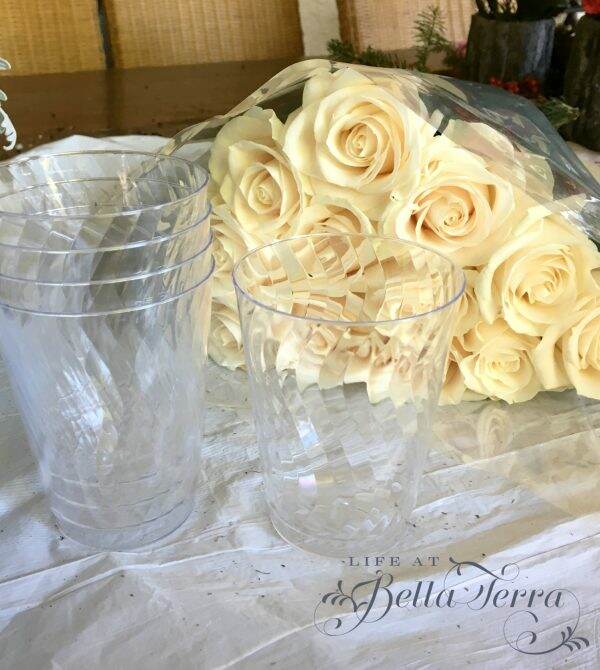
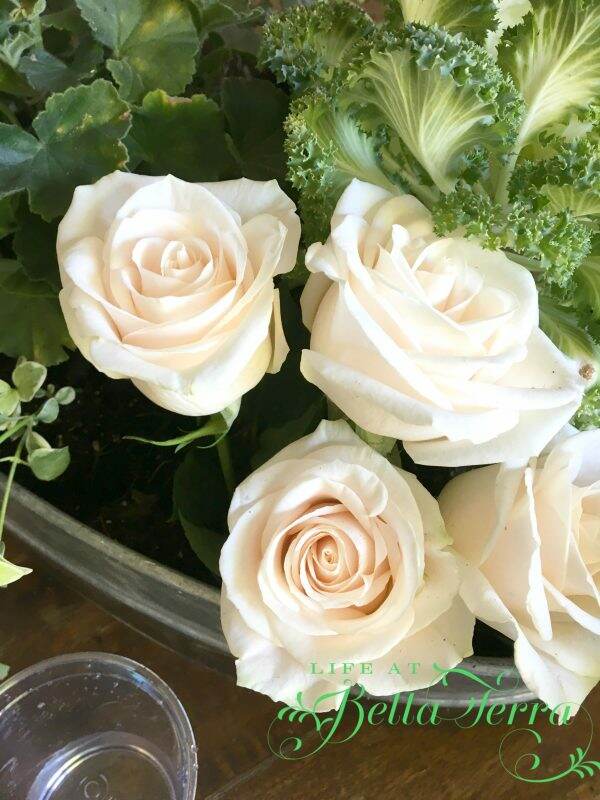
Next, I added some cut flowers for color and texture~~using 2 dozen white roses.

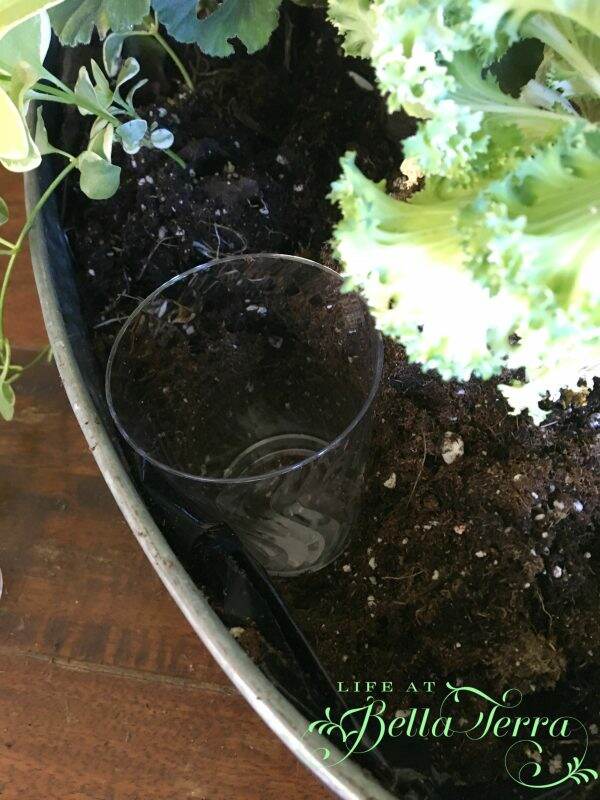
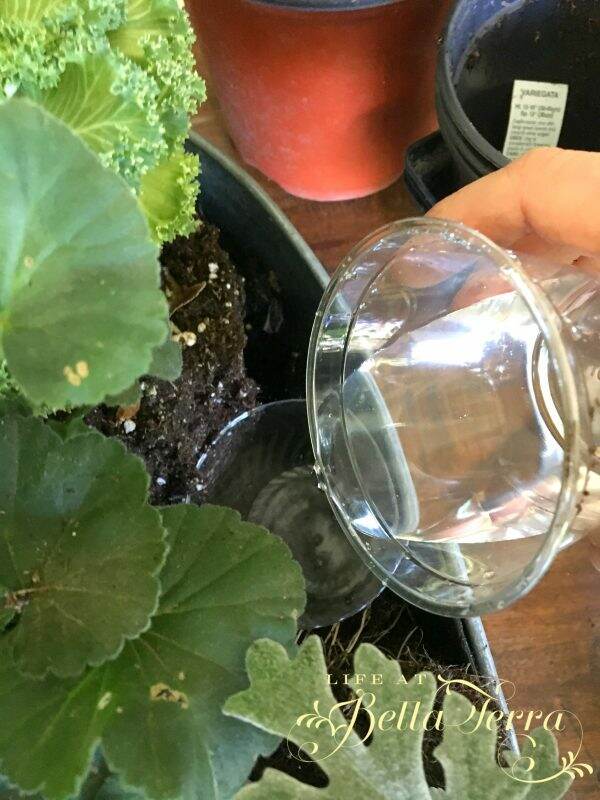
I inserted plastic cups in the bare spots, filled them with water and added the cut roses.

There were still some holes so I filled them with leftover fresh greens from the Christmas tree (that were sitting in a bucket of water for the last few weeks). Again, I can’t say enough about the quality of Christmas trees at Whitfill.  Our tree and these greens are still so firm and fragrant.

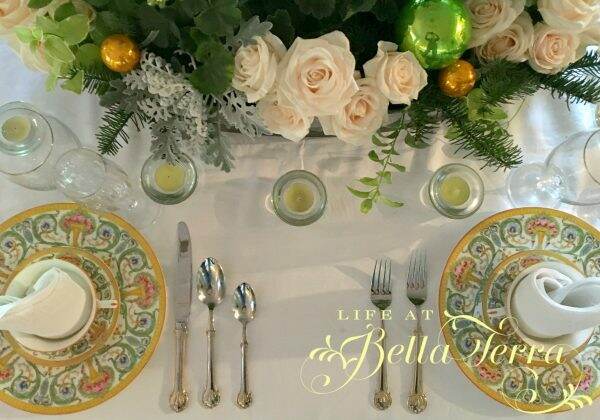
At this point I thought the centerpiece was completed.  I really like how it looks against the natural wood table.  However, when I placed it on the white linen tablecloth, I felt it still needed something.

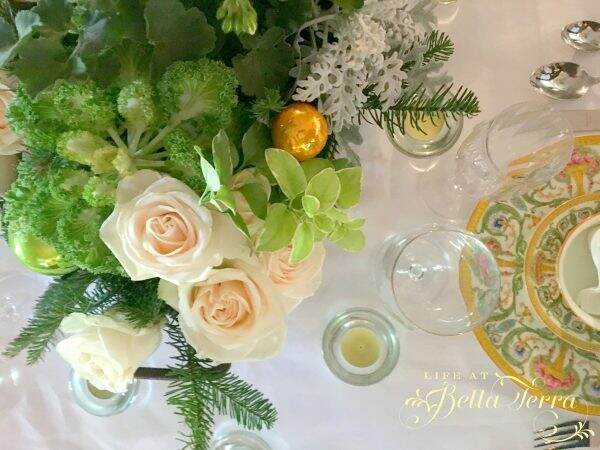
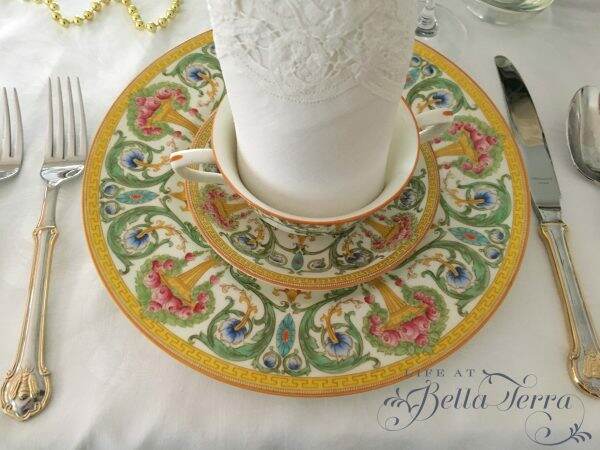
Initially, I wanted my New Year’s table to be whites, greens and silver.  But at the last minute I changed my china to this for a burst of color.

By adding gold and green balls,  it help to spice it up a bit. I love the shape of this tray, however, I feel the galvanized tin is a bit rustic for the formal place settings.  I’m hoping with the candles lit, it won’t be as noticeable.  But again, it’s fun to mix and match!

Thank you for your inspiration, kind words and loyalty in 2017.  From everyone at Bella Terra, we wish you and your family a safe, healthy and prosperous 2018!

Resources:  Silverware: Wallace Napolean Bee purchased from Horchow; China:  Royal Worcester Greek Urn with Flowers; Roses purchased from Safeway


Cakes, Quality Time and Cookbook Giveaway

Last summer, I was drawn to a magazine article about a London Fog cake, made with Earl Grey tea by Tessa Huff.  I’ve always wanted to make beautiful cakes but have never really spent much time learning how to do so.  I’ve tried my hand at the occasional home made birthday cake or our yearly Easter lamb cake but nothing that requires me to really stretch my cake baking knowledge.

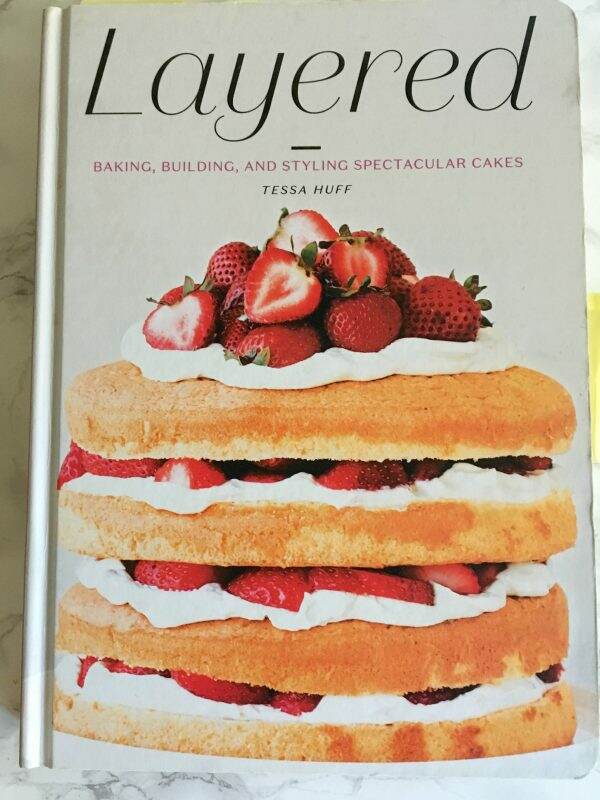
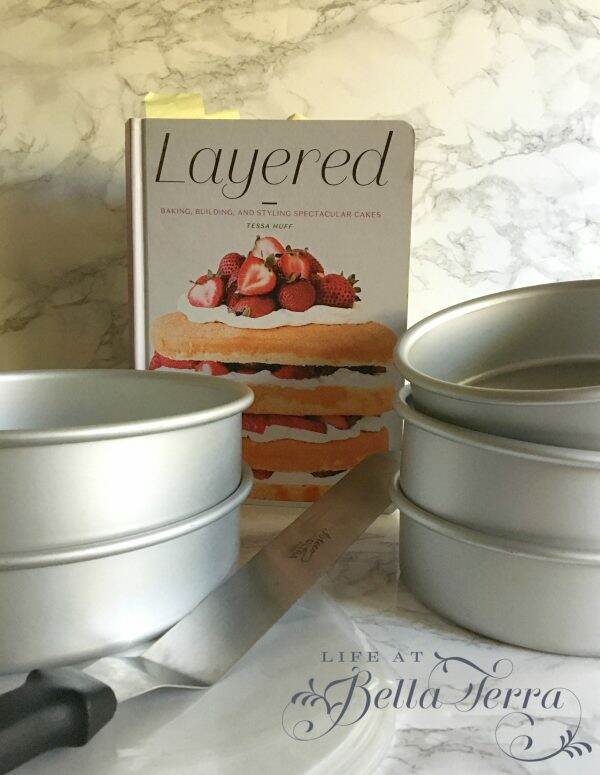
The London Fog cake article led me to purchase Tessa’s beautiful cake cookbook, Layered.  I have written about Tessa before, but what started as “let’s make this cool cake” has turned into spending quality time with my son and his friends.

When the book arrived, we quickly purchased real cake baking paraphenalia Tessa recommended~~the correct pans, parchment liners and  frosting implements.

This notion of baking cakes took on a life of its own.  My foodie son and his friends (all who are extreme athletes and very tall) started showing up in the kitchen to take on the challenge of cake baking.  Who would have thought?

The very first cake we made was the Banoffee Tiramisu Cake~~a boozy banana espresso cake.  The vanilla espresso chiffon cake is brushed with a rum-soaked espresso, then filled with mascarpone buttercream topped with salted caramel and chocolate curls.

Here are my two cake baking buddies.  My son Benjamin is 6’1″ and his friend, Max is 6’5″.  Both are entering their final semester in college and have been friends for years.

Tessa’s book is filled with so much information on everything from what to stock in your pantry to how to frost a cake. The recipes are in sections-Classic, Chocolate, Casual, Whimsical, Adventurous, and Holiday cakes.

Sweet Tea Cake was our next selection, which was inspired by the food of the South.  A lemon butter cake is layered with Sweet Tea Buttercream with a Vanilla Bean Buttercream frosting.  It was the first time we have made candied lemons as a garnish.

Piping the frosting was the most difficult part….hard to have a steady hand with a vertical motion.

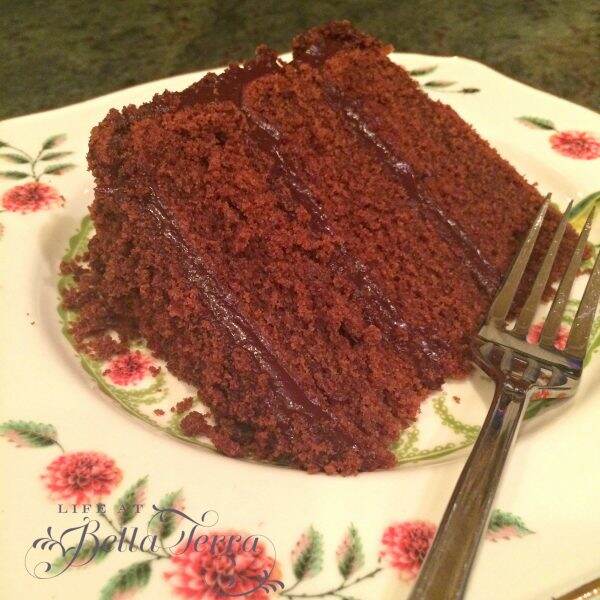
The next cake was difficult to make and doesn’t really look fabulous in my photos, but it is SO delicious!  We’ve made it twice so far.  The Brooklyn Blackout Cake is a decadent chocolate cake from Ebinger’s Bakery in Brooklyn.  Named after World War II blackout drills, this was a staple in Brooklyn until the bakery closed in 1972.

It’s a devil’s food cake with chocolate custard with a dark chocolate ganache frosting.  It’s very messy to make because you then cover the entire cake with cake crumbs.

Thanksgiving 2016, we made the Caramel Apple Cake.

Christmas 2016 was the Chocolate Pomegranate Cake.

New Years 2016 was the Golden Champagne Celebration Cake.

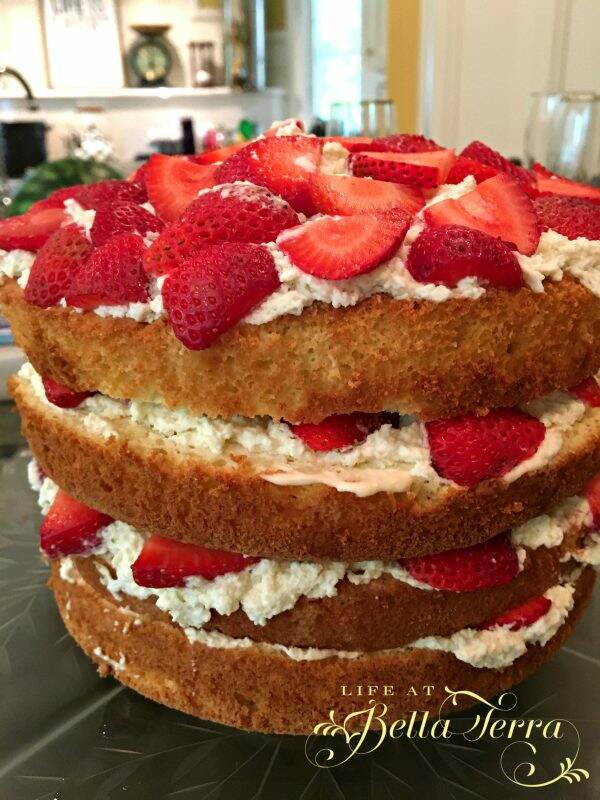
Since Benjamin spent the summer in Washington, D.C. we didn’t make many cakes but we managed to make this Strawberry Shortcake without him.  A perfect summer dessert when the berries are at their best.

Thanksgiving, this year,  was the Butterscotch Bourbon Cake.

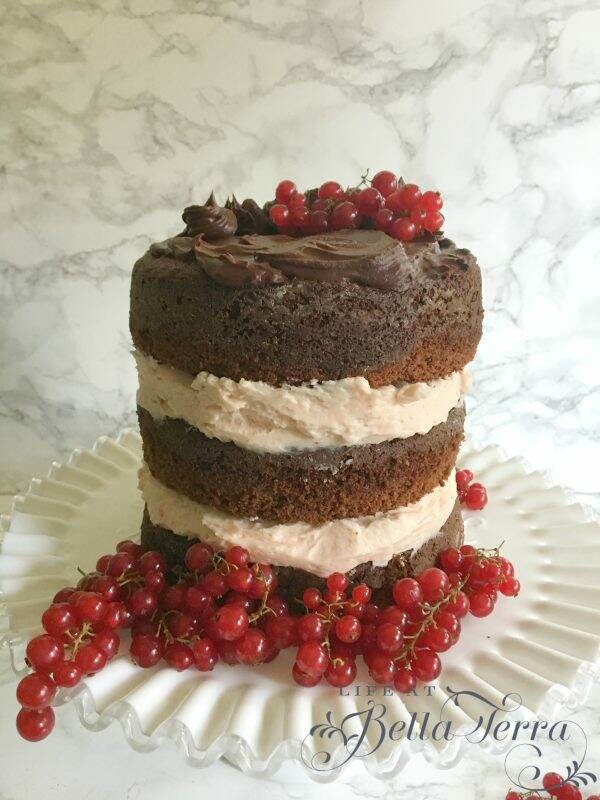
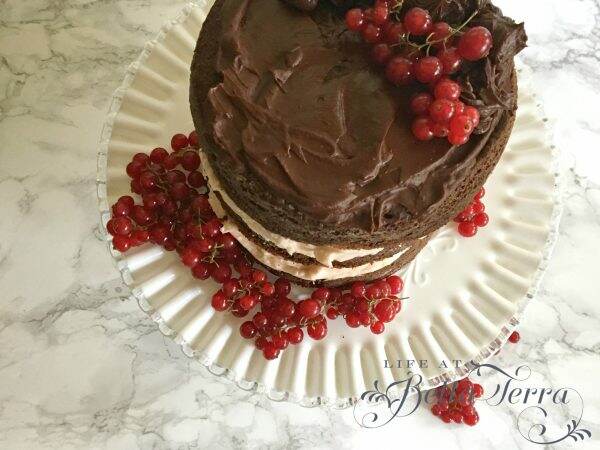
And our most recent, was the Christmas Cake~~Red Currant Chocolate Cake, a spectacular combination of chocolate, raspberry, red currant and creme de cassis.

As a result of this cookbook,  I have enjoyed hours of quality time with our son and his friends in the kitchen, making memories over gorgeous and sometimes challenging recipes.

It is now time for the amazing giveaway! I will be giving one new (not sticky and dog-eared) Layered cookbook to the lucky winner, in hopes they too, will create happy cake memories.

How to enter- please do at least one of the following:

  1.  Leave a comment below and tell me about your favorite cake(s).
  2.  Follow me on Instagram (lifeatbellaterra), like me and tag a friend.

The contest will end at midnight on December 31st, 2017.  The winner’s name will be randomly selected from all the entries.

Have a very happy and safe New Year’s holiday!


Christmas Recap

I am enjoying the lull after Christmas, finding it a bit hard to get back into the swing and routine of everyday life.  But bills need to be paid and laundry keeps coming, so today is my “get all the little piddly stuff out of the way” day.

But before I “get” to do the nuisance things, here’s a recap of our holiday.

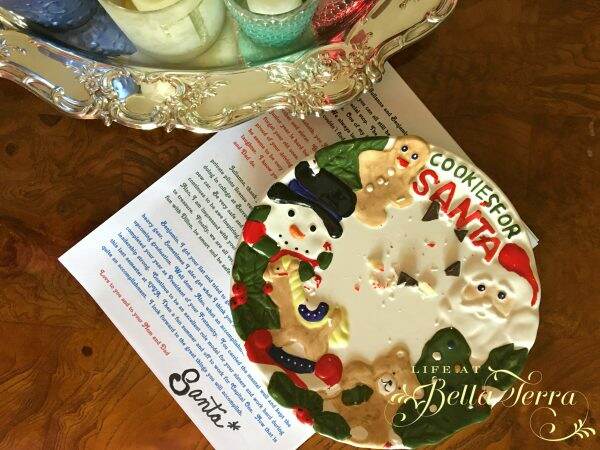
The cookies were eaten.  Santa left his annual letter, responding to the hilarious ones the children still write for him. His large footprint was in ashes on the living room fireplace hearth.

My son was all decked out in his holiday suit for opening presents.

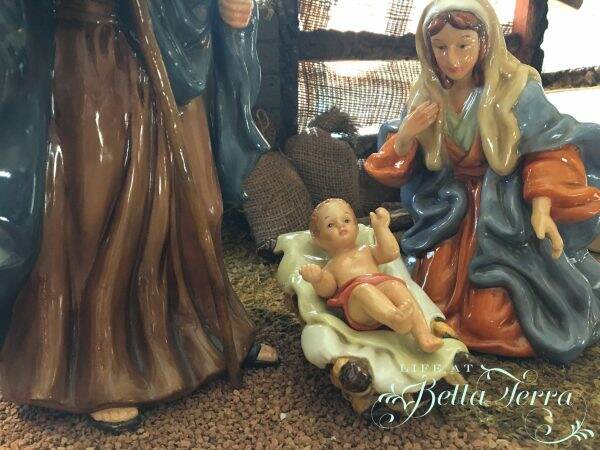
Baby Jesus was in the cradle, surrounded by Mary and Joseph.

There were presents under the tree and the stockings were filled.

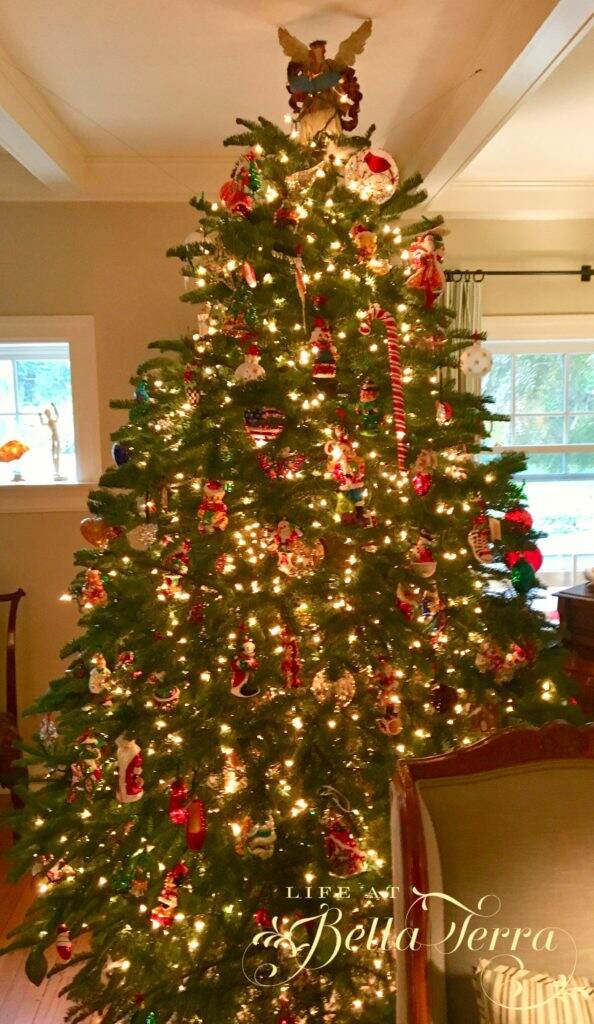
We probably say this every holiday, but the tree this year was so beautiful.  It is still very fresh and fills the room with the smell of pine.

As you know, I am such a novice painter, but I tried my hand at my second holiday painting.

Some presents for the children included a painting of my daughter’s dog, Sox. Elisabeth absolutely LOVES this dog, who has been part of our family since 2007. I’ve discovered that animals are hard to paint!

Each child receives a snow globe (until age 21), so here is Julianna’s last one for her collection.

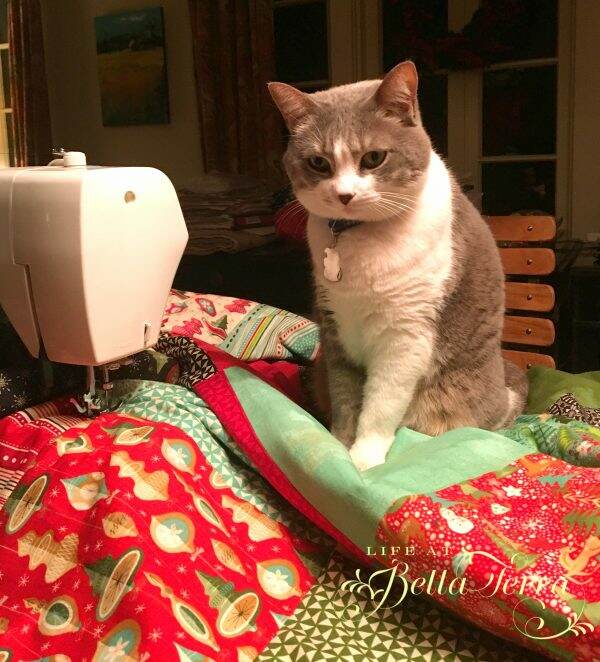
It was an ambitious project but I made two Christmas quilts for the girls, which I will write about later.  During the sewing process, I had lots of help.

After opening presents, we put the ham in the oven.  Instead of a formal sit down dinner, we elected to have a buffet of ham sandwiches on croissants, a salad, and leftovers from the charcuterie and vegetable platters. Very casual and very appreciated…

My son and I baked a cake together.  This recipe did not disappoint.  It is from Tessa Huff’s Layered cookbook, the Red Currant Chocolate Cake. The buttercream was flavored with a raspberry/currant curd and creme de cassis.

We are still enjoying all the lights and decorations and will do so until the Epiphany on January 6th.

I love this time between Christmas and New Year’s where the world seems to slow down a bit.  Enjoy each and every minute.  There’s a New Year right around the corner….