1

What are you Reading?

I try to read every single day. Actually it is part of my bedtime routine~~wash face, brush teeth, put on my favorite jammies and climb into bed with my Kindle. I do love opening a hard cover book, which would always be my first choice, but the Kindle does make book shopping rather easy.

So here are the books I have been reading over these winter months. I love it when someone shares a good book suggestion with me, so I hope you will enjoy these as much as I did.

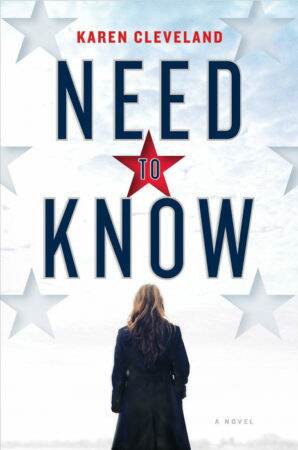
This book, Need to Know, was a page turner.  I finished it in 3 days.  I COULD NOT PUT IT DOWN.

The author, Karen Cleveland is a former CIA analyst. She has master’s degrees from Trinity College Dublin, where she studied as a Fulbright Scholar, and from Harvard University. This is her first novel.  Here is what John Grisham is saying about this.

“Perhaps there will be two or three readers out there who manage to finish the first chapter of this terrific debut and put it down for more than an hour. But they’ll be back. And they’ll devour Need to Know like the rest of us, skipping lunch, losing sleep, turning pages until the end, where we’re all left waiting for more.”—John Grisham

Perfect husband. Perfect father. Perfect liar?

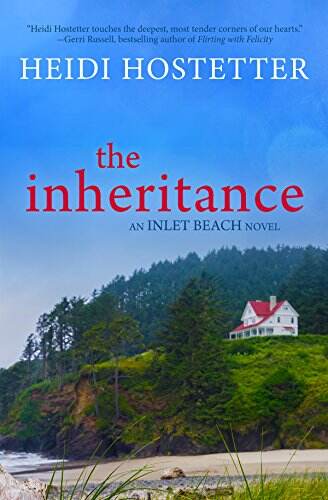
The Inheritance is the first novel I have read by Heidi Hostetter.  I am always looking for a good story surrounding a fabulous house. Three estranged sisters jointly inherit a run-down beach house from a relative they don’t remember, in a town they’ve never visited. In a small beach community where nothing is private, the sisters attempt to restore the house and rebuild their family.

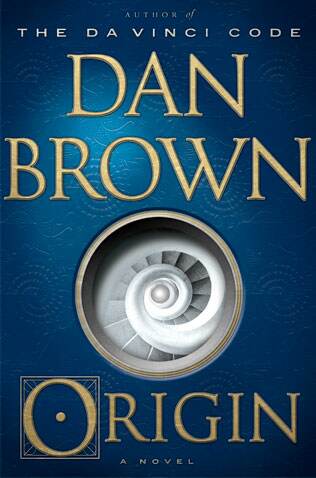
I am still thinking about this Dan Brown book, Origin.

In the trademark style of Dan Brown, he cleverly weaves elements including science, codes, religion, history, art and architecture.  I found the ending of this book a bit disturbing and continue to find evidence that it may, after all, be true.

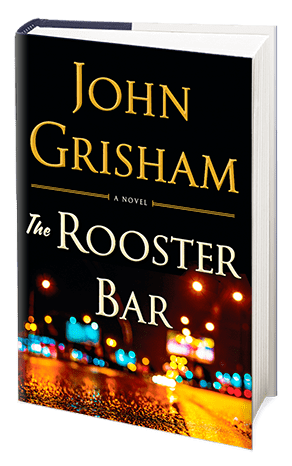
John Grisham‘s newest legal thriller, The Rooster Bar, is a fun read…..so Grisham-like. This is about three disenchanted law students who try and game the system.


“Downton Abbey for the White House staff”—-Today

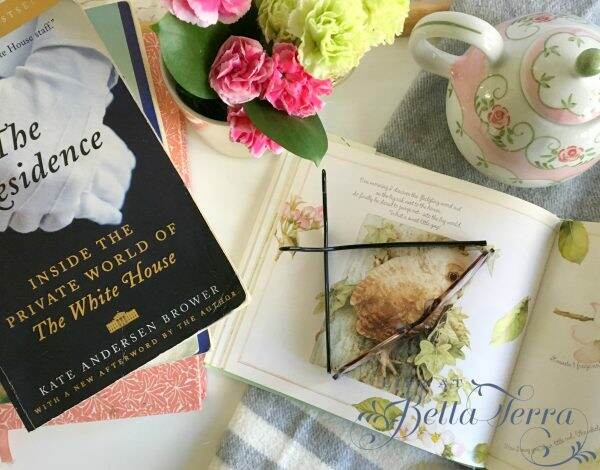
The Residence is a refreshing inside look into the private world of The White House. Kate Andersen Brower pulls back the curtain on the world’s most famous address.  She spent countless hours interviewing butlers, maids, chefs, florists, doormen and other staffers. This book is focused on the professionals that do everything and anything within the White House over the course of several presidencies. If you want to find out which First Lady stole the White House silver, then read this.

The Good Widow was the first book I have read from Liz Fenton and Lisa Steinke.  I liked it so much that I quickly read another. The Year We Turned Forty.

The Good Widow is a twisty, emotional thriller filled with suspense.  Again, I read this one in record time. The Year We Turned Forty is about three best friends who get an opportunity to return to the year they turned 40. Such an interesting concept that deals with friendship, regret, and redemption.  I like these authors so much I will more than likely read their other books too.

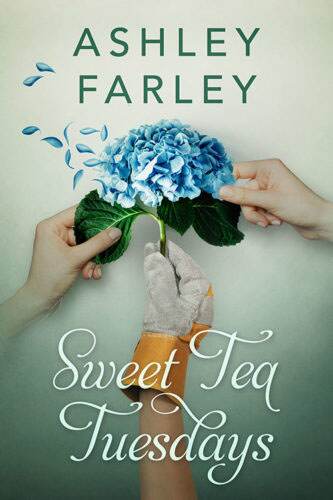
Sweet Tea Tuesdays, by Ashley Farley is about 3 best friends who meet every Tuesday for 26 years. This book is about friendships between women and the love between mothers and daughters.

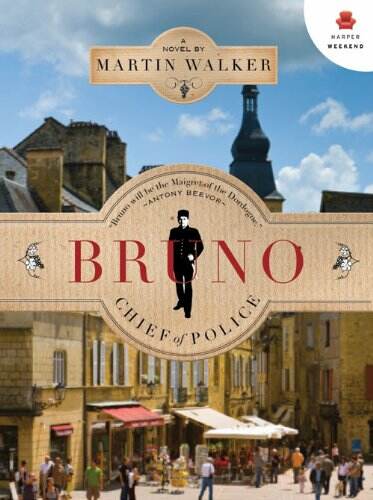
I just started Martin Walker’s Bruno, Chief of Police series (recommended by my friend, Rick).  I do love most books with the plot located in France. Bruno, is a policeman in a small village in the South of France. He’s a former soldier who has embraced the pleasures and slow rhythms of country life. He has a gun but never wears it; he has the power to arrest but never uses it. Until there is a brutal murder….

Happy reading!  We’ve had cooler weather here in Phoenix which is perfect for cozying up with a good book….often times much better than watching television.  If you have a book(s) to share, please do!


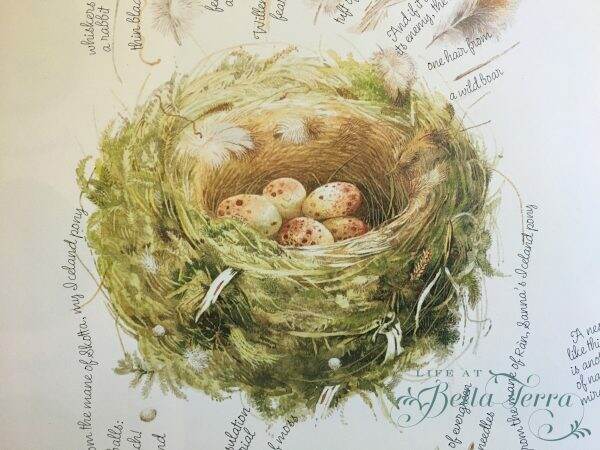
The book that is open faced in my first photo is a beautiful collection of illustrations by Marjolein Bastin, Nature’s Sketchbook.  This book was given to me by my daughter.  It is filled with lovely sketches of nature-such as birds, bees, bunnies, and flowers.


Painting a Laundry Organizer and its Challenges

I don’t know about you, but my laundry room often gets overlooked.  Not only does it hold the washer/dryer, but there is a utility sink, toilet, cat litter box, laundry shoot and a French rolling basket. It’s hard to make it pretty with a cat litter box…..is there anything more unattractive?

I purchased this piece of furniture with wire baskets years ago from Pottery Barn. Of course I didn’t have any great before pictures, but you can see it is white.

Laundry Organizer Ideas

The baskets hold everything from toilet paper to laundry pods to spot remover.  The wicker basket on top is the landing place for the laundry shoot located directly above. I’m not sure I still like the “clothes line” painting on the wall, but I don’t dislike it enough to paint over it just yet.

Painting a Laundry Organizer and its Challenges

Guessing the original paint was lacquer, I sanded the glossy finish so the new coat of paint would stick.  I used 400 grit paper that I wrapped around a sanding sponge.

In this photo, you can see the damage done by detergent spills.  I guess if it can get grass stains out, it can eat away at paint.

I tried hand sanding this~~just roughing up the surface a little.  However, when I applied my first coat of paint, it smeared and didn’t seem to stick.  So much so that I wiped it off.  Time for serious power tools. I then re-sanded it.

You may notice I have only one sock on…..that’s because I accidentally stepped on the lid which was facing up and of course, loaded with paint.  It wasn’t until I started walking on the terrace and leaving blue footprints behind that I realized it.  Truly, I am the messiest painter I know.

Here’s what it looked like after the first coat.  Obviously there was still an issue on having the paint stick to the surface.  I don’t know what they used to protect the surface, but it was very difficult to penetrate.  Of course I didn’t want to halt the project and buy a proper primer (which I should have done).

At this point, I am groaning because I thought this was going to be an easy, few hour project. But with the second coat, I was starting to see some progress.

Finally, this pain in the neck project was completed! Took me two days, but I like how the blue paint color goes with the slate floor.

Here’s a view up to the laundry shoot.

Now I need to update the rugs in this room and find a clever way to make the litter box look more appealing.

What I learned:

  1.  90% of painting is the prep work and I always want to short cut that.. Bad move.
  2. Remember where you put the exposed paint so you don’t step in it (lid, stir stick).
  3. Don’t wear your favorite socks while painting
  4. If you think a project will take a short period of time, double or triple that.
  5. I used plastic wrap to cover my paint brush so I didn’t have to keep washing it out between paint drying times.
  6. Pre-finished furniture has some coating which is nearly impenetrable-perhaps a different grit sandpaper and/or a suitable primer would have made this easier.

So, do you think? Should I keep the wall painting of the clothes on the line or paint over it?


Paint color-Valspar Duramax WV39009 Dutch Blue Exterior Semigloss (This leftover paint was our front door color a few years back).


Scrumptious and Easy Appetizer

I am salivating as I write this because I’ve just discovered the easiest, most delicious appetizer!  One of the benefits of cleaning out my pantry (see post here) was the chance to organize piles of recipes I’ve collected….and finally making a few.

Inspired by the huge cherry tomato crop we are now harvesting, these 4 simple ingredients (tomatoes, garlic, mint and olive oil) are fabulous together. There is nothing better than a super easy recipe that gets rave reviews.

Here’s a selfie I took of the tomato plant (I thought the perspective was interesting).

tomatoes

There is always so much mint in the garden.  It’s one of those incursive plants that you just can’t kill. I was skeptical of mixing mint with tomatoes (yuck) as it seems like an unnatural combination.

Scrumptious and Easy Appetizer

I love the oil container my son bought me for Christmas (from Williams Sonoma)….it’s so handy vs. the large bottles.

The recipe calls for 7 cloves of garlic, but I always add more.  You can never have too much garlic. Also, try and make sure the tomatoes are roughly the same size and uncut so they bake evenly.

A little salt and pepper….

Toss it all together. Isn’t this beautiful?

And slow roast for 45 to 60 minutes.  I let mine roast for the full hour.  Ahhhh…the aroma! My kitchen smelled so good!

Look at these little gems, bursting with flavor!

I don’t know what the mint does to the tomatoes, but the flavor was so spectacular.  Tastes nothing like mint, but enhances everything else. Toast some slices of baguette, spread some nice soft goat cheese and top with the tomato mixture.

Absolutely heavenly!

I had some leftover roasted tomatoes and I added them to scrambled eggs.  I think you could spread this on cardboard and it would be divine.  When I finished the tomatoes, I poured the oil over a chicken breast before I popped it in the oven.  Again, it was superb and made the kitchen have that “what are you cooking that smells so good” smell.

We recently had friends over for dinner.  One of our guests, a Navy SEAL said he didn’t like cherry tomatoes but LOVED this recipe.

Enjoy!!!


Here is the Recipe for Slow-Baked Tomatoes with Garlic and Mint (originally published in the September 2010 issue of Better Homes and Gardens)

[amd-zlrecipe-recipe:18]


DIY Table Centerpiece Display

In my last post, Valentine Dinner Party, I indicated my husband made the wooden base for the centerpiece.  I didn’t realize what a difference it made in the overall presentation, having the centerpiece just inches above the plane of the table.

So I decided he should be today’s featured DIY person.  Take it away, Scott!

The Inspiration

Photo from Style Me Pretty

Mary had shown me an “inspiration” picture of a raised DIY centerpiece.  This is where she turns to me and gives me the appreciative “eye”. Then she’s off to her art class leaving me about a 3-hour window.  I’m trying to figure out how I’m going to do this.  Off to my local Lowe’s where I start looking for a piece of wood.

The Materials

Table Centerpiece Display

Not being one to over complicate, I decide to look at shelving material.  There before me is the perfect finish, dimensions and non-warping piece of material.

DIY Centerpiece

I try to determine how I will elevate it from the dining table AND give it some stability.  This “something” has to have some variability in size and can be attached to what I am now calling “my” Table Centerpiece Display.  I’m thinking cabinet pulls, slightly repurposed.  The friendly Lowe’s staff takes me to their impressive selection where I grab 7 (more on that later).

How do I attach them since I need a “bolt free” top?  Lowe’s has the answer.  One end screws into my pull and the other end has a short wood screw…called Hanger Bolts.

I purchase a few felt pads to help level and protect the table and then I’m headed home to create.  I assemble my tools ~~ a drill, a drill bit, measuring tools and of course, a towel to protect the table…and I get busy.

Placement of the “feet” is important for esthetics and strength and stability.

The Assembly

Hence, the seven pulls.  Two on the ends and three in the middle.  I screw the hanger bolts into the pulls and use the pulls to screw each one into my board.

Finally, I add the same color pads (so they disappear) and I’m done.

Now it’s time to put it on the table, clean up my tools and see if Mary notices when she gets home.  Then I get to pretend it was MUCH harder to do that it really was.  Mission accomplished!

Just a reminder, this is how it looked for our dinner party.

Total cost of the project was under $50.00.  Though my time is priceless, Mary considers it free:)

The helpful husband,

Scott

If you enjoy this post, please share on Pinterest.

This post shared with Between Naps on the Porch Tablescape Thursday #646


Valentine Dinner Party

Typically we are a bit casual when entertaining.  However, once a year we do a formal sit down dinner party for Valentine’s Day. This year we are having a Valentine dinner party for 5 couples. Generally we use the dining room, but the weather has been so glorious lately, we decided to have it outside on our back terrace. And now with the pandemic, having a dinner party outside while social distancing is a safe option.

The attire for the evening is Fetching for the women and Dapper for the men.

Inspiration is from this original photo from Style Me Pretty. I love the mood of this table~romantic, elegant, with shades of pink. See Style Me Pretty’s link here.

What is unique about this centerpiece is the various sizes of cups/vessels for flowers positioned on a long piece of raised wood.

I showed a picture of the wooden base to my husband.  Within a few hours he had made me this raised platform. (See post here).

I gather any and all cups, bowls, spooners, and vases that would fill the space. The plan is to abundantly fill each vessel with lots of flowers.

Keeping with soft pastels, I purchase hydrangeas, stock, tulips, roses, carnations (from Trader Joe’s, Fry’s and Safeway) and add some flowers from the garden. Aren’t these so pretty?

The brass candlesticks and tapers are a purchase from West Elm. I must say these tapers are my new favorite. They burn well and are nice and tall.

It was a bit time consuming to do this, but the results are spectacular.  Thankfully my sweet daughter, Elisabeth provides an extra set of hands.

Menus are printed on shades of pink card stock. I cut the edges with decorative scissors (purchased at Michaels ages ago). Using a 2 hole paper punch, we add holes at the top of the menu.

My daughter helps tie each menu with a pink satin ribbon.

I am so excited to use my very first set of china, Romance Collection- Juliet by Royal Doulton.  It has since been discontinued but the pattern is perfect for this dinner theme.

The gifts for each guest (Pink Champagne scented candles for the women and silk ascots for the men), also serve as a place card.    Using baker’s twine, I create pink card stock heart shapes with our guests’ names.

My husband had never worn an ascot before, nor had any of our guests.  It will be fun to see them figure out how to tie them. Quite dapper!

We serve Prosecco and a pink themed Ruby Red Grapefruit Greyhounds with Rosemary Simple Syrup (my favorite winter cocktail) with appetizers.  The recipe is from Farmgirl’s Dabbles and click here for the recipe.

Julie Greder, once again caters this event.  She never disappoints. Calm and gracious, Julie creates a delicious menu.  The large pink wine goblets are a purchase from Pier 1.

Here is the view before our guests arrive, as dusk is approaching.

The weather in Phoenix is spectacular this time of year. Cool enough for a fire in the fireplace, but cozy enough for our guests. We will have a wonderful evening with a very fun group of friends.

Wishing you a Happy Valentine’s Day!

If you enjoy this post, please share on Pinterest.

This post is shared with Between Naps on the Porch Tablescape Thursday #645.


Same Flowers – 2 Different Ways

When I was in my 20s, I offered to take a work shift for my friend, Gwen allowing her to escape on a weekend mountain trip.  When Gwen returned, she presented, as a thank you, a collection of wild grasses and cattails she had gathered on her trip, wrapped in burlap with a gorgeous ribbon.

The sweet gesture made such an impression on me…so much so that I truly think about nearly each and every gift I give.

With Valentine’s Day around the corner, you may be giving flowers as a gift to a loved one, friend or co-worker. Here are two very different presentations with the same roses.

I bought the roses at Safeway.  I wanted all pink roses but they only had 2 dozen available. I wasn’t sure about mixing pink and red but I added 2 dozen red anyway.

I covered a box (I used a square box) with wrapping paper.  I initially wanted a solid color but I didn’t have anything so I used this sweet paper from The Enchanted Home. The ribbon was a scrap that I had in my drawer and it works with the colors of the paper.

I was just at Michaels and they have several different size boxes, in both solids and prints, which would work too.

I found (in my collection of vases in the basement), a round, short glass container that would fit snuggly into the box.

Gathering 8 roses in a bunch, I wrapped them in twine. I continued to do this with the balance of the roses, until the container felt full and lush.

With a craft punch (again, from Michaels) I cut a heart out of pink paper stock and tied it with baker’s twine.

Here is the finished product.  The picture below shows this arrangement with all pink roses.

Since the container for the next arrangement was a bit larger, I added the red roses to the mix.

This pink, fabric-covered basket (from Debi-Lilly) was purchased from Safeway last year for $2.00.  Our grocery store often has great discounts on their floral products, especially after a holiday. It is normally a plant holder, but the glass container fit right into it.

It’s interesting how a solid color container creates a totally different look. And I don’t mind the red and pink roses in the same arrangement.

I added a different color craft paper heart, to create some interest.

So use your imagination when presenting flowers.  It doesn’t need to be expensive or luxurious.  Being thoughtful is priceless and the recipient of your gift will appreciate it.

Is there one you like better than the other?