1

Beginnings and Endings

I have been out of town for the last week and was unable to send my typical twice weekly blog posts.  But there is a good reason why.

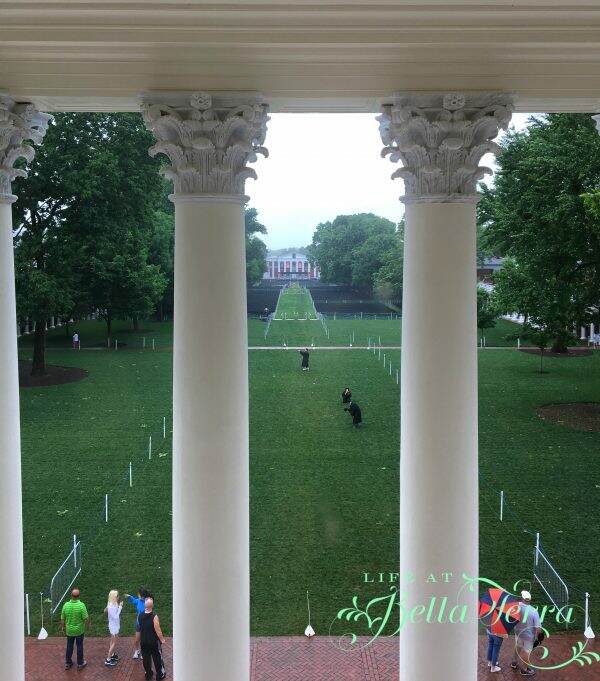
Our oldest child, Benjamin graduated from the University of Virginia in Charlottesville last Saturday.  This is one of the country’s most beautiful educational institutions.  Rich in history with gorgeous architecture (designed by Thomas Jefferson), we have loved visiting him over the past four years.

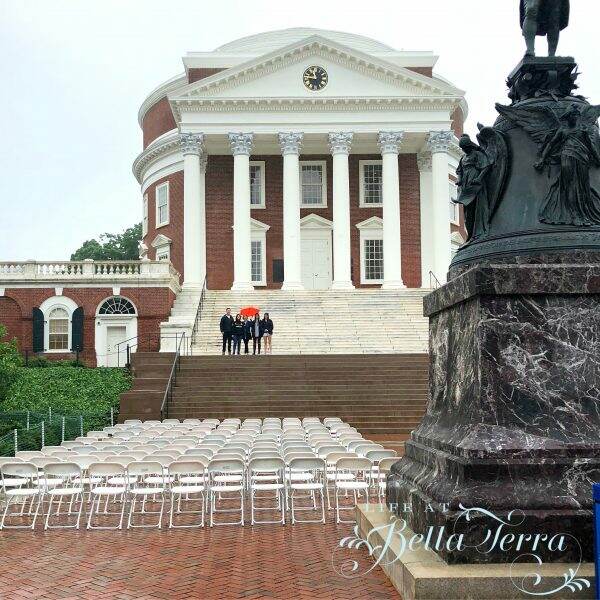
Below is The Lawn~~a long stretch of grass from the Rotunda to the statue of Homer.  Here is where graduation exercises were held and fortunately the rain stopped just in time.

It’s hard to believe we brought this little rascal home from the hospital 22 years ago. Now, armed with 2 degrees (Economics and Foreign Affairs), he will be starting his first real job in August in Washington, DC.

After four years of rigorous undergraduate studies, he is beginning a new life’s chapter into the world of independence.  Not only is this an important time in life for him, but it is also creates a shift in our family.  Will he be able to come home for the holidays? What about family vacations?  Will he ever need us again?

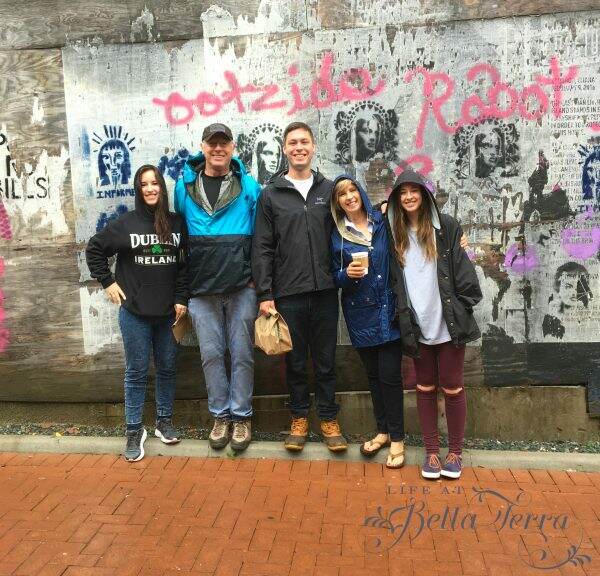
As we re-imagine the fabric of our family unit, we are happy for his success.  Our whole family attended his graduation and for me, that was the best part~~all of us together in joyful reunion.

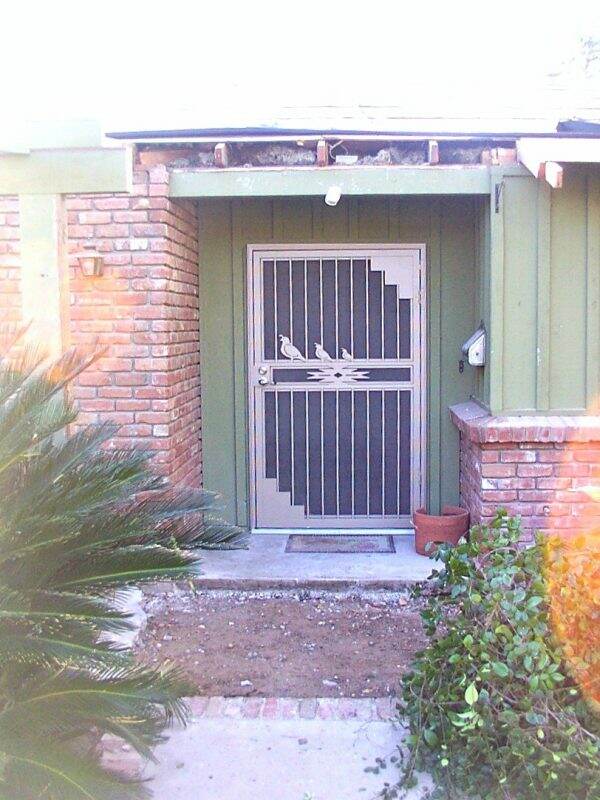
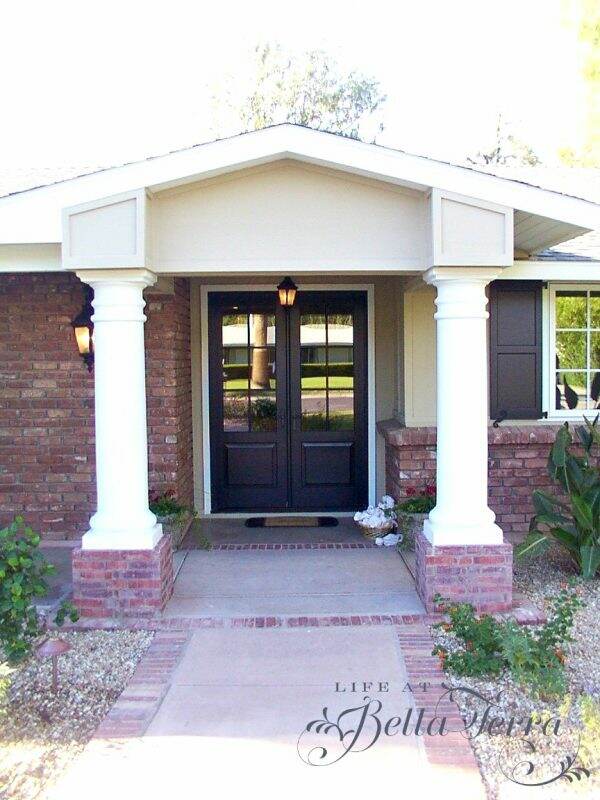
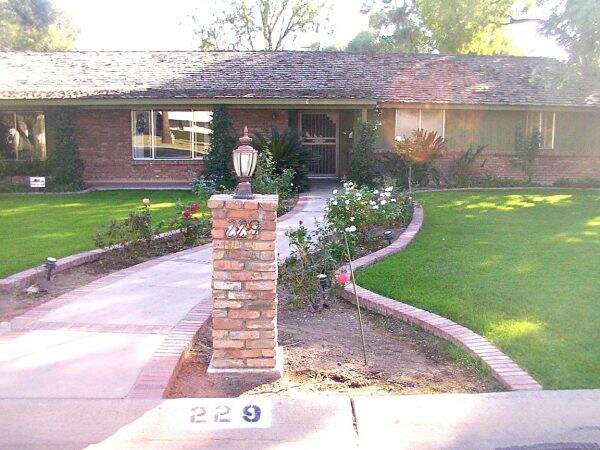
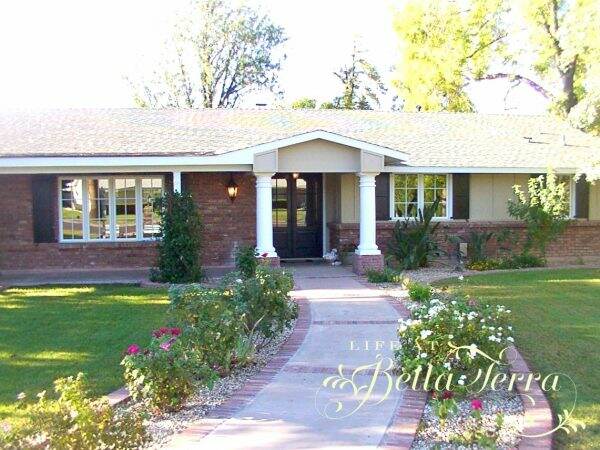
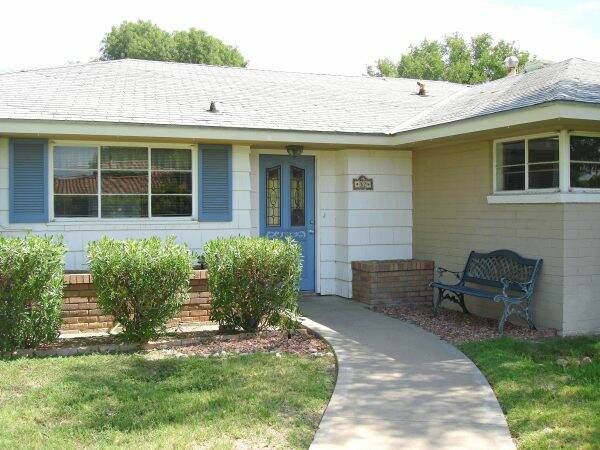
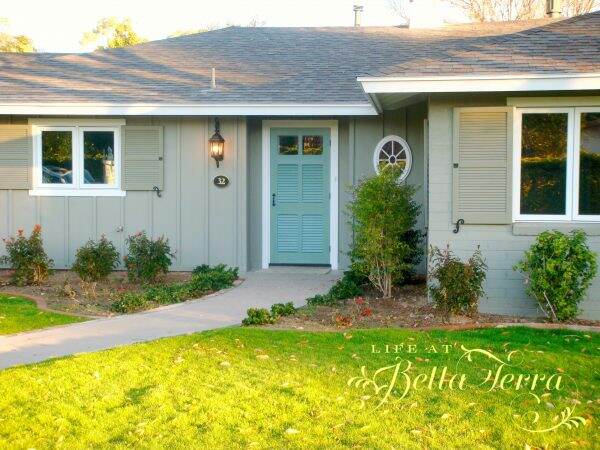
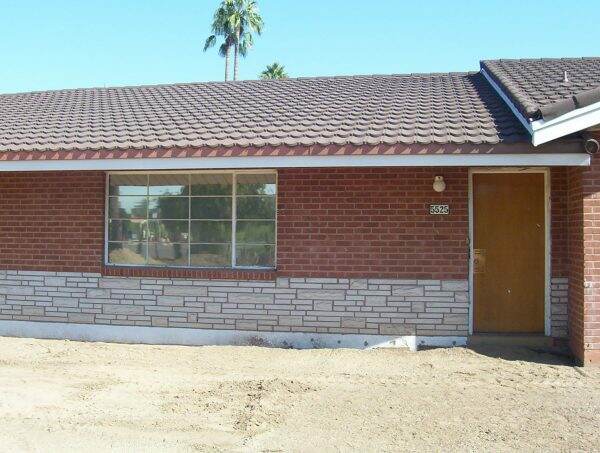
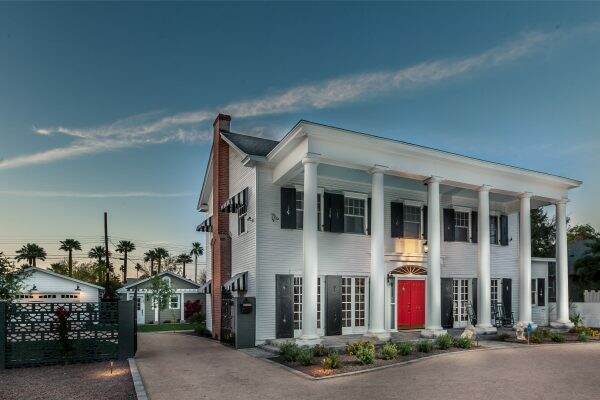
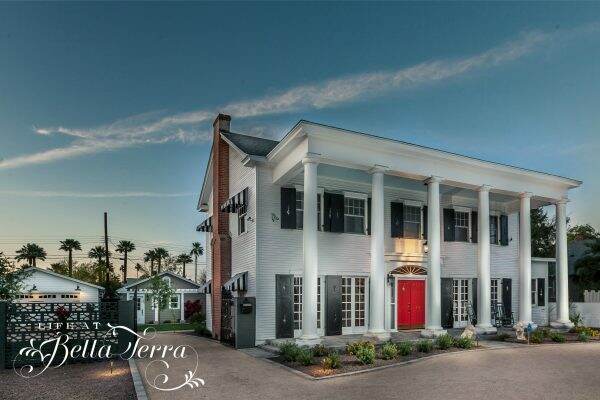
Another exciting ending is the sale of the Willetta historical restoration.  As of next Tuesday, this beautiful home will have a young family moving in.  I have remodeled and restored many houses, but this one took the longest to sell.  I truly love this house but in retrospect, never buy the biggest and best house on the street.  The Willetta house was the very first house built in 1922 as a showcase home for the subdivision.  Most of the other homes in the neighborhood were built later, on smaller lots with less square footage.  The architecture of Willetta is one of a kind.  There is no other house anywhere in our area that looks like this.  To read about the restoration, click here.

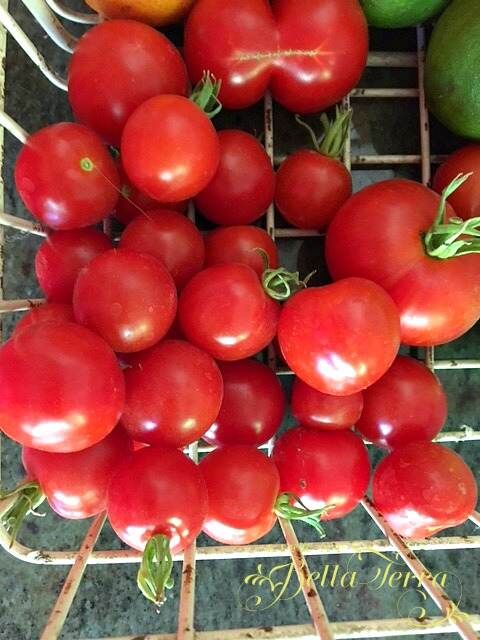
There are many beginnings and endings in the garden. Tomato production is up, but the artichokes have gone to flower.

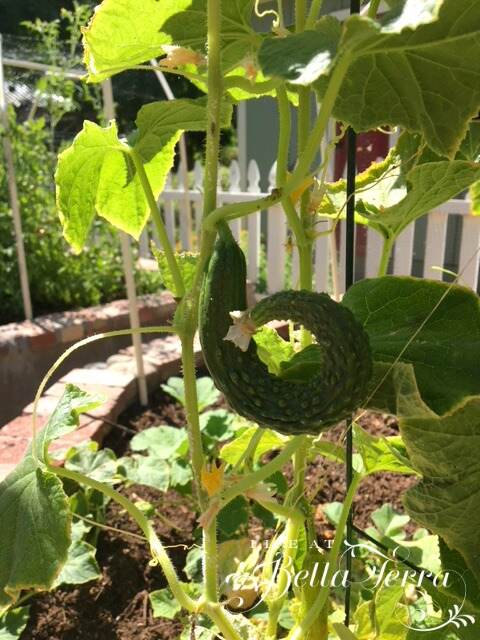
The lettuce has bolted, but the melons and cucumbers are starting to produce.

School is officially over and Memorial Day is right around the corner. Spring is gone and Summer is upon us. Whatever beginnings or endings you are celebrating, I wish you and yours a safe holiday weekend.


Exteriors: Before and After

Before-our home, Bella Terra

While I was in high school, my parents bought a 1771 Colonial home that needed extensive renovation.  I recall Mom and I spending countless hours consulting on this restoration project. That was the beginning of my love of historic home remodeling.

After

Bella Terra, built in 1910, is the 4th renovated home for us.  I have also purchased, remodeled and sold 5 others.  In looking through old photos, I thought you would like to see some Before and After shots.  Granted some of them are before digital cameras, but for the most part, you can see the improvements. To read more about the restoration of our home, click here.

Curb appeal and the attractiveness of the exterior creates a lasting first impression.  If it doesn’t catch your eye at first glance, then you can anticipate that the rest of the house is probably subpar. Here is the original entrance of a long brick ranch-style home that I remodeled in 2008. An unattractive security screen door, unsafe sidewalk, and deteriorating rafters, small scale light fixtures add to the ugly entrance.

Before

In order to create a wider entry, custom double doors were fitted.  We then added an overhang to break up the long, low, linear lines of the roof of the house.

After

Notice the improved walkway, the fresh paint and the well-lit entry. Here is the street view…..Before…

Before

And After…Notice the new windows, siding, roof, house and landscape lighting and the addition of shutters. This was one of my favorite remodels.  It has 5 bedrooms, 4.5 baths and the most amazing mud/laundry/craft/office room. The family who bought it still lives there.  Each time I see them, they remind me how much they love it.

After

This sweet small ranch has such potential.  Here is the front entrance before.

Before

Here is the after.  The colors were inspired by a home in Stonington Borough, Connecticut.  I removed the corner window, added wider shutters, new siding and a new darker roof color. The oval window provided some curves to a rather angular house. Adding a shuttered front door provides security and ventilation at the entrance.

After

Here is another long, low brick ranch. The front door was a cheap, hollow core closet door.  The odd stone below the brick is a bit of a challenge. I wasn’t wild about the roof, but after some research, I discover it is a very expensive composite with a lifetime warranty.

Before

With new windows, shutters, front entrance and landscaping, the entry looks much more appealing. And the roof is no longer an eye sore.

After

Here is the guest cottage to my latest restoration.  There was an apartment attached to the front of this.  When we demolished the building we discovered the original garage and barn doors.  Unfortunately we could not salvage the doors as they are too damaged.

Before

Here is what it looks like now as a newly converted guest cottage. New windows and doors, siding, landscaping and a custom built arbor, increase the curb appeal of this sweet structure. To read more about this Willetta home restoration, click here.

After

The main house, built in 1922, had been vacant for over 20 years and was in a state of disrepair when I purchased it.

Before

Finally it has been brought back to its original grandeur.  Removing the aluminum siding showcases the original clapboard, new roof, repaired columns, appropriate lighting and a new 2 story addition on the back makes this a historical charmer.

After

I love any and all before and after pictures~~ of people and makeovers, homes, just about anything.  As I sort through the thousands of photos, I will continue to share other remodels with you.

If you enjoy this post, please share on Pinterest.

This post shared with Between Naps on the Porch Metamorphosis Monday #645


Prom

Do you remember your first prom or formal? When I was a sophomore in high school, I was invited by the kicker on the football team to attend his Junior Prom.  My mother made my gown out of satin fabric with lilac flowers.  My date was just that, a date, not a boyfriend, but I remember it vividly. That tuxedo!  My flowers! Those curtains! Too funny.

We recently hosted a prom event at our home for our youngest daughter, who is a junior in high school.  Naturally it was on a Saturday evening, so Elisabeth and I got started early that morning to try and beat the heat.

We are so fortunate to have a rental company only a few miles away.  Party People delivered the tables, chairs, linens and dishes.

The flowers were purchased at Trader Joes. With relatively narrow tables, we made simple arrangements in glass jars.

The itinerary for the day included appointments for Elisabeth and her best friend, Ella to get their hair and makeup professionally done at Salon Estique.

Festivities began around 5:30 p.m. We also invited parents to come for cocktails, hors d’oeuvres and picture-taking.  Even though we had a professional photographer, so many of these candid shots came from other parents.

It was so delightful to see all the prom attendees dressed up in gowns, suits and tuxedos.  Here is Elisabeth walking in her very, very high heels (which stayed on her feet for about 15 minutes!).

Good, solid friendships are invaluable in high school. This group of 8 girls and 12 boys were happy to be going together~~some were couples, and some not.

Once again, Julie Greder and her team did an amazing job catering the cocktail hour and the sit-down dinner.  She makes entertaining SO easy.  The minute she walks in the door, I breathe a sigh of relief. With my husband out of town and my dear friend, Connie lending her capable helping hands, the event went without a hitch.

Even the weather cooperated and by the time dinner was ready to be served, the temperature in the orchard was perfect.

After dinner, a bus transported them to the prom event which was held at the Scottsdale Center for Performing Arts…. a relief to me that no one was driving that night. Later that evening, everyone returned for a post-prom party.

Many of the parents brought snacks for the after party and breakfast items for the next day. It was definitely a magical evening for me, so I can only hope that all the children and their parents enjoyed it as well.

We are a few days away from getting the professional photos but I couldn’t wait to share this with you.

Hopefully this post will make you reminisce about the proms or formals you attended!!


P.S. Did you know that the word prom is a shortened version of promenade?


Glass Etching

Etching glass is a relatively easy thing to do.  I purchased several Korken glass bottles from Ikea (a bargain at $2.99 each).  We keep these in the refrigerator filled with water~~easy to bring to the dinner table.  I like these bottles because the circumference is appropriate for smaller hands.

Personalizing the bottles with our family initial was an simple DIY project. This frosted look was achieved using adhesive letters and dots.

Here is another with my initials and decorative leaves.

The supplies you will need are: glass vessel, rubbing alcohol, etching cream, gloves, paintbrush and adhesive stencils. I used Martha Stewart’s Glass Etching Cream which was readily available at Michaels.  My bottle is rather old so the cream has darkened, but it is still usable.  The cream will dry clear.

The adhesive stencils are also from Martha Stewart.  These are ideal for using on curved surfaces.  You can reposition them for precise placement.  When finished, you can save the washed stencils for another project.

Make sure you have a protected work surface and gloves.  The etching cream is Ammonium Biflouride and Sodium Fluoride~~avoid contact with skin and eyes.  Use in adequate ventilation.  I set up my work station outside.

First, wash your container with soap and water.  Then wipe the surface with rubbing alcohol (done by my assistant daughter~~her hands are much better looking than mine!).

Position the adhesive stencils on the bottle.  I use this glass bottle for my homemade almond milk, so M-I-L-K seems appropriate.

Using a disposable foam brush, apply the etching cream in a thick, even layer.

Let the etching cream remain on the surface for 15 minutes.

Rinse the bottle under running water to remove the etching cream.

Peel off the stencils and VOILA!

You can also use glass paint to create designs on your pieces.  Think of the possibilities for personalizing glasses, vases, bottles and pottery. Here is an example of using paint in lieu of the etching cream.

Have fun creating one of a kind pieces.  These would make great hostess gifts too.


Update on my Painting Journey

As you know, I took up painting for the first time in my life 2 years ago. Mind you, I am a newbie at art.  I started taking acrylic classes when my daughter went off to college.  There are days when I put a lot of paint on a canvas and it is disastrous.  Other days  I paint, step back and think, it’s okay.  Rarely do I love it.

My art teacher and dear friend, Joann Augur just wrapped up a 4 week session on using different application techniques.  One class we took very watery acrylic paint and a paper towel and dabbed color all over the canvas.  Then we painted in a vase and added flower details.  It was such a fun class!  I loved the randomness of it because  I had no idea where the paints would take me.  Using the same technique with different colors, I produced two totally different images.

It is so helpful to take photos of the paintings….with the one below I need to work on the vase.  I didn’t notice the distortion until I posted this picture.

For our 2016 Christmas card, I painted this snow scene.  I donated the original for a charitable event.  My husband was disappointed that I had given it away, so I painted another one (a larger version) just for him.

This colorful landscape STILL NEEDS WORK~the mountains are wrong (no life, flat). It is a rather large painting and IF I can get it just right, I will frame and hang it.

My friend Janie, who is an accomplished artist recently convinced me to sign up for a few oil painting classes at Scottsdale Artists School.  Painting with oils is completely different.  Acrylic paints dry very quickly and are water soluble.  Oils take days to dry.  It sounded so intimidating.  But nothing ventured, nothing gained, right?

The first oil class I took focused on painting blue and white vases.  The teacher, Nancy Chaboun, is extremely talented.  She creates live settings for you to paint.

Dah-DA…..my very first oil painting!

My second class (which is the first in a series of 3) is focused on painting still life.  Here is the setting Nancy created.

Below is my painting. I took some creative license with it. Painting flowers is hard work. The few times I have painted roses then end up looking like peonies.

Yesterday, was the second still life class. We learned about painting glass and metal…silver, bronze, brass. Our setting included rich tones, a brass pot and colorful sunflowers and oranges.

And here is my painting.  I am not sure if I am done with it yet….

I feel much more comfortable with acrylic, but I am learning (slowly) the nuances of oil paints.  The good news is I am L.E.A.R.N.I.N.G and meeting some incredibly talented people along the way.

I hope you enjoyed my show & tell…..Practice makes perfect so I am wishing for a summer filled with paints and canvases!

Are you learning something new?

Happy Friday!


A Peek into Our Wine Cellar

I apologize for the quality of the pictures, but I still haven’t mastered great photography yet.  Since this room has absolutely no natural light, they aren’t the best.  But hopefully you’ll get the idea.

The cellar is hidden behind this “bookcase”.  A local goodwill shop was having a book sale, 24 books for $2.00 so I bought all of these for $10.00!  My husband cut them to 2 1/2 inches wide to reduce the weight on the shelves.

The magic begins when you push against the shelves and this happens….

The door provides a “scary house” squeaking sound as it opens.  Instead of stairs, we created a serpentine path to the cellar.

I didn’t want the standard wine cabinets that you see in most cellars.  This room deserved a more rustic, casual look. The floor is stained concrete, which is perfect for any wine spills. Getting these chairs down the twisting, narrow entry was quite the challenge.  If we ever sell the house, the chairs will go with it!

Our design inspiration came from the wine cellar at the Hermosa Inn.

The ceiling is made with wood an old Illinois barn, that was being demolished.   The curved stone wall was added for character, in hopes that it would look like an original foundation wall.

The “floating” table is a convenient spot to serve wine or do tastings.

Around the corner is a copper sink, mirrored backsplash, shelves and storage.

There is a system for scanning new bottles and keeping an overall inventory.  This little machine creates a UPC code label which allows us to scan the bottles we use.

Since this is probably the best place to be in the middle of a hot Phoenix summer, we have a flat screen television and access to multiple channels.

I hope you enjoyed the tour of the secret wine cellar.


Chairs:  Pottery Barn

Wine Refrigerator: Viking

Wine Software: Sommelier

Sconces: Relics