1

Life away from Bella Terra

It has been a busy few weeks away from home with limited internet coverage (how nice!). Since I don’t have a staff to write blog posts for me, I am finally back home and now able to share my adventures.

The only glitch in the trip was the plane had to do an emergency medical landing in Memphis. Unfortunately one of the passengers died after valiant efforts by the crew and volunteers to resuscitate her.  We missed our connection but the airline was very accommodating in getting us a later flight.  After witnessing a crisis like that, you just count your blessings.

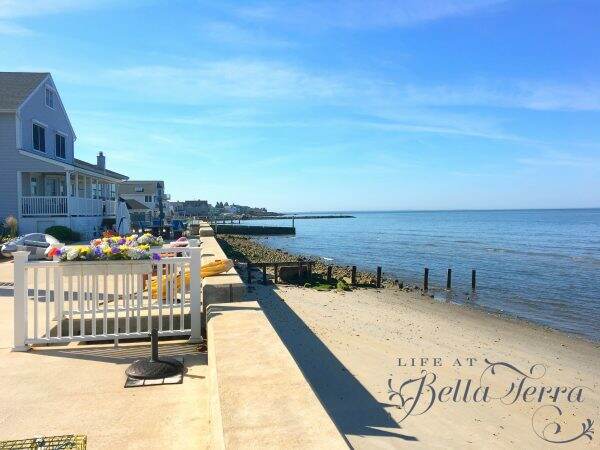
First stop: Connecticut. My sister has a lovely home in Old Saybrook right on the water…..such a treat for me as I LOVE, LOVE, LOVE the water.

Here is where I had my morning coffee.  Lucky me. There is something about looking at the ocean-I can actually feel my stress melt away.

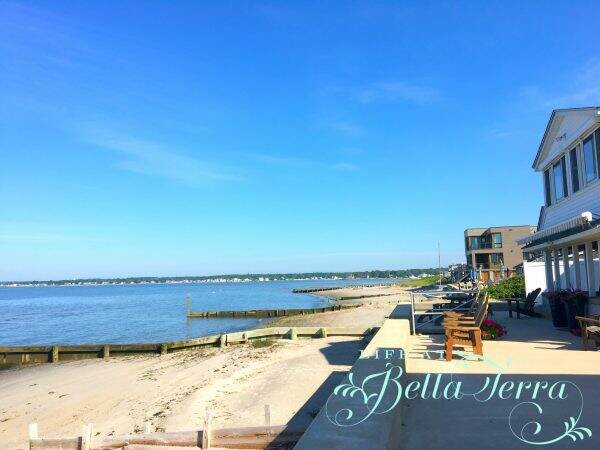
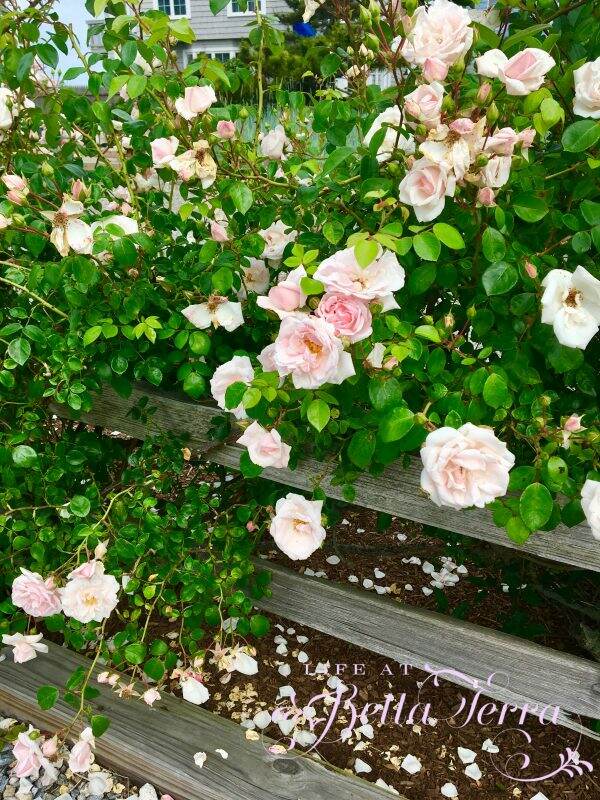
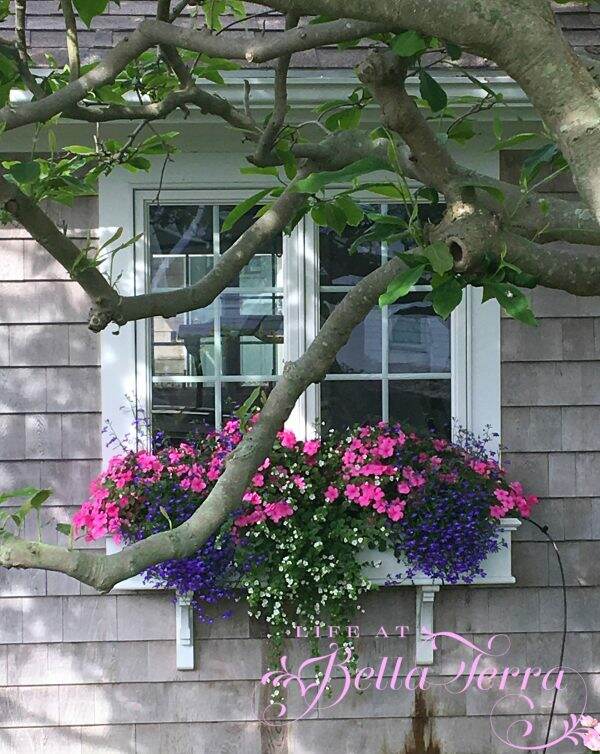
Each morning included brisk beach walks. I enjoyed the abundance of flowers and lush landscaping.

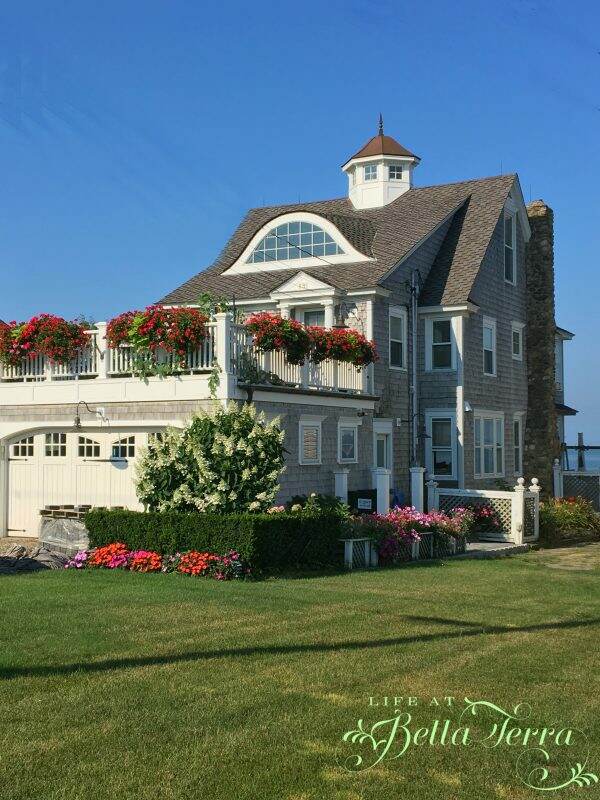
Here’s my future beach house. Here is my future beach house. Here is my future beach house. If I keep saying it over and over again, won’t it come true?

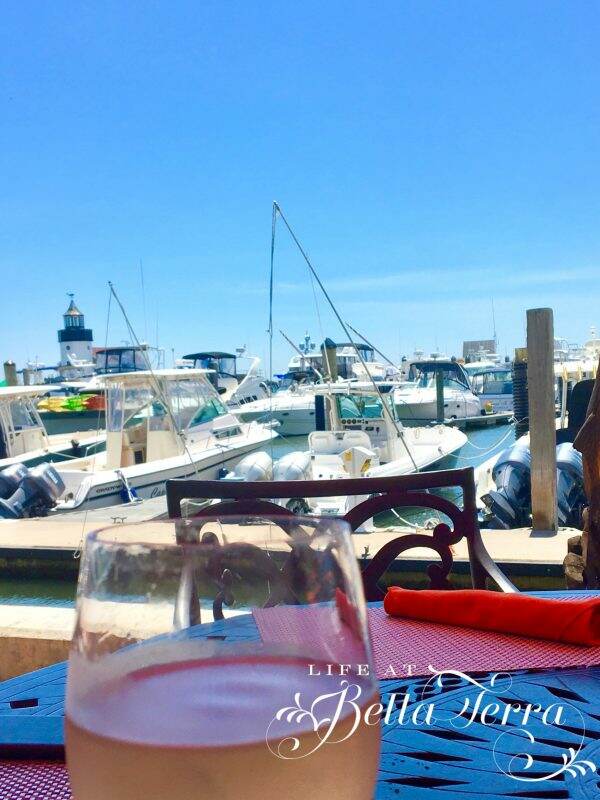
In Connecticut, I cannot resist the fresh, local seafood.  Lobster, lobster and more lobster. Here we are having lunch at the marina at Saybrook Point Inn.

After a glorious trip to the beautiful shores of Connecticut and reconnecting with my siblings, we then flew into Philadelphia for my goddaughter’s wedding weekend.

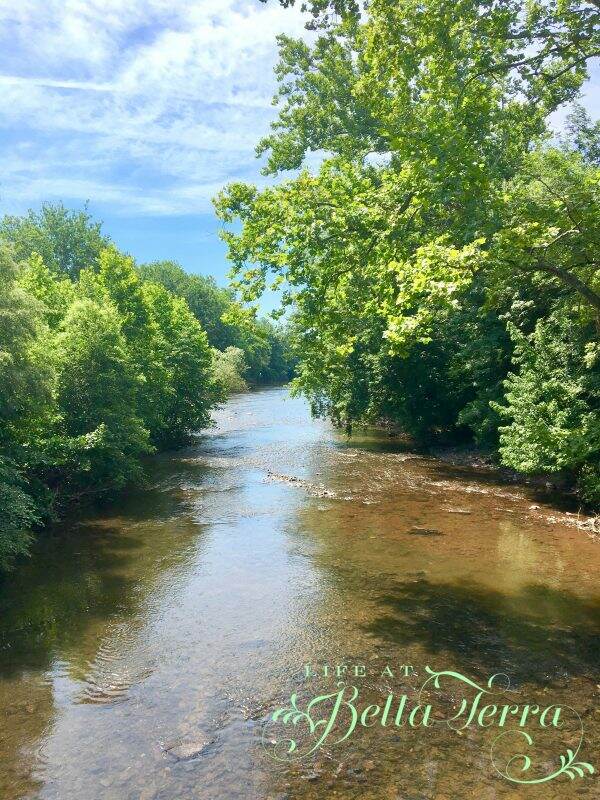
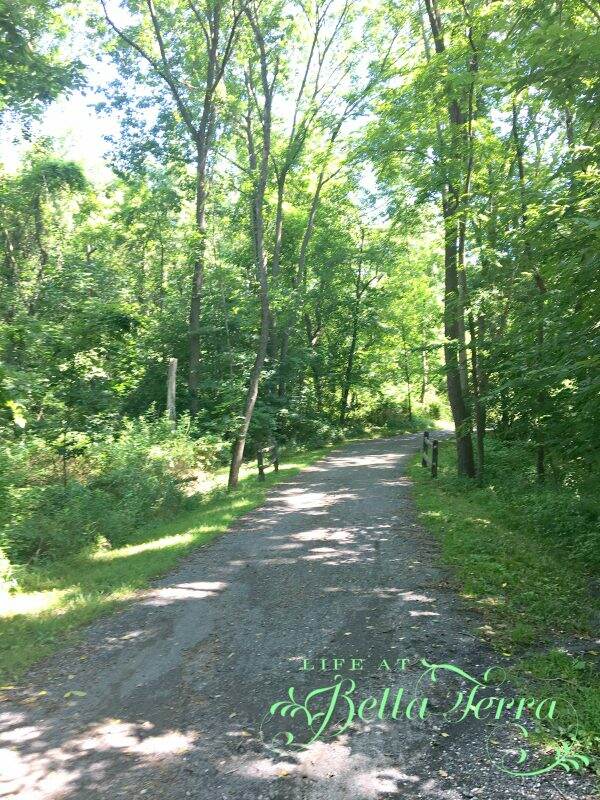
We arrived in Collegeville (about an hour north of Philly).  This town has an incredible public park called the Perkiomen Trail, which has 20 miles of walking, biking and hiking paths.  The trail goes along the Schuylkill River and we completed a 4 mile walk on the morning of the wedding.

In spite of the high temperatures and high humidity, we all survived the late afternoon outdoor ceremony.  The wedding reception was held indoors (thank goodness for air conditioning) in an old barn.

Back to Phoenix and less than 24 hours later, we were headed up to our mountain cabin for the 4th of July.

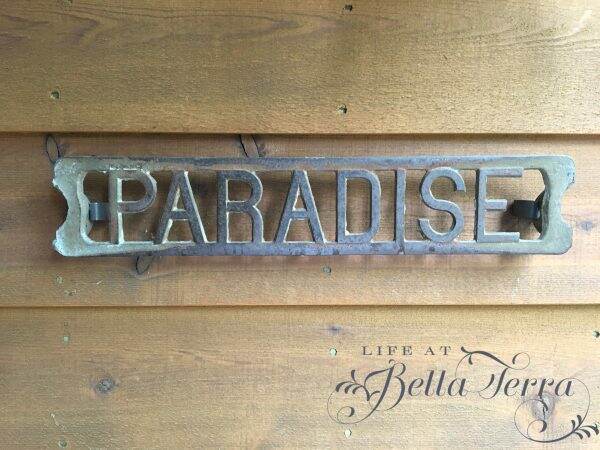
This PARADISE metal step, from an amusement park slide,  greets us at the front door of the cabin.  The weather was perfect with cool mornings and 75 degree temperatures during the day~~a significant change from the sweltering Phoenix heat.

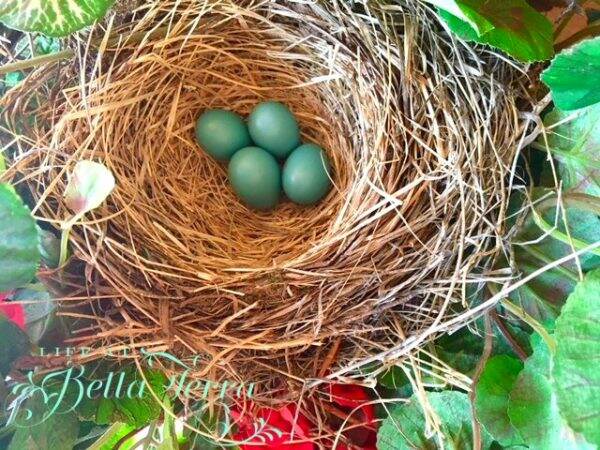
When we were here in May, I discovered a bird’s nest  in my geranium basket that hangs by the entrance. It was filled with these gorgeous blue eggs.

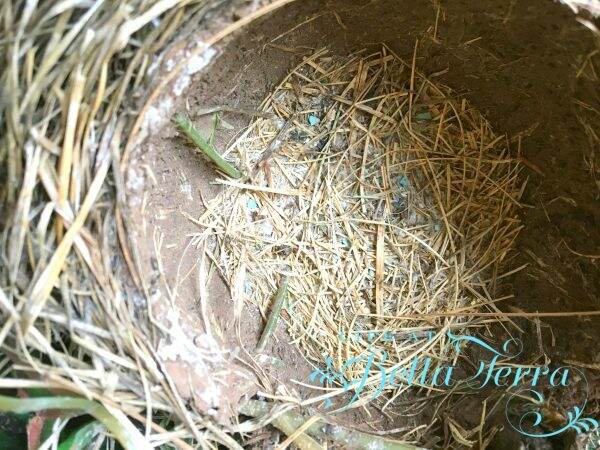
Now, the nest is empty with tiny pieces of blue egg shell in the bottom, so the baby birds have hatched and left the nest.

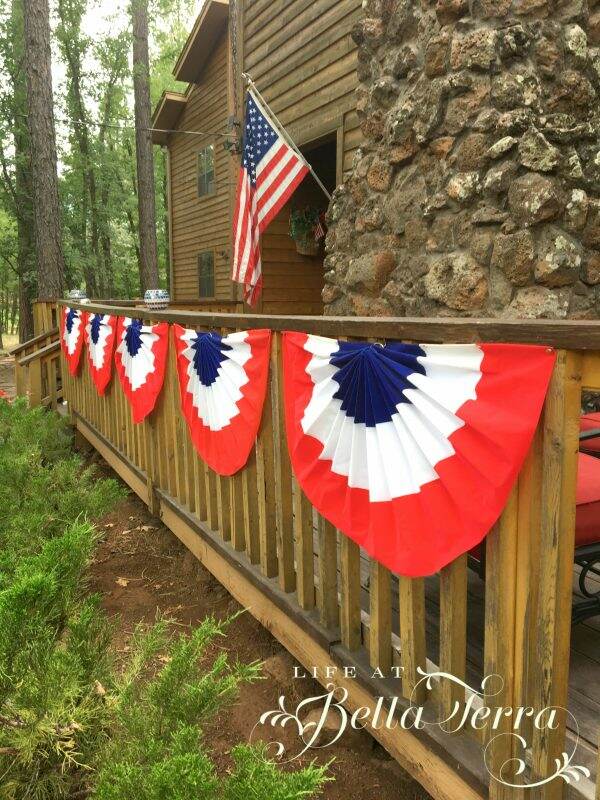
We had a full house for the July 4th holiday. What a joy to have all my children and their friends with us!  Our neighborhood has a fun, homespun parade…the Bullfrog Loop parade, which celebrates our patriotism and freedom.

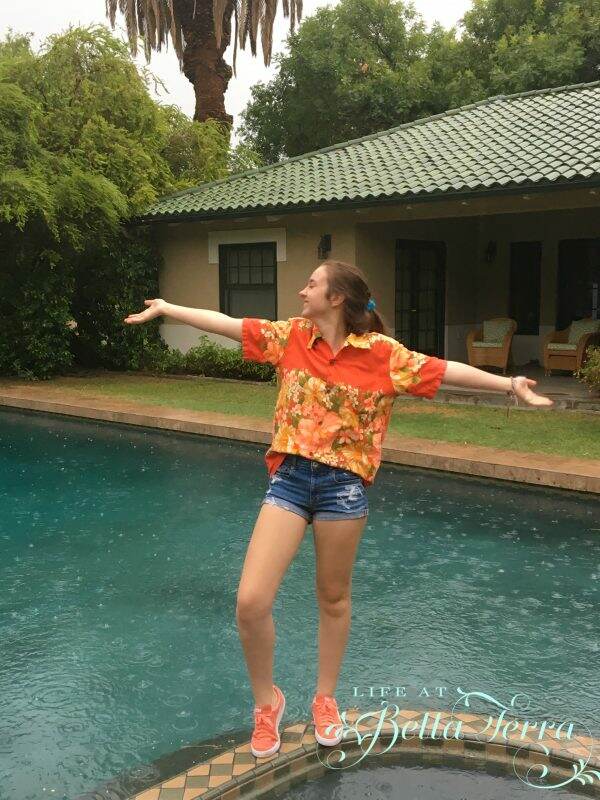
We are now back in Phoenix. Monsoon season is upon us so we are praying for much needed rain in Arizona. My daughter LOVES the rain!

I hope you are having a relaxing and fun summer!  In a few weeks, all my children will be going their separate ways so I am cherishing each and every moment.  I may not be blogging as much during this time but I will pick up the pace at the end of August.

Sending big summer hugs to all of you!


SaveSave

SaveSave

SaveSave

SaveSave

SaveSave

SaveSave

SaveSave

SaveSave

SaveSave

SaveSave

SaveSave

SaveSave

SaveSave

SaveSave

SaveSave

SaveSave

SaveSave

SaveSave

SaveSave

SaveSave

SaveSave

SaveSave

SaveSave


My First Key Lime Pie

I have never made a key lime pie….ever.  I did try my hand at Lemon Meringue once and it was a total disaster.  We were at Ranch Market this the weekend. They had key limes for $0.99 a lb. and I couldn’t resist buying a big bag of them.

There are quite a few different recipes for key lime pie~~with and without eggs.  The recipe I chose was from Allrecipe because it was customer rated with 5 stars. There are so few ingredients required for this pie.

You can use either a store-bought graham cracker crust or it’s very easy to make your own from scratch.

Here’s how to make the crust. To get 1 1/2 cups of finely ground graham crackers, I used approximately 1.5 packages of graham crackers.  Using the Cuisinart, it took a few seconds to pulverize the crackers into crumbs. You can also put the crackers into a Ziplock bag and use a rolling pin to crush them.

Has anyone else noticed how small graham crackers have become?  I actually googled it and there have been numerous complaints on the reduction in size and diminished taste.  Graham crackers were a favorite childhood treat, but now they seem so skimpy. I digress…

Back to the pie. Add sugar and melted butter.  Cinnamon is optional but I included it in this recipe. Mix well.

Press the mixture into a 9 inch pie plate~~I used a measuring cup to tap the crumbs down.

Bake it at 375 degrees for 7 minutes.  Cool before adding the filling.

To make the key lime filling, squeeze this little tiny fellas until you get 3/4 cup of key lime juice. It took approximately 19 limes (14 or so limes = 1 lb.) and fortunately my strong son did all the squeezing.

This is the BEST hand-held juicer from Zulay that works for both lemons and limes.

Mix sweetened condensed milk, sour cream, lime juice and lime zest together. By the way, I LOVE this zester by Microplane.

Pour the filling into a COOL crust and bake for ONLY A FEW MINUTES.  I was so surprised that this didn’t require more time in the oven (5-8 minutes).  DO NOT BROWN!

Here is what it looked like after I took it out of the oven. Not too dissimilar from the picture above but there are tiny pinhole bubbles just on the surface.  Chill pie thoroughly before serving.

Top with whipped cream and lime slices. This is the perfect dessert for the summer!

Bon Appetit!

Here is the recipe for Key Lime Pie by Allrecipe:SaveSaveSaveSaveSaveSaveSaveSaveSaveSaveSaveSaveSaveSaveSaveSaveSaveSaveSaveSaveSaveSaveSaveSaveSaveSaveSaveSaveSaveSaveSaveSaveSaveSaveSaveSave


Key Lime Pie

  • 1 9" prepared graham cracker crust
  • 3 cups sweetened condensed milk
  • 1/2 cup sour cream
  • 3/4 cup key lime juice
  • 1 TBSP grated lime zest

Graham Cracker Crust

  • 1 1/2 cups finely ground graham crackers
  • 1/3 cup white sugar
  • 6 TBSP butter (melted)
  • 1/2 tsp ground cinnamon
  1. Preheat oven to 350 degrees F (175 degrees C).

  2. In a medium bowl, combine condensed milk, sour cream, lime juice, and lime rind. Mix well and pour into graham cracker crust.

  3. Bake in preheated oven for 5 to 8 minutes, until tiny pinhole bubbles burst on the surface of pie. DO NOT BROWN! Chill pie thoroughly before serving. Garnish with lime slices and whipped cream if desired.

To Make a Graham Cracker Crust

  1. Bake in preheated oven for 5 to 8 minutes, until tiny pinhole bubbles burst on the surface of pie. DO NOT BROWN! Chill pie thoroughly before serving. Garnish with lime slices and whipped cream if desired.

  2. Bake at 375 degrees F (190 degrees C) for 7 minutes. Cool. If recipe calls for unbaked pie shell, just chill for about 1 hour.


Strawberry Rhubarb Pie

Fresh rhubarb is in season and the strawberries at the market are juicy and plump.  Now is the perfect time to make this very simple and easy pie.

The recipe is from Allrecipes.com and we’ve made two pies in the last two days.  I start with my tried and true pie crust recipe that I featured in a previous post. It takes just a few minutes to whip it up in the Cuisinart and 30 minutes to chill. Click here for the recipe.

In the meantime, gather these ingredients: strawberries, rhubarb, butter, sugar, flour and an egg.

Preheat oven to 400 degrees. Hull and wash strawberries. My son used the smaller side of a melon baller to remove the stem.

Cut the larger strawberries into smaller pieces.

Chop the rhubarb into bite-size pieces. I love how rhubarb looks like red celery.

Mix the flour and sugar together in a large bowl.

Toss in the chopped rhubarb and strawberries and let stand for 30 minutes to macerate.

Meanwhile, roll out the pastry dough for a 9 inch double crust pie. See all the chunks of butter and shortening~~those will become the flakey pockets in the crust.

Add the strawberry/rhubarb mixture to the bottom crust.

Dot with 2 Tablespoons of butter.

Add the top crust and crimp both crusts together with a fork to seal.

You can cut vents in the top crust or do a lattice crust on this pie. Brush the crust with egg yolk and sprinkle with sugar.

Bake for 35-40 minutes, or until bubbly and brown.  Cool on rack.

With hungry children, we cut into this pie a bit too early.  It was still warm to the touch and the juices from the rhubarb and strawberries had not thickened.  With the additional pie we made today, we will wait until it completely cools and see if that helps thicken the filling.

Enjoy!


Strawberry Rhubarb Pie from Allrecipes.com

[amd-zlrecipe-recipe:20]

SaveSave

SaveSave

SaveSave

SaveSave


Cooking with the Sous Vide method

High-end restaurants have been using sous vide cooking for years to cook food to the exact level of doneness desired, every time. The technique recently became popular for home cooks with the availability of affordable and easy-to-use sous vide precision cooking equipment like the Anova Sous Vide Precision Cooker.

The “sous vide” part of sous vide cooking refers to the vacuum-sealed bags that are often called for when you’re using the technique. (The French phrase literally means “under vacuum.”) However, these days, when someone says “sous vide cooking,” they’re generally referring to any kind of cooking that takes place in a precisely temperature-controlled water bath, whether you’re actually using a vacuum-sealed bag or not.

I had never heard of  Sous Vide…until my son brought his Anova equipment home in his suitcase from college during winter break.  This concept sounded so foreign to me. Of course, I always think I am the last person to hear about something so hopefully this post will enlighten you too!

We made steaks for dinner using this method~~here is the step by step process.

Sous vide cooking is much easier than you might think, and usually involves three simple steps (instructions taken from Anova website):

1. Attach your precision cooker to a pot of water and set the time and temperature according to your desired level of doneness.

We attached the cooker to a large lobster pot and set the temperature to 131 degrees-which is the preferred temperature for medium rare.

2. Put your food in a sealable bag and clip it to the side of the pot.

My son, Benjamin generously seasoned the steaks with salt and pepper.

And placed them in their own large Ziploc bag.

Next, he added sprigs of fresh thyme.

He sealed the bags and submerged them into the water bath when it was at the desired temperature.

The bags need to have good circulation in the water so we clipped them to the sides of the pot.

The steaks, after 1.5 hours, were cooked to medium rare.

3. Finish by searing, grilling, or broiling the food to add a crispy, golden exterior layer.

The final step was grilling the steaks and getting the nice sear on both sides. This took only a few minutes.

The steaks were cooked perfectly!  From edge to edge, the meat was medium rare, without any overcooking. Using the Sous Vide method, you get high quality results each and every time. Since the steaks cooked in their own juices, the meat was very tender and moist.

This type of cooking does not require your full time and attention.  We literally clipped the bags to the pot and left it alone until it was done. It was also nice to know that sous vide cooking will not ruin an expensive cut of meat.

If you would like a more detailed guide to cooking meat this way, Serious Eats has a Complete Guide to Sous Vide Steaks.

I now understand why Benjamin enjoyed using this during college.  If you are looking for a cool, new cooking gadget…..this is it!  For more information on the Anova Procision Cooker, click here.

It’s nice when your children start to teach YOU new things!


Tomato, Peach and Corn Salad

It is STILL very hot here in Phoenix and this recipe is cool and refreshing.  Wherever you are celebrating Labor Day, this salad is full of fresh, summer ingredients and is very simple to make.  With just a few ingredients and a light dressing, this is a perfect accompaniment to something off the grill.

Since access to the Farmers Market is still a few days away, I purchased the tomatoes and peaches at our local Safeway.  The tomatoes are a deep, dark blackish red heirloom tomato called Eclipses.

Aren’t these flat peaches fun? They are like regular peaches that someone sat on~~these beauties are called Saturn, donut or saucer peaches.  The reason I chose them is they were the ONLY peach that wasn’t hard as a rock and these actually smell like peaches.

The dressing is a Honey Vinaigrette ~~which is a lighter, slightly sweet dressing.  My relatives, Bruce and Janiece, have their own bees and make the most delicious honey.  We are always so excited when we get a shipment of their honey and I added this golden elixir to the recipe.

I adjusted the recipe a bit by adding cilantro.  I felt like it needed some green and who doesn’t love cilantro?

This recipe was in the July 2017 edition of Southern Living magazine on page 62.

Have a Happy Labor Day!!!!

This post shared with Tuesday Turn About #58 Fun in July

[amd-zlrecipe-recipe:10]


Uptown Farmers Market

I love our neighborhood as it provides the best of both rural and urban living.  Even though we are 10 minutes from downtown Phoenix (the 5th largest city in the US), our North Central neighborhood feels like it is miles away.

A few years ago, my friend and neighbor, Bo Mostow, called me to discuss her idea of starting a farmers market.  Bo’s dream has now become one of the most successful farmers market in the country.  I was so inspired to see her take her idea to fruition and as a result we all benefit from this wonderful addition to our neighborhood. USA Today has listed Uptown Farmers Market as one of the top 50 markets in the United States.

Every Wednesday and Saturday, the Uptown Farmers Market gathers at the corner of Bethany Home Road and Central Avenue, within walking distance to our home.  In the summer, they house nearly 100+ vendors in an air- conditioned space at a North Phoenix Baptist Church on Saturdays only.  Come September, all the vendors and white tents will again be outside for the cooler, fall weather twice a week.

Going to the Farmers Market is such a joyous event.  There is such a wide variety of food choices- from local farmers, small businesses, and home cooks.  In addition, there are handcrafted goods, food trucks, musical performances, activities for children. All the vendors and customers are genuinely happy~~it has such a nice family feel.

Fresh produce from the Farm Club. Look at these gorgeous pickled items by Lillie Mae’s Blue Ribbon Pickled Garden.

In spite of the heat this time of year, the market was heavily attended.

I have been craving heirloom tomatoes and really good peaches, so I decided to see what I could find at the market. Look at the incredible displays of fruits and vegetables from Abby Lee Farms. Fresh, local and delicious.

The absolute BEST cinnamon raisin bread is made by Capistrano’s and purchased from Rowland at the Noble Bread tent. If you don’t get there early, the bread sells out very quickly.  Just seeing Rowland on Saturday makes my day!

I purchased two loaves of this bread and it is chock-a-block full of raisins.  A quick breakfast before a workout will be one slice of this toasted, with almond butter, sliced bananas and chia seeds. Delicious!

I typically buy one loaf of sourdough, slice it and freeze it with a piece of paper towel in a zip lock bag. I use the sourdough bread to make my daughter her favorite sandwich~~grilled brie cheese with sour cherry jam.

So here is my haul from the market~~eggplant, zucchini, arugula, kale, brussels sprouts, peppers, tomatoes, peaches, French breakfast radishes, romaine lettuce, lemons and fresh herbs.  Plus two smoked bones for the dogs from Ruff Life. I would have bought more if I had more arms/hands!

I can only lay claim to a few of the photos in this post.  The balance of the Uptown Farmers Market photos were done by Kinita Albertson, from Caught by Kinita.

Kinita is doing a project for our neighborhood group where she was tasked to capture the essence of our area.  She was kind enough to give me permission to use her farmers market photos for this blog post.

For more information about the Uptown Farmers Market, please click here.