1

Lemon Pots de Creme

After cleaning out the butler’s pantry, I was inspired to use one of the many sets of pots de creme that I have collected.

Pot de crème, plural pots de crème, (pronounced “poe da krem”) is a loose French dessert custard dating to the 17th century. The name means “pot of custard” or “pot of cream”, which also refers to the porcelain cups in which the dessert is served.

The place of origin is France and the main ingredients are eggs, cream, milk, vanilla, chocolate or other flavors.

I was hankering for something lemony so I picked fresh lemons from the orchard.

After searching the internet and finding most recipes with heavy cream, I stumbled upon one from Epicurious using 2% milk.  I love heavy cream, but my hips don’t.

This particular vintage set of pots de creme was made in Japan by JSC in the 1970s.  There are 6 white porcelain pots with gold trim and a tiny gold acorn on the lid. It also came with it own tray. You can find different kinds of pots de creme on eBay at varying price points.

The custard was very easy to make.  I poured the hot custard into the pots and then refrigerated the set.  Even though the recipe makes 8, I was able to fully fill these 6 pots.  Some recipes call for baking in a hot water bath in the oven, which was more labor intensive.  I wanted a quick, easy, light dessert and this one was the most simple.

After the custard cooled down and chilled, I added a fresh blackberry, some lemon zest and a sprig of mint.  A dollop of whipped cream would be delicious too.

This light, refreshing lemon custard felt especially elegant in the pretty pots de creme.

Here is the Recipe for Lemon Pots De Creme from Epicurious.

[amd-zlrecipe-recipe:16]

Now we wait for my friend, Sam to send me the calorie count!

Enjoy!


Cakes, Quality Time and Cookbook Giveaway

Last summer, I was drawn to a magazine article about a London Fog cake, made with Earl Grey tea by Tessa Huff.  I’ve always wanted to make beautiful cakes but have never really spent much time learning how to do so.  I’ve tried my hand at the occasional home made birthday cake or our yearly Easter lamb cake but nothing that requires me to really stretch my cake baking knowledge.

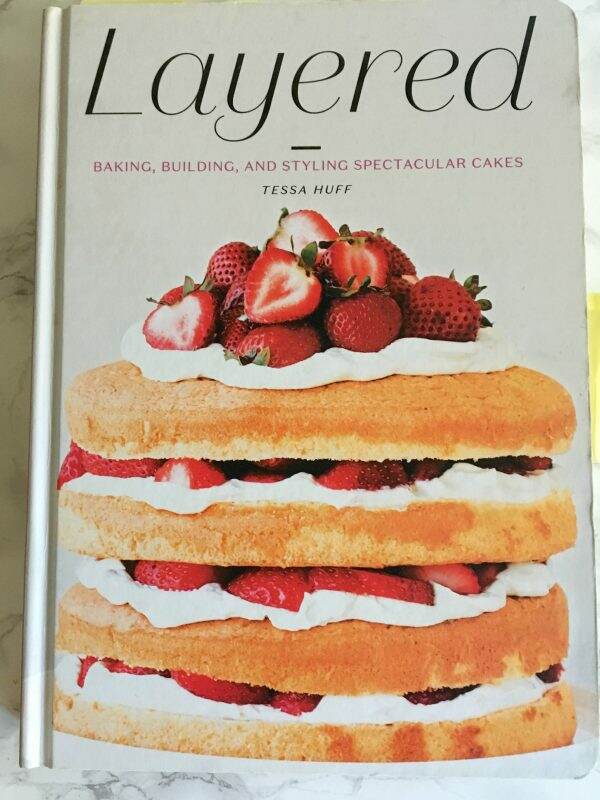
The London Fog cake article led me to purchase Tessa’s beautiful cake cookbook, Layered.  I have written about Tessa before, but what started as “let’s make this cool cake” has turned into spending quality time with my son and his friends.

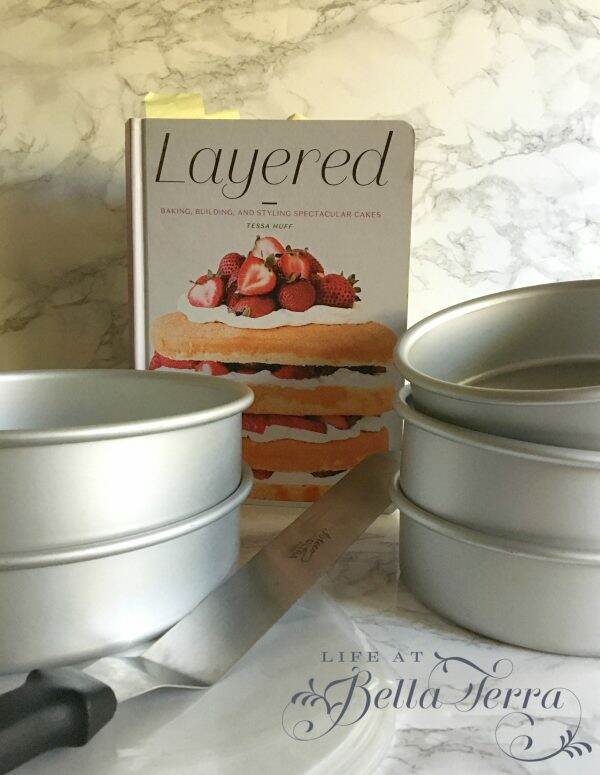
When the book arrived, we quickly purchased real cake baking paraphenalia Tessa recommended~~the correct pans, parchment liners and  frosting implements.

This notion of baking cakes took on a life of its own.  My foodie son and his friends (all who are extreme athletes and very tall) started showing up in the kitchen to take on the challenge of cake baking.  Who would have thought?

The very first cake we made was the Banoffee Tiramisu Cake~~a boozy banana espresso cake.  The vanilla espresso chiffon cake is brushed with a rum-soaked espresso, then filled with mascarpone buttercream topped with salted caramel and chocolate curls.

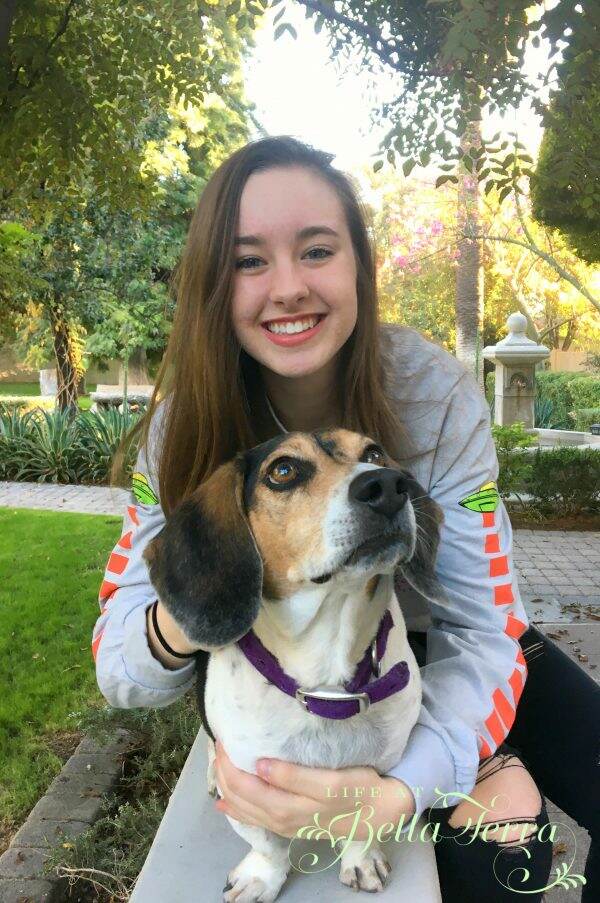
Here are my two cake baking buddies.  My son Benjamin is 6’1″ and his friend, Max is 6’5″.  Both are entering their final semester in college and have been friends for years.

Tessa’s book is filled with so much information on everything from what to stock in your pantry to how to frost a cake. The recipes are in sections-Classic, Chocolate, Casual, Whimsical, Adventurous, and Holiday cakes.

Sweet Tea Cake was our next selection, which was inspired by the food of the South.  A lemon butter cake is layered with Sweet Tea Buttercream with a Vanilla Bean Buttercream frosting.  It was the first time we have made candied lemons as a garnish.

Piping the frosting was the most difficult part….hard to have a steady hand with a vertical motion.

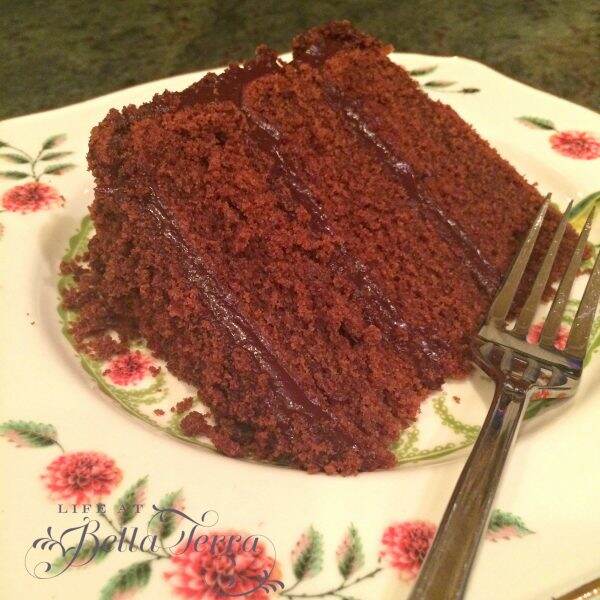
The next cake was difficult to make and doesn’t really look fabulous in my photos, but it is SO delicious!  We’ve made it twice so far.  The Brooklyn Blackout Cake is a decadent chocolate cake from Ebinger’s Bakery in Brooklyn.  Named after World War II blackout drills, this was a staple in Brooklyn until the bakery closed in 1972.

It’s a devil’s food cake with chocolate custard with a dark chocolate ganache frosting.  It’s very messy to make because you then cover the entire cake with cake crumbs.

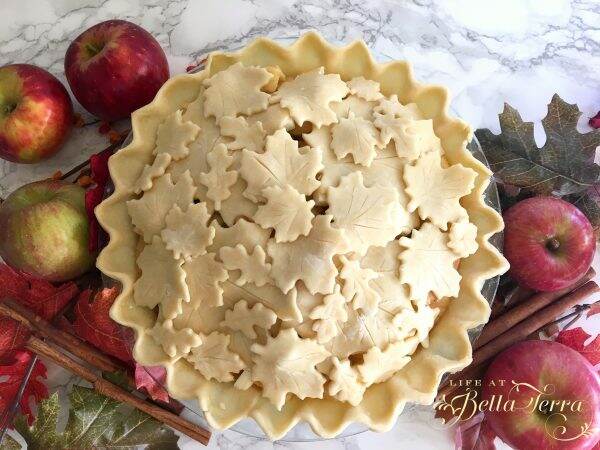
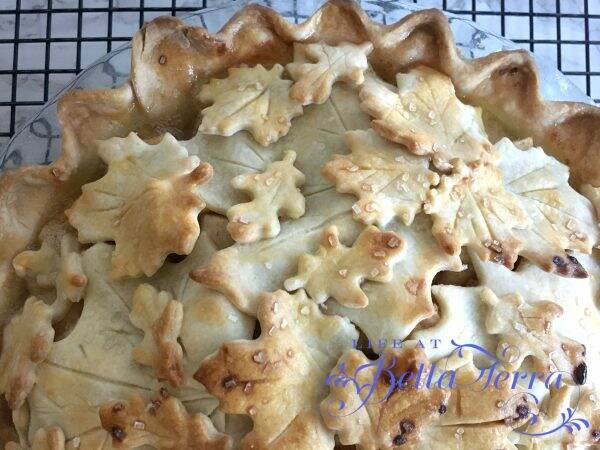
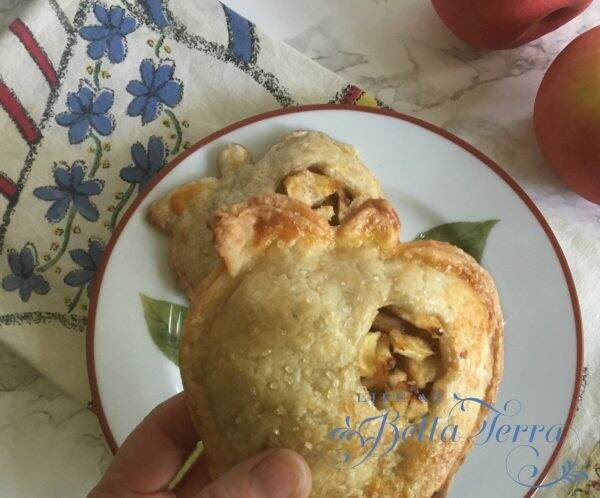
Thanksgiving 2016, we made the Caramel Apple Cake.

Christmas 2016 was the Chocolate Pomegranate Cake.

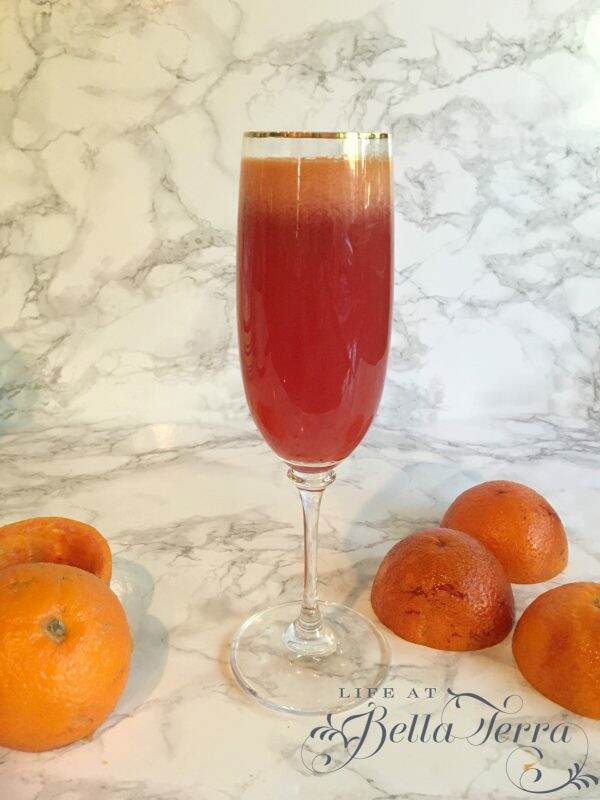
New Years 2016 was the Golden Champagne Celebration Cake.

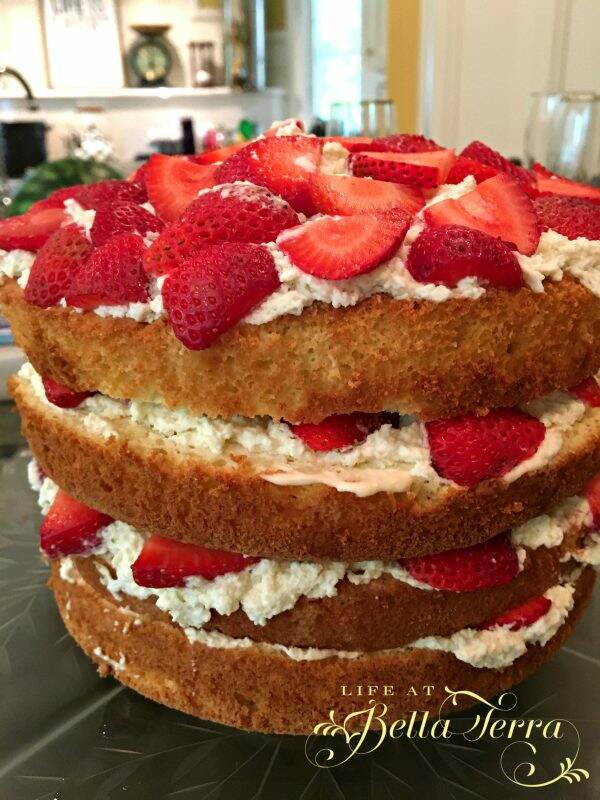
Since Benjamin spent the summer in Washington, D.C. we didn’t make many cakes but we managed to make this Strawberry Shortcake without him.  A perfect summer dessert when the berries are at their best.

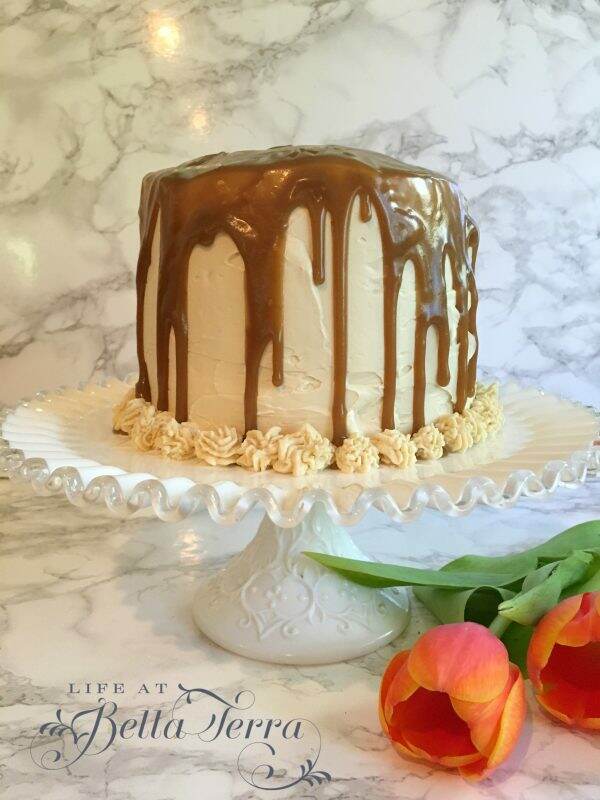
Thanksgiving, this year,  was the Butterscotch Bourbon Cake.

And our most recent, was the Christmas Cake~~Red Currant Chocolate Cake, a spectacular combination of chocolate, raspberry, red currant and creme de cassis.

As a result of this cookbook,  I have enjoyed hours of quality time with our son and his friends in the kitchen, making memories over gorgeous and sometimes challenging recipes.

It is now time for the amazing giveaway! I will be giving one new (not sticky and dog-eared) Layered cookbook to the lucky winner, in hopes they too, will create happy cake memories.

How to enter- please do at least one of the following:

  1.  Leave a comment below and tell me about your favorite cake(s).
  2.  Follow me on Instagram (lifeatbellaterra), like me and tag a friend.

The contest will end at midnight on December 31st, 2017.  The winner’s name will be randomly selected from all the entries.

Have a very happy and safe New Year’s holiday!


Family, Food, Friends, Fun and Fatigue

I hope you had a wonderful Thanksgiving.  It was so nice having all the children home and the house filled with their friends.  Today, as I take all the Thanksgiving items and store them away until next year, here are some random musings about the holiday.

We had the biggest turkey ever~~a whopping 28 lbs, delivered by Jimmy from Personal Gourmet, a local company who specializes in restaurant grade meat and fish. Typically, we have done this to our turkey:

But this year, my foodie son suggested we dry brine the turkey for 24 hours.  Honestly, I have never heard of dry brining and was a bit skeptical but it was so easy.  After patting the turkey dry, we sprinkled the bird with a combination of salt and baking powder.  This apparently changes the pH of the skin. We refrigerated it uncovered for 15 hours (can do up to 3 days).

Instead of a roasting pan, we put the bird in a V-rack on a cookie sheet.  According to Serious Eats, this increases air flow for even cooking.  In order to have the dark meat cook at the same rate of the white breast meat, we placed the cookie sheet on a preheated pizza stone.  You can find all the details on how to do this by clicking here.

This was, hands down, the most delicious turkey we have ever had.  The dry brining was SO easy.  I did add some herb butter between the skin and the breast meat before roasting, but other than that, we hardly basted it (maybe once).  The skin was so crispy and it sealed in most of the juices. We declared this a winner and this will be the recipe of choice when we roast a turkey in the future.

Thanksgiving Day started with blood orange mimosas.  We found the oranges at Whole Foods and it was a nice alternative to regular orange juice mimosas.

Every year, my husband makes his famous pumpkin pies.

And my son, Benjamin and I make a cake from Tessa Huff‘s incredible cake book, Layered.

Presenting (drumroll)…..the Butterscotch Bourbon Cake.

With the table set and ready to go, we enjoyed a delicious meal with family and friends.

Friday was a relaxing day (thank goodness as I was pooped) and, as we do each year, watched the Wizard of Oz, which is my favorite movie.

And took our annual family photo~~it seems to be more difficult to get everyone looking somewhat normal at the same time.  Of course, the battery was low in the camera and hopefully with some editing, we will have a Christmas photo for our card.

Hope you had a relaxing Thanksgiving.  Today, all the autumn decorations come down and onto Christmas! I leave one Christmas related item out all year long and this sits on the mantle in the breakfast room.  I purchased this Christmas car waterless “snowglobe”from eBay.  Created by artist Alicia Reiner, each is hand signed and numbered.

Enjoy the rest of the weekend!


Making Limoncello

My husband, Scott announced he was making limoncello.  Okkaaaaay.  Even though we’ve been married 22 years, he still surprises me on occasion.

We were first introduced to limoncello when we traveled to one of my favorite places~~Ravello, Italy. Limoncello is lemon liqueur mainly produced in Southern Italy using Femminello St. Teresa lemons.

Limoncello is typically served chilled after dinner as a digestif.  It can also be used in cocktails since it imparts a strong lemon flavor.

Scott used Martha Stewart’s limoncello recipe.  There are four simple ingredients~~lemons, 160-proof vodka or grain alcohol, sugar and boiling water.

how to make Limoncello

He peeled strips of zest from the lemons using a vegetable peeler, trying to minimize the bitter white part of the lemon.

Making Limoncello
Limoncello recipe

He put the zest and vodka in an airtight container and let it sit at room temperature for 3 days (at least 2 days or up to 1 week).

Limoncello Phoenix

Next he made simple syrup and added it to the vodka mixture, then refrigerated it in an airtight container for 1 day.

He then poured the mixture through a large sieve into a decanter; and discarded the zest.

This was a father/son effort!

Pour 2 ounces limoncello into a cordial glass.

We are so happy to have our son home from college for the Thanksgiving week!

Limoncello can be stored in the freezer in an airtight container up to 3 months.  I am already conjuring up ways to use this very lemony liqueur.

Enjoy!


Limoncello

Lemon-infused Italian liqueur is bright and refreshing

  • 11 lemons
  • 1 liter 160-proof vodka or grain alcohol
  • 3 cups sugar
  • 3 cups boiling hot water
  1. Peel strips of zest from lemons using a vegetable peeler; reserve lemons for another use. Put zest and vodka in an airtight container; let stand at room temperature at least 2 days (or up to 1 week).

  2. Stir together sugar and the hot water until sugar is dissolved; let cool. Stir sugar mixture into vodka mixture; refrigerate in an airtight container 1 day.

  3. Before serving, pour through a large sieve into a decanter or serving vessel; discard zest. Pour 2 ounces limoncello into each glass.

Limoncello can be stored in the freezer in an airtight container up to 3 months.


Hello November!

Dear November,

I will not forget you.  Even though the stores have moved onto Christmas I refuse to ignore your importance in the calendar year.

My blog post today will focus on this wonderful month.  To me, it’s the quiet time before the holiday rush ~~I’m a traditionalist about starting the Christmas holiday the DAY AFTER Thanksgiving. Please take time this month to enjoy the change of season and the calm this month offers.

My sister and her husband took this photo in New Hampshire~~such gorgeous colors!

I have been so swamped with opposing a local zoning issue, I have had little time to do much else. When stress levels rise, I tend to bake.  Being in the kitchen comforts me.

During our last trip to see our son in Virginia, I purchased several varieties of apples from Carter Mountain Orchard and stuffed them in my roller bag.

My first baking adventure was an apple pie.  Pinterest has featured so many innovative pie crusts that I thought I would attempt this. I used my go-to pie crust recipe which you can find here.

What I learned:  Layering the leaf cut-outs was fun, however, the top “crust” was too thick.  If I were to do this again, I would make sure my leaves were rolled very thin. However, it was still delicious and so pretty when I took it out of the oven.

With more apples in the refrigerator, I thought it might be fun to use my Pocket Pie mold from William Sonoma, which has been sitting unused for years. I made the crust recipe on the back of the box which includes quite a bit of butter.

The hinged plastic mold cuts (with some level of difficulty) both sides of the pocket pie pastry.

You can add whatever filling you want as the recipe suggests canned pie filling.  However, since I had fresh apples, I made my own.  Initially the apple pieces were too big and needed to be cut down.

Add a few tablespoons of filling, egg wash the edges, add the matching top and crimp.

In retrospect, these pies were a bit of a pain in the neck to make.  The dough is much easier to use while it is cold.  Once it warmed up, it stuck to the mold and the pockets were hard to handle. William Sonoma doesn’t offer this mold any longer, however they have other types. After making a couple of dozen I would have gotten better, but I quit after making 8.

Please enjoy this month.  We still have Thanksgiving to look forward to where we will share our gratitude with family and friends.


Homemade Chicken Soup

Who doesn’t love chicken soup?  I always like to keep some on hand, especially when the weather changes and sniffles start appearing.

My daughter who is a junior in college wasn’t feeling well and I whipped up a batch for her.  I don’t really have a strict recipe, but it’s hard to ruin this soup, especially with my two special ingredients.

I like to start with my favorite stock pot.  This hammered copper pot from William Sonoma was a gift from a friend who needed an interim place to stay, using our guest room for a few weeks. It is 9.5″ tall and has 11.75 quart capacity. What a perfect gift as I use it frequently and always think of him when I do.

Chicken~~I use anything with bones.  For this recipe, I purchased 1.5 lbs. of drumsticks, 1.5 lbs of boned breast, and 1.5 lbs. of thighs.  You can take a whole chicken and cut it up….it’s the bones that give it the most flavor.

Next I add carrots and onions, cut up into chunks.  You can add as much as you like. I added 3-4 large carrots and 2 onions.

Next comes celery~~include the leafy tops.

A bunch of parsley…..

I fill the pot with tap water.

Here is what it looks like.

I finish with some salt….again, try not to over salt it as you can always add more later. However, if you do over salt it, I understand you can add a potato and that will absorb it…but I haven’t tried it to confirm.  Add pepper if you’d like.

Bring the stock to a boil and then simmer~~for a few hours.  If the water evaporates a lot then you can always add more.

Strain the soup in a colander.  Remove the chicken, de-bone it and remove the skin.  Cut the meat into bite size pieces (it will more than likely just fall off the bone).  Cut up the carrots. You can cut up the celery and onion, however, often times I just remove it because it is so soft.

Put aside in a bowl.  Skim the fat off the broth.  If you decide to refrigerate the broth, the skimming of the fat will be easier as it solidifies.

Add the chicken and the vegetables back into the broth.  Now here are my two secret ingredients.

Better than Bouillion~~this organic chicken base can add more flavor to the broth, if it isn’t to your liking.  I believe it punches up the taste and is a great substitute for more salt. I add it a spoonful at a time, until the broth is at the desired flavor.

Reames Homestyle Egg Noodles~~these hardy noodles add some bulk to the soup. They taste like real homemade noodles and you can find them in the freezer section of your grocery store.  My friend, Sue Frome, turned me onto to these noodles and I always keep a few packages on hand. Add the noodles to the chicken soup and cook for approximately 20 minutes, or until desired tenderness.

I don’t know how many servings this makes since I freeze most of it in portions to use in the future.

As the weather gets cooler, it is so nice to have a bowl of hot, homemade, chicken soup!

Enjoy!


[amd-zlrecipe-recipe:13]