1

Scandinavian Cabin Touches

Vintage snow shoes

Last week I posted my thoughts of adding more Scandinavian touches to our cabin in the White Mountains of Arizona. The typical decor in our area is mountain-style, lots of carved bears and pine wall treatments. If you missed that post, click here to see some lovely ideas.

Unfortunately, our cabin is a remodeled flip so many of the finishes are over-the-counter hardware store. The choices aren’t offensive, but very vanilla. Without realizing it, I have been collecting items that are along the Scandinavian, Black Forest, European theme.

Umbrella Stand with Rosemaling

By the front door, this umbrella stand is painted in the traditional Norwegian style of rosemaling.

Also, in the front entry we have a Black Forest style carved bear shelf with a lodge-like bird/twig mirror.

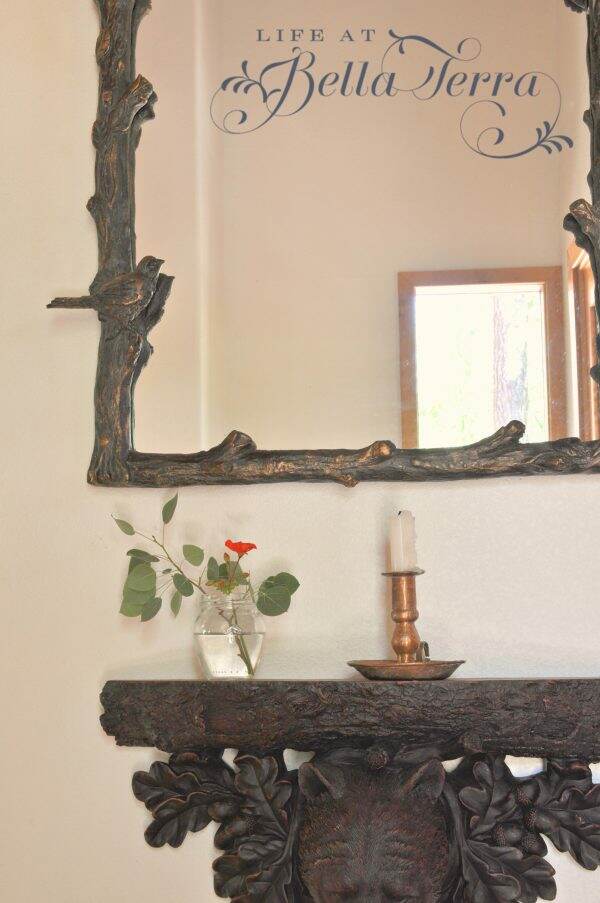
And there happens to be another carved mirror of similar style on the staircase landing.

Black Forest style mirror

Subconsciously, I have been designing the cabin with a more old Scandinavian style. Being a Connecticut Yankee, I am always looking for affordable ways to make changes that can add some charm and warmth.

During my numerous trips to Home Depot, I know they have decorative molding in stock. You can see their vast selection online. Would I be able to add more interest to my very plain kitchen cabinets using affordable hardwood trim?

Decorative Trim from Home Depot

Using this very inexpensive mitre box and saw by Stanley (also Home Depot), I cut the molding at 45 degree angles to fit inside the existing Shaker style cabinet door.

Affordable Mitre Box from Home Depot

The molding cut rather easily and fits nicely inside the the cabinet stile. If I am going to add this to all the cabinets, I will definitely use a power tool to make all the cuts.

Adding Decorative Trim

After all four sides are mitered, I taped them in place. Next I repeated the same process with the narrower trim. At this point, I don’t want to affix anything permanently until I can step back and get a good look at it.

Here is how the cabinet looks with the additional decorative trim. What do you think? Granted the finishes are different but my options would be to stain and finish the trim like the cabinet (and get rid of the dated knobs), or paint the cabinets and the trim? Or just paint the molding?

In order to get a sense of what a painted cabinet looks like, I made a drawing paper template by taping 3 pieces of sketching paper together. Using a leftover can of green paint, I paint the template of the cabinet’s panel.

Unfortunately, I didn’t take pictures of the steps, but you can envision it, right? Next I watched a 3 minute tutorial on rosemaling by Sea Lemon on YouTube (what did we do before YouTube). Here is my first attempt at rosemaling. Try not to laugh.

So this gives you a sense of what a painted, rosemaling cabinet front would look like! Since I really didn’t have an artistic plan, and am using whatever paint is available, you will need to have some vision here. Maybe more rosemaling? Or just a few images on opposite corners would be enough~~or even some squiggles in the middle? Or nothing at all?

Do you like it better before?

Or after? Remember this is just a very rough mock-up. Colors and design can be changed.

As much fun as I think this project would be, I am afraid the granite is all wrong. The color and style is definitely not my choice, but to change it? Yikes. Maybe it would make sense to do something like this on the island cabinets first and see how it goes?

As always, I LOVE your input. There’s so much about this room that needs help. Either I will leave it as is or just jump in with both feet. It’s all a bit intimidating!

As the ideas swirl around in my head, I hope you are having a relaxing weekend. Any projects on your horizon?

P.S. To see more of our cabin from a previous post, click here.


10 Things I Love in My Kitchen

Most of my time is spent in the kitchen. I love the kitchen overall, but I have a few favorites that, if I were to design another kitchen, I would definitely include. Here is my list of top 10 items I love and use heavily in the kitchen.

Nespresso Machine

My Nespresso Machine is the one of the best birthday gifts I have ever received. Called Creatista by Nespresso and Breville, it continues to perform multiple times day after day. This machine steams the milk and creates a range of coffee choices from espresso to macchiato. A day doesn’t go by when I don’t use this machine. A very worthy investment!

My happy cups are designed by Jennifer Orkin Lewis and purchased from Anthropologie, but not sure they are still available. To see why I call these happy cups, click here.

Double Sinks with Double Faucets

I am so glad I purchased two high quality Franke stainless steel sinks (which look as good as the day I bought them). However, when I told plumber that I wanted a faucet for each sink, he thought I was nuts. Typically one faucet will serve two sinks.

My two Kohler Artifacts faucets in polished nickel allow two people to be washing dishes or using the sinks independently. Both have a 2 function pull-down spray heads. The faucets were pricey, but again, well-worth every penny!

My Pot Filler

My pot filler is located right above the stove. The arm extends over each burner so I can fill multiple pots easily. This affordable luxury allows me to fill my large cooking pots right there vs. hauling them across the kitchen. Very helpful when I am making several pots of pet food. Mine is a Chicago Faucets Softflo Pot and Kettle filler.

Compost Bin

Disguised as a door, this pull out allows me to slide all my vegetable and fruit scraps off the island counter and right into bin inside. It is a collection method that is so convenient and small enough for easy transport to the composter on a weekly basis.

Hidden Step Stool

Tucked under the toe kick on the island, this step stool pulls out and collapses to 4″ in height. My cabinet guy added a piece of toe kick trim and a handle on the front for accessibility.

It easily pops up and provides a 2-step stool for reaching those top shelves. To see a tour of my kitchen and resource this stool, click here for Part 1 and here for Part 2.

My Pedestal Organizer

Just to the left of the stove, are nearly all the things I need to cook. This vintage Italian pedestal plate holds various oils and seasonings, all within reach. It is a time saver as I don’t need to go hunting for spices or condiments while cooking.

Collection of Small Bowls

White bowls from West Elm; blue bowls from The Findery

I use these bowls every single day from measuring ingredients for recipes to serving nuts or dips. The bowls are collected from various places~our trip to Italy, West Elm, The Findery (Waco) and vintage stores. My friend, Connie gave me a stack of small glass Duralex bowls from France. It is still one of my all-time favorite gifts.

Salter Family Scale

I don’t think this is a vintage scale, but I sure have had it a long time. While I own a fancy digital one, I seem to use this more often. Not only is it functional and nostalgic, but also pretty sitting on top of the shelf above the stove.

Weather Station

Even though the weather in Phoenix is mostly clear and sunny (approximately 300 days per year), I check our weather monitor every day. The wireless weather station is positioned in our orchard and transmits up to 1000 feet. This monitor has rain, temperature and humidity sensors that relay the information back to this LCD console. Made in the USA, this makes a great gift!

Paper Shredder

Staples Professional Series Paper shredder

Don’t laugh (well most people find this amusing), but I have a heavy duty shredder in the kitchen by the island. This is used multiple times a day.

When the mail comes in I stand at the shredder and discard all the junk and unwanted mail in this receptacle. The shredded paper gets tossed into the composter and recycled. I still cannot believe how much non-essential stuff we get in the mail! But at least I am converting it into soil for the garden. To see my composting blog post, click here.
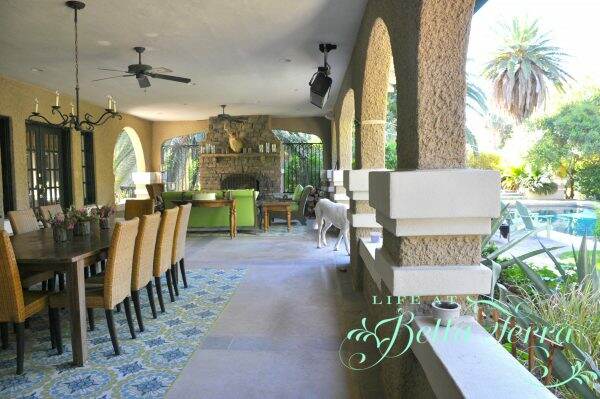
Wishing you a terrific Tuesday. It is supposed to be 109 degrees here today. I hear the mountains calling to me, so I am hoping to dash back there to enjoy the 80 degree weather. In the meantime, stay cool and make this a marvelous day.

This post shared with Charming Homes & Gardens Week 16


The Restoration Chronicles~~Chapter 2

Back Northwest corner of main house-Before

Welcome to Chapter 2 of the restoration journey of our 110 year old historic home. A few weeks ago, I shared Chapter 1 of The Restoration Chronicles which focuses on the front of the main house. Well, let me take you around to the back of the house, because the renovation/restoration work here is so much more extensive. To read Chapter 1, click here.

The original kitchen in the main house was not only small, but the electric stove was an inch away from the kitchen sink. Not sure how that ever passed inspection! I began dreaming of designing my ideal kitchen. It was evident that we had to expand onto the back of the house. Like dominos, that decision set in motion a series of renovation improvements.

View from the well tower to the main house-site of the future kitchen and basement.

There was no garage but a feeble lean-to that was more of a broken down carport. You can see remnants of it (gray roof) in the bottom of the above photo. Eventually that was removed and a circular driveway installed.

Though the house already had a very small, dirt basement, the kitchen addition provided an opportunity to create a bigger basement. You can see where the hole for it has been excavated. So above the basement “hole” is where my new kitchen will be located.

Back of house during construction

This photo shows the new foundation walls to the kitchen. The basement walls at this point have been secured and made water tight.

After

Now that the kitchen/basement has been added, we need to make sure the new addition flows with the rest of the house. I am so grateful for the help and creative genius of our architect, Cathy Hayes. She made all the puzzle pieces fit together!

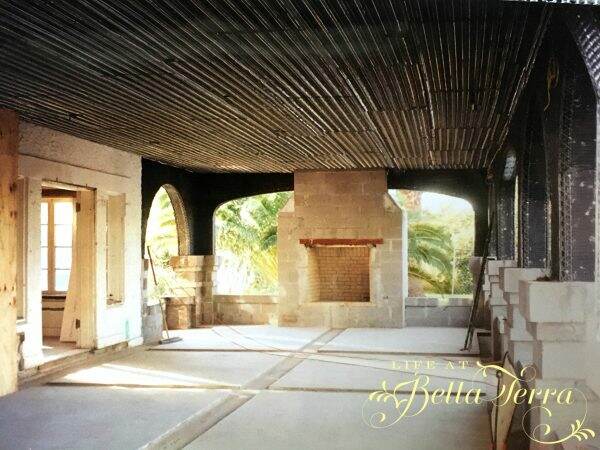
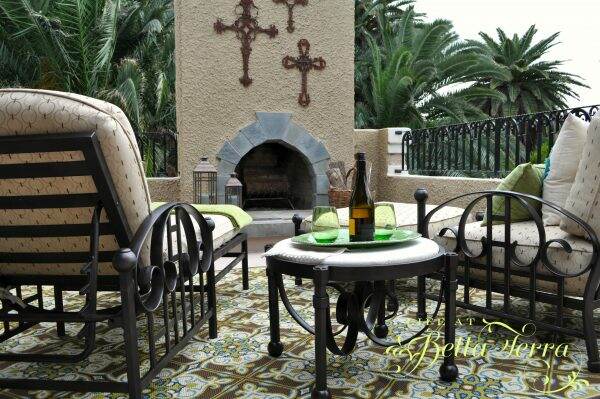
We do so by creating a large, outdoor covered terrace. A two-story fireplace is built on the south end. This becomes the focal point for both the downstairs and 2nd story patios. To see a previous post about the back terrace, click here.

Back Terrace during construction
Back Terrace After

The new additions on the first level created yet again, MORE opportunities to expand the second story, but that will be in Chapter 3! Ka-ching, ka-ching!

2nd Story Master Terrace

The photo below shows the new kitchen addition, with the stucco and roof tiles being applied. The carport is no longer there.

The view of the kitchen this morning

I love the large exterior roof overhangs. Whoever designed this house, took into account the sun and its placement during the day. These large 3 foot overhangs are so effective in protecting us from the extreme heat in the summer, especially on this western side of the house.

During all this construction, yes, we were living in our double-wide Cavco trailer, or manufactured home. The construction site was a real live playground for our two toddlers, who were happy as clams with all the dirt piles, excavators, and trucks.

It was a very joyful time for them, as they had no clue about the stresses or challenges of such a major restoration. Any dangerous parts of the project were off limits to the children, but I allowed them to play freely and get as dirty as they wanted.

Since the entire property was an active construction site, parking our cars was only allowed at the very front of the house.

Parking only in the front of the house

Below is a red wagon that I used multiple times a day. I hauled groceries and children back and forth from the front of the house to the double-wide, which was parked at the very rear of the lot. It was rough terrain and approximately 300 feet from the car to the trailer. The wagon would only hold 2 children and one bag of groceries so I made that walk, back and forth, so many times. One day, the wagon had enough. Its wheels fell off and it sighed with exhaustion. I felt like I lost a trusted companion.

Our Christmas card photos were rather fun during the 3 year restoration project. We really worked hard at keeping our sense of humor!

Yes, I am pregnant in that photo. More to come about that!

I hope you have enjoyed Chapter 2 of The Restoration Chronicles. Did you have a nice Valentine’s Day? Personally, I was happy to stay home and just enjoy a quiet Friday night.

Thank you again for following my stories here on the blog and on Instagram and Facebook. I just learned how to do Instagram Stories. Woohoo! IG Stories only stays online for 24 hours. Please check them out and tell me what you think.

Have a terrific weekend!

If you enjoy this post, please share on Pinterest.

This post shared with Between Naps on the Porch Metamorphosis Monday #638


Making Madeleines

I am addicted to the Great British Baking Show.  The 5 seasons on Netflix are hosted by Mary Berry and Paul Hollywood (swoon~~ah those blue eyes!).  Amateur bakers face off in a 10-week competition whipping up their best dishes hoping to be named the best in the U.K. The show is so informative-who knew the British had so many different cakes, breads, puddings, and pastries! Watching all 5 seasons is inspiring me to do more baking and today, I am making lemon flavored Madeleines.

Madeleines are a very traditional French breakfast or tea cake.  Perfect madeleines should have a nice hump at the top, indicating a good rise and a lightness in texture. The thinner edges should be golden brown, caramelized and crunchy. According to this recipe, a madeleine pan is nice but not necessary. You can also use a miniature muffin pan.

Ingredients and Recipe

This recipe for madeleines is from Dessert University by Roland Messier, executive pastry chef at The White House for 25 years. I took a class from Roland years ago and finally dusted off his cookbook. You can find it here.

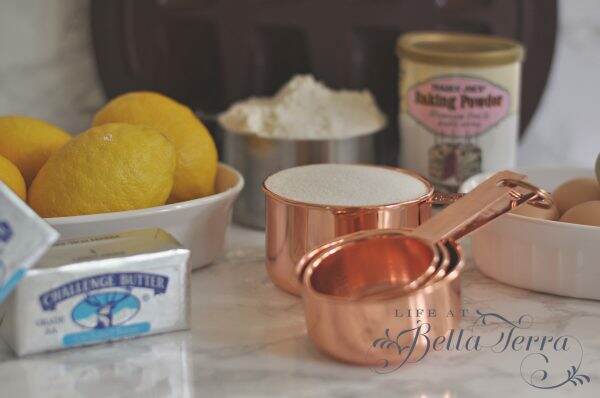
Ingredients are rather simple~~flour, baking powder, lemon, sugar, eggs and lots of butter!

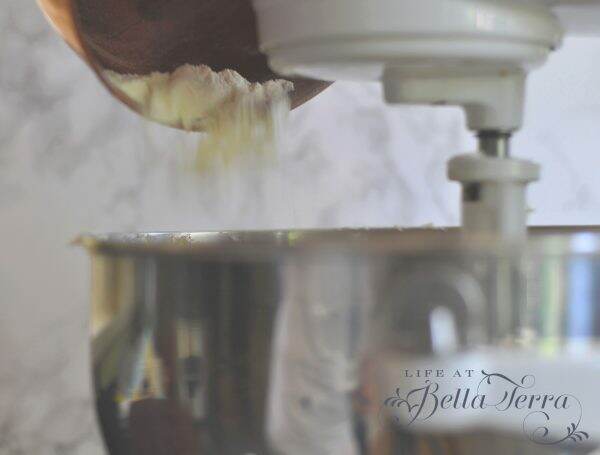
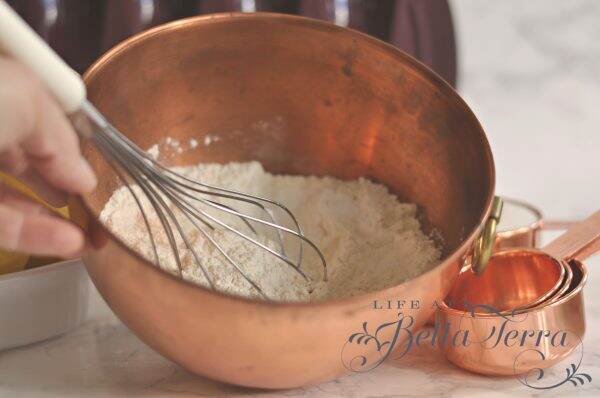
Blend the flour and baking powder together.

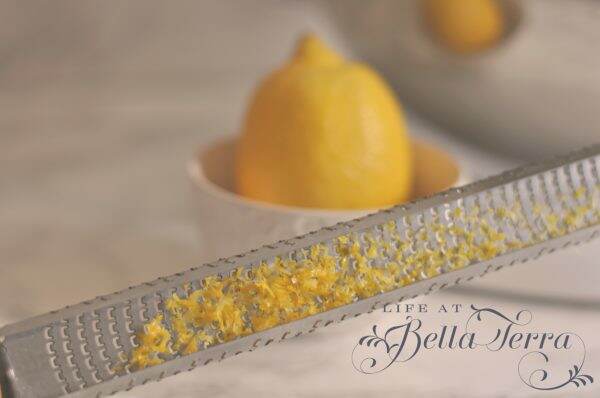
Zest the lemon~~later the fruit will be juiced for the lemon glaze. This is my favorite zesting tool here.
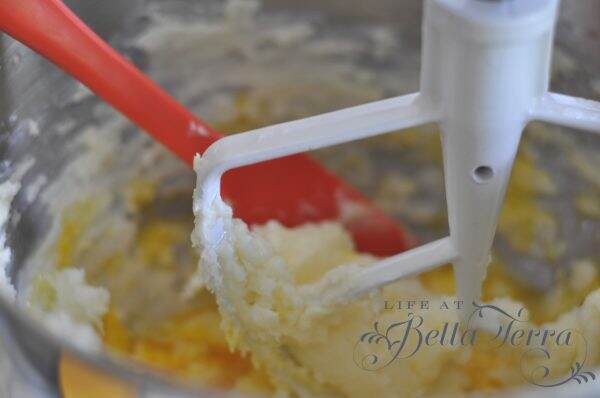
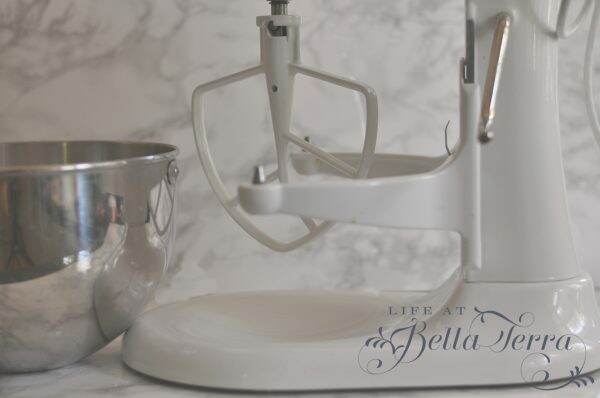
Using the paddle attachment on your mixer, blend the sugar, butter, lemon zest and salt.

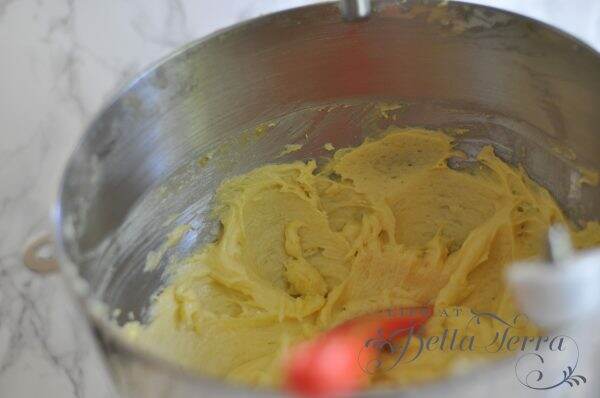
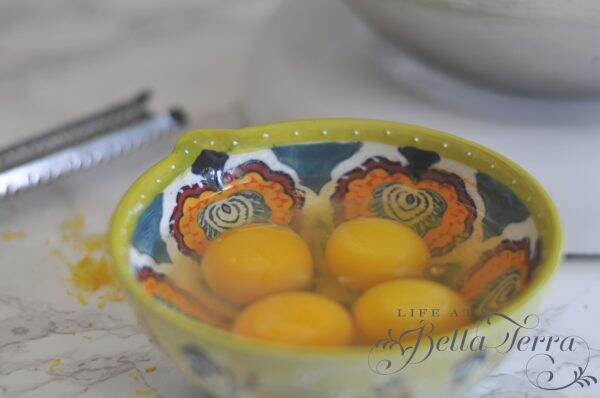
Be careful not to over beat. With the mixer on low, add the eggs and then the egg yolk until well combined.

Stir in the flour mixture and mix until dough is smooth.

Cover the bowl and refrigerate for at least 1 hour.

Baking Preparation

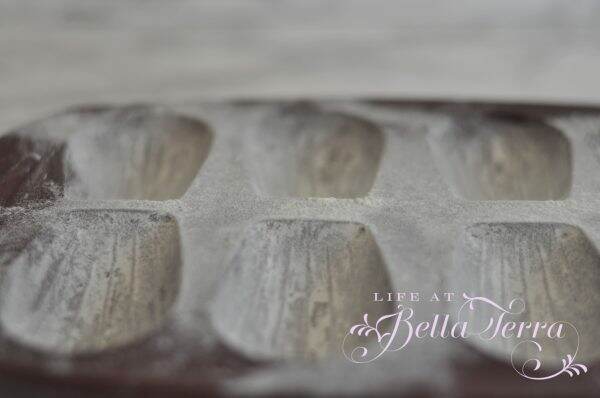
Butter and flour the madeleine pan.  The only one I have is a Tefal silicone one with 8 cakes. Though the recipe stated there isn’t a need to butter and flour the non-stick pan, I did so to prevent any sticking. Updated note: I do not like this silicone pan. It buckles in the oven and prevents the batter from laying evenly. See other pan resource here.
Fill the cups 3/4 full.  The batter is almost cookie dough-like and it’s hard to tell when it’s 3/4 full. My first batch produced rather large madeleines.  I measured the batter in the second batch (a low heaping tablespoon) and the madeleines were a more normal size. Below is a picture of the first batch pre-oven.
I have a convection oven so I set the temperature at 400 degrees (recipe calls for 425 degrees) and baked them for approximately 8 minutes.  That time varied depending on the quantity of the batter.

Finishing Touches

After baking, remove the madeleines immediately from the pan.  Mine popped out nicely.  Brush each one with the lemon glaze. This silicone basting brush works very well with the delicate cakes (see here).

This is only the second time I’ve made madeleines and I really loved this lemon recipe.

These were a big hit with my family!  I wonder what Paul Hollywood and Mary Berry would say 🙂

If you enjoy this post, please share on Pinterest.


Madeleines

  • 1 1/2 cups plus 2 tablespoons all-purpose flour
  • 2 1/4 teaspoons baking powder
  • 1 cup (2 sticks) unsalted butter, softened
  • 1 cup granulated sugar
  • 1 teaspoon grated lemon zest
  • Pinch salt
  • 4 large eggs
  • 1 large egg yolk

For the lemon glaze

  • 3/4 cup confectioners sugar
  • 2 tablespoons strained fresh lemon juice
  • 1 teaspoon grated lemon zest
  1. Place the flour and baking powder in a medium bowl and whisk to combine.

  2. Combine the butter, sugar, lemon zest and salt in the bowl of an elecric mixer fitted with the paddle attachment, and mix until smooth. Be careful not to over beat. With the mixer on low speed, add the eggs, and then egg yolk, one at a time, scraping down the sides of the bowl as necessary, and mix until well combined. Stir in the flour mixture and mix until the dough is smooth, 1 minute. Cover the bowl with plastic wrap and refrigerate for at least 1 hour or up to 3 days. The dough will keep in an airtight container, or portioned out in zipper-lock bags, in the freezer for up to 1 month.

  3. Preheat the oven to 425 degrees. Make the lemon glaze; Combine the confectioners' sugar, lemon juice, and lemon zest in a medium bowl and whisk to dissolve the sugar.

  4. Butter the madeleine or muffin pans and flour them. (If you are using nonstick pans, there is no need to butter and flour them). Spoon the batter into the pans until each cup is about 3/4 full. Bake until risen and golden, about 8 minutes. Remove the pan(s) from the oven, immediately turn the madeleines out of the pans, and brush them with the lemon glaze if desired. Madeleines are best eaten on the day they are baked.