1

Reflecting on 2018

The time between Christmas and the New Year is an interesting one.  I love having less cars on the road, a fluid schedule, and more time with my family. The house is a bit messy but I don’t really care. As this year closes and a new one is ready to begin, it is a good time to reflect on the last 12 months. I am guilty of sometimes thinking ahead, and not spending that necessary time to ponder on what has been.

Here are some of the highlights of 2018:

Entertaining

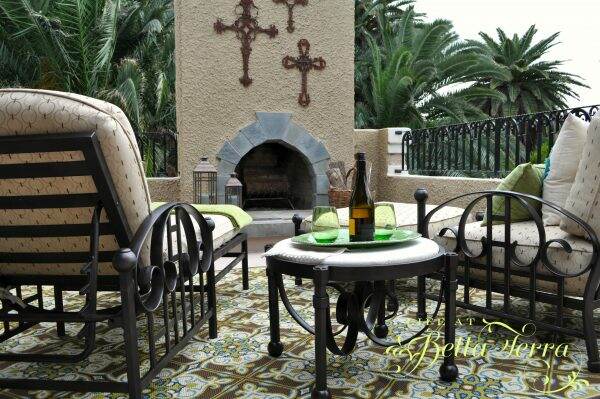
Most of what we do for entertaining is simple, spontaneous, come on over for drinks and nibbles.  But having scheduled, more formal events forces us to clean a bit deeper, tackle the projects we’ve postponed, and step things up a notch.

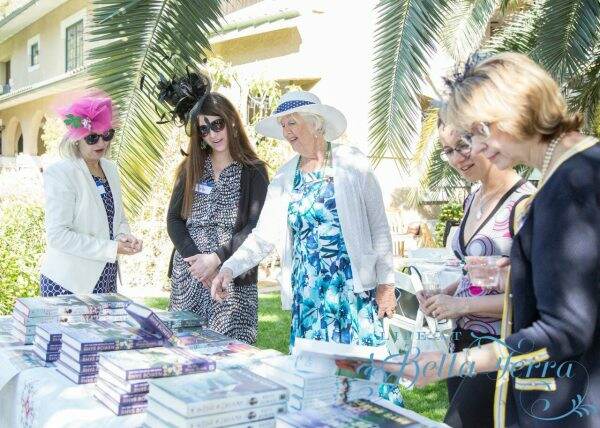
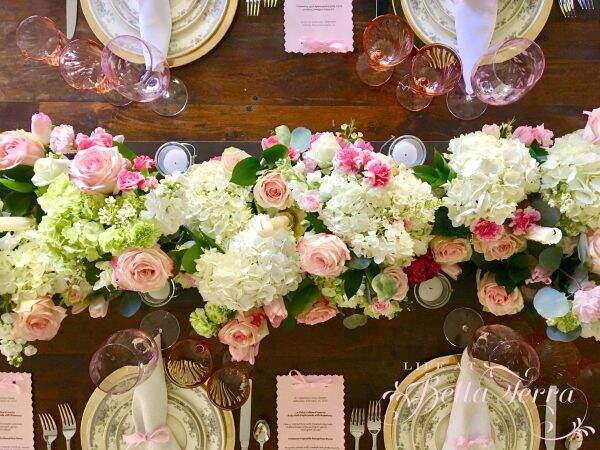
It is always such an honor to host a charitable event, where people have a wonderful time for a good cause.  In March, we had our second Afternoon Tea with New York Times Bestselling Author Rhys Bowen. We get to play dress up with our hats and nibble on civilized food, gather with friends all while helping others.

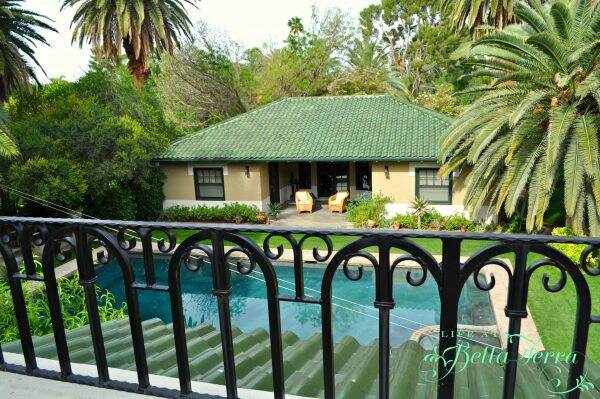
In the spring, our property is at its best.  Flowers are blooming, the trees have their spring buds and the weather is generally perfect.  Hosting Junior Prom for my daughter and her 20 friends, was as much fun for me as it was for them.

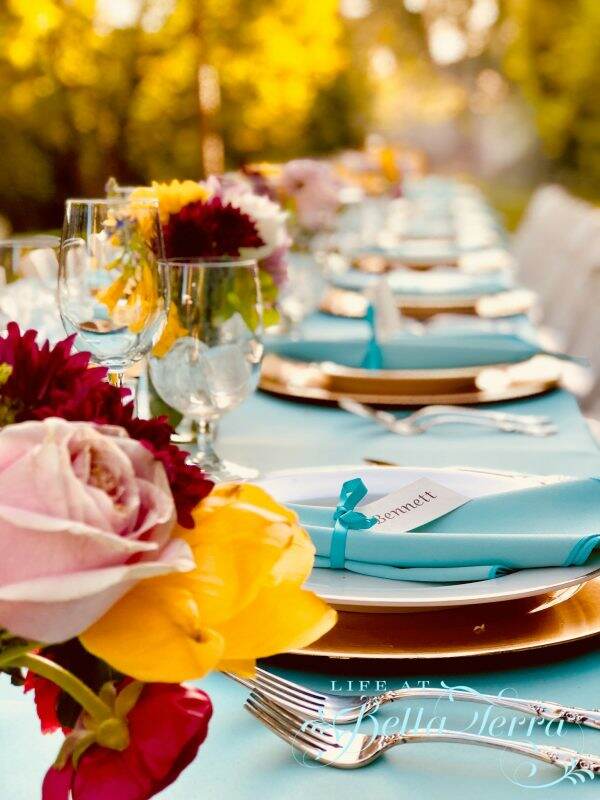
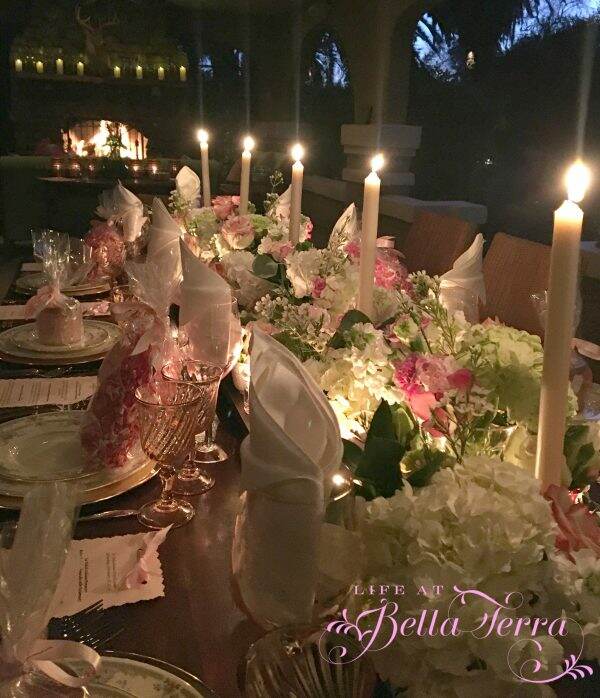
Perhaps one of my most favorite events is Valentine’s Day.  We are at an age where we don’t do much as a couple, but having a small group of good friends for a lovely sit-down dinner is just perfect. I tried something different with the table setting and the effect was magical.
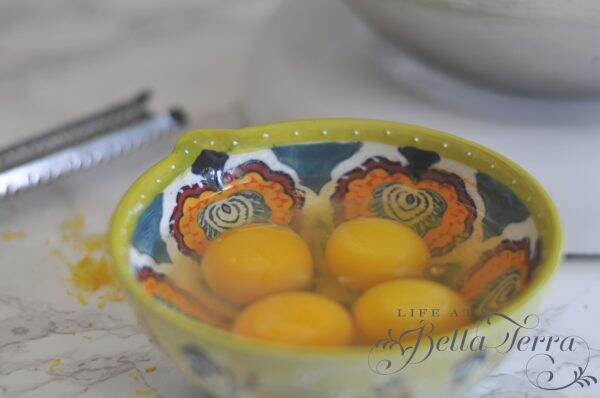
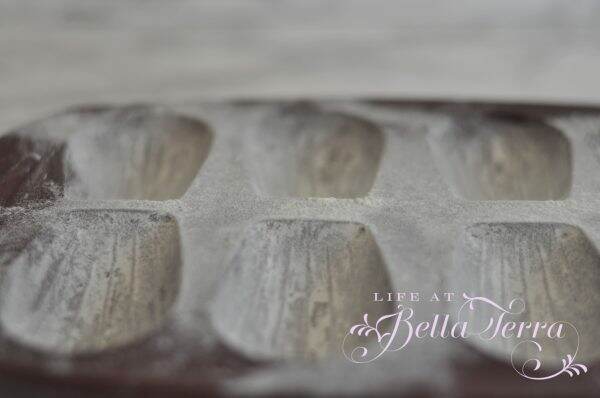
Recipes

I tried some new recipes this year ~~ Key Lime Pie, Lemon Pots de Creme, Madeleines and a gingerbread house.
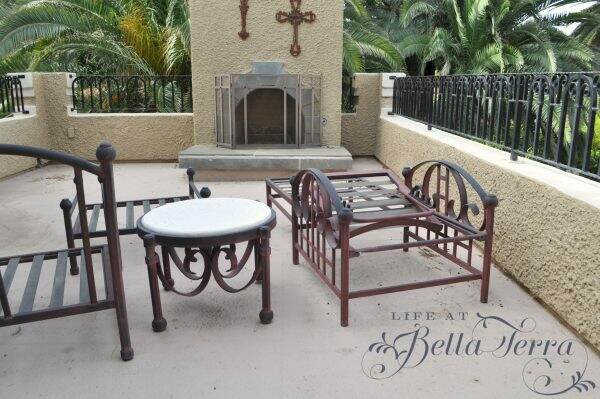
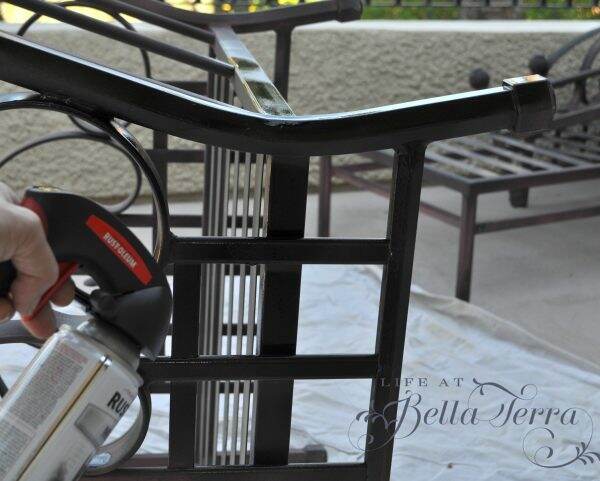
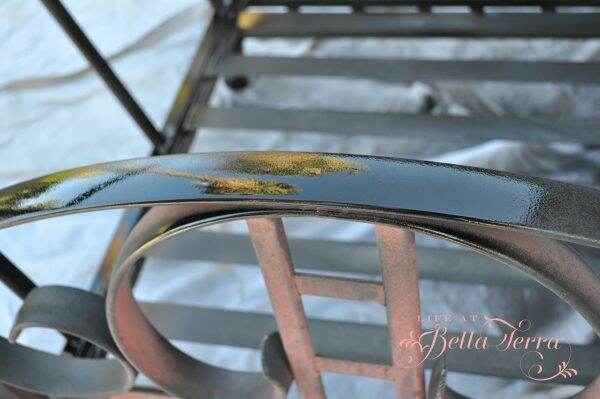
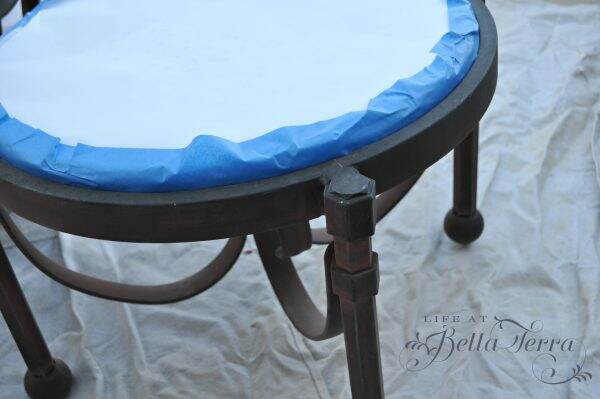
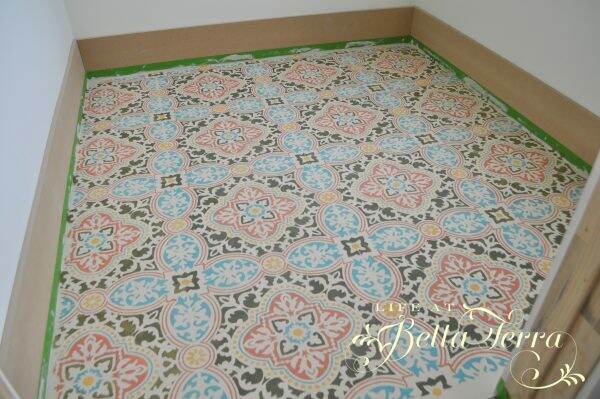
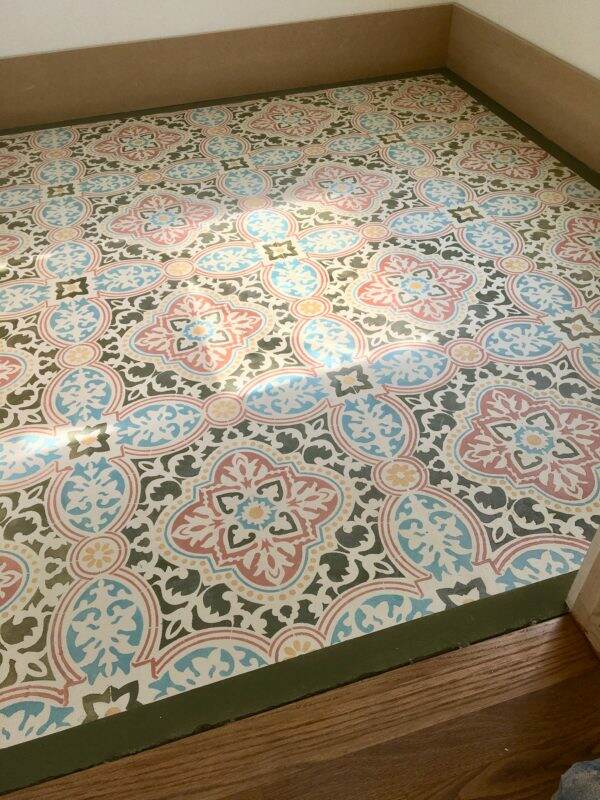
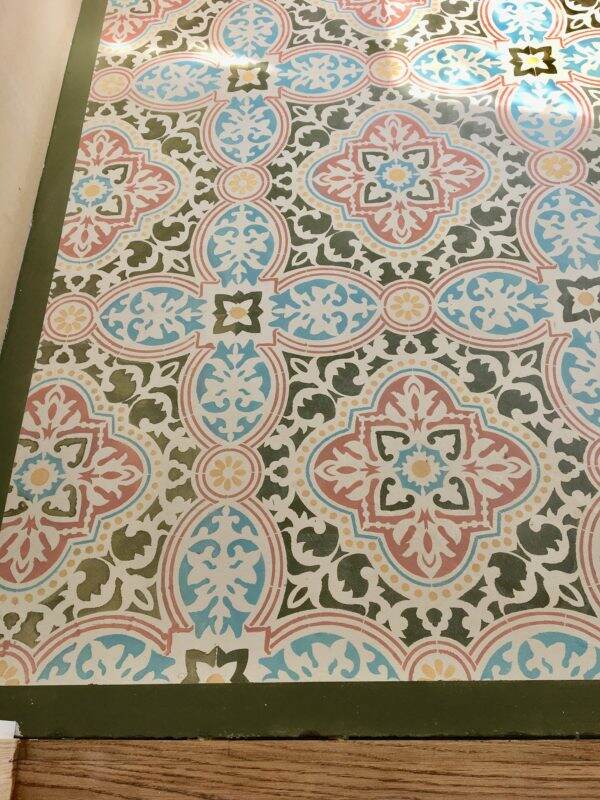
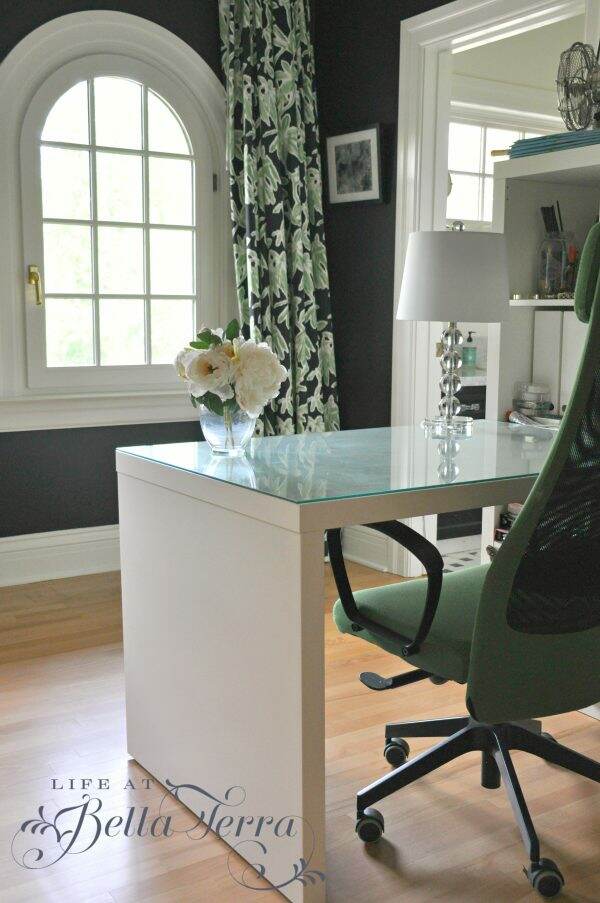
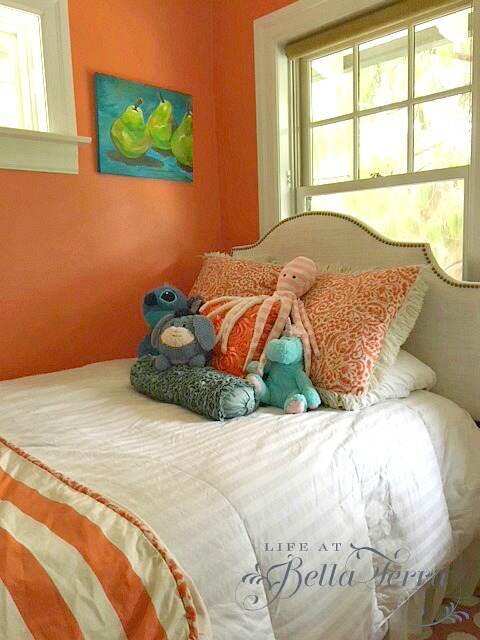
Before and After

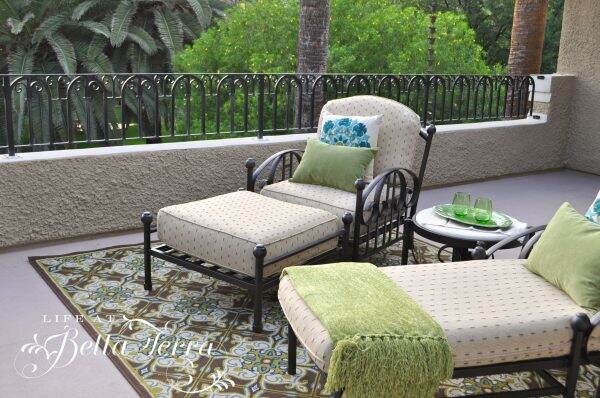
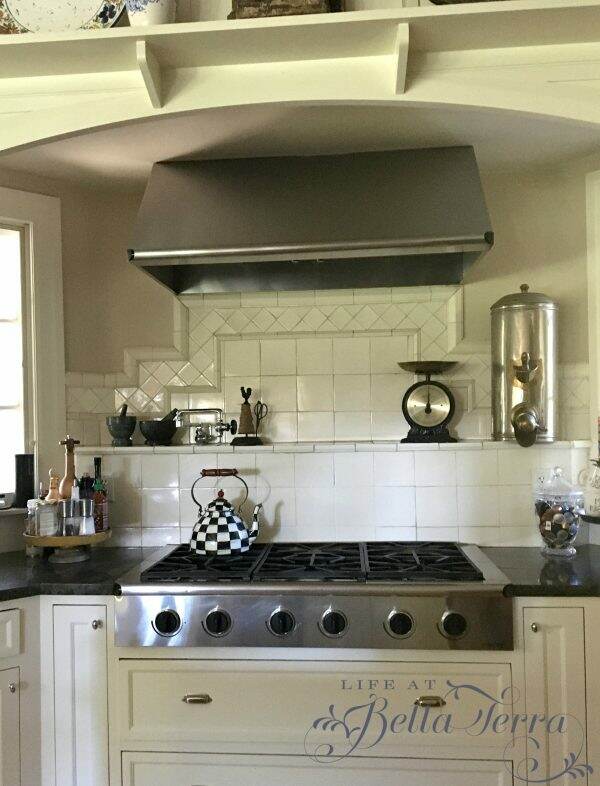
As some of you requested, I posted more Before and After pictures of Bella Terra, including the master bedroom, wine cellar, kitchen, library, mudroom, my girls’ bedrooms and the exterior renovation.

New Vintage Style Kitchen | Kitchen Inspo

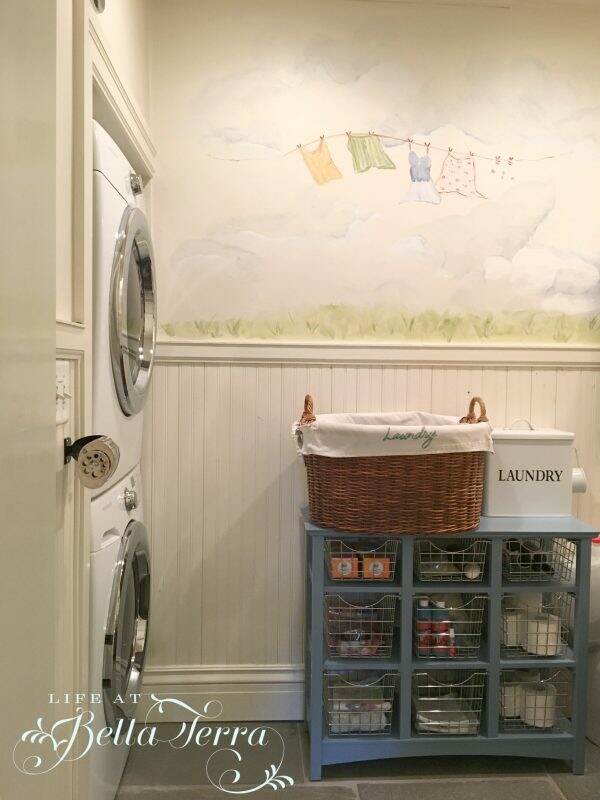
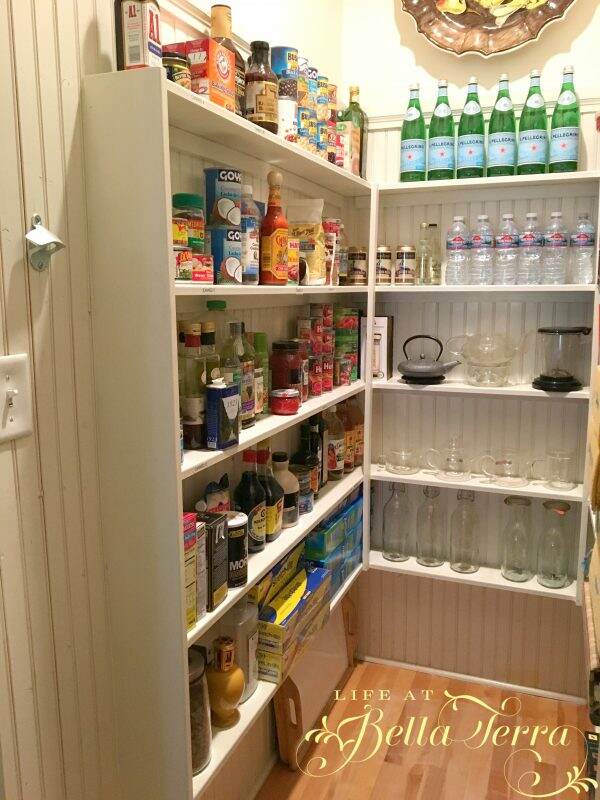
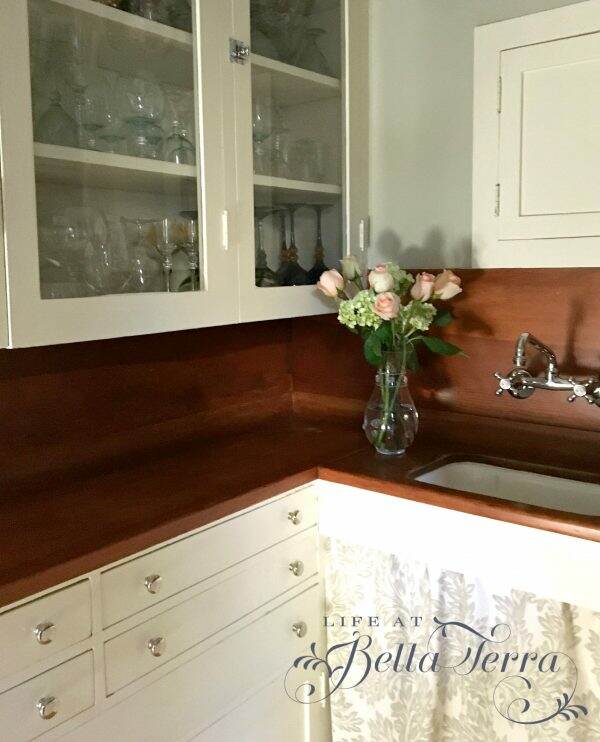
Organization Projects

Each year I try and reorganize some cluttered area of the house (there are MANY), and was able to improve both the Butler’s Pantry, the kitchen pantry, and the mud/laundry room.

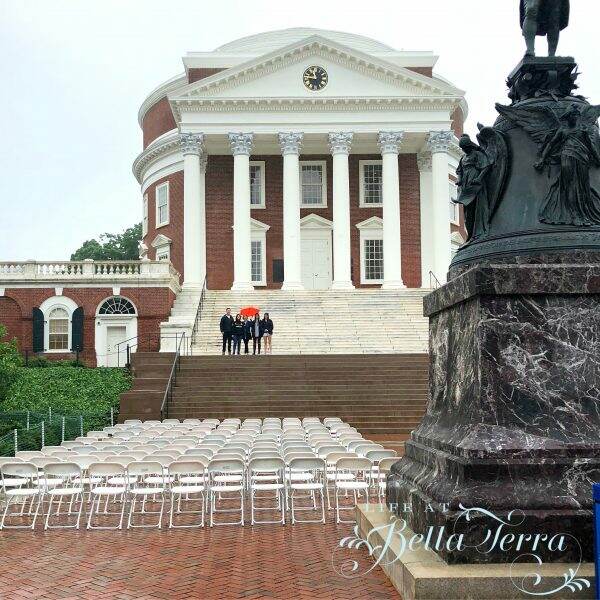
Personal Achievements

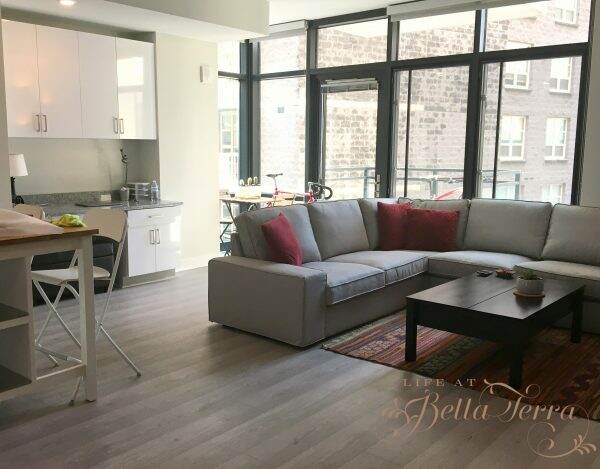
Yes, there were a few milestones this year~~our son’s graduation from college and the beginning of his professional career.

However, I do not miss assembling Ikea furniture at his apartment in Washington, D.C.!

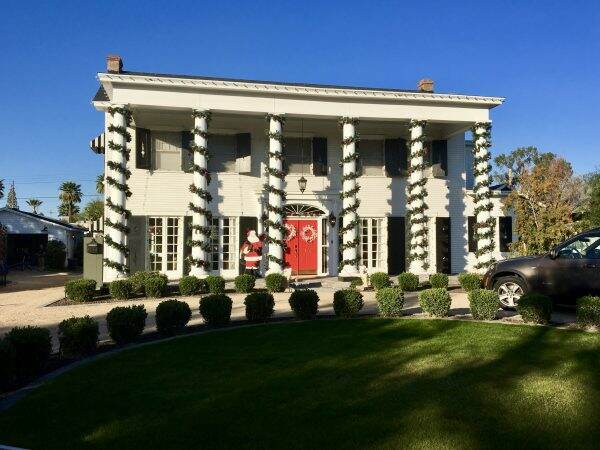
My Willetta house restoration finally sold and the family kindly invited us to their holiday open house. It is such a gift to know this family loves all the hardwork and attention to detail we put into restoring this grand old dame.

All in all, 2018 was a good one for us.  Some years aren’t so gentle, but we are basking in the glow of this one.

Personally, I couldn’t have continued writing this blog without you, my subscribers.  Just when I am feeling discouraged, someone has a generous compliment or comments about a recent post.  I know in this busy world it is difficult to find time to sit down and read about life around here, but I so dearly appreciate it when you do.

As always, I look forward to your comments and criticisms.  With feedback I can only get better. As the year comes to a close, I send you my biggest hugs and lots of quiet, loving moments for your and your family. Thank you for your continuing support and friendship!


P.S. I didn’t provide links to the various blog posts mentioned above, but if you are interested in any topic you can enter it in the search bar.


Turmeric

Lately, I have seen so much information on the benefits of turmeric.

Turmeric is a plant related to ginger and is sometimes called Indian saffron or the Golden spice. It is a tall plant that grows in Central America and Asia.  Turmeric is made from the ground roots of the plant.

According to HealthLine, turmeric is the spice that gives curry its yellow color. It has been used in India for thousands of years as a spice and medicinal herb. Recently, science has started to back up what Indians have known for a long time — it really does contain compounds with medicinal properties.

These compounds are called curcuminoids, the most important of which is curcumin. Curcumin has powerful anti-inflammatory effects and is a very strong antioxidant.

Scientists now believe that chronic, low-level inflammation plays a major role in almost every chronic, Western disease. This includes heart disease, cancer, metabolic syndrome, Alzheimer’s and various degenerative conditions.

Research has shown that curcumin has healthy beneficial effects on: heart disease, arthritis and joint pain, PMS, depression, cancer, anxiety, liver function, cognitive function, and digestive ailments.

There are several ways to add turmeric in your diet.  You can sprinkle the spice into salad dressings, casseroles, marinades, or on rice.

I also drink Golden Milk by Gaia. The ingredients to this warm yellow beverage are turmeric and other traditional Ayurvedic herbs like Black Pepper, Cardamom, Vanilla and Ashwagandha.

Mix 1 teaspoon into any warm milk of your choice. I use a hand frother to blend the powder. Drink daily. Gaia Herbs Golden Milk is vegan and gluten-free with no GMOs or soy, with natural sweetness from dates.

I purchase my Golden Milk at our local Sprouts store, but it can be found online as well.

If you prefer tea, my dear friend, Gabie from Tea End Blog has shared her recipe for Turmeric Tea.  She has allowed me to use her photo below-one of my favorites!  For the link to her blog post, click here.

There are many high quality turmeric supplements available.

Unfortunately, curcumin is poorly absorbed into the bloodstream. It helps to consume black pepper with it. It is recommended to find a product with BioPerine (the trademarked name for piperine), which is the natural substance that enhances curcumin absorption by 2,000%.

Based on MedicalNewsToday, research indicates that turmeric doses of 500–2,000 mg per day may be effective. However, high doses are not recommended long-term. Also, do not use if you are pregnant or nursing. Please check with your doctor before taking any new supplements or products.

There is a TON of information on the internet about turmeric and curcumin.  Even one sight indicated it was “the world’s healthiest food”.  I just started taking daily supplements so I am excited to see if I notice a difference.

Have a healthy day!


Making Madeleines

I am addicted to the Great British Baking Show.  The 5 seasons on Netflix are hosted by Mary Berry and Paul Hollywood (swoon~~ah those blue eyes!).  Amateur bakers face off in a 10-week competition whipping up their best dishes hoping to be named the best in the U.K. The show is so informative-who knew the British had so many different cakes, breads, puddings, and pastries! Watching all 5 seasons is inspiring me to do more baking and today, I am making lemon flavored Madeleines.

Madeleines are a very traditional French breakfast or tea cake.  Perfect madeleines should have a nice hump at the top, indicating a good rise and a lightness in texture. The thinner edges should be golden brown, caramelized and crunchy. According to this recipe, a madeleine pan is nice but not necessary. You can also use a miniature muffin pan.

Ingredients and Recipe

This recipe for madeleines is from Dessert University by Roland Messier, executive pastry chef at The White House for 25 years. I took a class from Roland years ago and finally dusted off his cookbook. You can find it here.

Ingredients are rather simple~~flour, baking powder, lemon, sugar, eggs and lots of butter!

Blend the flour and baking powder together.

Zest the lemon~~later the fruit will be juiced for the lemon glaze. This is my favorite zesting tool here.

Using the paddle attachment on your mixer, blend the sugar, butter, lemon zest and salt.

Be careful not to over beat. With the mixer on low, add the eggs and then the egg yolk until well combined.

Stir in the flour mixture and mix until dough is smooth.

Cover the bowl and refrigerate for at least 1 hour.

Baking Preparation

Butter and flour the madeleine pan.  The only one I have is a Tefal silicone one with 8 cakes. Though the recipe stated there isn’t a need to butter and flour the non-stick pan, I did so to prevent any sticking. Updated note: I do not like this silicone pan. It buckles in the oven and prevents the batter from laying evenly. See other pan resource here.

Fill the cups 3/4 full.  The batter is almost cookie dough-like and it’s hard to tell when it’s 3/4 full. My first batch produced rather large madeleines.  I measured the batter in the second batch (a low heaping tablespoon) and the madeleines were a more normal size. Below is a picture of the first batch pre-oven.

I have a convection oven so I set the temperature at 400 degrees (recipe calls for 425 degrees) and baked them for approximately 8 minutes.  That time varied depending on the quantity of the batter.

Finishing Touches

After baking, remove the madeleines immediately from the pan.  Mine popped out nicely.  Brush each one with the lemon glaze. This silicone basting brush works very well with the delicate cakes (see here).

This is only the second time I’ve made madeleines and I really loved this lemon recipe.

These were a big hit with my family!  I wonder what Paul Hollywood and Mary Berry would say 🙂

If you enjoy this post, please share on Pinterest.


Madeleines

  • 1 1/2 cups plus 2 tablespoons all-purpose flour
  • 2 1/4 teaspoons baking powder
  • 1 cup (2 sticks) unsalted butter, softened
  • 1 cup granulated sugar
  • 1 teaspoon grated lemon zest
  • Pinch salt
  • 4 large eggs
  • 1 large egg yolk

For the lemon glaze

  • 3/4 cup confectioners sugar
  • 2 tablespoons strained fresh lemon juice
  • 1 teaspoon grated lemon zest
  1. Place the flour and baking powder in a medium bowl and whisk to combine.

  2. Combine the butter, sugar, lemon zest and salt in the bowl of an elecric mixer fitted with the paddle attachment, and mix until smooth. Be careful not to over beat. With the mixer on low speed, add the eggs, and then egg yolk, one at a time, scraping down the sides of the bowl as necessary, and mix until well combined. Stir in the flour mixture and mix until the dough is smooth, 1 minute. Cover the bowl with plastic wrap and refrigerate for at least 1 hour or up to 3 days. The dough will keep in an airtight container, or portioned out in zipper-lock bags, in the freezer for up to 1 month.

  3. Preheat the oven to 425 degrees. Make the lemon glaze; Combine the confectioners' sugar, lemon juice, and lemon zest in a medium bowl and whisk to dissolve the sugar.

  4. Butter the madeleine or muffin pans and flour them. (If you are using nonstick pans, there is no need to butter and flour them). Spoon the batter into the pans until each cup is about 3/4 full. Bake until risen and golden, about 8 minutes. Remove the pan(s) from the oven, immediately turn the madeleines out of the pans, and brush them with the lemon glaze if desired. Madeleines are best eaten on the day they are baked.


All About Lavender

I just returned from 6 days in Virginia and Washington, D.C.  I had hydrangea and peony envy….the entire time I was there.  So today, I decided to stop pouting and start appreciating the plants that grow here in Phoenix. Lavender is one of those plants that conjures up romance, serenity and bliss.

Climate

The climate in Phoenix is PERFECT for growing lavender~~these beautiful plants thrive in full sun, heat and fast draining, low fertility soils. They are at their very best in the more arid climates found west of the Mississippi where heat, sun, dry growing conditions and poor soils predominate. Humid heat and compost-enriched, water retentive soils are the enemy of lavender.

We have lavender growing in several beds around the yard and most of it is English lavender, but I still haven’t figured out the variety~~is it Provence, Hidcote or Arbrialii?

What is it?

What is lavender? It’s a perennial herb that’s native to the Western Mediterranean region. Different types of lavender plants are hardy in different zones, but most is hardy in Zones 5 to 11.  Who knew (not me!) that lavender is in the mint family (which also includes basil, thyme, lemon balm, oregano, sweet marjoram, rosemary, sage, savory, and summer savory).

Lavender love heat! These plants need good air circulation to maintain healthy leaves. A good rule of thumb is to space the plants as far apart as they’ll grow tall. This ensures ample air circulation between plants.

Cutting

I try my hand at cutting lavender.  It is recommended that you do so early in the morning to preserve the oils in the flowers.  The snipping is near the base of the stems when the purple flowers are abundant.

Drying

Drying lavender is one of the easiest floral projects you’ll undertake. You can dry the flower heads by standing them upright in a vase without water.

I choose to bundle the flower stems together using ribbon, and will hang them upside down in a dry, dark, warm spot to dry. With either method, you will have dried lavender in about two weeks.

Uses

Dried lavender has many uses.  The fragrant, pale purple flowers and flower buds are used in potpourris.  Lavender is also used extensively as herbal filler inside sachets used to freshen linens. Dried and sealed in pouches, place lavender flowers among stored items of clothing to give a fresh fragrance and to deter moths.

I don’t know much about using lavender in a recipe (do you need a food grade lavender or can any lavender work?) but that might be something I will try next.

If you would like to see a post on making lavender pillows, click here.

Have a wonderful Wednesday!


Terrace Makeover

We have a lovely space outside of our master bedroom that has been sorely neglected.  It is located on the second story so it feels like it we are up in the tree tops. It is very private and surrounded by lush foliage. There’s a wonderful view over to the pool house and is ideal for watching sunsets.

The cast metal furniture has oxidized over time and little maintenance had been done to the deck such as cleaning and sweeping.

We added this fireplace during our original restoration/renovation but we hardly seem to use it as this space has never felt attractive or inviting.

I don’t know what prompted me to get busy with this part of our home, but after I purchased 5 cans of Rust-Oleum spray paint from Lowe’s in Metallic Oil-Rubbed Bronze I was up and running.  I’ve used spray paint cans before and have suffered from a stiff index finger in the process.  I am very happy to find this tool which is very inexpensive and so well worth it. The handle clips onto a spray paint can and all you have to do is squeeze the handle.  So easy!

The table top has a stone insert that was not removable so I covered it with paper and used Scotch’s blue painters tape to protect the stone from overspray.

Each piece of outdoor furniture is sprayed with new paint. After they are all dry, it is time to put the seating area back together.

And here is the AFTER.

The rug I ordered online through Rugs Direct.  I’ve had rather good luck with this company and have been very happy with their selection, their prices and the speed of their delivery.  This 8′ x 10′ Caspian (1005D) outdoor rug cost $199 (with free delivery) and it defines the space.

The throw, pillows, lanterns and acrylic glasses and tray are from Pier One Imports.  I haven’t been there in some time and I am always so impressed with their selection of products. The cushions are covered in Sunbrella fabric. The furniture was purchased several years ago and I believe the manufacturer is Pompeii.

Pier One has such a nice selection of outdoor trays and dinnerware.  Look at this tray-the details are so pottery-like but unbreakable!

I imagine this will now become a favorite spot for a cup of coffee or glass of wine.

Some things to learn about this project:

  1.  Wear gloves unless you want to scrub off your first layer of skin to get the paint off.
  2.  Wear shoes or socks.  I was barefoot and yes, I had to scrub and scrub to get the paint off my feet.
  3.  Make sure you put down an appropriate amount of protective sheets or drop cloths.  Mine were a bit small and yes, there was overspray.  Thankfully I was able to scrub that off the deck.  Lots of scrubbing after this project!
  4. Check the paint color before you start.  I didn’t dislike this paint enough to stop and purchase more, but I do wish it was a bit lighter.

If you enjoyed this post, please feel free to share it on Pinterest.

This post shared with Between Naps on the Porch Metamorphosis Mondays #604


Painting/Stenciling a Concrete Floor

Silver, crystal, linen and china closet

At the Willetta restoration, we created a large closet off of the dining room by enclosing a portion of an old adjacent storage area.  The purpose of this room is to become the silver, crystal, linen and china closet.  I’ve always wanted a separate space to store my “stuff”- large trays, candlesticks, tablecloths, dishes, silverware and entertaining items.  This 6′ x 7′ closet will be PERFECT for the new homeowners to do just that.

Dining Room Before

The challenge is that the floor in the new closet is concrete and is flush with the dining room floor which is hardwood.  Adding new flooring on top of the concrete doesn’t make much sense as it would have create an awkward transition.

What could I do to make the floor feel more formal, like the dining room, without adding tile or more wood? After pondering this for a few days, I asked myself,  “How hard could it be to stencil/paint the concrete floor?”  So I googled “how to paint a concrete floor” and watched the YouTube video by Annie Sloan, entitled How to stencil a concrete floor in 10 easy steps. 

The video is set to catchy music and yes, in 10 easy steps, Annie Sloan creates a beautiful floor.  So easy peasy, right? To make it even more convenient, you can buy the entire stenciling kit from Royal Design Studio Stencils.

The stencil that is used in the video is the Anatolia Wall Stencil.  However, the packaging below shows the stencil using 2 colors only (which in retrospect would have been MUCH easier!).  In the video, there are five different colors. The stencil dimensions are rather large at 21″ x 21″.

Within minutes, I purchase the stencil kit online and figured nothing ventured, nothing gained. Right?

The kit is complete with the stencil, the paint, the brushes and the top clear coat.

I’ve never stenciled anything elaborate before so I didn’t realize you needed special brushes, but thank goodness they came in the kit.  However, there wasn’t any information on what brush to use with what color.  I had 4 colors and 5 brushes.  No problem, as I thought I could wing it.


Starting the Stenciling Process

When the kit arrived a few days later,  I didn’t see any instructions in the box.  So I called Royal Design Studios and asked where I could get a copy of the instructions of the floor that was created in the video.  They told me that there weren’t any written instructions.  Yikes.  So, my smart painter, John, suggested I do screen shots of the video and print them out.

So armed with 20+ pages of instructions and my stencil kit, I began painting the floor over the weekend.

First, I taped off the baseboard (which hasn’t been painted) with painter’s tape and painted the floor Old Ochre Chalk Paint.  The paint is a very warm white and rolled on rather well–velvety in a way.  I used a foam roller as recommended in the video.  The paint dried very quickly, however, I waited until the next morning to do a second coat.

After finding and marking the center line of the room, I placed the first stencil at the doorway and put the right edge of the stencil on the center line.  You can see here that the concrete floor is flush with the dining room hardwood floor.  I used green Frog painter’s tape to secure the stencil and protect any paint from spilling onto the hardwood floor.

Since the paint brush sizes weren’t designated to a specific color, I would use the largest brush on the bigger parts of the stencil and then work my way down.  The first color was Olive~~I’m so glad I printed out the steps as it’s a bit confusing trying to determine what color goes where on the clean stencil.

Next came a color that required blending of a pink and yellow paint–I will refer to it as salmon. The stencil brushes have a blunt cut, so I gently dabbed paint onto the stencil.

At this point, I have completed the olive and salmon paint colors. Notice the paint and the paper towel in the photo below.  It is important to dab off any excess paint on the paper towel before applying to the stencil.

Yellow paint next, then followed by the blue.

The chalk paint dried very quickly so I didn’t need to wait to proceed with the next stencil.  It was relatively easy to line up markers on the edge, re-tape the stencil to the floor, and repeat.

The first few stencils seemed to take an eternity, because I was proceeding cautiously.  With the colors now on the stencil, I didn’t need to refer to the notes anymore so the process went a bit faster. By the end, I was able to complete a tile in 30 minutes. Mid-way through, I washed the stencil off with soap and water, as the dried paint began accumulating.

The center portions of the floor could accommodate the entire stencil, however, when I got close to the baseboards, only a partial stencil would fit.  It was a little tricky because it was hard to keep the stencil in place, even when secured with the tape. This step requires patience.

All in all, I painted this stencil 16 times to cover the 6′ x 7′ space.

With the stencils completed and the paint dry, I now paint the edges with a 2″ border of the olive paint to complete the look.

Finishing the Floor

In order to protect the floor I finished it with 2 coats of the clear floor lacquer provided in the kit.

I am so happy with the results! In retrospect, this was labor intensive and I was so sore from sitting or kneeling on the hard concrete floor for hours on end.  From start to finish, I would say I invested 10-12 hours of labor, not counting the drying time. However, this project was well worth it.

 I always love to do something unique and personal to each of the homes I restore/remodel.  This historic Willetta home now has an original piece of art by me. To see more about the Willetta restoration, click here.

Here you can see the proximity of this storage area to the formal dining room. The floor is so pretty you can leave the door open!

I hope you have enjoyed watching the transformation of this special room. If you love Before and Afters or restorations of historical homes, I invite you to browse my website. If you like what you see, please sign up to get my weekly blog posts! You can also find me on Instagram @lifeatbellaterra.