1

Refinishing Lamps

My son’s bedroom remodel is taking FOREVER. I wish I had one week without interruptions to finish it, however, that is not my life right now. But this weekend I was able to refinish 2 lamps and wanted to share the process with you.

You know you are blessed with good friends when they are out shopping, see a bargain and call you. My friend, Janie, found 2 sets of candlestick lamps at a thrift store. Personally, I have difficulty finding lamps that I like. I bought both sets, knowing that I could probably use them SOMEWHERE, plus they had really nice silk shades.

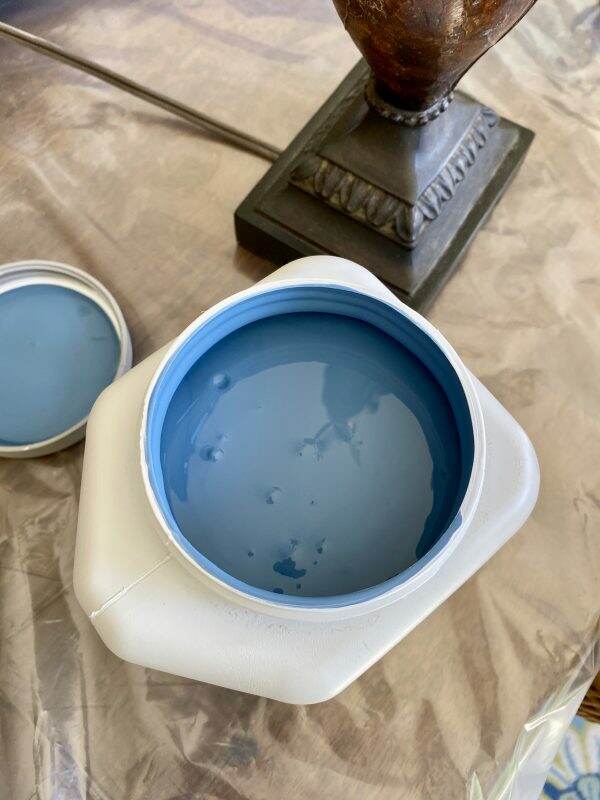
The lamps will sit on the headboard table attached to the existing Ikea bed, which is a java finish. All just too dark. Not thrilled with the style of the bed, however, I couldn’t justify buying a new one right now. Since the bed color isn’t something I can change, I decided to repaint the lamp bases. Working with my primary fabric, I selected a shade of blue, Down Pour by Sherwin Williams.

My husband was kind enough to pick up a sample size of the paint, but I failed to tell him to get enamel. I went with what he purchased~~~a satin latex, not confident if it would work. At this point, it would have been much easier to use spray paint, but if you want a custom color vs. something over the counter, you have to use a brush (or add it to a paint sprayer, which I don’t own).
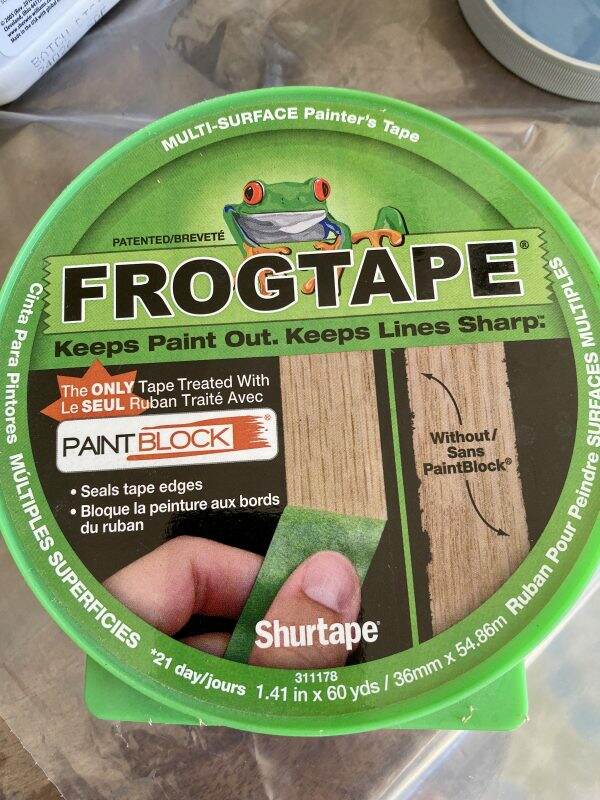
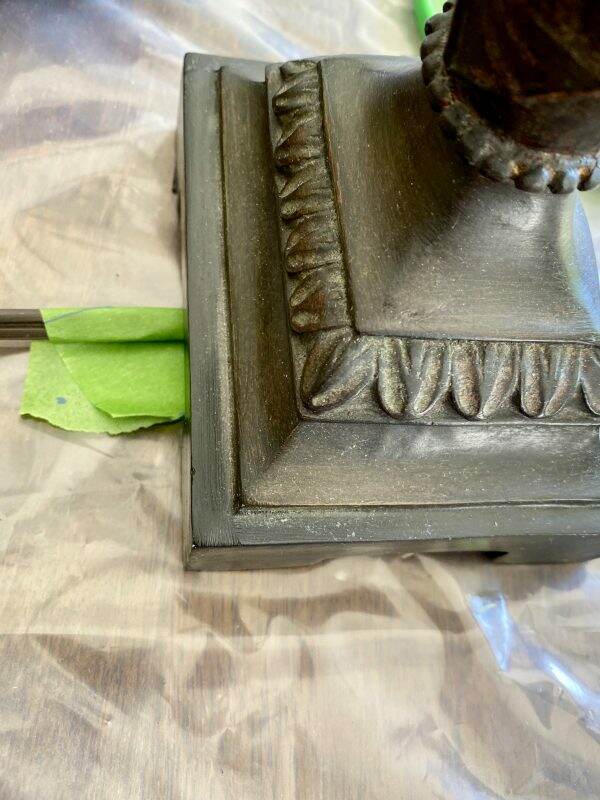
Prepping for a painting project is important and I used Frog Tape to cover the areas I wanted to protect.
The minute I started painting, I wasn’t wild about the color. It was a little too bright for me….and reminded me of the 70s.
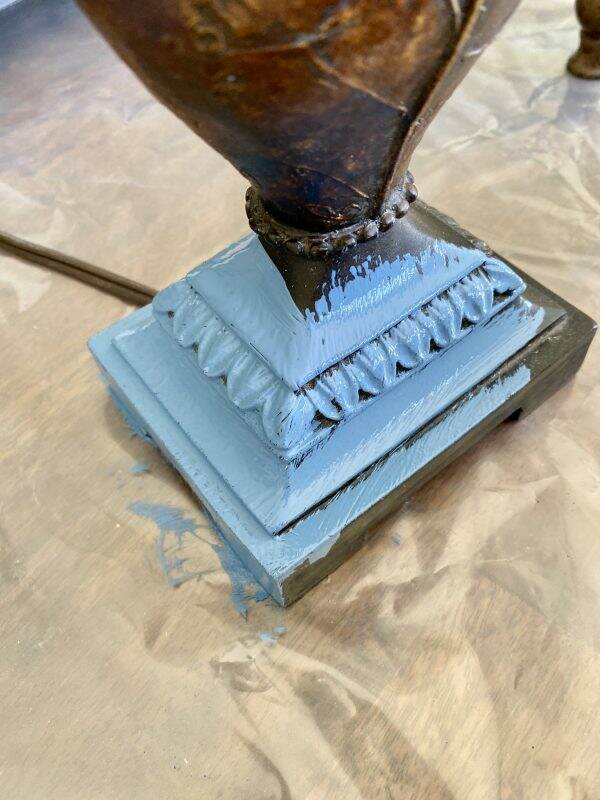
Fortunately, latex paint is very forgiving and the brush strokes melted away during the drying time. Both lamps were done and I clearly didn’t like the color. In order to paint the top shade lock, I inserted a screw into a piece of cardboard and then mounted the lock on top so I could paint around it.
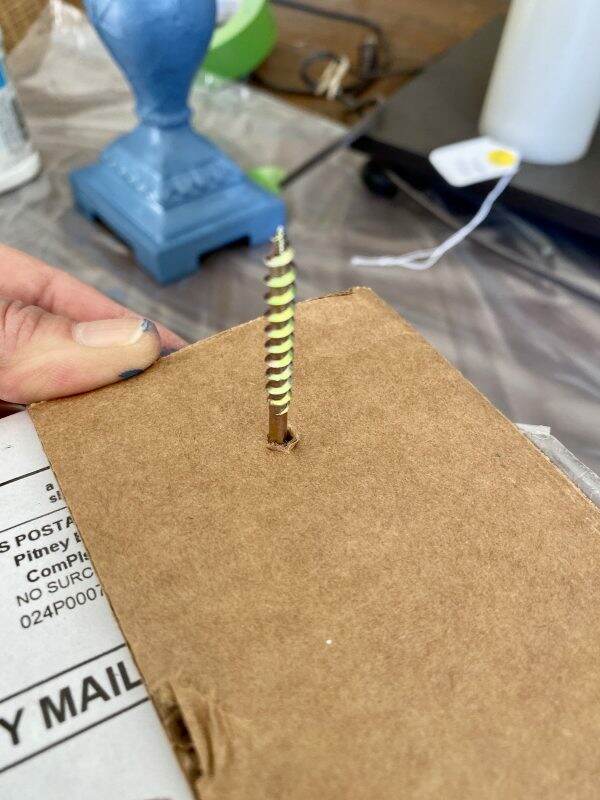

I stepped back after I was finished and didn’t like the color AT ALL. So I waited a day as paint tends to darken as it dries.

The next day I still wasn’t fond of the color and then remembered I had some wax metallic finish somewhere. Here is Rub ‘n Buff and it comes in a variety of finishes from gold to ebony.
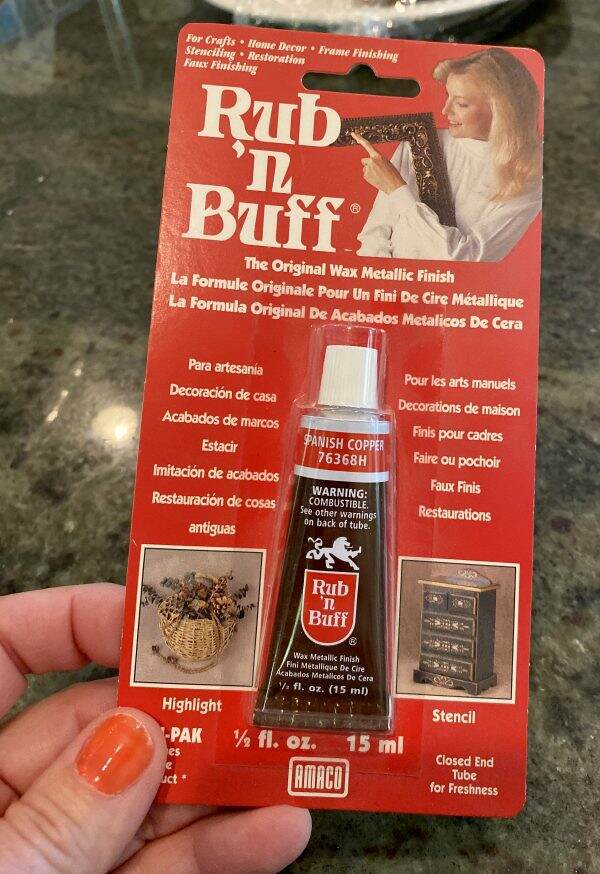
At this point, I felt like I couldn’t lose anything by trying this product. Worst case I could just repaint the lamp bases and start over.
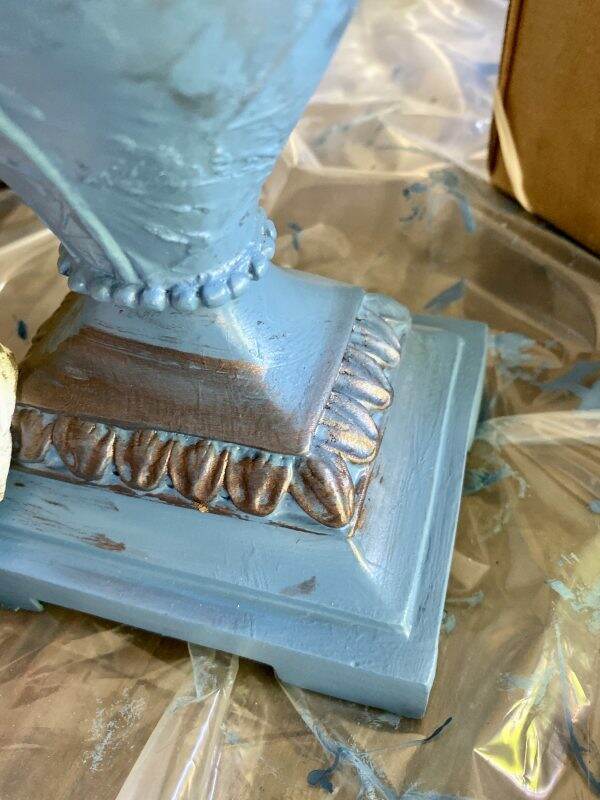
The instructions say to apply it with your fingertips, which was messy. But by the end I was adding it with a soft cloth. The Spanish Copper highlighted the details of the lamp nicely. It adheres very quickly so apply with caution.

The metallic wax toned down the bright blue and I actually started liking it.

The original shades were too dark. The room is painted a crisp white (not sure why my photos seem so yellow). I went online to buy new shades and my, oh my, are silk shades expensive! I only paid $25.00 for each lamp and I couldn’t justify spending over $300 for a new shade.

I continued my search online and finally found a Royal Design shade on Amazon, in white, for $39.99* each! I quickly ordered 2 and got them within a day or two (how do they do that?)

So here is the finished product. Again, the walls are white, the shades are white~~must be the northern light from the windows in the opposite wall creating a yellowing effect.

Such terrible pictures but hopefully you get the gist of the DIY project.

I think the blue contrasts nicely with the dark bed and compliments the pillow shams. Can’t wait to finish the rest of the room!

Hope you had a wonderful Veterans Day weekend. I keep thinking today is Monday!

*When I purchased these lamp shades they were $39.99 each. However, when I included the link to Amazon, the price was $59.99. If you were to buy these shades, I would recommend checking to see if they lower the price back down to $39.99.



10 Tips to Stay Healthy

Image result for images for staying healthy

Fortunately I am not a person who gets common winter illnesses. In the last 24 years, I can only recall being very sick with a cold or flu only twice. Living a healthy life should be an important focus as we age. Here are my top 10 tips for staying healthy!

I DO pay attention to how my body feels. When I’m stressed, tired, cranky and run down, I stop and take note. Then I apply all my remedies that so I can get back on track. There are several challenges we all have to keeping healthy~~lack of sleep, not eating properly, traveling, being around sick people and the list goes on and on.

Have a Strong Immune System

First and foremost, BUILD your immune system. There are so many germs and viruses out there and a weakened immunity system is a magnet to the nasty things in our environment. Eat a diet full of fruits and vegetables. Here is the link to some immune boosters you may want to investigate.

A Healthy Gut is a Must

2. Have a healthy gut. A healthy gut = a strong immune system. Keep away from high sugar, processed foods. With the holidays it’s easy to consume lots of sweets and alcohol. It is okay to do that occasionally but make sure you eat a healthy and balanced diet in between.

Image result for healthy gut images
I’ve not read this book but it is highly rated

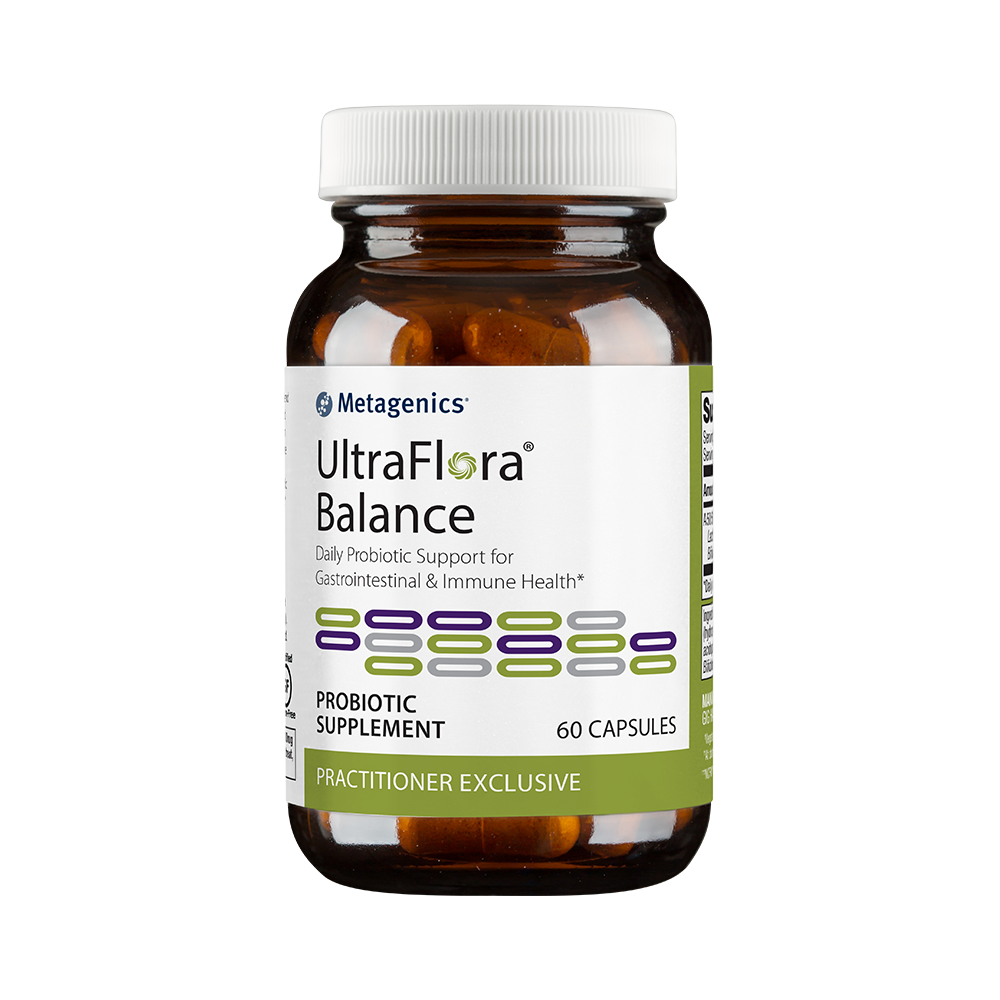
3. Do you take a probiotic? If not, you may want to do your research on probiotics as they may affect you differently. Here is the probiotic (Metagenics UltraFlora Control) I take daily (click here). Other selections of probiotics are available on Amazon as well. Research which one may be the best for you.

Part of having a healthy gut and a strong immune system is getting enough Vitamin C and E and eating a high fiber diet. I take Emergen-C Vitamin C supplement in a glass of water when I’m under the weather and always when I travel (link here).

Wash Your Hands

4. Wash your hands. I have trained myself that the minute I get home, the first thing I do is head for the kitchen sink and wash my hands.

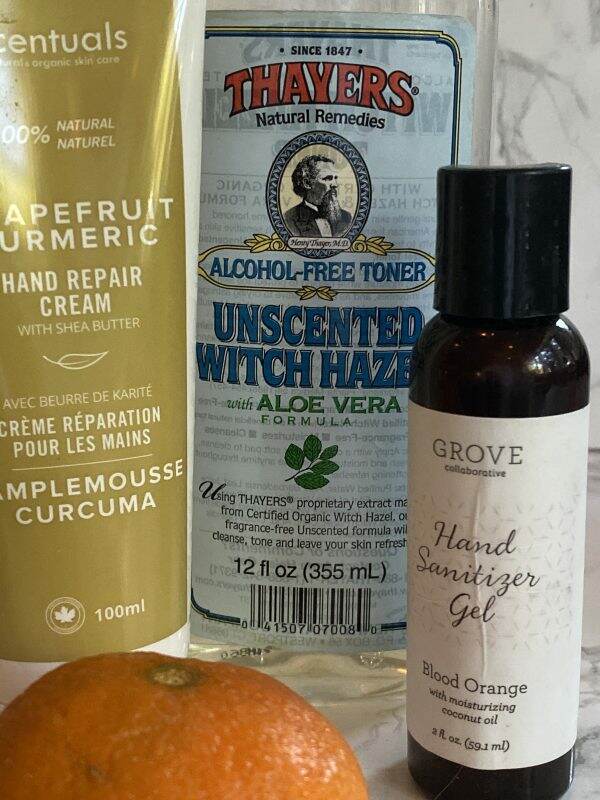
Nearby is a tube of hand cream and Thayer’s Witch Hazel. Witch hazel is a natural astringent, which means it can help tighten skin and slow down signs of aging such as discoloration, redness, and dryness. So I wash my hands, apply some witch hazel and then hand cream….and repeat often.

Use a Hankie or Elbow

Sniffles, sneezing and cough? How to tell if it's a simple allergy rather  than The Virus

If you have to sneeze, do so into a hankie, Kleenex or your elbow. Do not sneeze into your hands. I remember going into a business meeting and the client sneezed into his hand and then wanted to shake mine. I was so grossed out and just wanted to bathe myself in hand sanitizer. To see my attempt on bringing back hankies, click here. Do carry hand sanitizer. I order mine from Grove Collaborative and love the Blood Orange scent (click here) or get a similar one from Amazon here.

Do Not Touch Your Face

Image result for images of touching your face
Don’t want the flu? Stop touching your face!

5. Don’t touch your face! My mother would always reprimand us if we touched our faces. “Use the back of your hand!”, she would say. If you nose itches, use the back of your hand. Has your hair fallen in your face? Push it away with the back of your hand. The front of your hands are receptacles for bacteria.

Wipe Frequently Used Surfaces

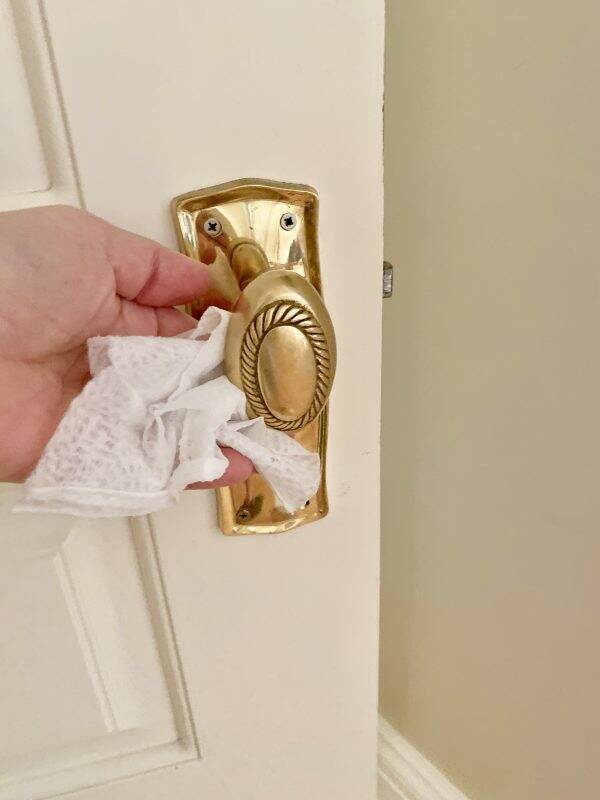
6. Wipe down your frequently touched items. How often do you sanitize the steering wheel to your car? Your front door knob? Your computer keyboard? The surface of your cell phone?

Think of all the things you touch during the course of the day. If someone in our house is sick or has been sick, I wipe everything down with Clorox Disinfecting Wipes. I even take a small bag of them when I travel and wipe off the airplane seatbelt clasp and tray table.

My Personal Remedies

7. This works for me. The MINUTE I feel stuffy, off, or run down, I take Oil of Oregano. Oil of oregano is an antioxidant, it kills bacteria and has many other remedies. Not all Oil of Oregano is the same. It is extremely important that you make sure you take oil of oregano and not essential oil of oregano. Read the dosage carefully and get a high quality one.

Gaia was rated one of the best on the market (click here) and I am also trying Mortar and Pestle (lesser dosage and cheaper). Oil of oregano does comes in both capsules or a liquid with a dropper. I prefer the capsules because taking the liquid version straight (under the tongue and hold it there for as long as possible) is a bit brutal, but highly effective.

Stay Hydrated

8. Stay hydrated. I am never very far away from a bottle or glass of water. It is a bit harder to keep hydrated during the winter vs. the summer, but make sure you get your fair share of H2O in daily. It really helps to flush things along. I start each day with a big glass of water. It helps to fill a pitcher of water and add cucumber, lemons or strawberries to make it a little more exciting. At the end of the day, the pitcher should be empty.

Keep Moving

9. Exercise. You don’t have to be a gym rat but keep moving. The human body is the only machine, that if not used, will break down. Even if you aren’t feeling well, attempt some stretches and walks. Being sedentary is the new smoking. Personally, I take Pilates 2x a week and try to get to the gym 3 days a week. Weekends are for walks or bike rides. I put it on my calendar like a very important appointment that I try never to cancel.

Get Your Zzzzs

Image result for images of a good nights sleep

10. Get a good night’s sleep. I have a reminder on my phone when it is time for me to go to bed. Generally it goes off about an hour before I want to be asleep. Having a night time ritual helps me a great deal. Listening to a Calm bedtime story before bed puts me to sleep immediately. I also take Dr. Pierpaoli’s MZS melatonin (click here) just before I go to bed (generally between 10:00 p.m. and 11:00 p.m.). This melatonin doesn’t make me feel groggy at all and has helped with my sleep cycles.

Image result for images for a healthy life

Lastly, these recommendations are just that…..recommendations. You should always do your own research and/or consult with your physician. I do not have any underlying medical issues that interfere with any of the products mentioned above. But we are all different so please proceed carefully in taking any kind of supplement, herb or medication.

And of course there is always the debate on flu shot or no flu shot. Personally I have never had a flu shot because I work so hard to keep my immune system strong.

What do you do to keep healthy during the change of seasons? If everyone sends me their suggestions and remedies, then perhaps I can compile a list that we can all share.

Stay healthy, my friends! Happy Saturday!

If you click on some of the product links, I may get a small stipend for those at no cost to you. Thank you!


The “Not So Simple” Pillow Shams

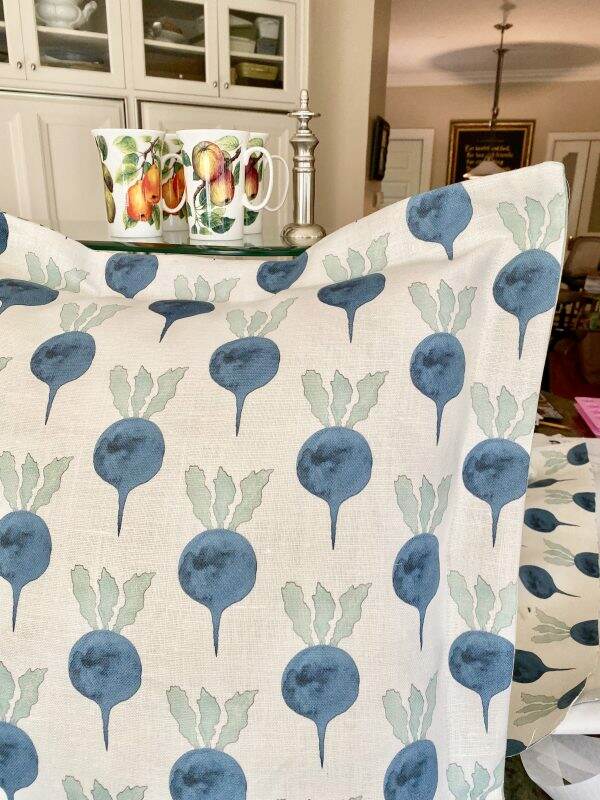
In a previous post, I discussed re-doing my son’s bedroom. I finally got the fabric and it didn’t disappoint. There was the typical anxiety in making my own pillow shams~~what if I cut the material wrong? What if they come out wonky? What if I ruin this expensive fabric? But nothing ventured, nothing gained, right?

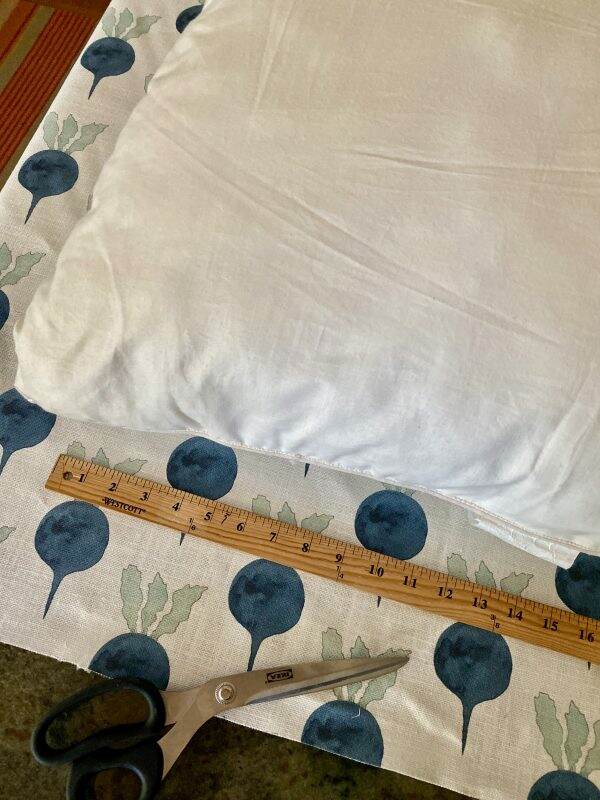
Like painting, the most important and most tedious steps are in the prep work. As my Dad always said, measure twice, cut once.

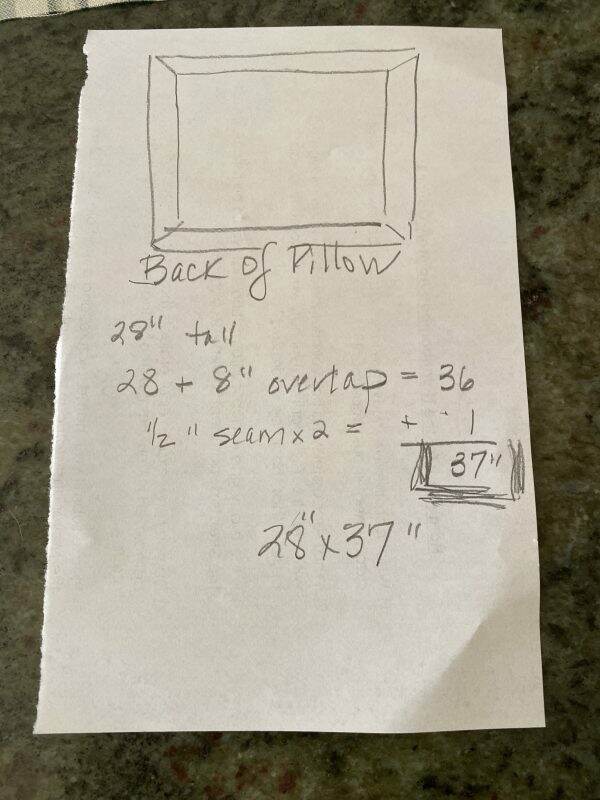
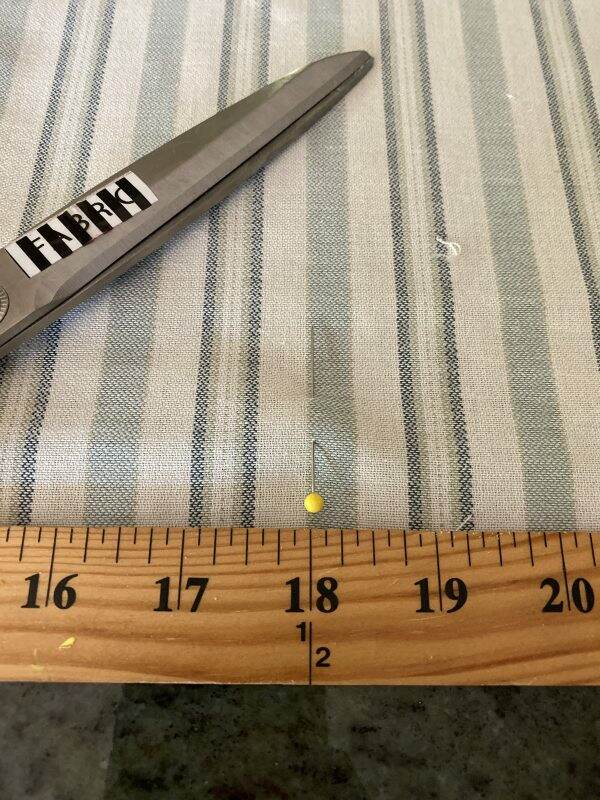
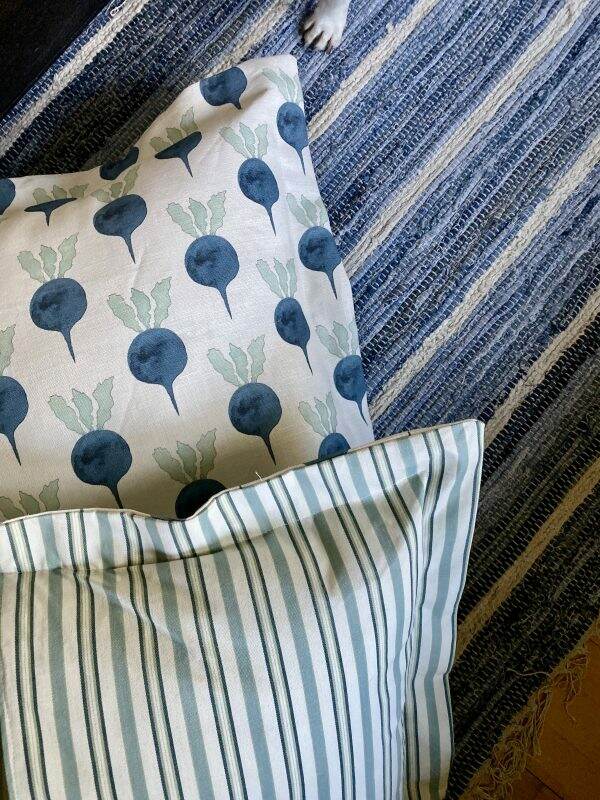
I sketched out the dimensions for a 24″ Euro square pillow. In order to get a fluffy look, the actual dimensions would be an 1″ less. I also added a 2″ flange and made allowances for 1/2″ seam.

Now it was time to design the back, adding 8″ for the overlay pocket to insert the pillow. This is when I realized I didn’t have enough fabric to do the backs. Whaaaaat? I could have patch worked it together, but the thought of jury rigging this expensive fabric was discouraging. What to do?

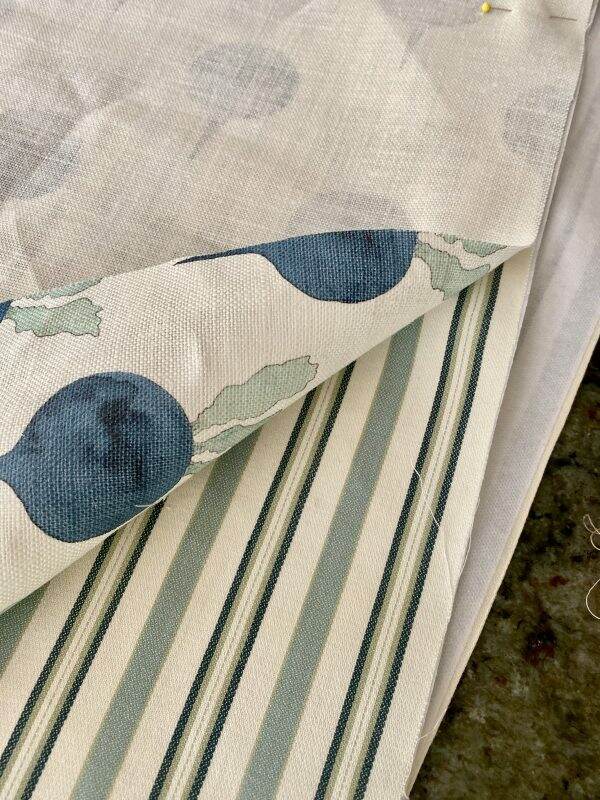
Fortunately I had some leftover blue striped fabric from another project. I dug it out of the basement and it was a relatively good color match. However, the fabric’s weight and thickness were completely different. Sigh.

I measured the back fabric, adding a center cut for the pocket opening, still debating on whether this stretchier fabric would work against a heavier weight linen.

I decided the only thing I could do was to add interfacing. I ran to Walmart hoping they would have what I need. Once I ironed the fusible interfacing to the striped fabric I was pleased with the solution.

With all the pieces finally measured, cut and the striped sections interfaced, I was ready to sew. The first step was creating a clean edge for the pocket panels in the back.

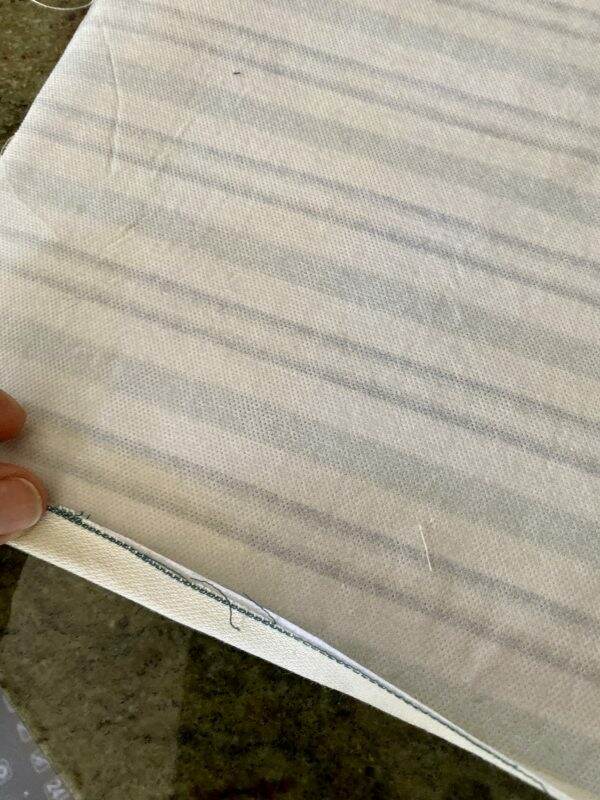
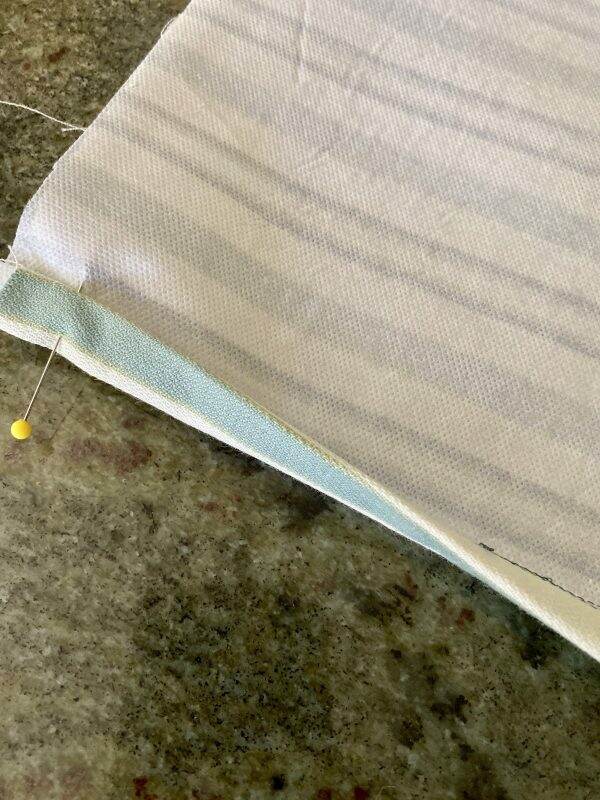
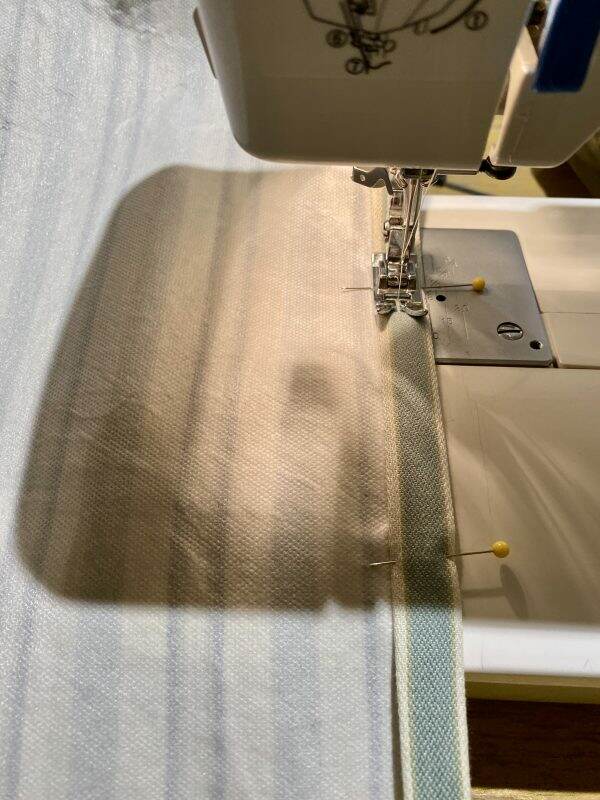
I rolled the edge once and then again and pinned it.

A quick and easy stitch on both back panels.

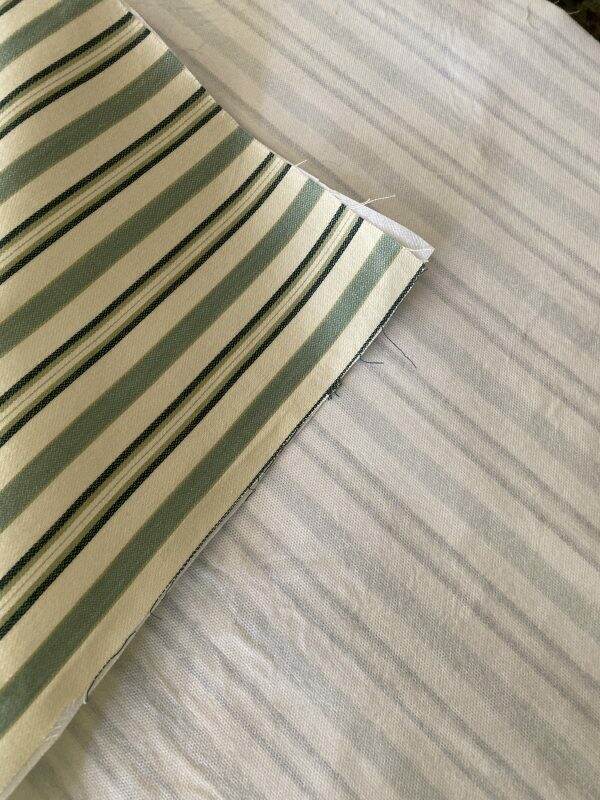
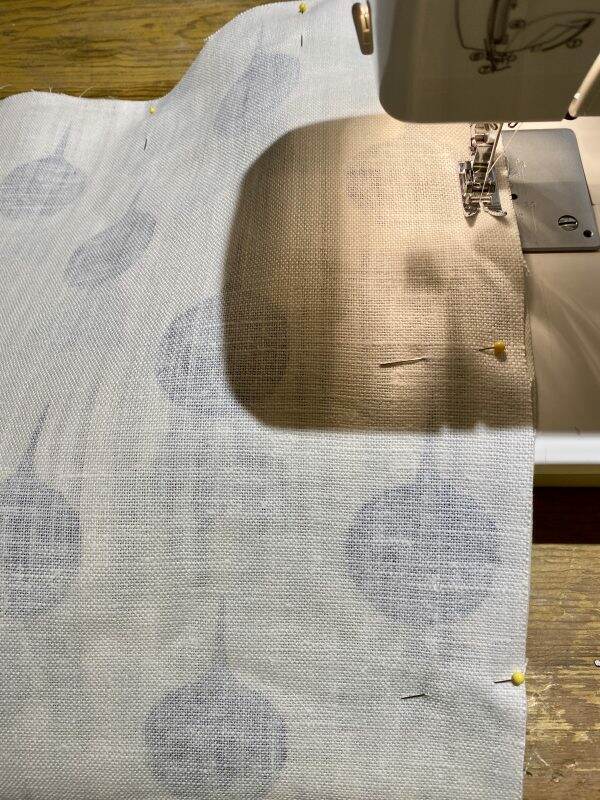
Laying the front sides of the fabric together, I stitched a 1/2″ seam on all 4 sides.

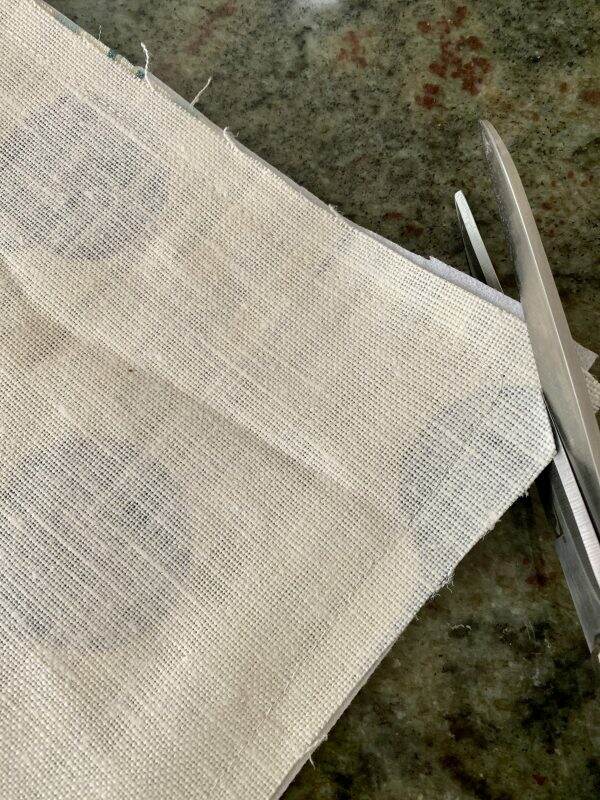
I clipped the corners to create square edges.

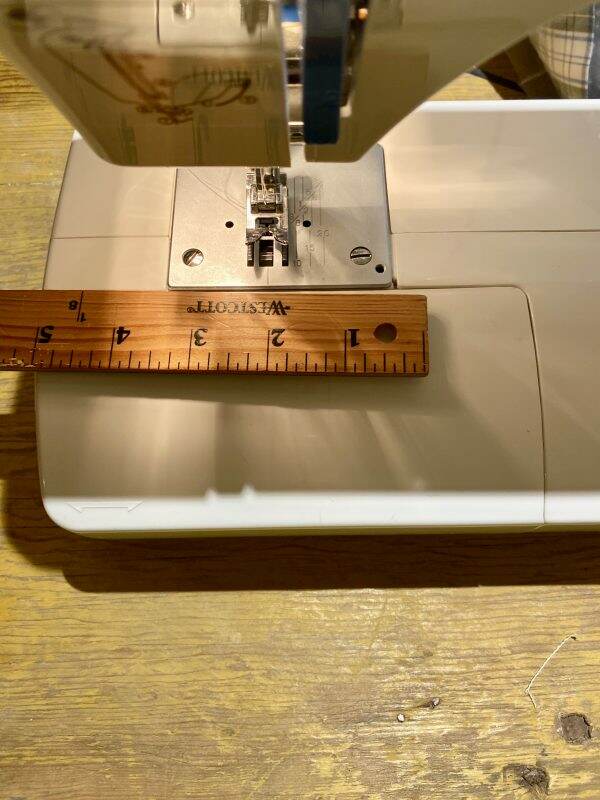
Next, I created a 2″ marker to be used as a guide to stitch the flange.

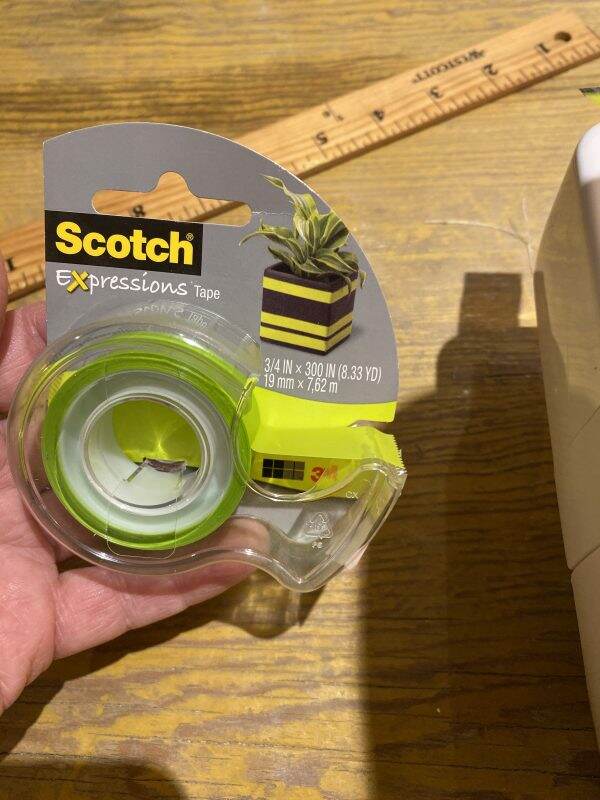
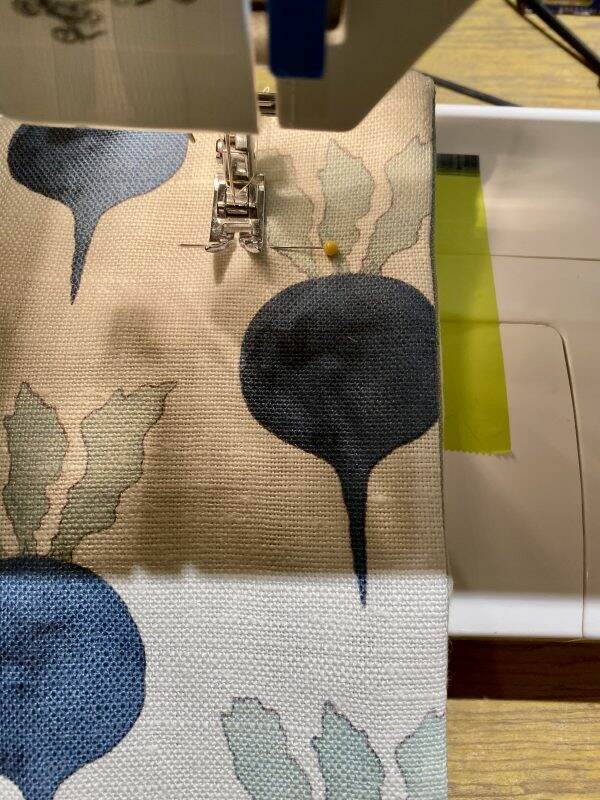
Scotch Expressions colorful tape worked perfectly as my edge to guide the fabric.

Starting and ending 2″ from each corner, I sewed all 4 sides.

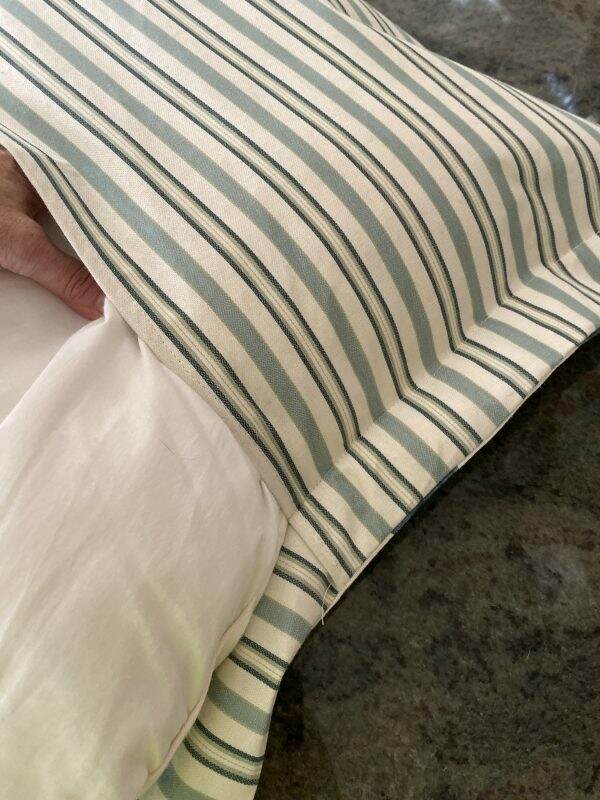
Turned the fabric inside out and inserted the pillow. I was relieved when everything fit!

It has been ages since I have sewed anything and I am delighted with the end product.

All in all, in spite of the obstacles, this was a simple DIY project. Just plan ahead, make sure you have enough fabric and you will be successful! Now onward with the rest of the room remodel!

Resources:

Blue Radish Fabric by: Radish Moon, 648 Broadway suite 600, NY NY 10012 917.279.5465 www.radishmoon.com  

Blue Striped Fabric by Waverly

Pellon 950F ShirTailor Fusible Interfacing purchased at Walmart


Autumn Evening with Friends

Happy November…already. We have only 60 days before the end of this decade. Does anyone have a way to make time slow down?

I love this time of year. The cooler temperatures are definitely here with the mornings in the high 30s and low 40s. Windows are opened. The air conditioner is officially off until next May.

A few posts ago I shared a small gathering we had with friends. If you missed that post, click here.

Well, here is part #2~~the dinner. Sticking with the autumn theme, I used my Johnson Brothers dishes, Leslie Roy clear glass salad plates and vintage pink stemware.

I tried all new recipes which is a bit unnerving. The first course was a Roasted Squash and Kale Salad with Spiced Nuts, Cranberries and Maple Vinaigrette from Serious Eats (click here). The beauty of this recipe is that you can make it a day or two ahead, as it gets better the longer it sits.

Actually, I would make this salad again and just add a piece of protein~~grilled chicken for example and it would be a hearty meal.

The main course was recommended by a respected friend of mine, Polly who is an excellent cook. Polly just started her own blog and website called Polly Ruth. She suggested I make her Farmhouse Chowder (click here for the recipe).

The chowder was so delicious, using parsnips and turnips instead of the typical potato. You can adjust this recipe to make it creamier or lighter (using milk vs. cream) according to your taste. I also have experimented with freezing the leftovers and it was just as delicious the second time around.

If you have ever made sourdough bread from scratch, you know what a journey it is. My first attempt was relatively successful and yielded 4 loaves, one of which I served with the chowder. That may need to be another blog post in the future!

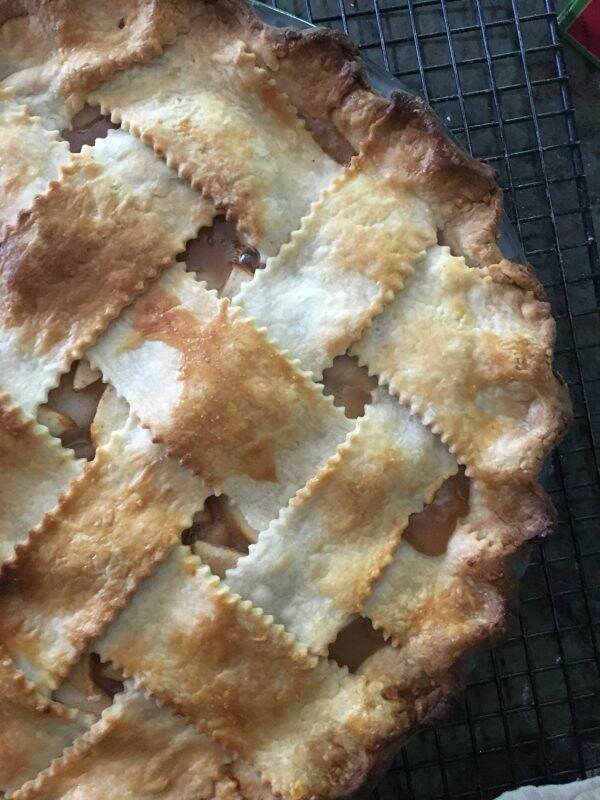
We had so many pears from our tree in the mountains that needed to be consumed, so the dessert suggestion came again from Polly. It was a delicious Pear and Caramel Pie by Knead Bake Cook (recipe is here).

The best part of the evening, was sharing it with friends. Even though I don’t recommend trying all new recipes and making your friends guinea pigs, these 3 are winners!

Happy Saturday and I hope you have the best of weekends!


Apple Cider Donuts

My first experience with warm, delicious apple cider donuts was 5 years ago visiting my son at the University of Virginia. It was October 2014 and we visited Carter Mountain Orchard in Charlottesville~~where they served WARM apple cider donuts. I was in love. Every trip back for the next 4 years included a trip to this apple orchard. Getting these mouthwatering morsels was worth a pound or two of adipose tissue.

CM: PYO Apples

Prompted by an Instagram picture of donuts from my friend, Joe Pepe, I was on a mission last week during our New England trip to again experience these donuts. Apple orchards are few and far between in Phoenix, hence apple cider donuts are not available.

We were fortunate to stumble upon Averill Farm in Washington, Connecticut and promptly purchased a dozen. I’m almost embarrassed to say we devoured them over the next few days.

I am the type of person that when I get a hankering for something, it just won’t go away. Yesterday, here in Phoenix, the morning temps were in the 40s!!!! and I was dreaming about a hot cup of coffee and guess what? Yep, apple cider donuts.

Baked apple cider donuts coated in buttery apple cinnamon spice! Easy and quick baked donuts recipe on sallysbakingaddiction.com
Recipe from @sallysbakeblog

The recipe is from Sally’s Baking Addiction and can be found here. Perhaps the longest part of this recipe is reducing the apple cider to intensify the flavor. I did it the night before while I was preparing dinner and let it cool overnight.

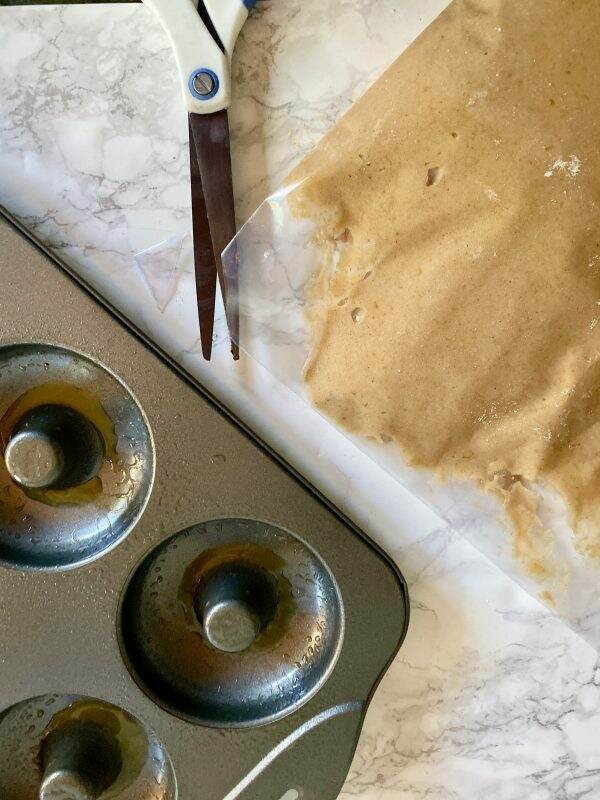
After mixing all the ingredients together, the recipe suggests filling a large Ziploc bag with the batter and cutting off the tip… a makeshift pastry bag.

I purchased these pans years ago from Williams Sonoma (which are still available) or you can order them from Amazon (click here). Or if you live in Phoenix you can borrow mine! Also the recipe allows for no donut pan by using standard muffin pans.

Short baking time of 10 to 11 minutes. Since these are non-stick pans, the donuts easily released after baking.

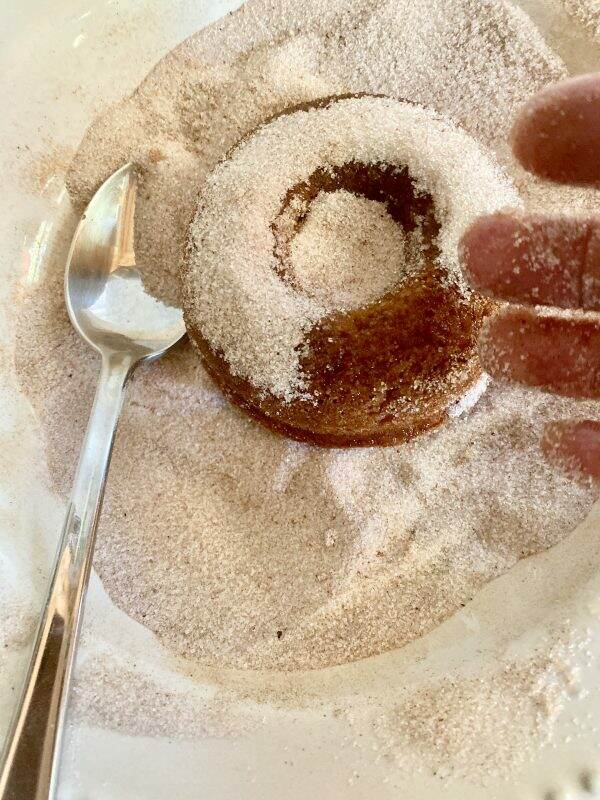
Brush with butter and douse them in sugar and apple pie spices.

And viola! In less than 1 hour, you have warm, apple cider donuts! I would even suggest pre-measuring all the ingredients the night before to quicken the production process.

This recipe makes 12-14 donuts.

Since these are baked vs. fried, I’m thinking they are healthier? Now I need to go and exercise! Happy Wednesday!


Leaf Peeping in New England

My colorful morning walk in Simbury, Connecticut

I can’t recall the last time we took a week and just went meandering. A perfect place for this is New England in the fall and it appears we timed leaf peeping just right. Thanks for joining me today and I hope you love these glimpses into autumn back East.

Our first spontaneous hotel selection was the Simsbury 1820 house in Simsbury, Connecticut. Even though I was born and raised in this state, there are many parts of it I have never visited.

Simsbury 1820 House

While in Simsbury, we hiked up Talcott Mountain and toured the Heublein tower located at the top. Thankfully the State of Connecticut saved it from developers and it is now a state park for all to enjoy.

Hike up Talcott Mountain
Yes, I could live here!

From Simsbury we drove to Kent, CT and stayed at the Starbuck Inn, which was right in town and walking distance to shops and restaurants.

The innkeeper, Peter Starbuck provided a delicious breakfast and a view of these gorgeous hydrangeas in his backyard.

From there, we drove to Kent Falls and hiked the path to the top of the falls.

Entrance to Kent Falls hike

Stockbridge, Massachusetts provided a photo of an exceeding large pumpkin (over 1000 lbs.) and a stay at the Red Lion Inn.

This sweet town was home to illustrator and artist, Norman Rockwell and has a museum in his honor (that is certainly worth visiting).

Our last stop was in Old Saybrook, Connecticut which was home base for 4 days. The Saybrook Point Inn & Spa is located right on the water (my favorite) and here is a morning view from our room.

From here we were able to see family and friends; attend my high school reunion and go for bike rides and long walks.

Biking in Old Saybrook, CT

Here are a few more of my favorite photos!

Essex, Connecticut

Thanks for tagging along with me on my week off. Happy Tuesday, my friends!