1

DIY Table Centerpiece Display
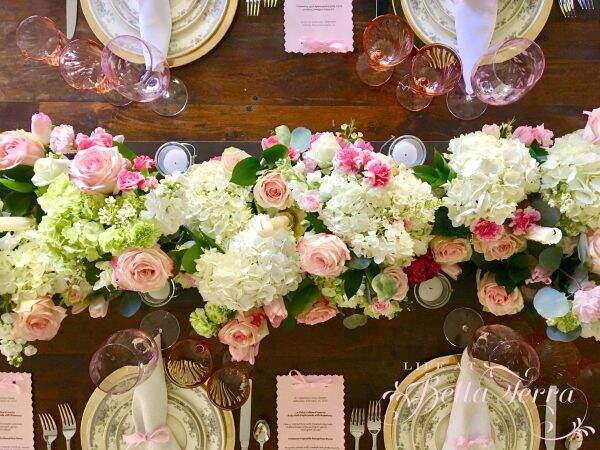
In my last post, Valentine Dinner Party, I indicated my husband made the wooden base for the centerpiece.  I didn’t realize what a difference it made in the overall presentation, having the centerpiece just inches above the plane of the table.

So I decided he should be today’s featured DIY person.  Take it away, Scott!

The Inspiration

Photo from Style Me Pretty

Mary had shown me an “inspiration” picture of a raised DIY centerpiece.  This is where she turns to me and gives me the appreciative “eye”. Then she’s off to her art class leaving me about a 3-hour window.  I’m trying to figure out how I’m going to do this.  Off to my local Lowe’s where I start looking for a piece of wood.

The Materials

Table Centerpiece Display

Not being one to over complicate, I decide to look at shelving material.  There before me is the perfect finish, dimensions and non-warping piece of material.

DIY Centerpiece

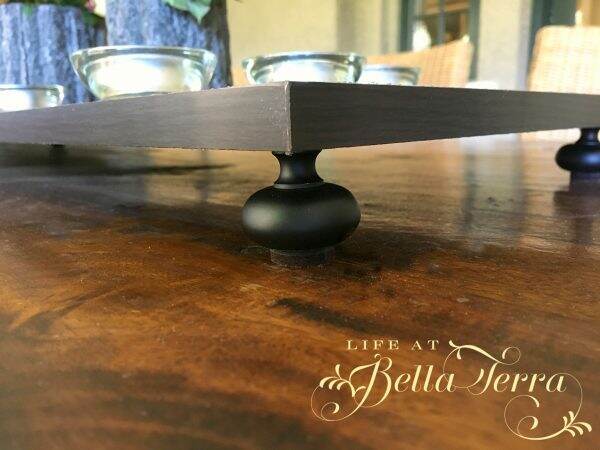
I try to determine how I will elevate it from the dining table AND give it some stability.  This “something” has to have some variability in size and can be attached to what I am now calling “my” Table Centerpiece Display.  I’m thinking cabinet pulls, slightly repurposed.  The friendly Lowe’s staff takes me to their impressive selection where I grab 7 (more on that later).

How do I attach them since I need a “bolt free” top?  Lowe’s has the answer.  One end screws into my pull and the other end has a short wood screw…called Hanger Bolts.

I purchase a few felt pads to help level and protect the table and then I’m headed home to create.  I assemble my tools ~~ a drill, a drill bit, measuring tools and of course, a towel to protect the table…and I get busy.

Placement of the “feet” is important for esthetics and strength and stability.

The Assembly

Hence, the seven pulls.  Two on the ends and three in the middle.  I screw the hanger bolts into the pulls and use the pulls to screw each one into my board.

Finally, I add the same color pads (so they disappear) and I’m done.

Now it’s time to put it on the table, clean up my tools and see if Mary notices when she gets home.  Then I get to pretend it was MUCH harder to do that it really was.  Mission accomplished!

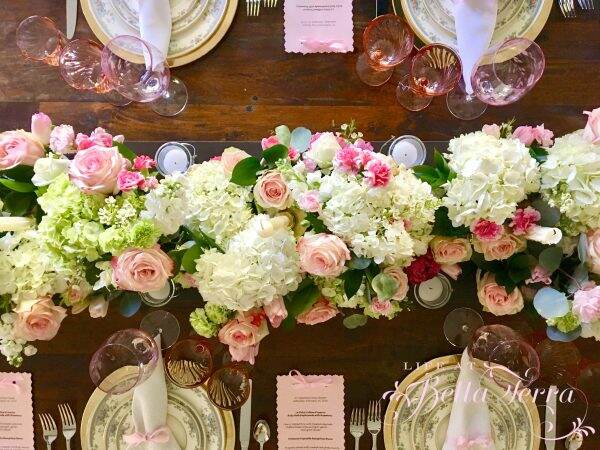
Just a reminder, this is how it looked for our dinner party.
Total cost of the project was under $50.00.  Though my time is priceless, Mary considers it free:)

The helpful husband,

Scott

If you enjoy this post, please share on Pinterest.

This post shared with Between Naps on the Porch Tablescape Thursday #646


Valentine Dinner Party

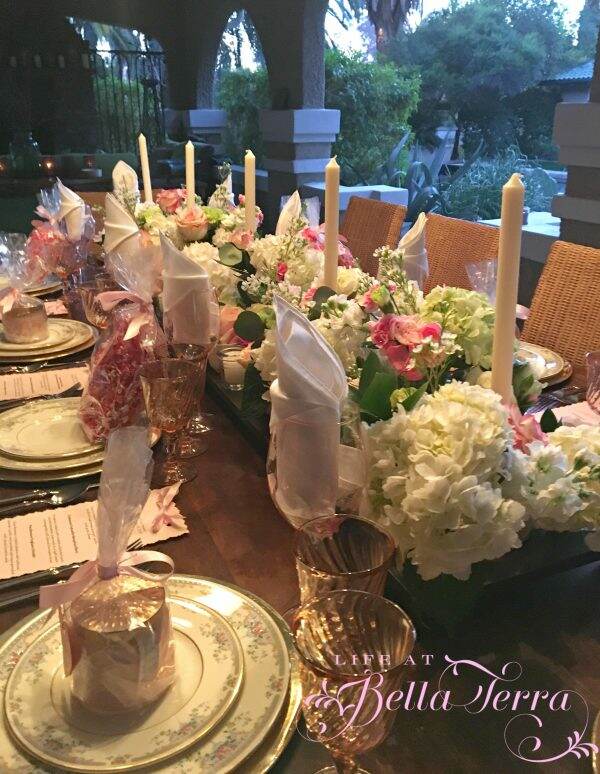
Typically we are a bit casual when entertaining.  However, once a year we do a formal sit down dinner party for Valentine’s Day. This year we are having a Valentine dinner party for 5 couples. Generally we use the dining room, but the weather has been so glorious lately, we decided to have it outside on our back terrace. And now with the pandemic, having a dinner party outside while social distancing is a safe option.

The attire for the evening is Fetching for the women and Dapper for the men.

Inspiration is from this original photo from Style Me Pretty. I love the mood of this table~romantic, elegant, with shades of pink. See Style Me Pretty’s link here.

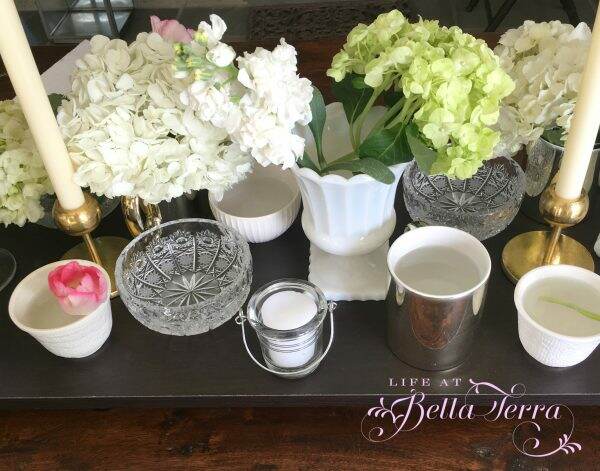
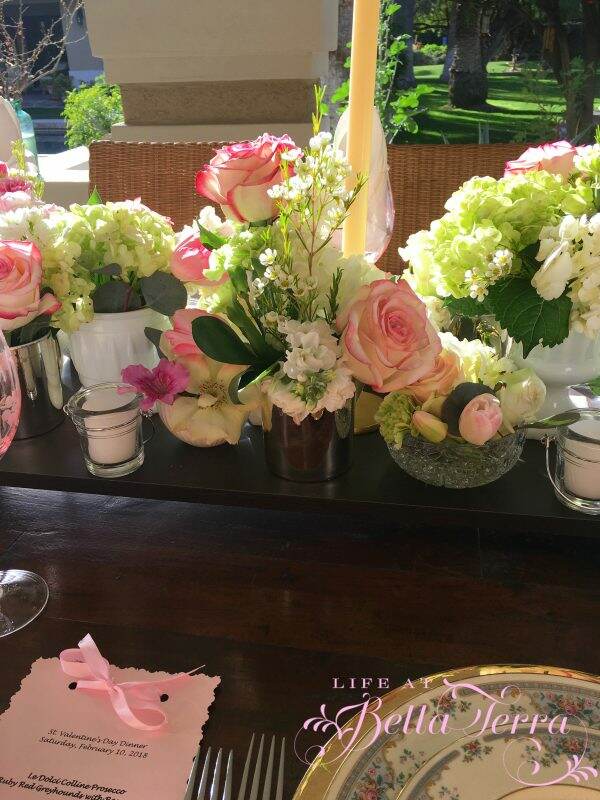
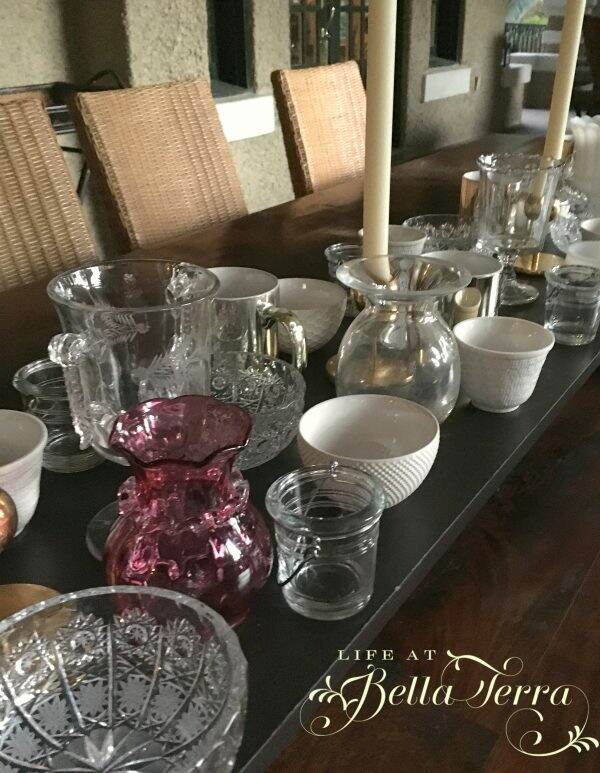
What is unique about this centerpiece is the various sizes of cups/vessels for flowers positioned on a long piece of raised wood.

I showed a picture of the wooden base to my husband.  Within a few hours he had made me this raised platform. (See post here).

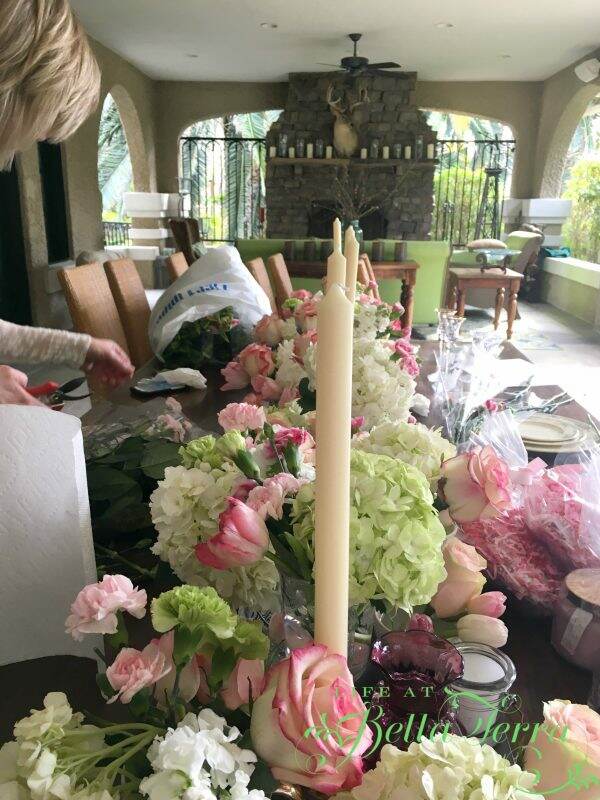
I gather any and all cups, bowls, spooners, and vases that would fill the space. The plan is to abundantly fill each vessel with lots of flowers.

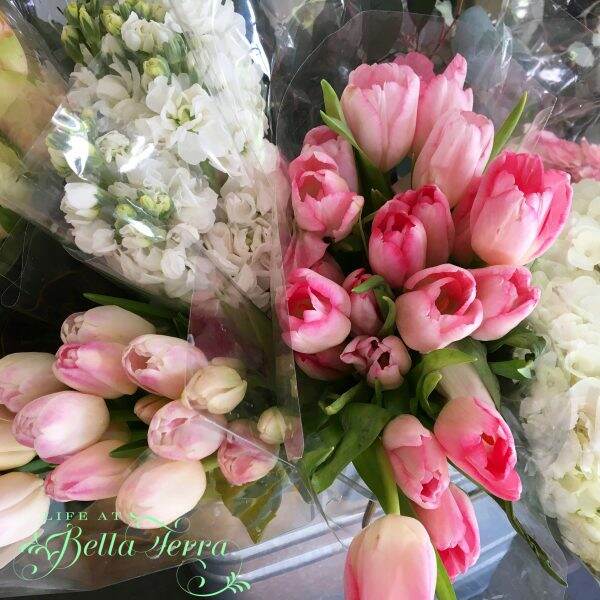
Keeping with soft pastels, I purchase hydrangeas, stock, tulips, roses, carnations (from Trader Joe’s, Fry’s and Safeway) and add some flowers from the garden. Aren’t these so pretty?

The brass candlesticks and tapers are a purchase from West Elm. I must say these tapers are my new favorite. They burn well and are nice and tall.

It was a bit time consuming to do this, but the results are spectacular.  Thankfully my sweet daughter, Elisabeth provides an extra set of hands.

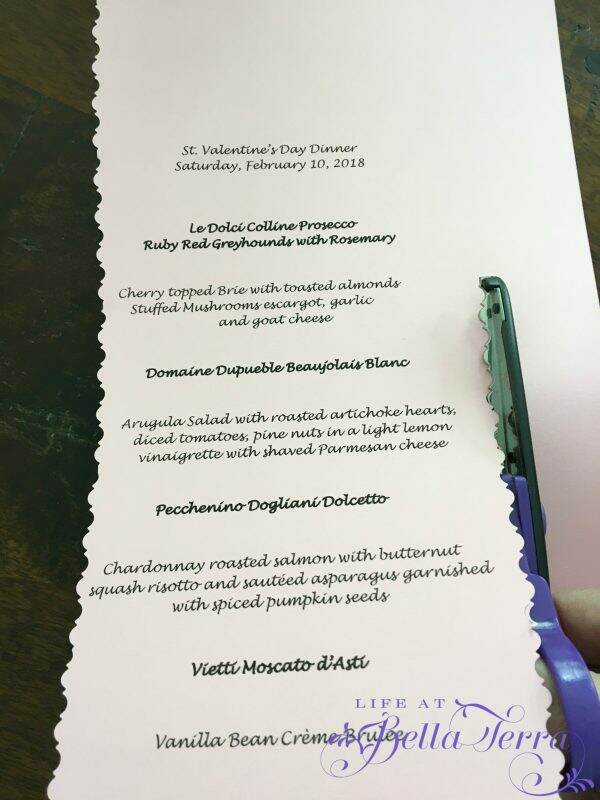
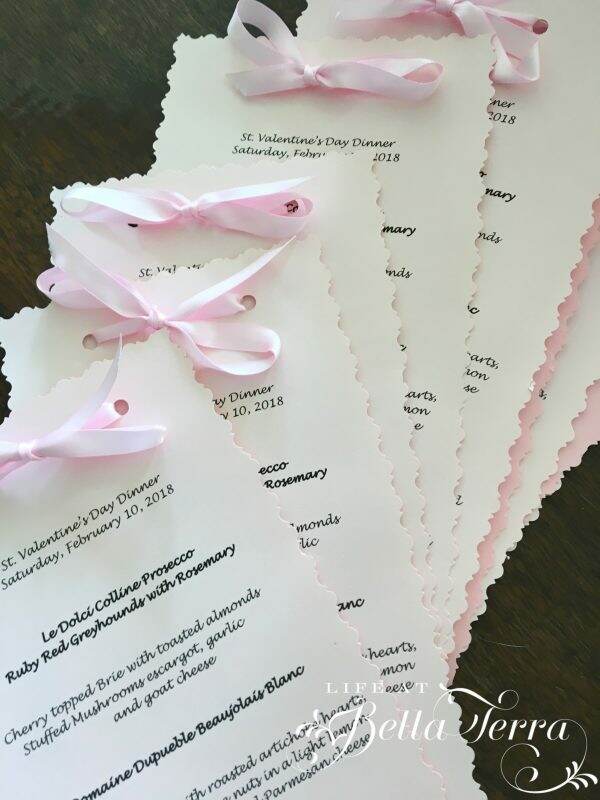
Menus are printed on shades of pink card stock. I cut the edges with decorative scissors (purchased at Michaels ages ago). Using a 2 hole paper punch, we add holes at the top of the menu.

My daughter helps tie each menu with a pink satin ribbon.

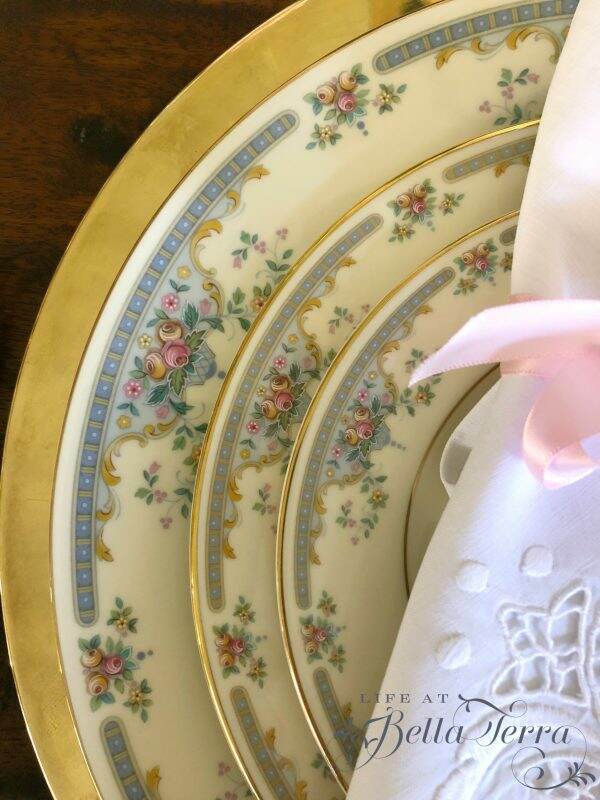
I am so excited to use my very first set of china, Romance Collection- Juliet by Royal Doulton.  It has since been discontinued but the pattern is perfect for this dinner theme.

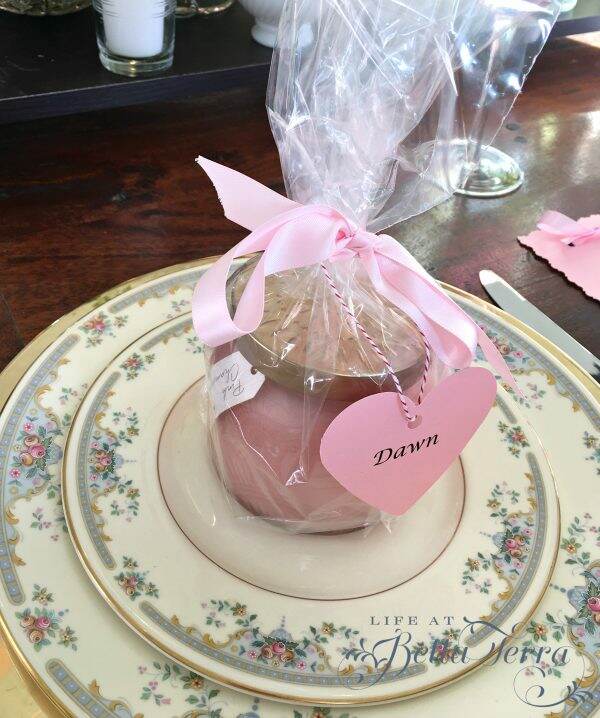
The gifts for each guest (Pink Champagne scented candles for the women and silk ascots for the men), also serve as a place card.    Using baker’s twine, I create pink card stock heart shapes with our guests’ names.

My husband had never worn an ascot before, nor had any of our guests.  It will be fun to see them figure out how to tie them. Quite dapper!

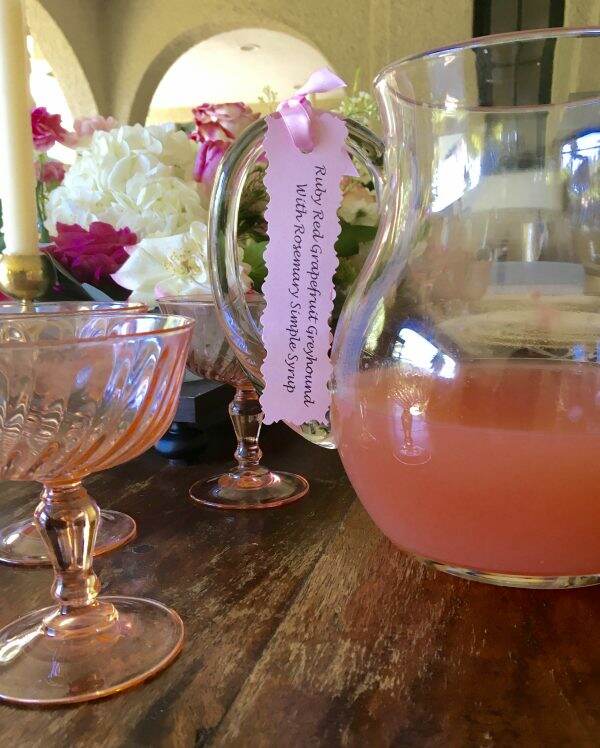
We serve Prosecco and a pink themed Ruby Red Grapefruit Greyhounds with Rosemary Simple Syrup (my favorite winter cocktail) with appetizers.  The recipe is from Farmgirl’s Dabbles and click here for the recipe.

Julie Greder, once again caters this event.  She never disappoints. Calm and gracious, Julie creates a delicious menu.  The large pink wine goblets are a purchase from Pier 1.

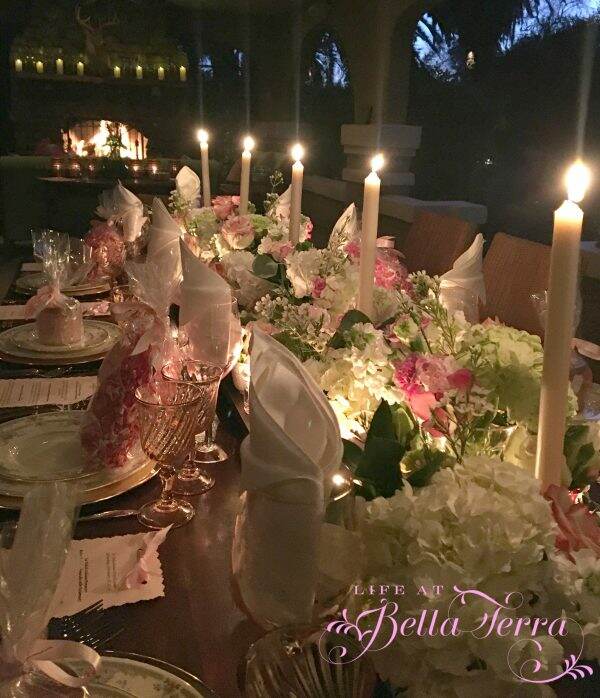
Here is the view before our guests arrive, as dusk is approaching.

The weather in Phoenix is spectacular this time of year. Cool enough for a fire in the fireplace, but cozy enough for our guests. We will have a wonderful evening with a very fun group of friends.

Wishing you a Happy Valentine’s Day!

If you enjoy this post, please share on Pinterest.

This post is shared with Between Naps on the Porch Tablescape Thursday #645.


Same Flowers – 2 Different Ways

When I was in my 20s, I offered to take a work shift for my friend, Gwen allowing her to escape on a weekend mountain trip.  When Gwen returned, she presented, as a thank you, a collection of wild grasses and cattails she had gathered on her trip, wrapped in burlap with a gorgeous ribbon.

The sweet gesture made such an impression on me…so much so that I truly think about nearly each and every gift I give.

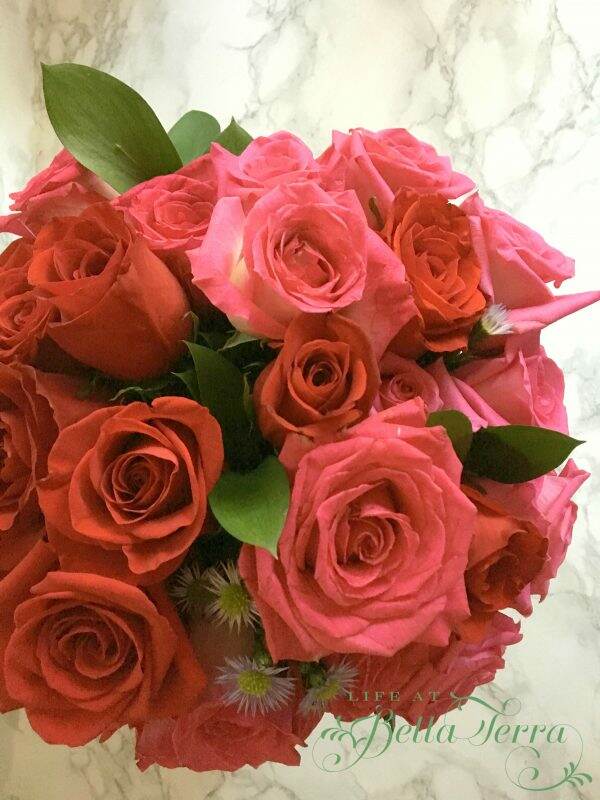
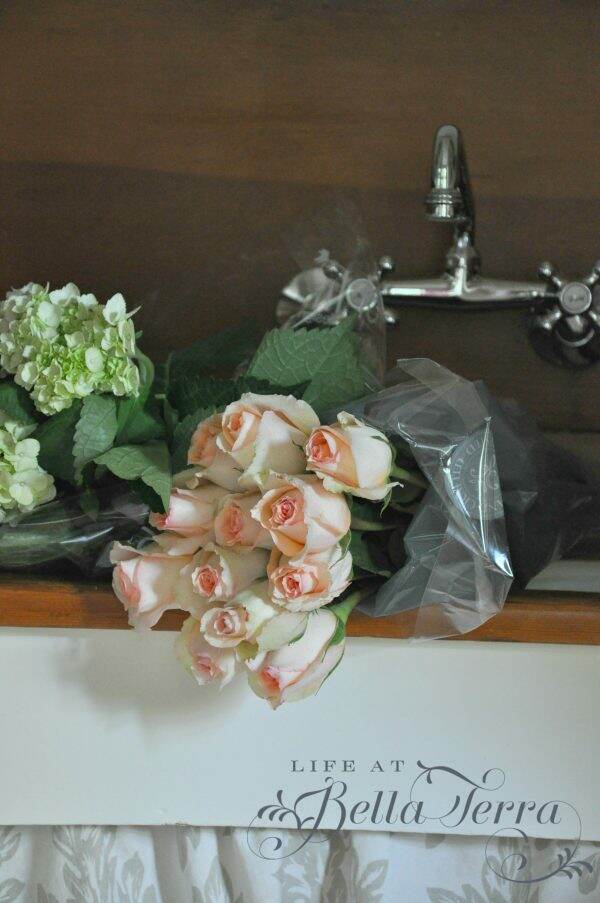
With Valentine’s Day around the corner, you may be giving flowers as a gift to a loved one, friend or co-worker. Here are two very different presentations with the same roses.

I bought the roses at Safeway.  I wanted all pink roses but they only had 2 dozen available. I wasn’t sure about mixing pink and red but I added 2 dozen red anyway.

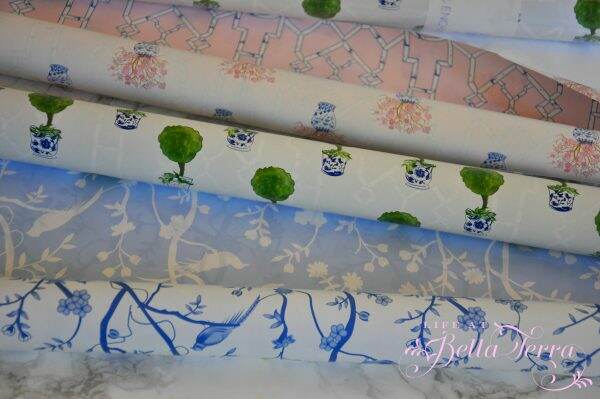
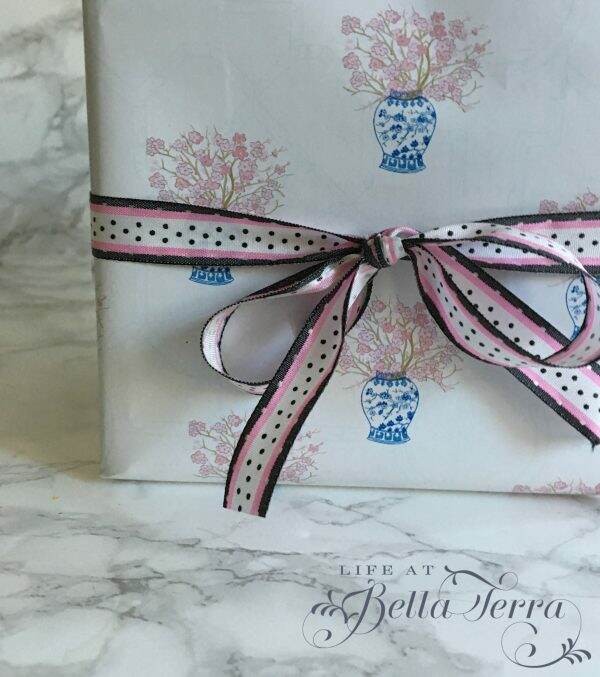
I covered a box (I used a square box) with wrapping paper.  I initially wanted a solid color but I didn’t have anything so I used this sweet paper from The Enchanted Home. The ribbon was a scrap that I had in my drawer and it works with the colors of the paper.

I was just at Michaels and they have several different size boxes, in both solids and prints, which would work too.

I found (in my collection of vases in the basement), a round, short glass container that would fit snuggly into the box.

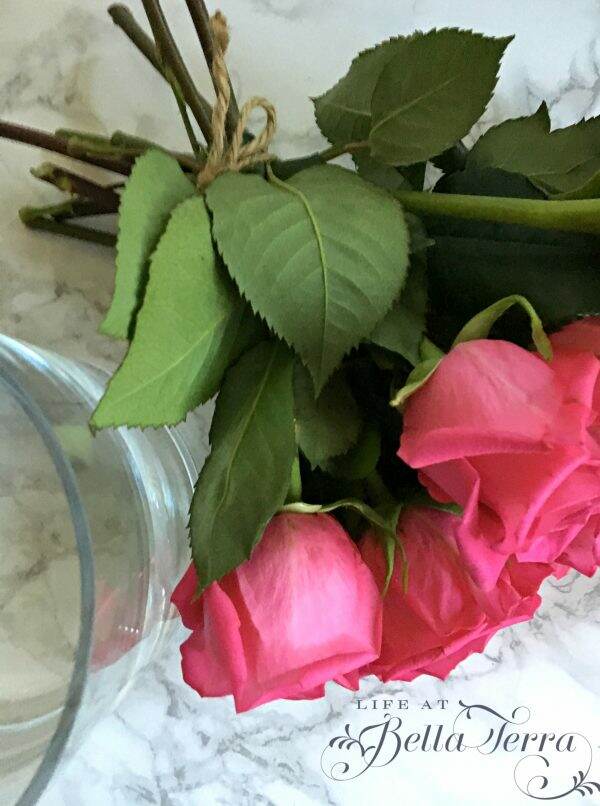
Gathering 8 roses in a bunch, I wrapped them in twine. I continued to do this with the balance of the roses, until the container felt full and lush.

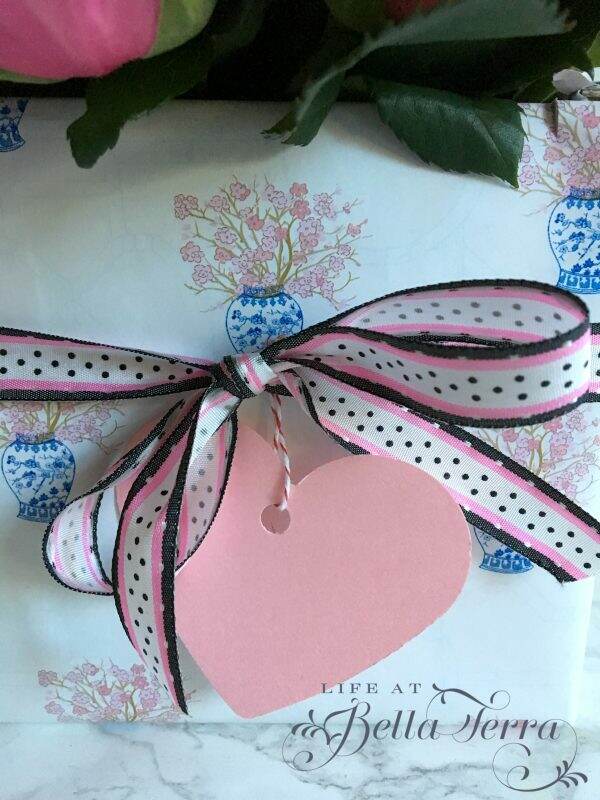
With a craft punch (again, from Michaels) I cut a heart out of pink paper stock and tied it with baker’s twine.

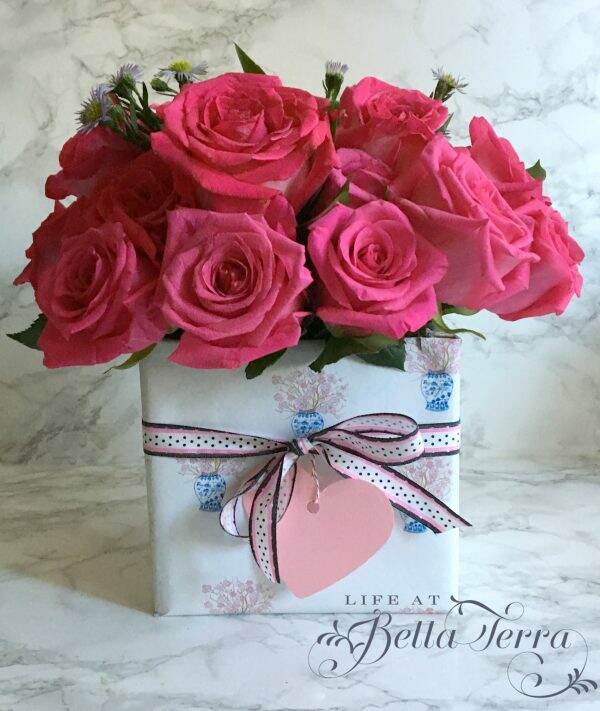
Here is the finished product.  The picture below shows this arrangement with all pink roses.

Since the container for the next arrangement was a bit larger, I added the red roses to the mix.

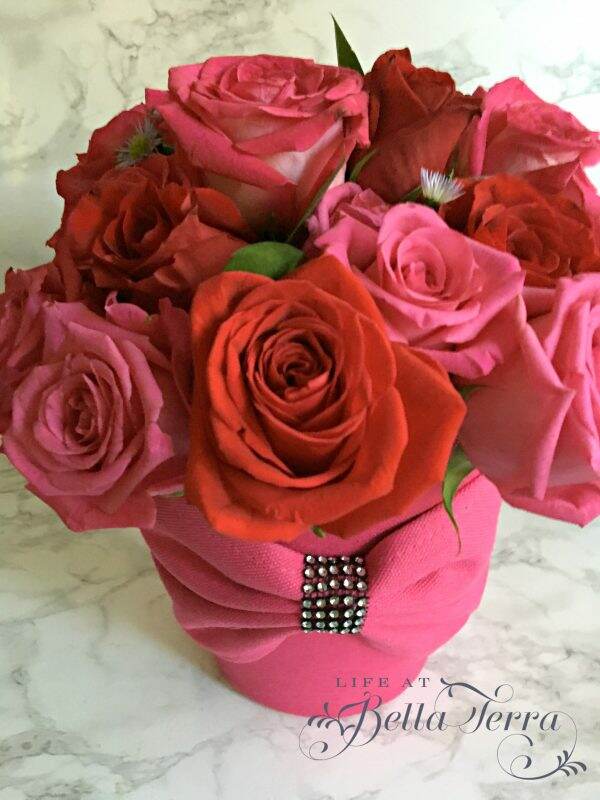
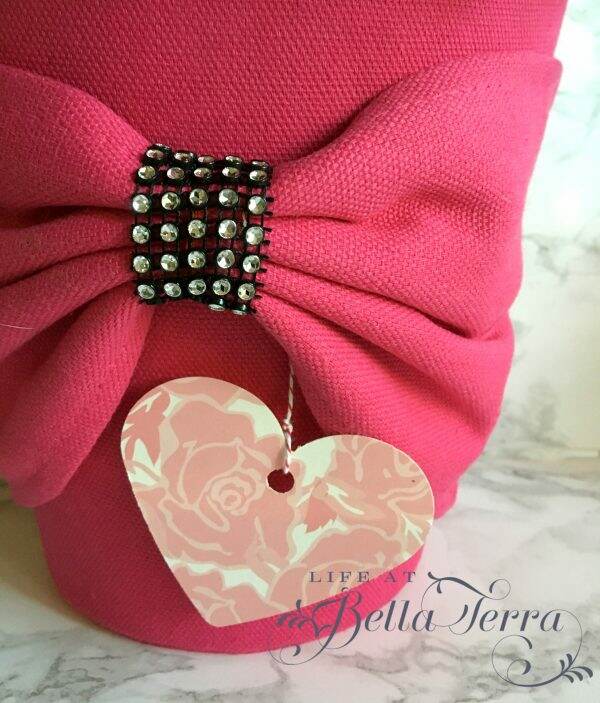
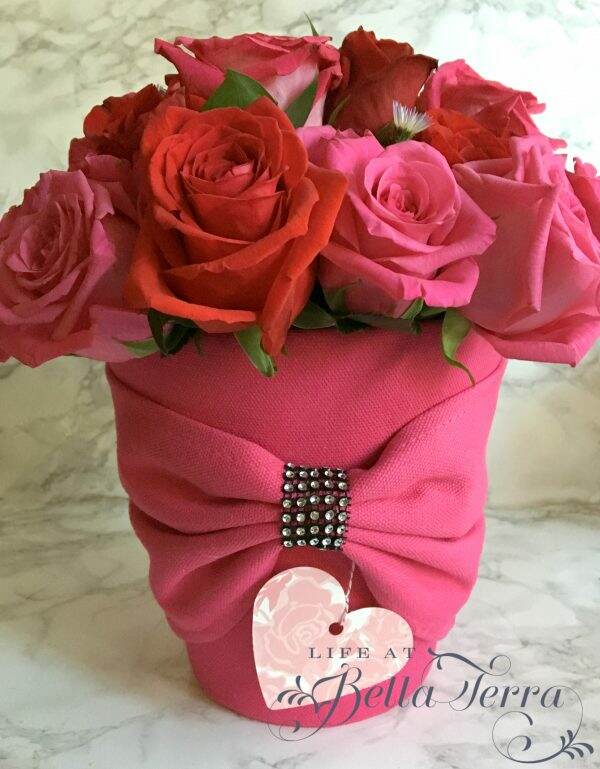
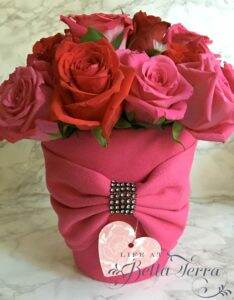
This pink, fabric-covered basket (from Debi-Lilly) was purchased from Safeway last year for $2.00.  Our grocery store often has great discounts on their floral products, especially after a holiday. It is normally a plant holder, but the glass container fit right into it.

It’s interesting how a solid color container creates a totally different look. And I don’t mind the red and pink roses in the same arrangement.

I added a different color craft paper heart, to create some interest.

So use your imagination when presenting flowers.  It doesn’t need to be expensive or luxurious.  Being thoughtful is priceless and the recipient of your gift will appreciate it.

Is there one you like better than the other?


Nature Journaling

I’ve never done any journaling.  However, I have always admired those who do write and draw in their diaries.

Scottsdale Artists’ School sponsored a 2 hour class on nature journaling last Saturday. I invited my daughter, Julianna because she is an artist and has kept a journal as long as I can remember.

The class was held at the beautiful Hermosa Inn on a chilly morning outside under clear blue skies. Our “classroom” was in a private courtyard outside.

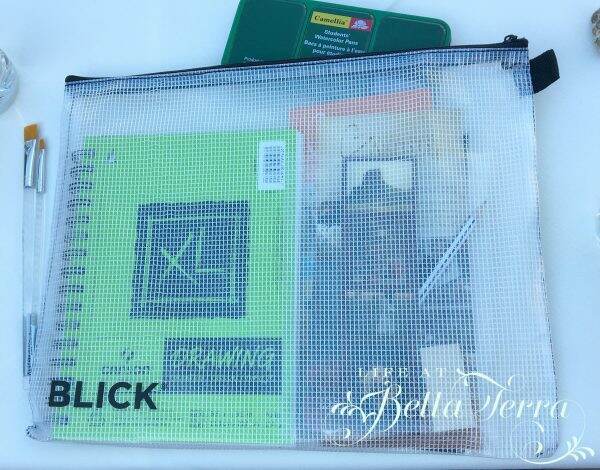
The class included personalized instruction, sketching techniques, watercolor skills. They also provided our own sketchbook and tools in this neat zippered pouch by Blick Art.

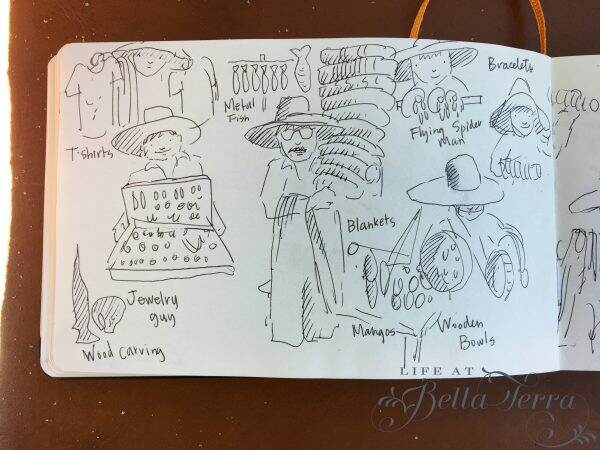
The instructor, artist Devon Meyer, started the class by showing some of her journal entries. Her drawings and illustrations are so beautiful! I was motivated!

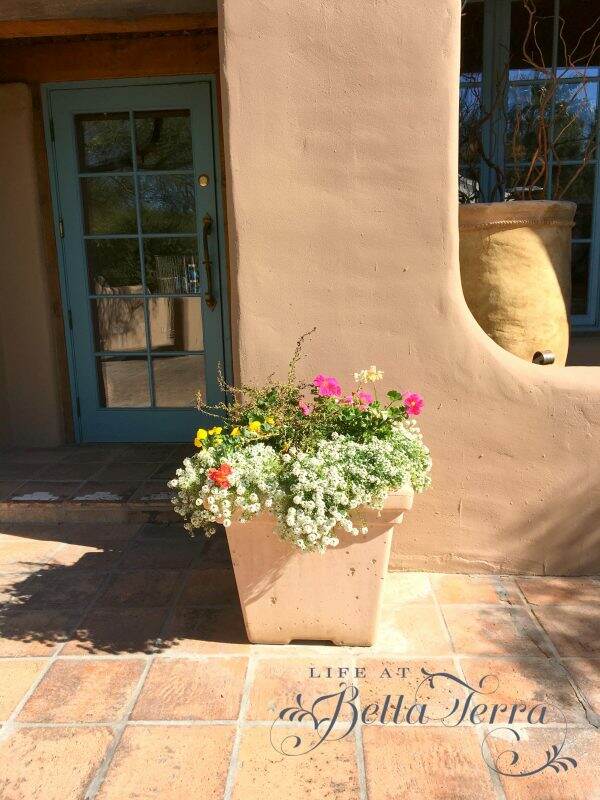
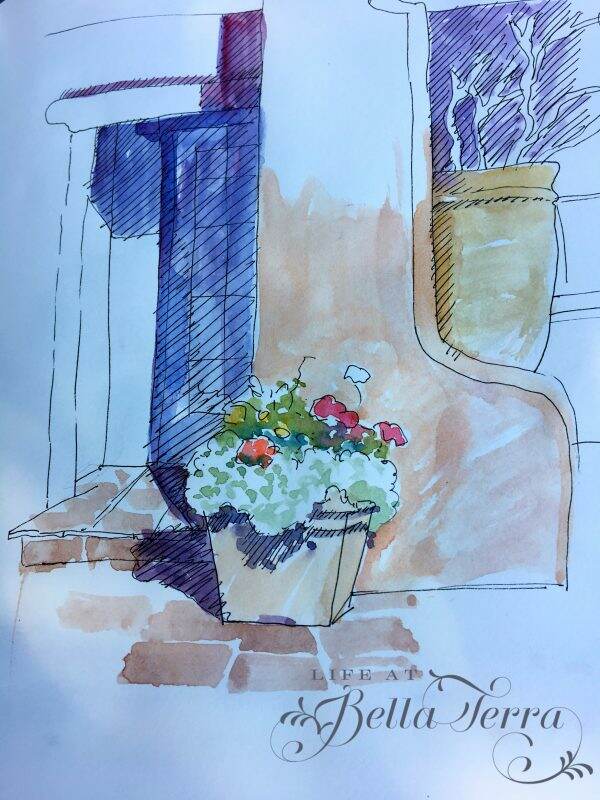
The grounds of the Hermosa Inn are filled with lush, desert landscaping and provided many vignettes for us to choose.  The instructor, as an example, showed us how she painted a flower pot in the courtyard.

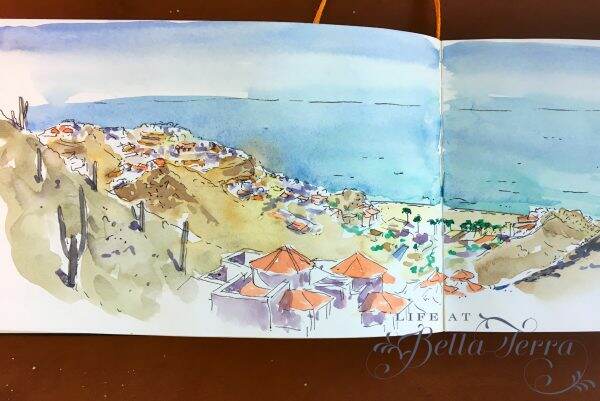
Her inspiration:

And her journal entry:

The first part of the class we talked about sketching and then went off to find something to draw, using what we had learned.

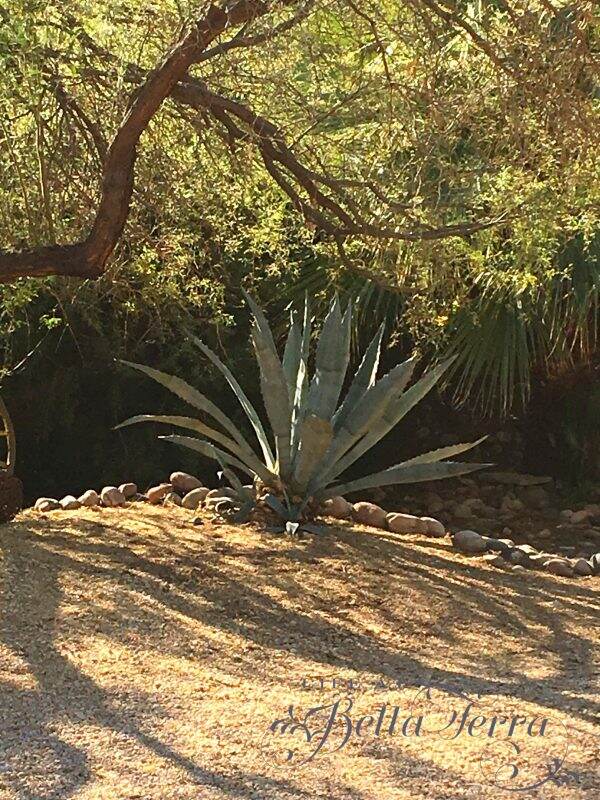
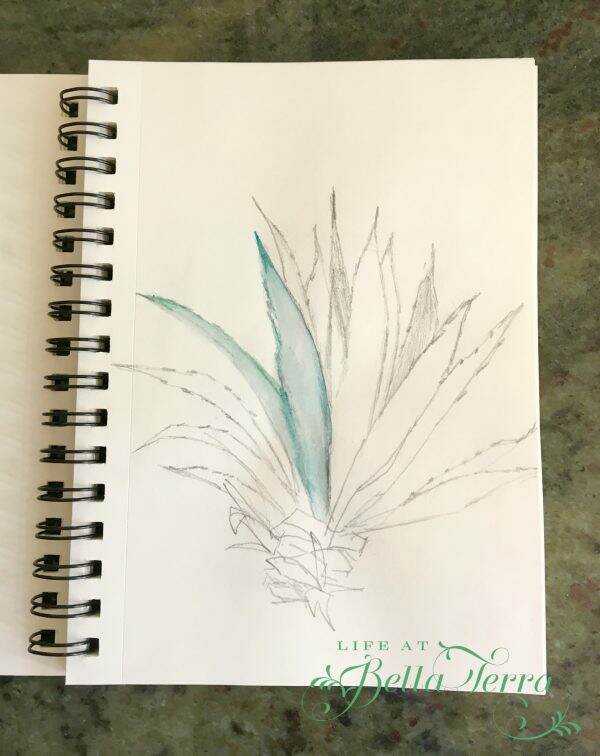
I selected a large blue agave across a wash.

We didn’t have time to add detail, shadowing or color but the lesson was to focus on the shape. I’ve not done a lot of sketching before and it was rather different doing this standing up and holding the pad.

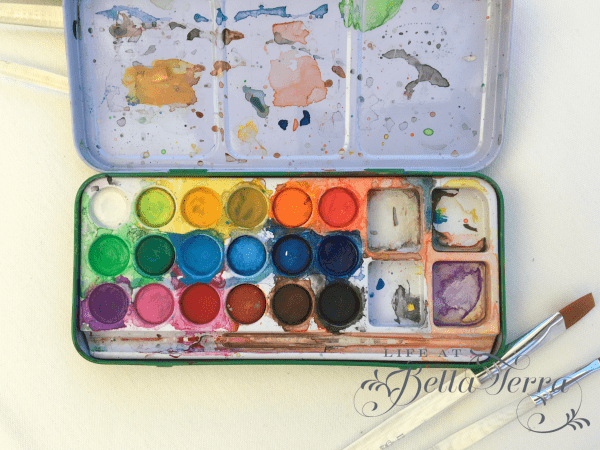
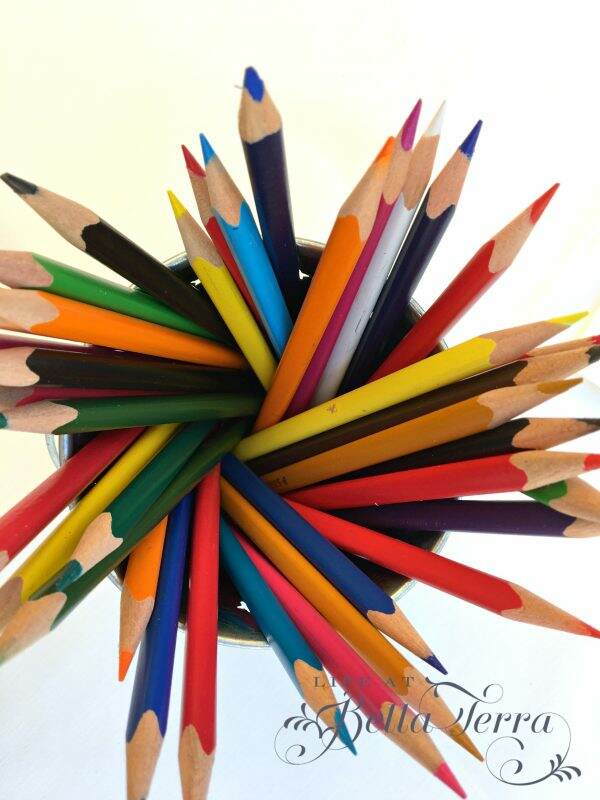
Next we talked about watercolor, which I know very little about.  She provided the watercolor palette, watercolor pencils and brushes too.

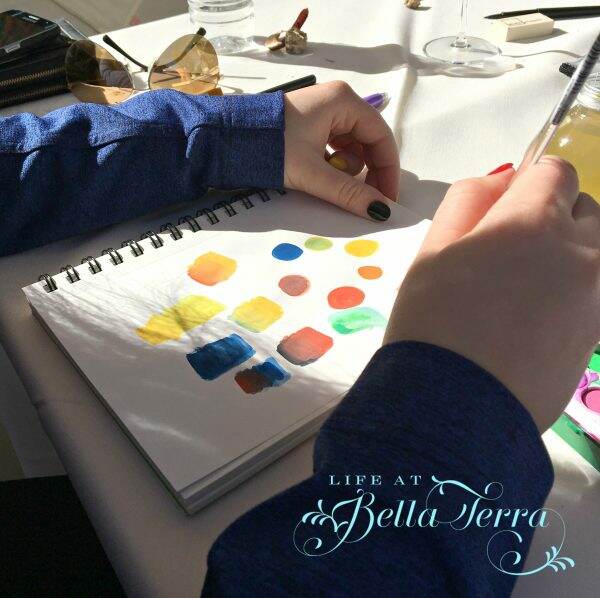
Next we played with mixing colors and values.

We left the classroom and explored the grounds to find our next subject.

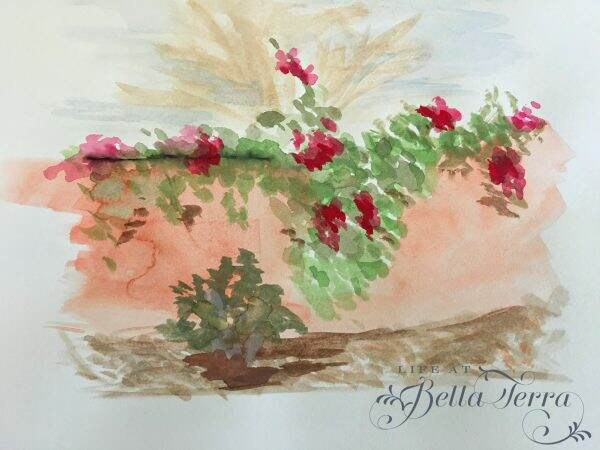
I chose an adobe wall with bougainvillea climbing on it.

It’s not great but it was such fun to learn something completely new! Plus I was able to spend the morning with my daughter in this gorgeous setting.

The Hermosa Inn is hosting another art event entitled Mimosas and Monet on February 10 from 9:30 – 11:30 a.m. using acrylic paint. Who knew they had a 2018 Winter Events calendar that includes classes on art, cooking and spirits.  For more information, visit the Hermosainn.com or call 602-955-8614.


The Importance of Friendship

Yesterday I was feeling out of sorts.  Blah.  Not physically sick but emotionally restless.  I tried exercising and that didn’t fix it.  I ate healthy food all day to no avail.  Typically I wake up each morning in a happy state ready to tackle the day with lots of focused energy.  I was wandering around aimlessly trying to pin point what was bothering me.

Have you had one of those days where you are on the verge of weeping?  Well, that was me. I felt like I was ready to have a good cry, yet I couldn’t understand why.

That afternoon I got a call from my friend, Janie, who wanted to spontaneously meet me at Whitfill Nursery as she needed flowers for her garden.  I LOVE Whitfill Nursery and enjoying a sunny day surrounded by plants, flowers and a dear friend sounded like what I needed.

Maybe I was missing all the wonderful activity from the holidays-where the house was filled with my children, their friends and laughter.  Maybe I was just overtired…

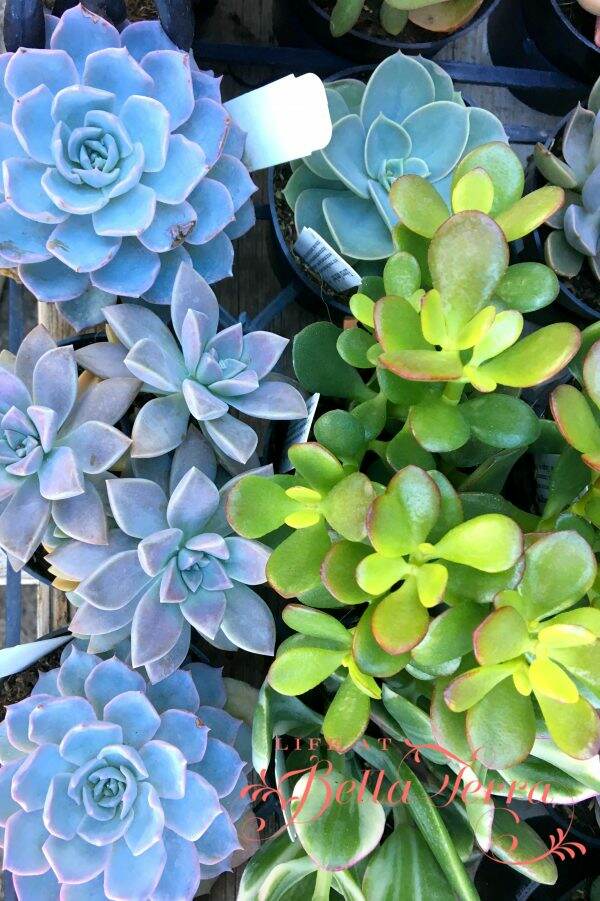
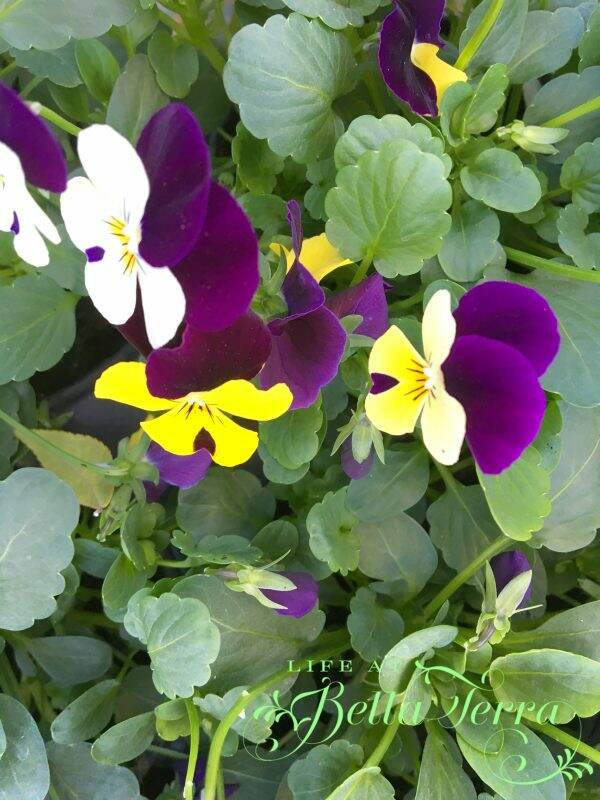
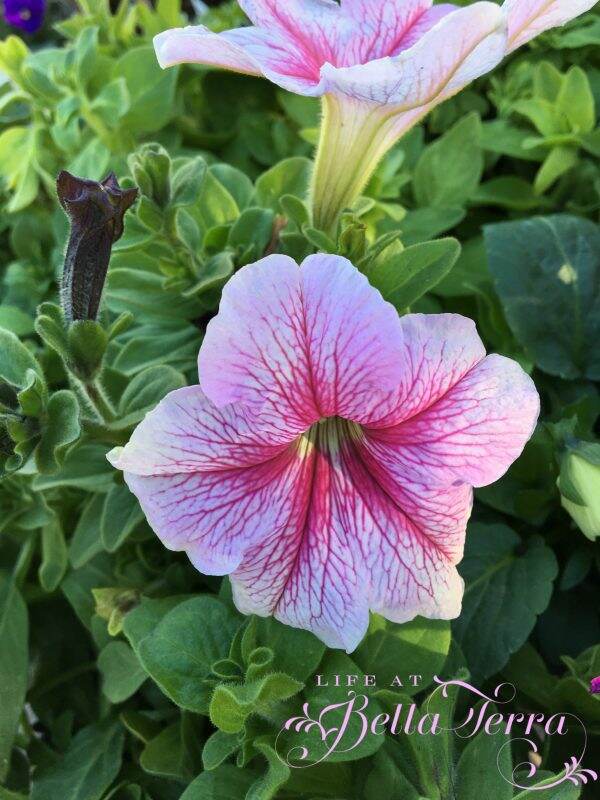
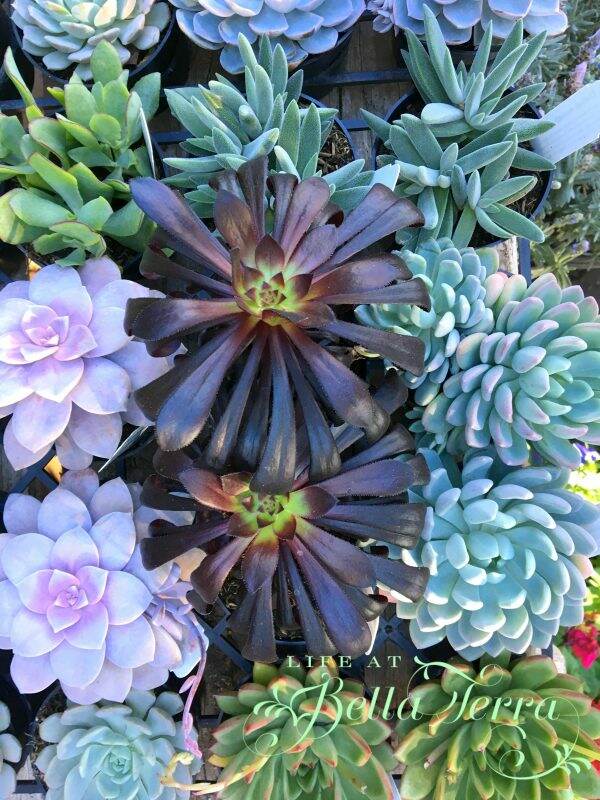
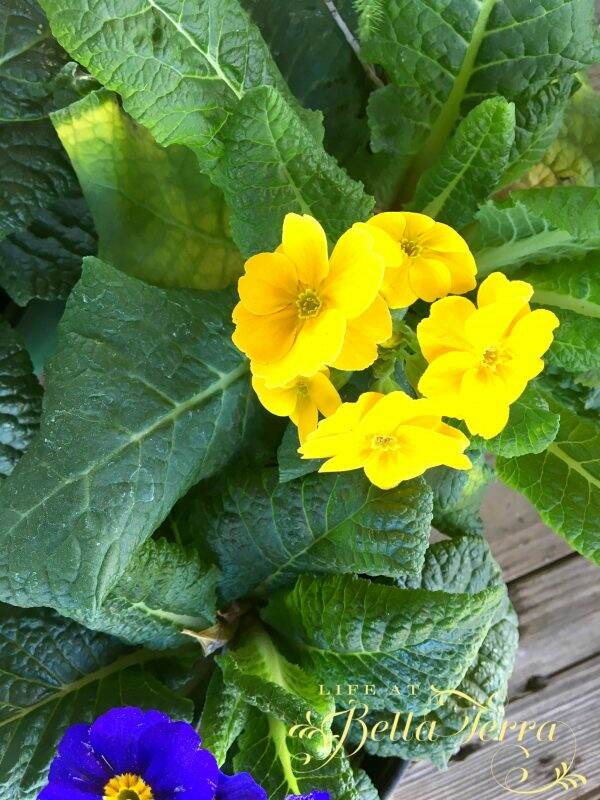
But spending time with my dear friend filled my soul.  As she loaded her cart with bedding plants, I took some of these photos.  Nothing like the simplicity and beauty of nature to help reset your compass.

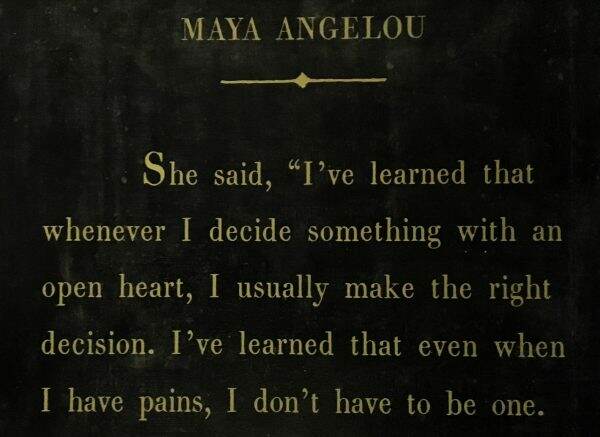
I believe that situations and people cross your path when you need it most.  We went into the Garden Shop at Whitfill where Maya Angelou‘s words of wisdom jumped out at me.

Janie had no idea that asking me to join her in flower shopping would make me feel better.  The warm greetings and conversation from both Janis and Patti at Whitfill help ease my weepiness. Being around the friends, flowers and sunshine was my soul food.

The saying at our house is “in order to be a good friend you have to have good friends”. I feel so blessed to have dear friends who enter my life at the most random times, but always when needed.  At the end of the day, companionship and great conversation was my medicine. This is balm for my soul.

Do something nice for a friend today.  You never know if they need you.


Organizing the Butler’s Pantry

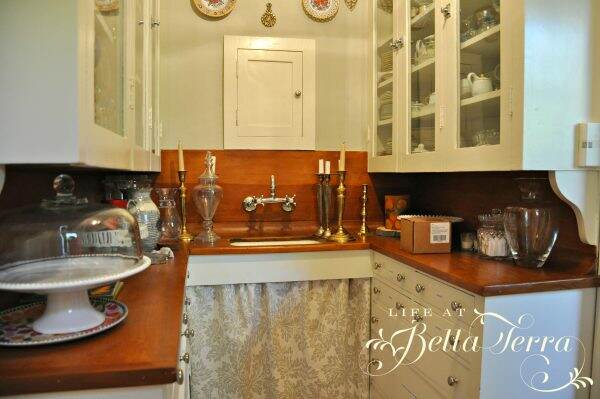
The butler’s pantry is a service room between a kitchen and dining room, typically equipped with counters, a sink, and storage space for china and silver.  The origin of the butler’s pantry was between 1810-1820. Our butler’s pantry fits that definition to a tee.
The only thing missing in our butler’s pantry is the butler.  I would really like a butler.
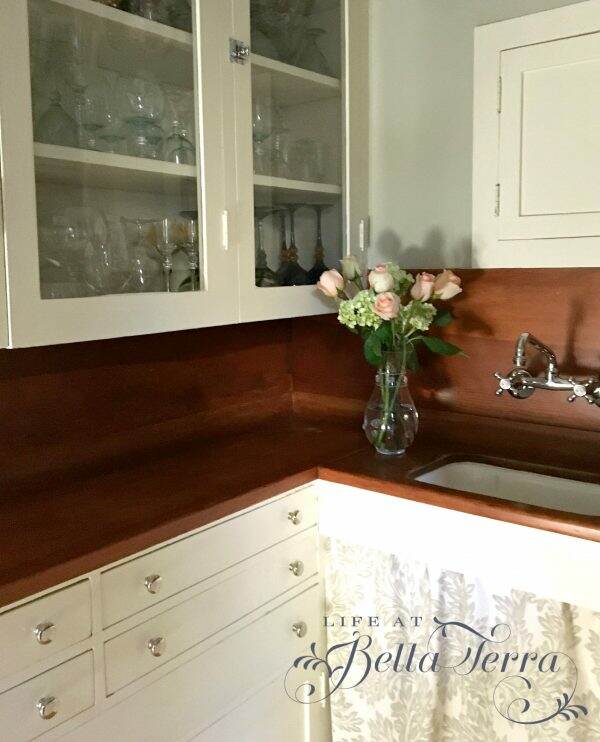
Above is a typical day in the butler’s pantry-messy and unorganized.  There is tall upper storage on either side, a sink in the middle and the original wood countertops.  Several drawers are below on both sides as well.
This weekend I decided to clean and organize this pantry.
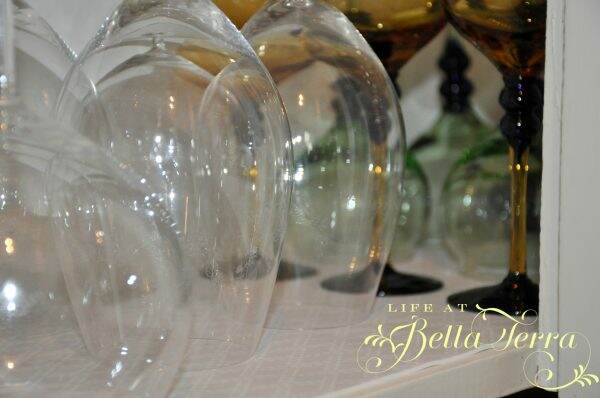
The original shelf paper was rubber and started to break down (since I first did this nearly 17 years ago).  I replaced it with Con-Tact, a non-self adhesive fabric with a non-slip grip purchased at The Container Store.
I washed each and every glass, got rid of the chipped, cracked and mismatched ones.  I rediscovered items I loved but had overlooked. This project took so much longer than I anticipated, but everything sparkles and is in place.
The drawers below hold everything from napkins to candles.
Each drawer is labeled which helps me put things back where they belong.  I love my labeler.
There is flat storage for trays and behind the skirt under the sink, I keep large vases for flowers.
 Living in an historical home can offer some experiences of what has come before.  The countertop on either side of the sink is marked with cigarette burns~~my assumption is that back in the day one would lay down their cigarette to make a cocktail or wash a glass.
After I completely reorganized the left side of the pantry, I tackled the right side, which holds some of my china.
And my pots de creme collection (as if I make pots de creme all the time!!!)….
I have too many sets of china and most of the dinnerware is stored in the basement.
Here are the after photos.  Sorry for the quality as I took it early this morning them rather low light.
This project took nearly 3 days to complete as I found many pieces of silver that needed polishing, crystal needing washing, plus the sorting and organizing part.  Now I know why people had butlers to do all this work!