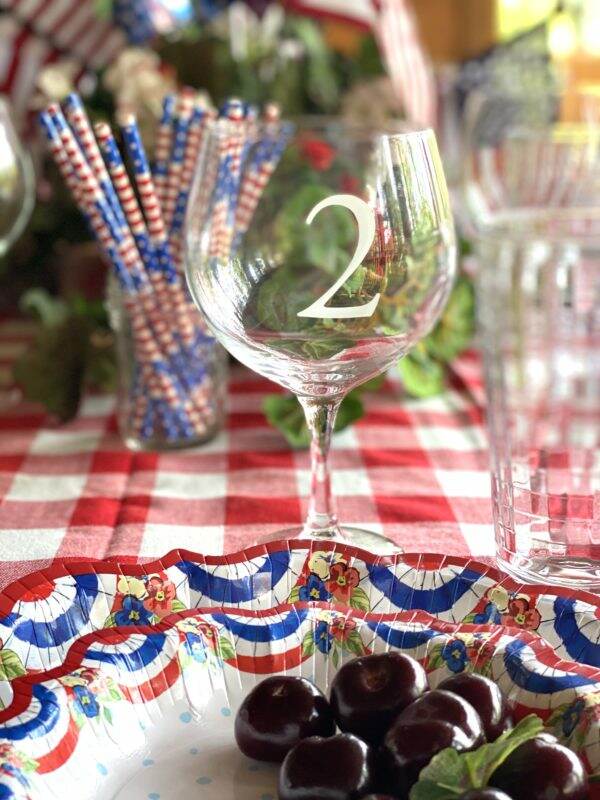
Happy Summer Solstice
Summer Solstice is the longest day of the year if you live in the Northern Hemisphere. This year it is today, June 20, 2020. Lots of 20s in there! I’m beginning to think 20 may be an unlucky number as this year has been very unsettling.

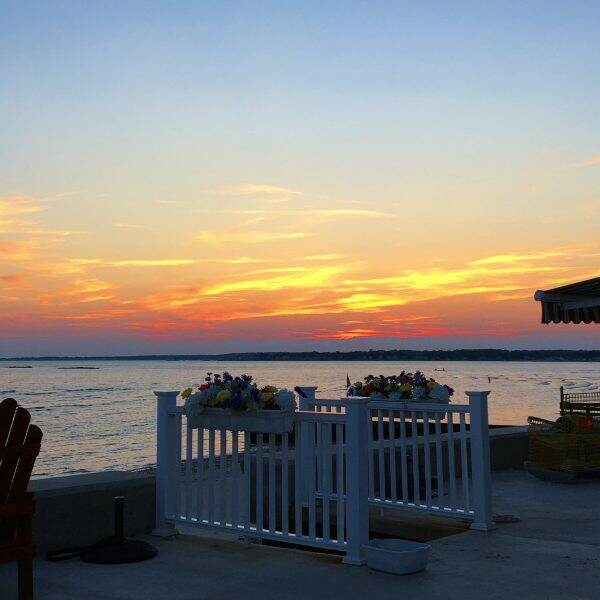
The Summer Solstice occurs when the Earth’s North Pole is tilted furthest towards the sun. On the June solstice, the sun will be farthest north in the northern hemisphere sky, appearing directly over the Tropic of Cancer, and will take the longest route between rising and setting. This means that today will have the most hours of sunlight and the shortest night of 2020. If you are in the Southern Hemisphere, it is the opposite-the shortest day and longest night.

Typically, the June solstice marks the beginning of summer and will last until the September 22 equinox. So Happy Summer Solstice to you and I hope you are doing something summery to celebrate.
Today, I am sharing two summer cocktails that I love. One is really an aperitif, a cocktail that is served before a meal and is meant to stimulate the appetite. Aperitifs are usually dry rather than sweet, as sugar tends to diminish your appetite.
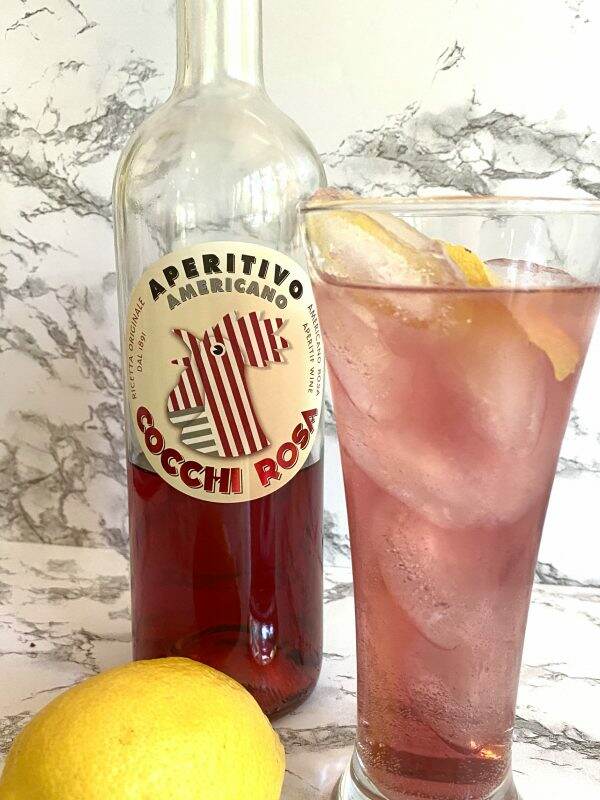
I am naming this an Americano Spritzer. Fill a tall glass with ice and add a generous pour of Cocchi Rosa Americano Aperitivo, add sparkling water or club soda, add a squeeze of lemon juice (half a lemon) and top with a lemon twist. That’s it! Easy and simple.
This light, low alcohol drink is refreshing and delightful. Cocchi Rosa is produced with a base of red wines from Piedmont which herbs, spices and extracts like gentian, cinchona, citrus zests and rose petals. The futuristic rooster on the label, designed in the ‘30s, represents its aperitif function (“it awakes the appetite”) and is also the symbol of the town of Asti, Italy. I purchased this at Total Wine for $21.49.
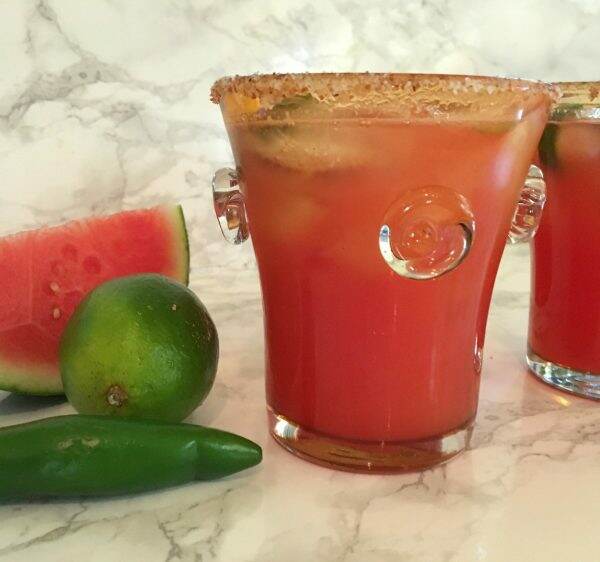
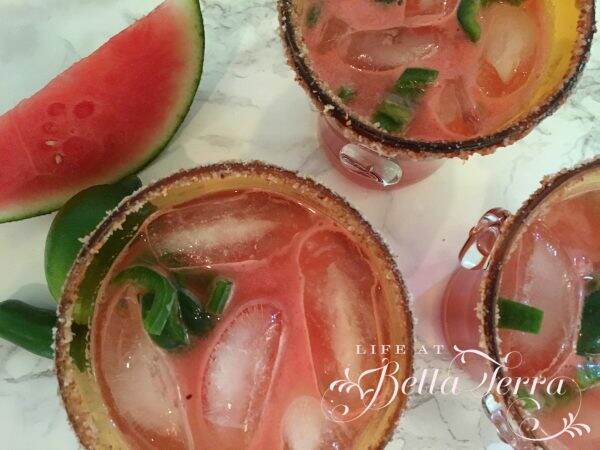
The next cocktail I have shared before but it is the perfect summer drink when watermelon is in season. This has more alcohol (tequila) than the aperitif but the combination of the sweet watermelon and spicy jalapeño is a winner. It is a “skinny” recipe due to the agave syrup vs. sugar. Click here for the Skinny Watermelon Jalapeño Margarita recipe from Ambitious Kitchen. For more non-beverage watermelon recipes, click here.
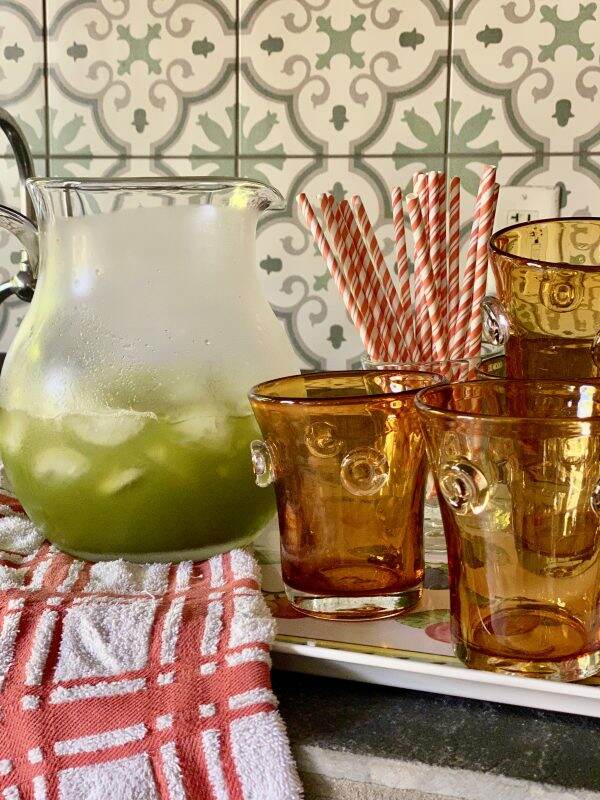
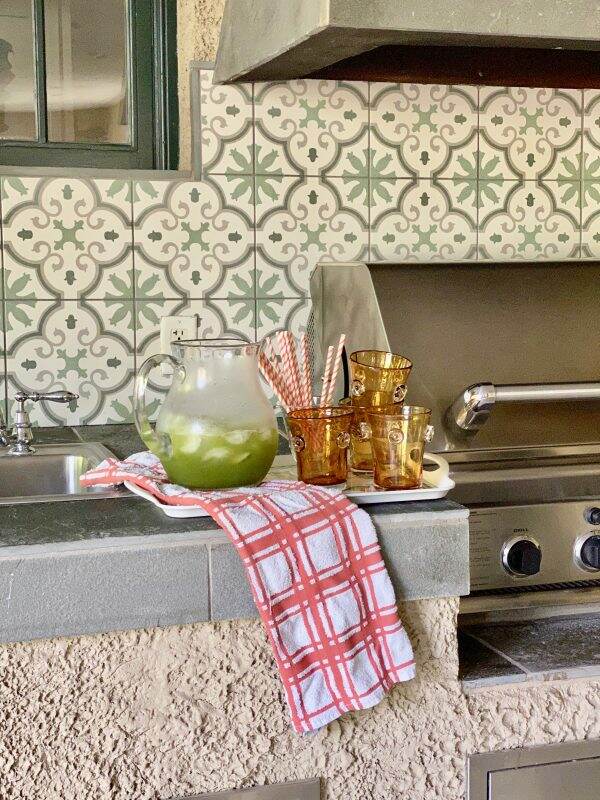
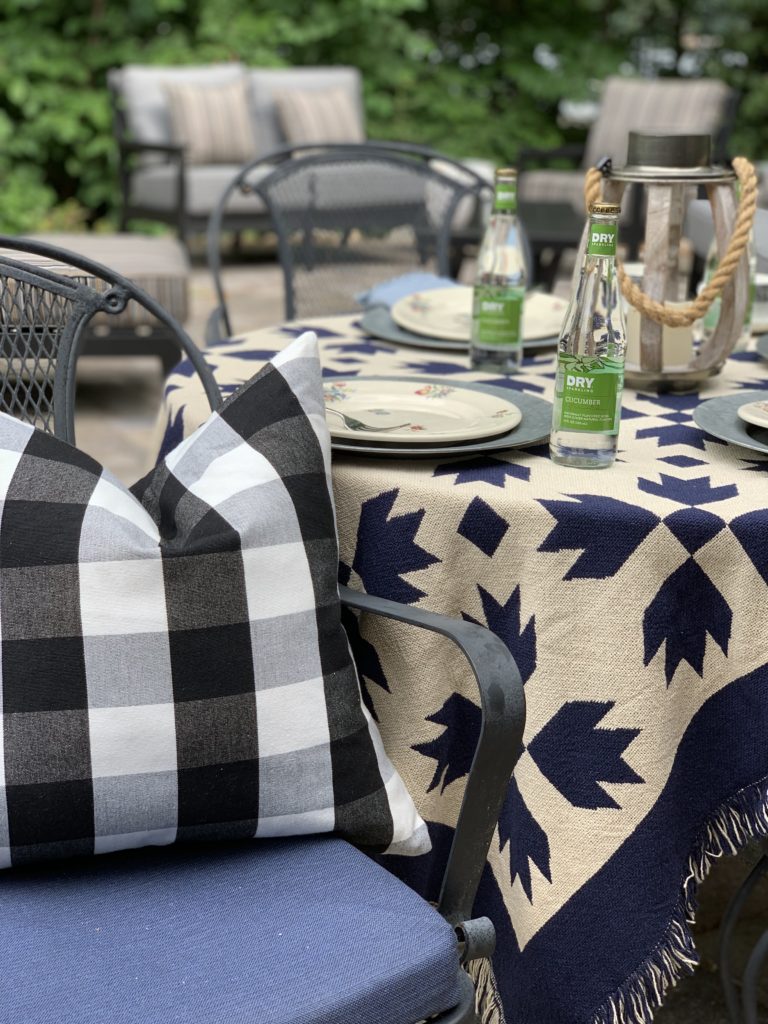
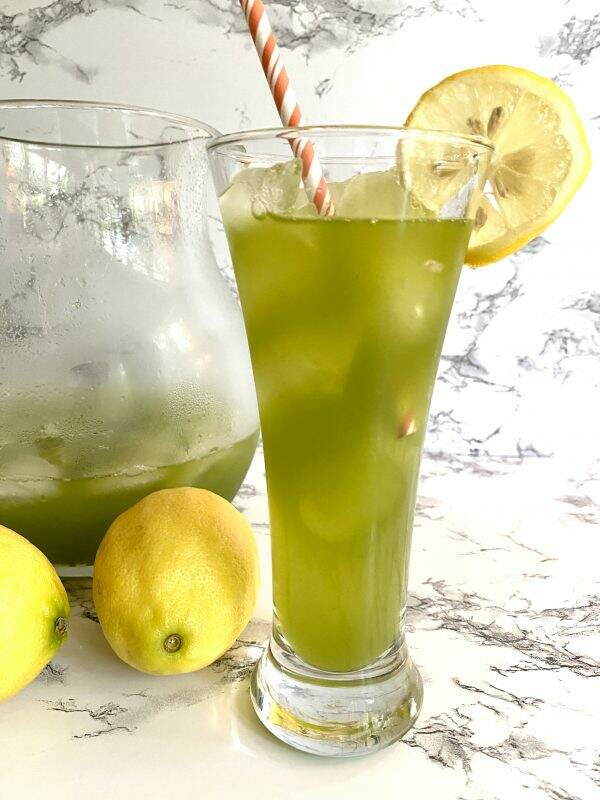
If you prefer something non-alcoholic (though you could add vodka or gin), please try my Cucumber Lemonade recipe. The different twist on basic lemonade is a crowd pleaser.
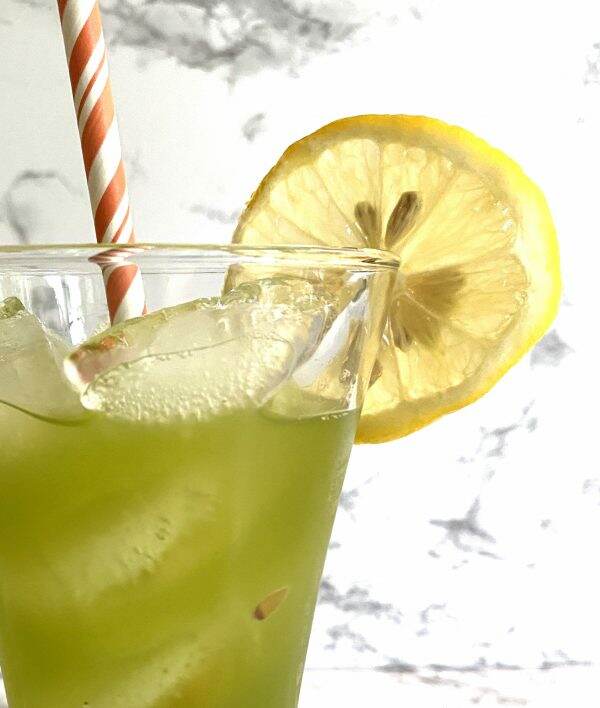
I like using an English cucumber as the skin is very thin compared to a regular cucumber. However, I would imaging either would work. If you use a blender to make cucumber juice, you will need to strain it to remove the seeds and pulp.
My lemonade recipe is fairly easy~1 part lemon juice, 1 part simple syrup, 1 part cucumber juice and 1 part water. You can easily adjust this recipe to have honey or agave instead of simple syrup, or sparkling water vs. still water. Recipe is below. For more lemonade recipes, click here.
While you are sipping your summer drinks, what better way to celebrate the Solstice than listening to music themed around the sun. Here is my playlist for you:

Walking on Sunshine by Katrina and the Waves
Here Comes the Sun by the Beatles
Good Day Sunshine by the Beatles
Ain’t No Sunshine by Bill Withers
Island in the Sun by Weezer
California Sun by the Ramones
To See the Sun by The Turtles
Sunny Afternoon by the Kinks
Warmth of the Sun by the Beach Boys
The Sun by The Pretty Things

Wishing you and yours a sunny, happy Saturday. Hopefully you will find unique ways to celebrate the beginning of summer.

A Happy Father’s Day to all the dads out there. My father died 5 years ago and every time I try to write a blog post about him I am sobbing. He was my hero and had the biggest heart imaginable. I truly miss him. So love your dads every minute of every day!

Cucumber Lemonade
This is a delicious, refreshing drink on a hot summer’s day.
- 1 part Simple syrup
- 1 part Fresh lemon juice
- 1 part Water
- 1 part Cucumber juice (English cucumber preferred)
Simple Syrup
- 2 Cups Sugar
- 1 Cup Water
Simple Syrup
-
Using a small saucepan, mix the sugar and water. On medium heat, stir and heat until the sugar is dissolved. Remove from heat and cool. Makes 2 cups of simple syrup. Store in the refrigerator.
Lemonade
-
Make the cucumber juice either in a juicer or blender. Place whole cucumber in the blender. Blend for approximately 1 minute until the entire cucumber is now liquid. Strain the juice to remove the seeds and pulp. 2 English cucumbers makes approximately 2 1/2 cups of juice.
-
Mix the simple syrup, lemon juice, cucumber juice and water in a pitcher. Taste and adjust accordingly. Fill glass 1/2 full with the cucumber lemonade and add ice to fill.
You can adapt this recipe with different sweeteners~i.e. honey or agave and adjust the amount based on taste. This recipe would also be delicious with sparkling water. To make it a cocktail, add gin or vodka.