1

Organizing the Butler’s Pantry

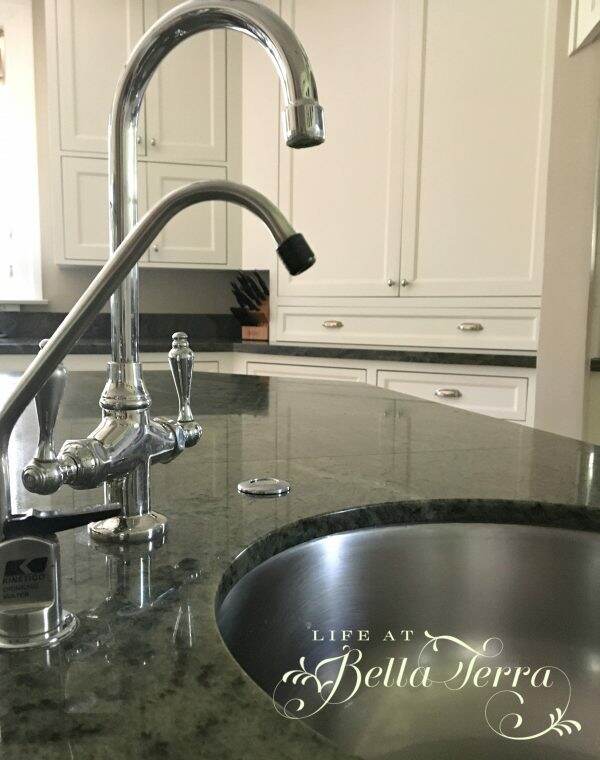
The butler’s pantry is a service room between a kitchen and dining room, typically equipped with counters, a sink, and storage space for china and silver.  The origin of the butler’s pantry was between 1810-1820. Our butler’s pantry fits that definition to a tee.
The only thing missing in our butler’s pantry is the butler.  I would really like a butler.
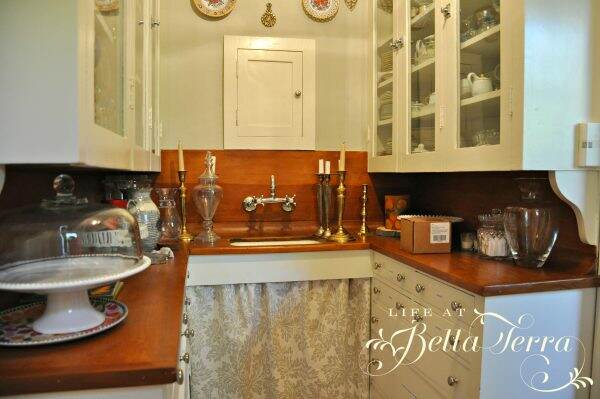
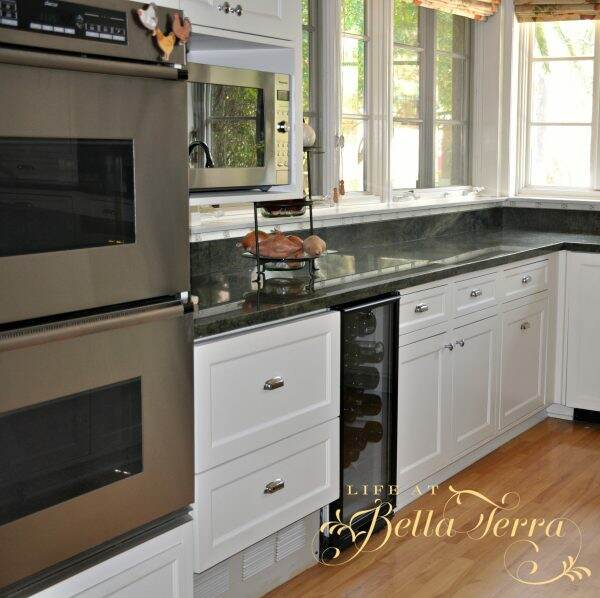
Above is a typical day in the butler’s pantry-messy and unorganized.  There is tall upper storage on either side, a sink in the middle and the original wood countertops.  Several drawers are below on both sides as well.
This weekend I decided to clean and organize this pantry.
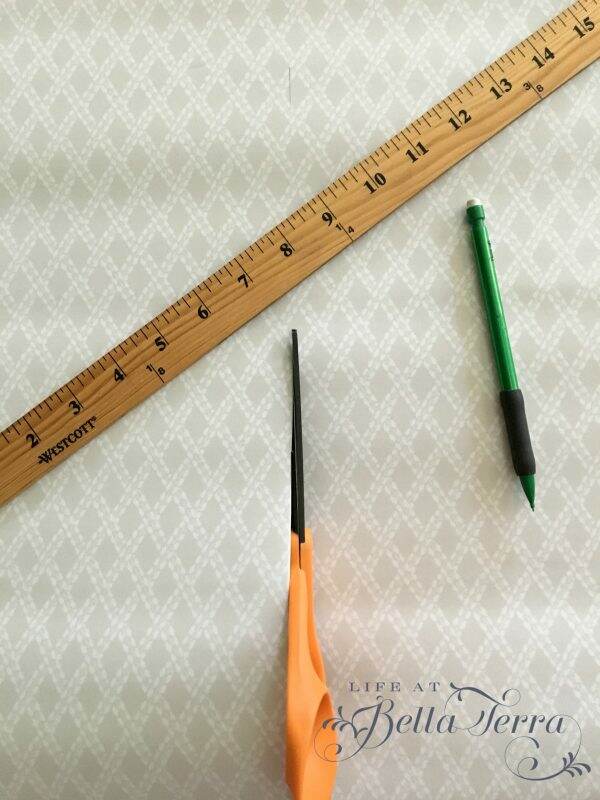
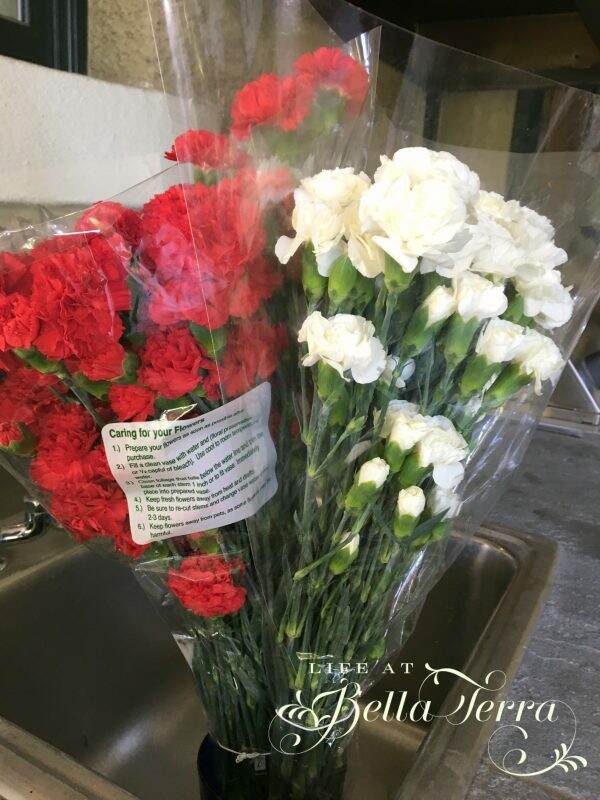
The original shelf paper was rubber and started to break down (since I first did this nearly 17 years ago).  I replaced it with Con-Tact, a non-self adhesive fabric with a non-slip grip purchased at The Container Store.
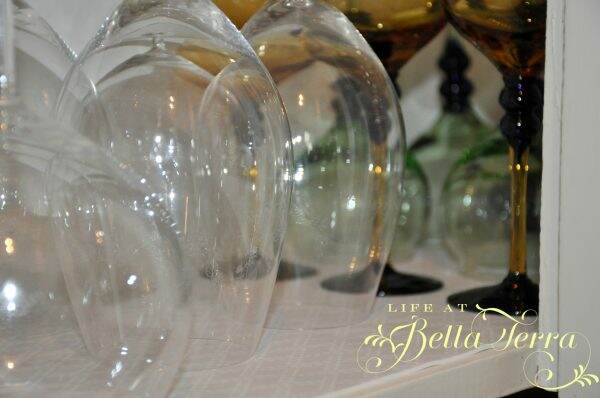
I washed each and every glass, got rid of the chipped, cracked and mismatched ones.  I rediscovered items I loved but had overlooked. This project took so much longer than I anticipated, but everything sparkles and is in place.
The drawers below hold everything from napkins to candles.
Each drawer is labeled which helps me put things back where they belong.  I love my labeler.
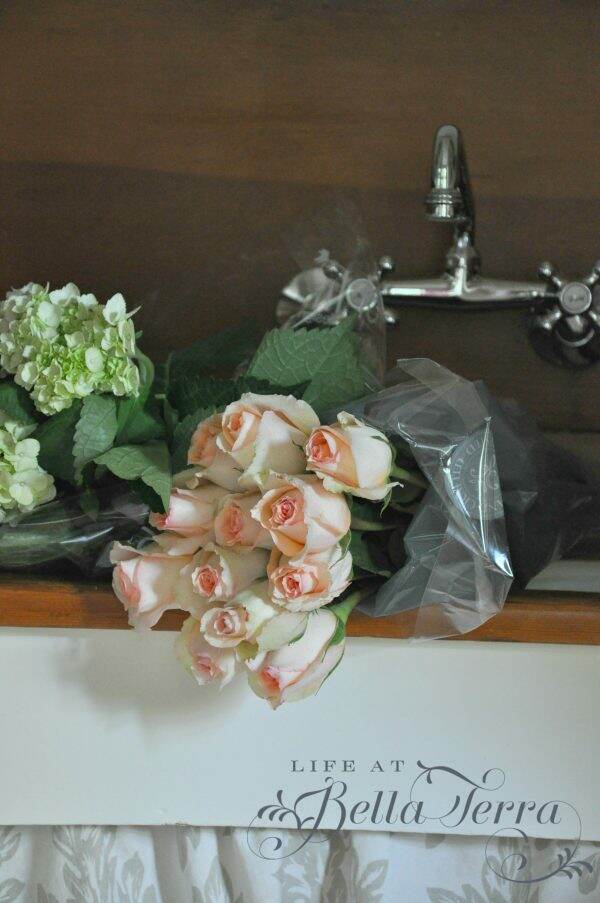
There is flat storage for trays and behind the skirt under the sink, I keep large vases for flowers.
 Living in an historical home can offer some experiences of what has come before.  The countertop on either side of the sink is marked with cigarette burns~~my assumption is that back in the day one would lay down their cigarette to make a cocktail or wash a glass.
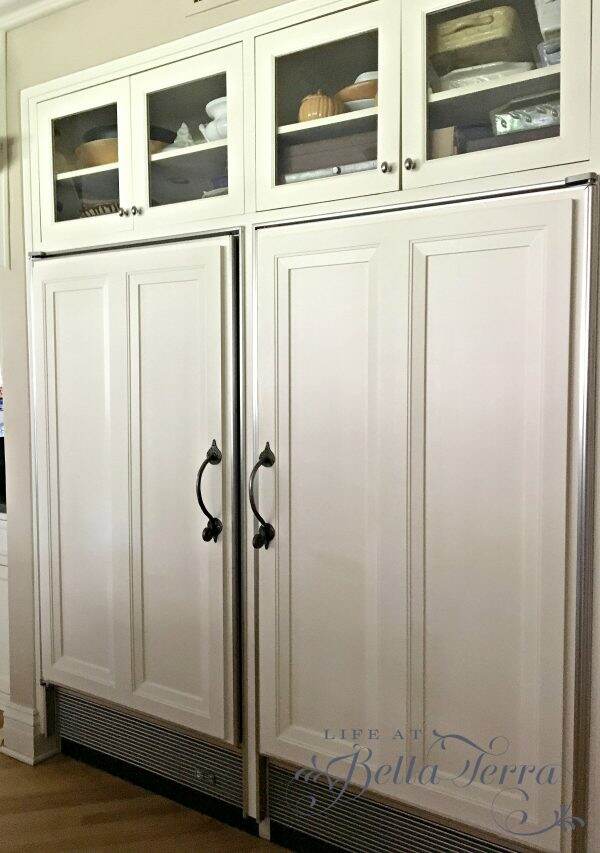
After I completely reorganized the left side of the pantry, I tackled the right side, which holds some of my china.
And my pots de creme collection (as if I make pots de creme all the time!!!)….
I have too many sets of china and most of the dinnerware is stored in the basement.
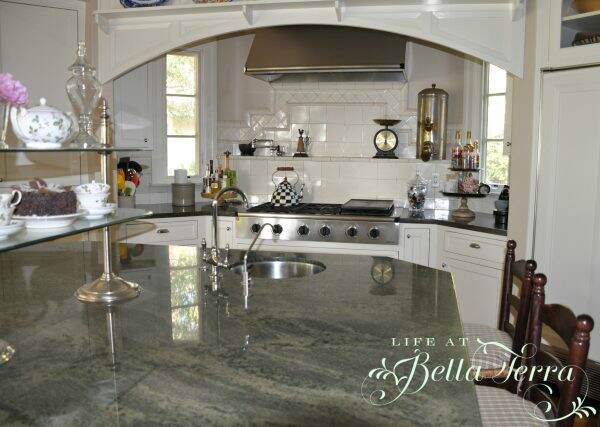
Here are the after photos.  Sorry for the quality as I took it early this morning them rather low light.
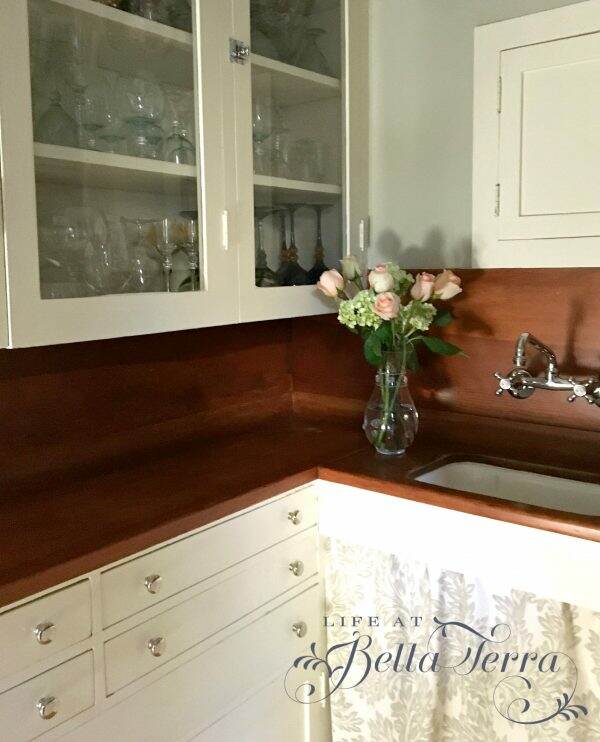
This project took nearly 3 days to complete as I found many pieces of silver that needed polishing, crystal needing washing, plus the sorting and organizing part.  Now I know why people had butlers to do all this work!


My Kitchen – Part 2

Yesterday, I visited the home of a friend who is an interior designer with a contemporary, minimalist style.  I was amazed that she lives with absolutely no clutter.  Nothing. Granted, we have vastly different lifestyles but when I came home, I felt my home was cluttered.

Isn’t it interesting how different we are and how we live?

Anyway, back to the kitchen.  Welcome to Part 2.  If you missed Part 1, please click here.

Baking/Prep section:

In the baking/prepping section, the retractable shelf for the mixer and food processor provides additional workspace.  Equipped with their own electric outlet, these appliances can be pulled out when in use and tucked away later. All bowls and baking items (flour, baking powder, etc.) are stored in cabinets nearby.

Utilizing the 4″ toe kick under the kitchen island, a collapsible stool is hidden in that dead space.  This stool was used ALL the time when the children were my little baking helpers.

The Step-Fix collapsible stool is made in Germany by Hailo. This could also easily fit into a drawer and I believe it’s less than $50.

The double Dacor ovens allow baking choices from pure convection to regular baking. We tend to use the upper oven much more than the lower one, but it’s nice to have an additional oven on hand, especially during the holidays.

It’s frustrating to be in a kitchen and lack electrical outlets.  I made sure this didn’t happen by adding a plug strip under the large kitchen windowsills.

We have three refrigerator sections.  The side-by-side SubZero refrigerator and freezer are fabulous.  They provide more than enough storage and refrigeration for our family of 5. Grizzly Welding made the iron door pulls.

Double drawers (also made by SubZero) were initially installed for everything and anything child related. The drawers provided easy access to snacks and drinks.  The 3rd refrigerator is the glass front wine unit by U-Line.

Dining and everything else:

The island in the center of the kitchen is very large and serves as the hub for all family activity-baking, cooking, school projects, sewing, dining, and entertaining.

In the island is an additional sink ~~very handy and convenient for fruits and vegetables coming out of the freezer. Our reverse osmosis system is located here too, steps from the ice maker.

Two warming drawers are also housed in the island, on the range side.

In the center of the island is a pastry shelf, which helps break up the expanse of the island. I also like to seasonally decorate it, but it can also be used while entertaining for desserts or other items.

The goal was to create a high functioning kitchen in a classic design that would look like it had always been there. I love this room as it truly is where everyone gathers.

I hope you enjoyed the kitchen tour.  I am now off to declutter.


Dacor Double Ovens

Dacor Warming Drawers

Kinetico R-O system

Stepfix by Hailo

U-Line wine refrigerator

Wedgewood china tea cups/pot

Subzero Refrigerator/Freezer and Drawers


Happy New Year’s Eve!

Happy New Year’s Eve….hard to believe it will be 2018. I want to push a big brake pedal on life…it’s is going TOO fast!

We are having a nice dinner this evening with no plans for anything formal tomorrow. When I made my Thanksgiving centerpiece (to see the post, click here), my friend Tracy, wished I had provided more information on how I did it.  As a result, I created a similar one for our New Year’s Eve dinner table.

You can really use any tray or container that will hold plants and flowers and is somewhat waterproof.  For Thanksgiving, I used a wooden tray I lined with foil and plastic.  For this one, I went to the Garden Shop at Whitfill Nursery and purchased an oval, galvanized tin one with handles.  I had them fill it with water to make sure it didn’t leak.

It was nearly waterproof, but leaked slightly on the side edge. I can work with that. While I was there, I selected a variety of green plants with white flowers-geraniums, ornamental cabbages, variegated ivy, and dusty miller.

I lined the tray with a black plastic trash bag, covering the seam where there is a slight water leak.

I removed the plastic containers and arranged the plants in the tray.  I did not need to add additional soil, since I will be removing them and planting them in the garden next week. I really like the ability to re-purpose these plants after they have served their time as a centerpiece.

Next, I added some cut flowers for color and texture~~using 2 dozen white roses.

I inserted plastic cups in the bare spots, filled them with water and added the cut roses.

There were still some holes so I filled them with leftover fresh greens from the Christmas tree (that were sitting in a bucket of water for the last few weeks). Again, I can’t say enough about the quality of Christmas trees at Whitfill.  Our tree and these greens are still so firm and fragrant.

At this point I thought the centerpiece was completed.  I really like how it looks against the natural wood table.  However, when I placed it on the white linen tablecloth, I felt it still needed something.

Initially, I wanted my New Year’s table to be whites, greens and silver.  But at the last minute I changed my china to this for a burst of color.

By adding gold and green balls,  it help to spice it up a bit. I love the shape of this tray, however, I feel the galvanized tin is a bit rustic for the formal place settings.  I’m hoping with the candles lit, it won’t be as noticeable.  But again, it’s fun to mix and match!

Thank you for your inspiration, kind words and loyalty in 2017.  From everyone at Bella Terra, we wish you and your family a safe, healthy and prosperous 2018!

Resources:  Silverware: Wallace Napolean Bee purchased from Horchow; China:  Royal Worcester Greek Urn with Flowers; Roses purchased from Safeway


Cakes, Quality Time and Cookbook Giveaway

Last summer, I was drawn to a magazine article about a London Fog cake, made with Earl Grey tea by Tessa Huff.  I’ve always wanted to make beautiful cakes but have never really spent much time learning how to do so.  I’ve tried my hand at the occasional home made birthday cake or our yearly Easter lamb cake but nothing that requires me to really stretch my cake baking knowledge.

The London Fog cake article led me to purchase Tessa’s beautiful cake cookbook, Layered.  I have written about Tessa before, but what started as “let’s make this cool cake” has turned into spending quality time with my son and his friends.

When the book arrived, we quickly purchased real cake baking paraphenalia Tessa recommended~~the correct pans, parchment liners and  frosting implements.

This notion of baking cakes took on a life of its own.  My foodie son and his friends (all who are extreme athletes and very tall) started showing up in the kitchen to take on the challenge of cake baking.  Who would have thought?

The very first cake we made was the Banoffee Tiramisu Cake~~a boozy banana espresso cake.  The vanilla espresso chiffon cake is brushed with a rum-soaked espresso, then filled with mascarpone buttercream topped with salted caramel and chocolate curls.

Here are my two cake baking buddies.  My son Benjamin is 6’1″ and his friend, Max is 6’5″.  Both are entering their final semester in college and have been friends for years.

Tessa’s book is filled with so much information on everything from what to stock in your pantry to how to frost a cake. The recipes are in sections-Classic, Chocolate, Casual, Whimsical, Adventurous, and Holiday cakes.

Sweet Tea Cake was our next selection, which was inspired by the food of the South.  A lemon butter cake is layered with Sweet Tea Buttercream with a Vanilla Bean Buttercream frosting.  It was the first time we have made candied lemons as a garnish.

Piping the frosting was the most difficult part….hard to have a steady hand with a vertical motion.

The next cake was difficult to make and doesn’t really look fabulous in my photos, but it is SO delicious!  We’ve made it twice so far.  The Brooklyn Blackout Cake is a decadent chocolate cake from Ebinger’s Bakery in Brooklyn.  Named after World War II blackout drills, this was a staple in Brooklyn until the bakery closed in 1972.

It’s a devil’s food cake with chocolate custard with a dark chocolate ganache frosting.  It’s very messy to make because you then cover the entire cake with cake crumbs.

Thanksgiving 2016, we made the Caramel Apple Cake.

Christmas 2016 was the Chocolate Pomegranate Cake.

New Years 2016 was the Golden Champagne Celebration Cake.

Since Benjamin spent the summer in Washington, D.C. we didn’t make many cakes but we managed to make this Strawberry Shortcake without him.  A perfect summer dessert when the berries are at their best.

Thanksgiving, this year,  was the Butterscotch Bourbon Cake.

And our most recent, was the Christmas Cake~~Red Currant Chocolate Cake, a spectacular combination of chocolate, raspberry, red currant and creme de cassis.

As a result of this cookbook,  I have enjoyed hours of quality time with our son and his friends in the kitchen, making memories over gorgeous and sometimes challenging recipes.

It is now time for the amazing giveaway! I will be giving one new (not sticky and dog-eared) Layered cookbook to the lucky winner, in hopes they too, will create happy cake memories.

How to enter- please do at least one of the following:

  1.  Leave a comment below and tell me about your favorite cake(s).
  2.  Follow me on Instagram (lifeatbellaterra), like me and tag a friend.

The contest will end at midnight on December 31st, 2017.  The winner’s name will be randomly selected from all the entries.

Have a very happy and safe New Year’s holiday!


Entertaining Shortcuts

Every year we host our neighborhood board for a holiday celebration.  We have the most wonderful group of neighbors who spend countless volunteer hours maintaining the integrity and character of our North Central neighborhood.  I always feel so lucky to welcome them into our home to celebrate them and the holidays.

Typically, I would love to think I have the time and energy to make everything from scratch, but realistically that’s not always the case. What did we do before Costco or Sam’s Club? This year, I capitalized on all the wonderful things available at Costco for the hors d’oerves, flowers and desserts.  With a little imagination you can take ordinary items and turn them into something special with these entertaining shortcuts.

As you know, I think the carnation is the underdog of flower choices, but they are affordable, hold up well and provide a burst of color.

With some evergreens from our Christmas tree (or greens from your yard), you can make them look like this.

Costco has a gourmet food section with an extensive assortment of salami, proscuitto, and cheeses. The French brie, Isigny Ste. Mere is from Normandy and is so delicious.  The Cambozola blue cheese was only $8.00 for 2 wedges! Their Cranberry Cinnamon goat cheese is so festive.

With a very large tray and some effort (I had my son’s assistance), it can look like this! We added olives, nuts and fruit for a beautiful display.

Pre-packed vegetables trays are available in most grocery stores.

With a few added tomatoes and sprigs of herbs (I used thyme, but rosemary or parsley would also work), the vegetable tray can have a holiday theme.

I love making Christmas cookies, but I’ve had no time this year.  Costco has a very good selection and I especially like their Holiday Stollen Bites.

Though the picture isn’t great because I took it after our guests started arriving, you can see how I arranged the desserts.

In addition to beer and wine, my son made a Christmas sangria.  Our non-alc0holic options were water and hot mulled cider, which was a perfect choice on a chilly December night.

The cider is from Trader Joe’s.  Simmered with mulled spices, the presentation was made pretty by adding mini Rome apples and whole cloves.

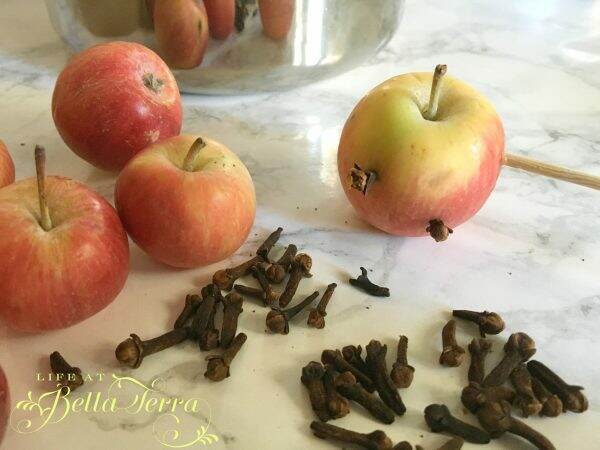
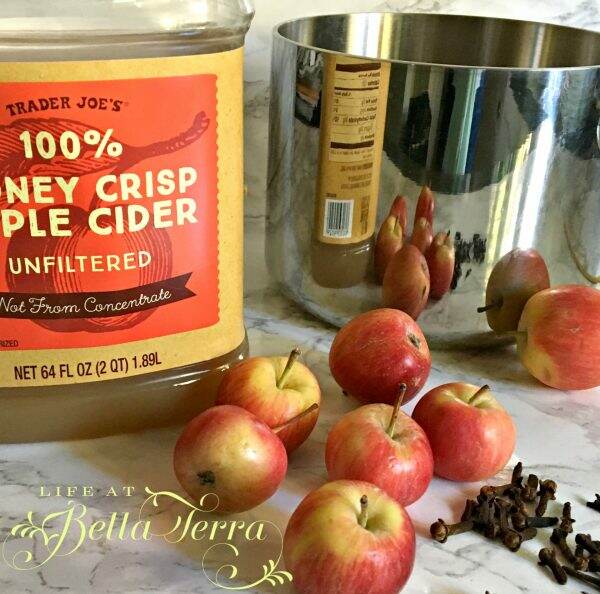
By using a skewer to pre-poke the holes, the cloves are easier to insert.

A crockpot full of Trader Joe’s party size mini meatballs and their Bold & Smoky Kansas City Style BBQ sauce rounded out the appetizers.

The back porch is the perfect location for larger gatherings.  With the fireplace roaring and the ceiling heaters on, it was a lovely evening with neighbors.

What I didn’t know before writing this post, is that Costco delivers!  It appears they can do so in a few hours or a few days~~that opens up so many new possibilities!

Taking some entertaining shortcuts during this holiday season is a way to lower the stress and still provide a warm and welcoming environment for your guests.

Happy Entertaining!


Family, Food, Friends, Fun and Fatigue

I hope you had a wonderful Thanksgiving.  It was so nice having all the children home and the house filled with their friends.  Today, as I take all the Thanksgiving items and store them away until next year, here are some random musings about the holiday.

We had the biggest turkey ever~~a whopping 28 lbs, delivered by Jimmy from Personal Gourmet, a local company who specializes in restaurant grade meat and fish. Typically, we have done this to our turkey:

But this year, my foodie son suggested we dry brine the turkey for 24 hours.  Honestly, I have never heard of dry brining and was a bit skeptical but it was so easy.  After patting the turkey dry, we sprinkled the bird with a combination of salt and baking powder.  This apparently changes the pH of the skin. We refrigerated it uncovered for 15 hours (can do up to 3 days).

Instead of a roasting pan, we put the bird in a V-rack on a cookie sheet.  According to Serious Eats, this increases air flow for even cooking.  In order to have the dark meat cook at the same rate of the white breast meat, we placed the cookie sheet on a preheated pizza stone.  You can find all the details on how to do this by clicking here.

This was, hands down, the most delicious turkey we have ever had.  The dry brining was SO easy.  I did add some herb butter between the skin and the breast meat before roasting, but other than that, we hardly basted it (maybe once).  The skin was so crispy and it sealed in most of the juices. We declared this a winner and this will be the recipe of choice when we roast a turkey in the future.

Thanksgiving Day started with blood orange mimosas.  We found the oranges at Whole Foods and it was a nice alternative to regular orange juice mimosas.

Every year, my husband makes his famous pumpkin pies.

And my son, Benjamin and I make a cake from Tessa Huff‘s incredible cake book, Layered.

Presenting (drumroll)…..the Butterscotch Bourbon Cake.

With the table set and ready to go, we enjoyed a delicious meal with family and friends.

Friday was a relaxing day (thank goodness as I was pooped) and, as we do each year, watched the Wizard of Oz, which is my favorite movie.

And took our annual family photo~~it seems to be more difficult to get everyone looking somewhat normal at the same time.  Of course, the battery was low in the camera and hopefully with some editing, we will have a Christmas photo for our card.

Hope you had a relaxing Thanksgiving.  Today, all the autumn decorations come down and onto Christmas! I leave one Christmas related item out all year long and this sits on the mantle in the breakfast room.  I purchased this Christmas car waterless “snowglobe”from eBay.  Created by artist Alicia Reiner, each is hand signed and numbered.

Enjoy the rest of the weekend!