Painting/Stenciling a Concrete Floor

At the Willetta restoration, we created a large closet off of the dining room by enclosing a portion of an old adjacent storage area. The purpose of this room is to become the silver, crystal, linen and china closet. I’ve always wanted a separate space to store my “stuff”- large trays, candlesticks, tablecloths, dishes, silverware and entertaining items. This 6′ x 7′ closet will be PERFECT for the new homeowners to do just that.

The challenge is that the floor in the new closet is concrete and is flush with the dining room floor which is hardwood. Adding new flooring on top of the concrete doesn’t make much sense as it would have create an awkward transition.
What could I do to make the floor feel more formal, like the dining room, without adding tile or more wood? After pondering this for a few days, I asked myself, “How hard could it be to stencil/paint the concrete floor?” So I googled “how to paint a concrete floor” and watched the YouTube video by Annie Sloan, entitled How to stencil a concrete floor in 10 easy steps.
The video is set to catchy music and yes, in 10 easy steps, Annie Sloan creates a beautiful floor. So easy peasy, right? To make it even more convenient, you can buy the entire stenciling kit from Royal Design Studio Stencils.
The stencil that is used in the video is the Anatolia Wall Stencil. However, the packaging below shows the stencil using 2 colors only (which in retrospect would have been MUCH easier!). In the video, there are five different colors. The stencil dimensions are rather large at 21″ x 21″.
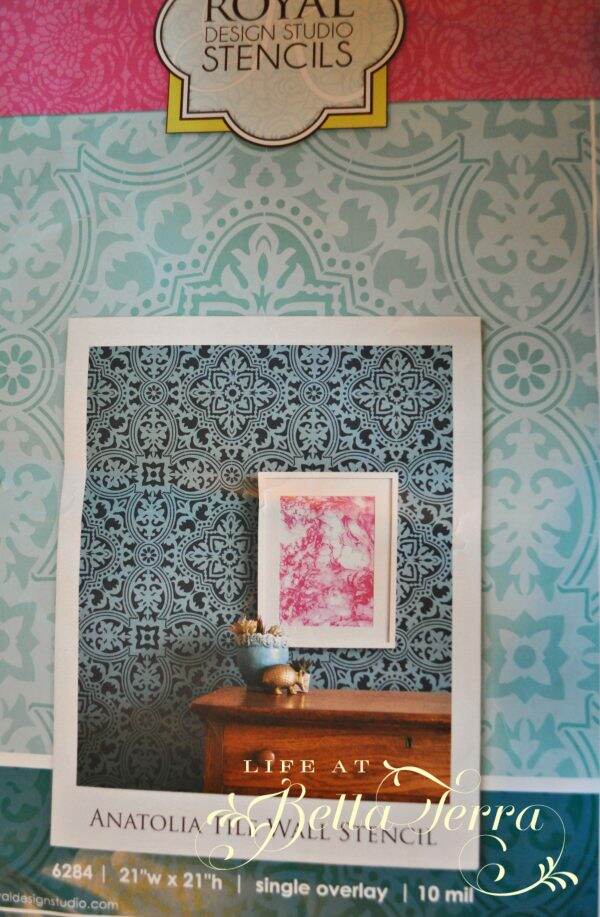
Within minutes, I purchase the stencil kit online and figured nothing ventured, nothing gained. Right?
The kit is complete with the stencil, the paint, the brushes and the top clear coat.
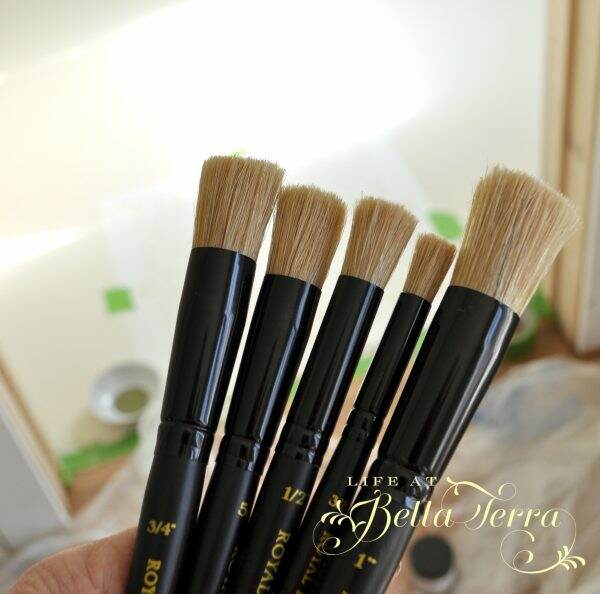
I’ve never stenciled anything elaborate before so I didn’t realize you needed special brushes, but thank goodness they came in the kit. However, there wasn’t any information on what brush to use with what color. I had 4 colors and 5 brushes. No problem, as I thought I could wing it.
Starting the Stenciling Process
When the kit arrived a few days later, I didn’t see any instructions in the box. So I called Royal Design Studios and asked where I could get a copy of the instructions of the floor that was created in the video. They told me that there weren’t any written instructions. Yikes. So, my smart painter, John, suggested I do screen shots of the video and print them out.
So armed with 20+ pages of instructions and my stencil kit, I began painting the floor over the weekend.
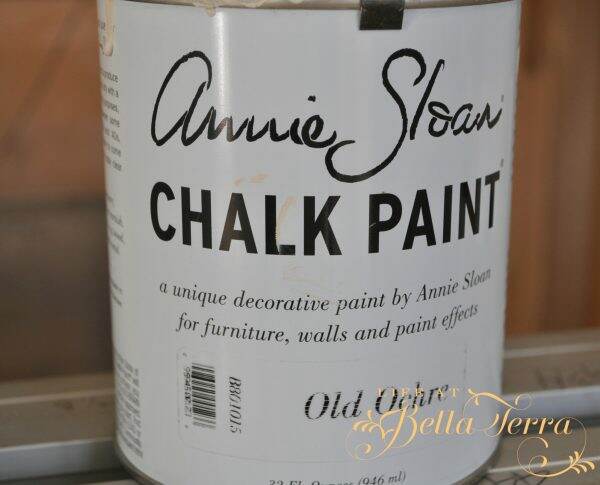
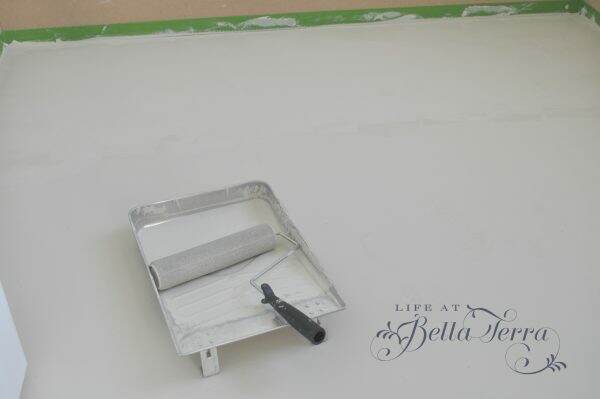
First, I taped off the baseboard (which hasn’t been painted) with painter’s tape and painted the floor Old Ochre Chalk Paint. The paint is a very warm white and rolled on rather well–velvety in a way. I used a foam roller as recommended in the video. The paint dried very quickly, however, I waited until the next morning to do a second coat.
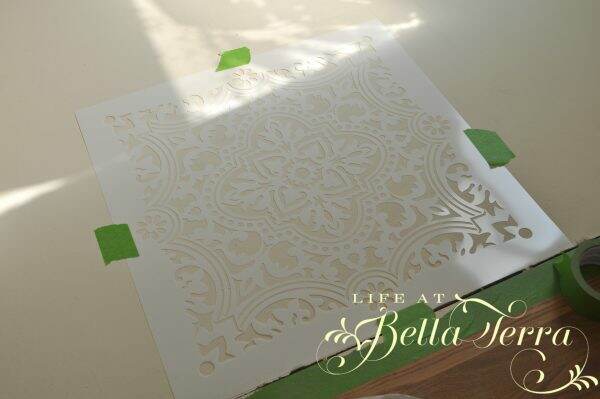
After finding and marking the center line of the room, I placed the first stencil at the doorway and put the right edge of the stencil on the center line. You can see here that the concrete floor is flush with the dining room hardwood floor. I used green Frog painter’s tape to secure the stencil and protect any paint from spilling onto the hardwood floor.
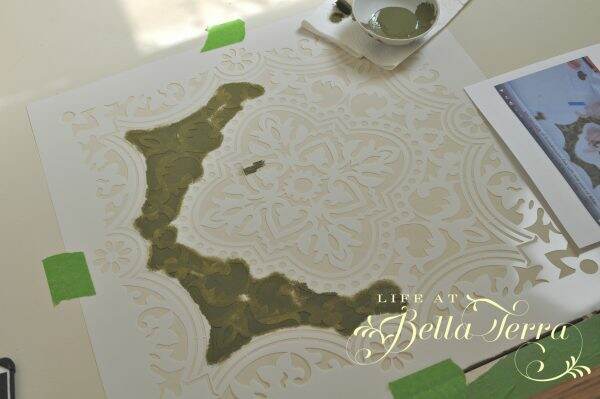
Since the paint brush sizes weren’t designated to a specific color, I would use the largest brush on the bigger parts of the stencil and then work my way down. The first color was Olive~~I’m so glad I printed out the steps as it’s a bit confusing trying to determine what color goes where on the clean stencil.
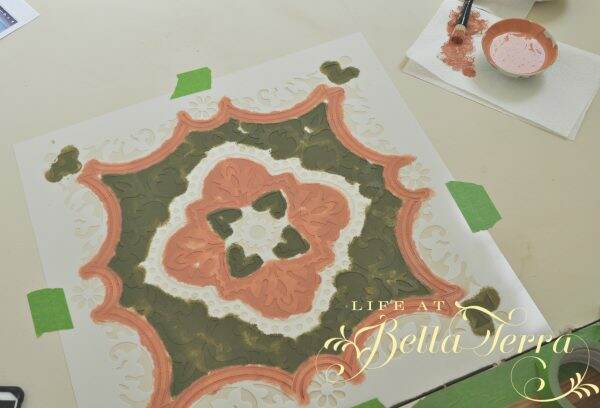
Next came a color that required blending of a pink and yellow paint–I will refer to it as salmon. The stencil brushes have a blunt cut, so I gently dabbed paint onto the stencil.

At this point, I have completed the olive and salmon paint colors. Notice the paint and the paper towel in the photo below. It is important to dab off any excess paint on the paper towel before applying to the stencil.
Yellow paint next, then followed by the blue.
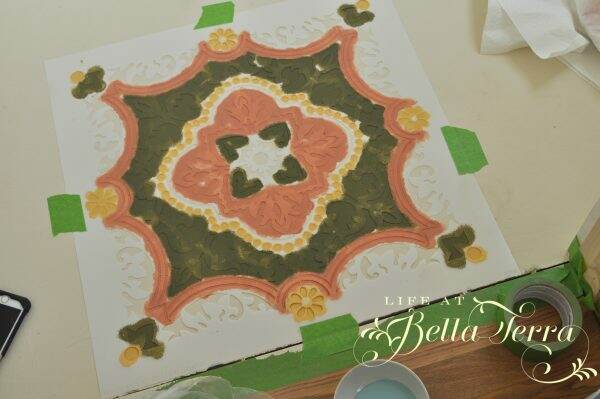
The chalk paint dried very quickly so I didn’t need to wait to proceed with the next stencil. It was relatively easy to line up markers on the edge, re-tape the stencil to the floor, and repeat.
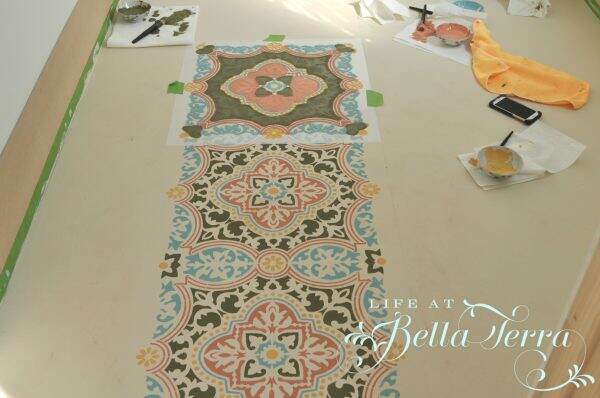
The first few stencils seemed to take an eternity, because I was proceeding cautiously. With the colors now on the stencil, I didn’t need to refer to the notes anymore so the process went a bit faster. By the end, I was able to complete a tile in 30 minutes. Mid-way through, I washed the stencil off with soap and water, as the dried paint began accumulating.

The center portions of the floor could accommodate the entire stencil, however, when I got close to the baseboards, only a partial stencil would fit. It was a little tricky because it was hard to keep the stencil in place, even when secured with the tape. This step requires patience.
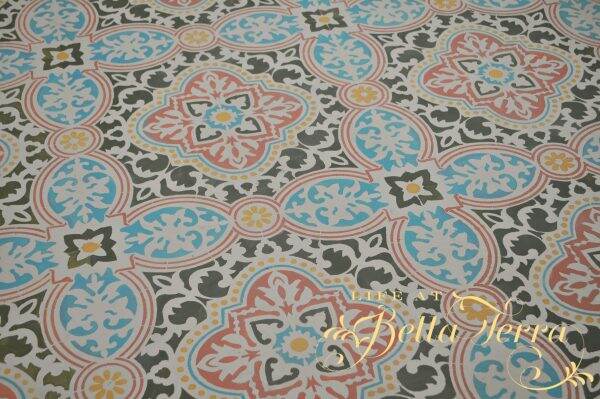
All in all, I painted this stencil 16 times to cover the 6′ x 7′ space.
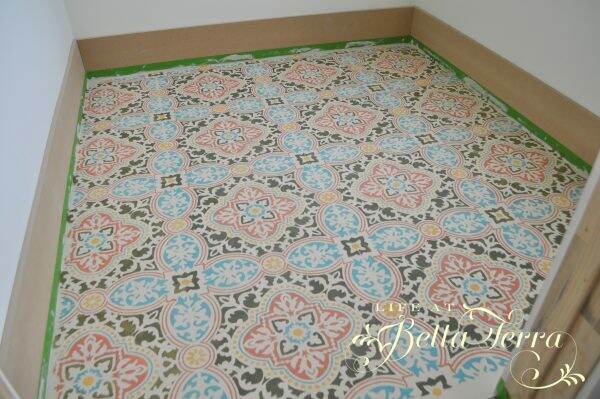
With the stencils completed and the paint dry, I now paint the edges with a 2″ border of the olive paint to complete the look.
Finishing the Floor
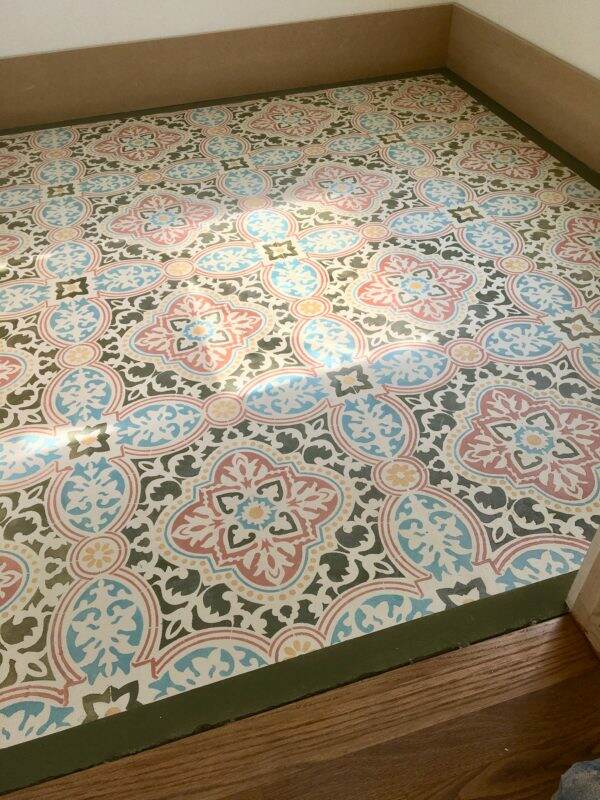
In order to protect the floor I finished it with 2 coats of the clear floor lacquer provided in the kit.
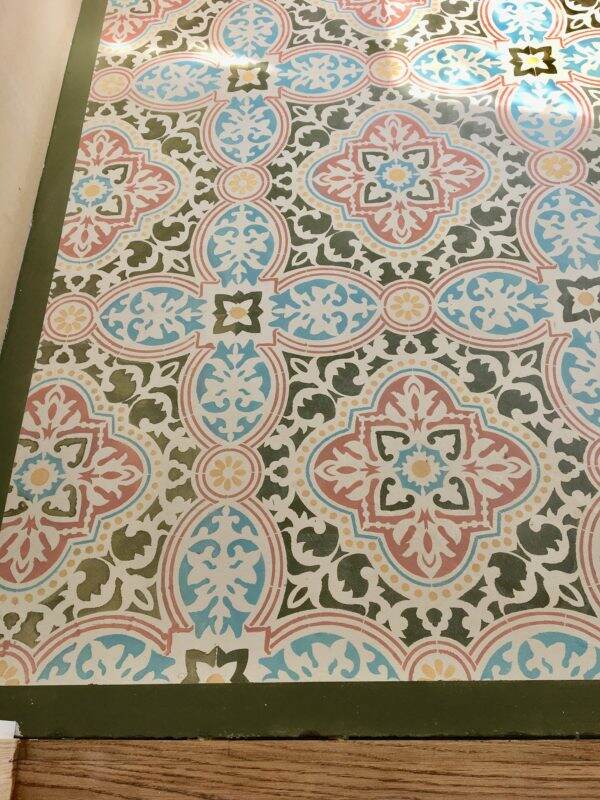
I am so happy with the results! In retrospect, this was labor intensive and I was so sore from sitting or kneeling on the hard concrete floor for hours on end. From start to finish, I would say I invested 10-12 hours of labor, not counting the drying time. However, this project was well worth it.
I always love to do something unique and personal to each of the homes I restore/remodel. This historic Willetta home now has an original piece of art by me. To see more about the Willetta restoration, click here.
Here you can see the proximity of this storage area to the formal dining room. The floor is so pretty you can leave the door open!

I hope you have enjoyed watching the transformation of this special room. If you love Before and Afters or restorations of historical homes, I invite you to browse my website. If you like what you see, please sign up to get my weekly blog posts! You can also find me on Instagram @lifeatbellaterra.

