It’s Been A Year!
A year ago today, I sent my first blog post of Life at Bella Terra. It was an intimidating moment, because I thought “who would ever want to read this?” I don’t consider myself a very good writer and I’m really trying to improve upon that. But your words of encouragement have brought me back to the computer to post again and again. If it wasn’t for your kindness and support, it would have been easy to just quit. Thank you for your loyalty and feedback and comments. Truly. From the bottom of my heart.

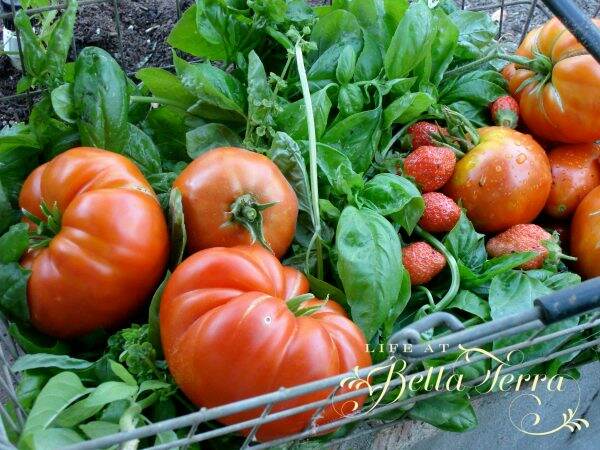
Each time I send out an email letting you know I’ve created a new post, I am praying you find it interesting, enlightening or even motivating. I try to share a small piece of loveliness in hopes that I can brighten your day. As I look out into the world, I believe we each need to find sources of joy and create our own beauty. Whether it be feeling the warmth from a freshly picked tomato, or the scent of a homegrown flower, these moments of perfection can only help feed the soul.
Blogging for me, is a chance to stop and capture a sliver of time, an exquisite photo or a recipe that bursts with flavor. Plus it is forcing me to attack those cluttered corners of the house or undone projects while showing you my progress. But I can honestly say, I am still a long way from feeling confident about creatively illustrating that to you. But I will keep trying.
So here is a look back at the year and some of my favorite photos and posts.
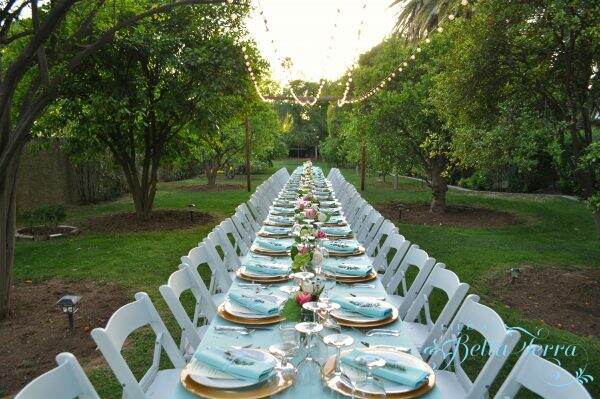
My very first blog post was about the New York Times Bestselling author, Rhys Bowen and the fundraising English tea we had here at Bella Terra.

And other events we happily hosted here…..

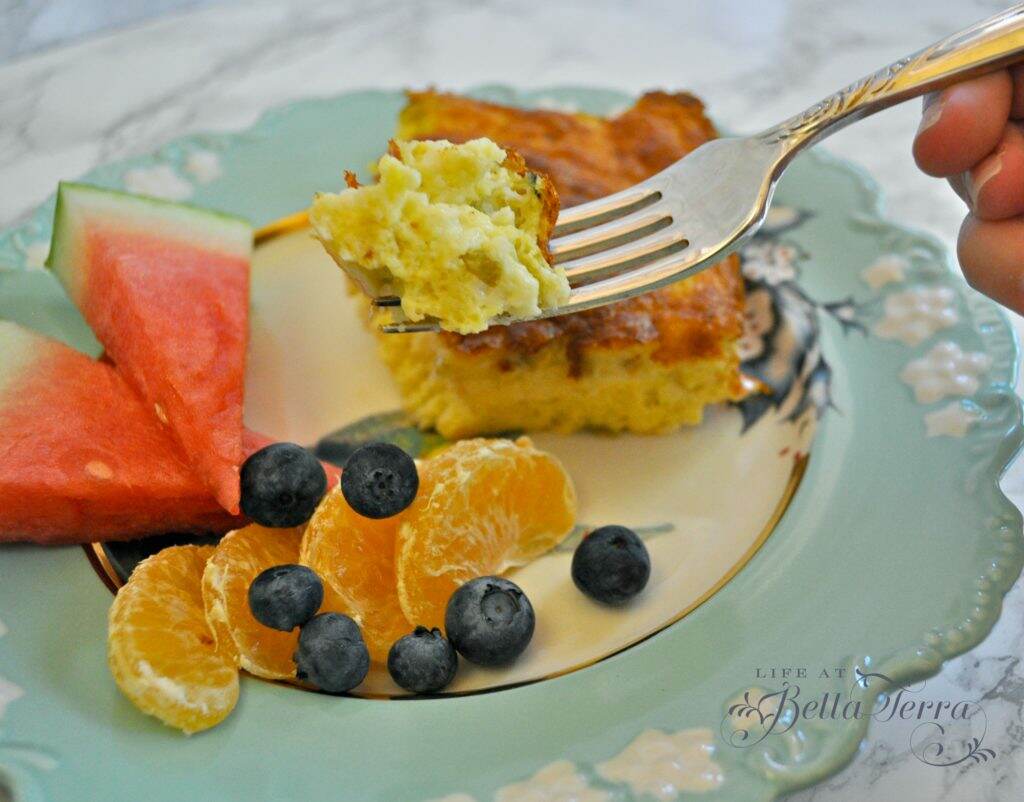
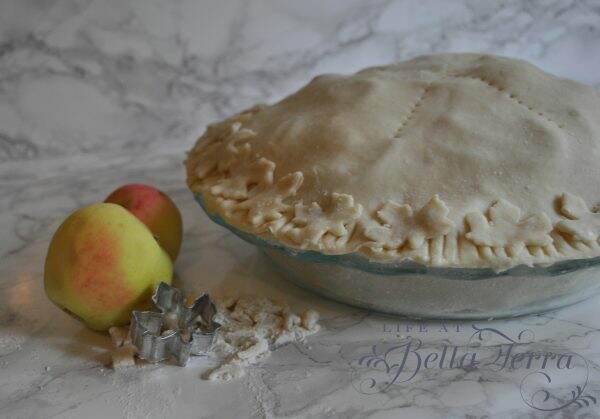
Recipes shared…..

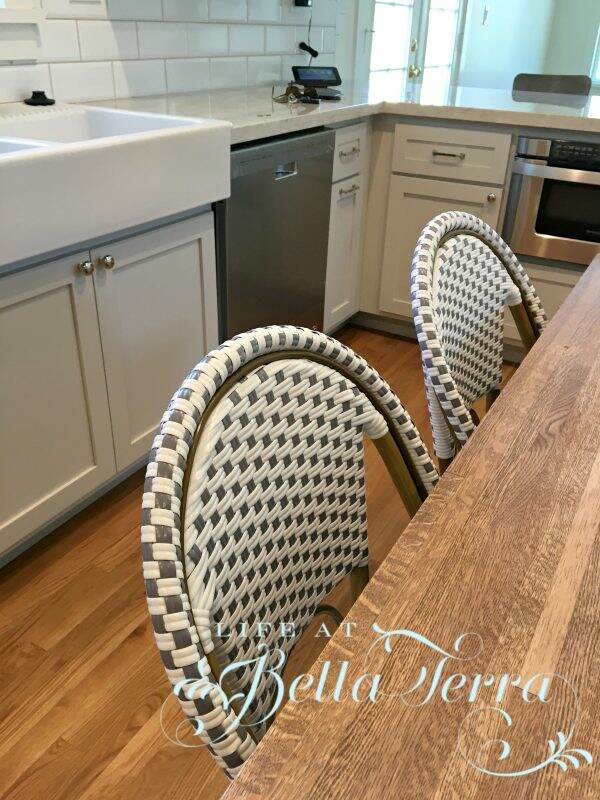
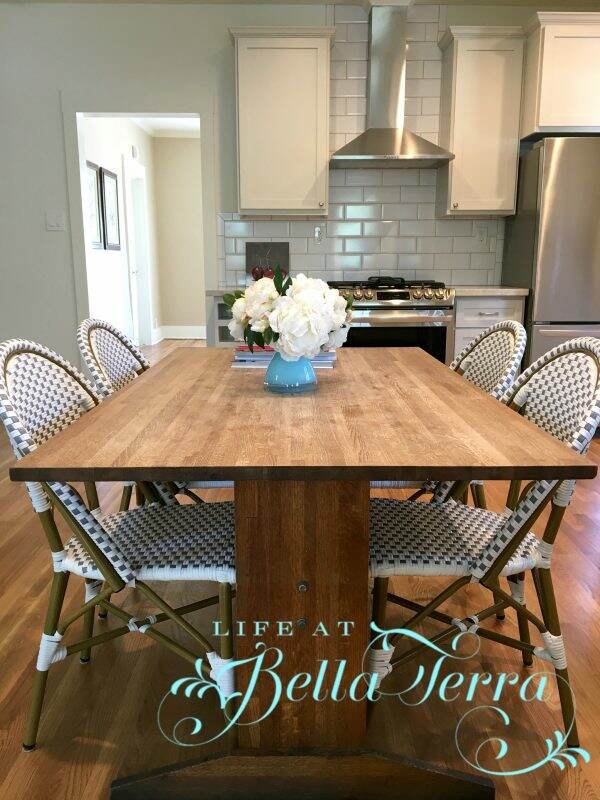
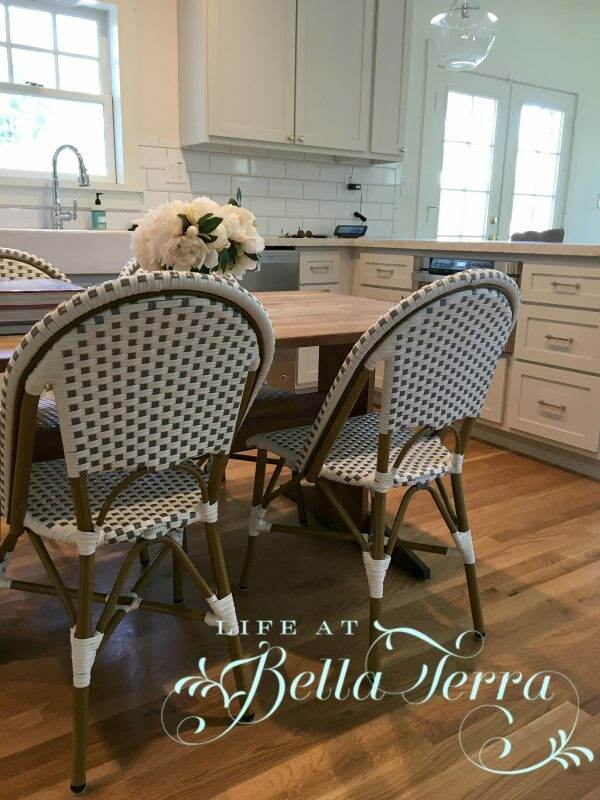
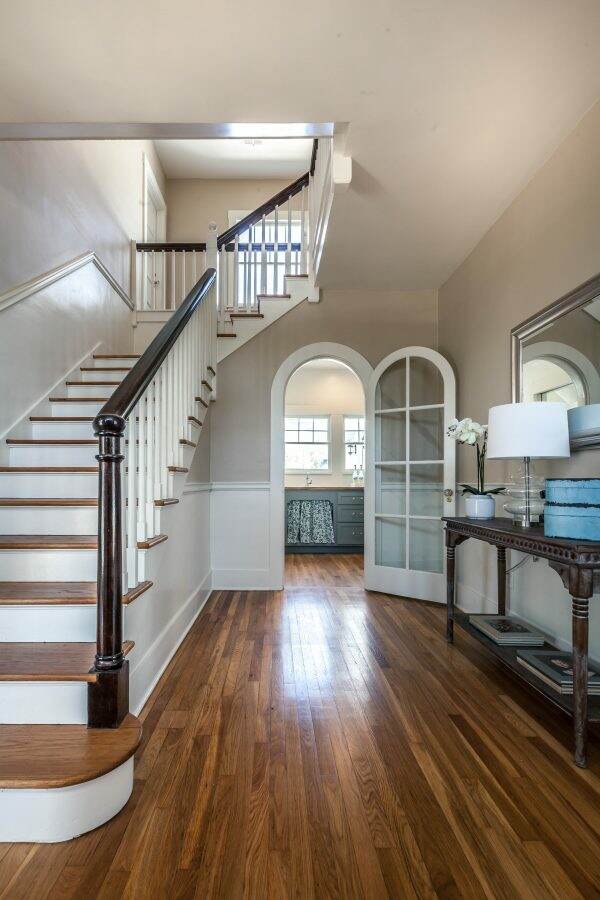
My Renovations and Restorations….

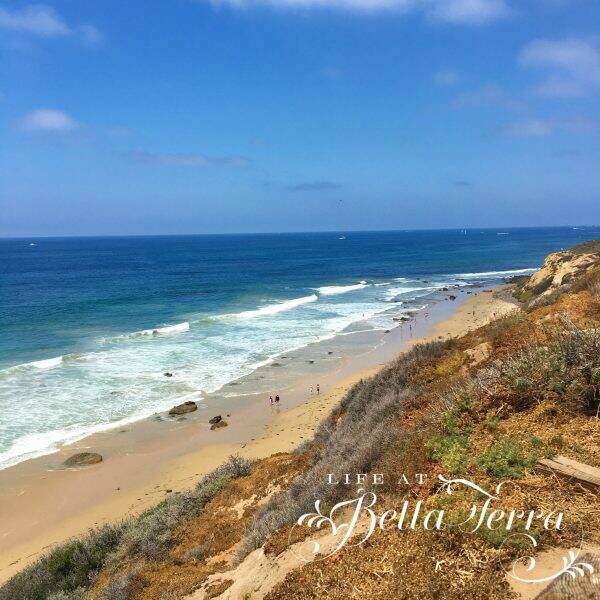
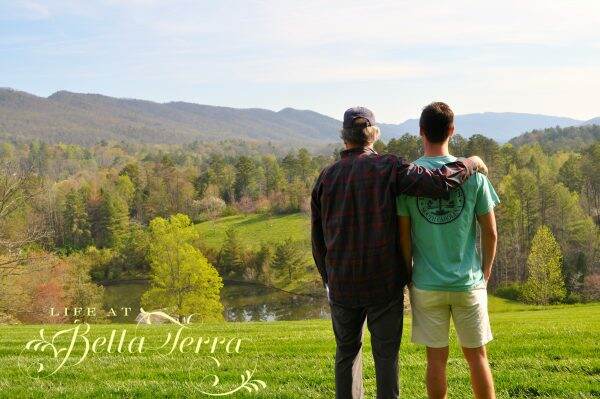
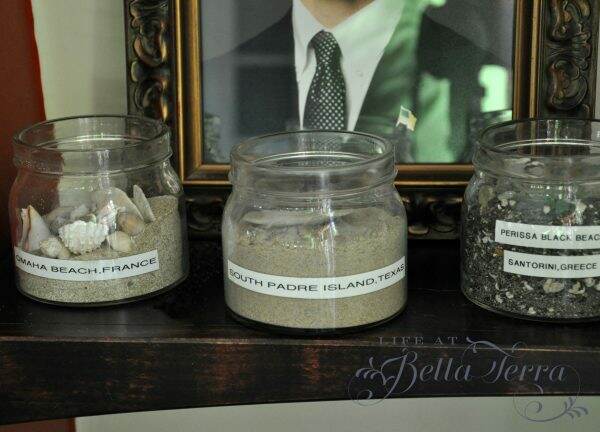
Travel and leisure…..
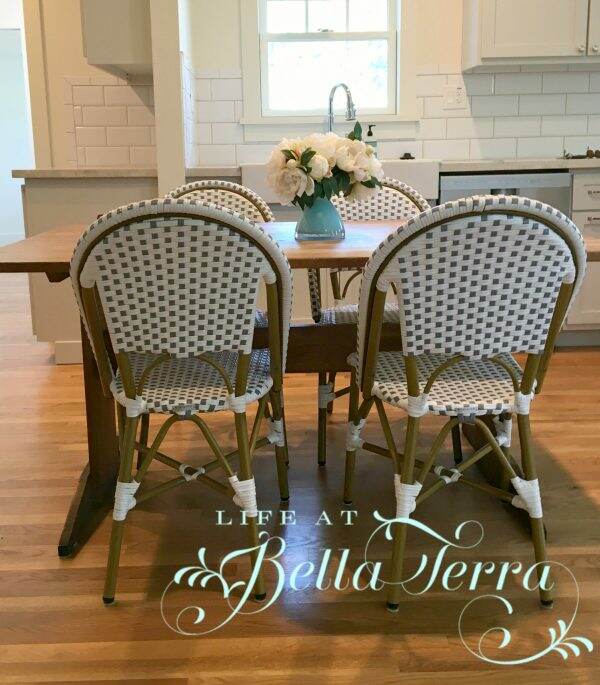
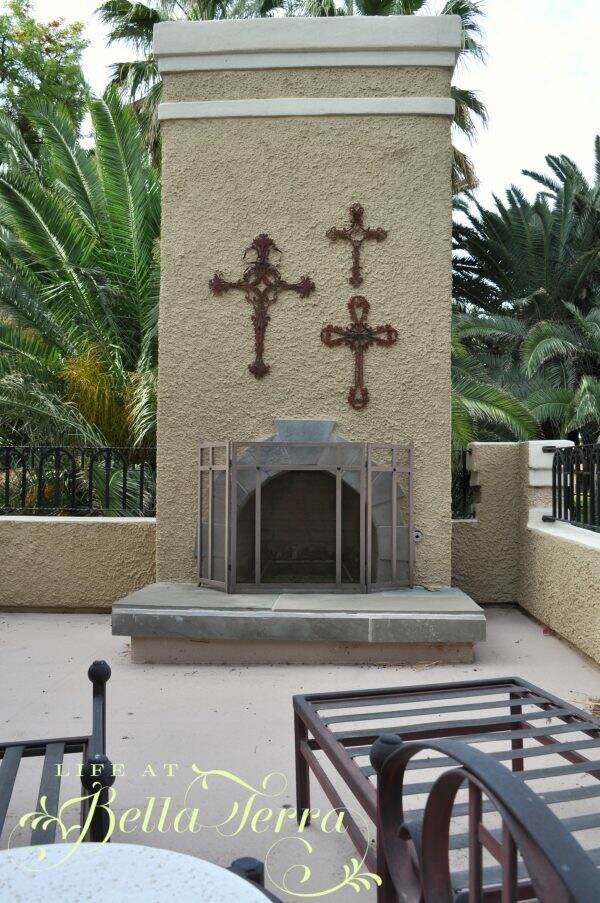
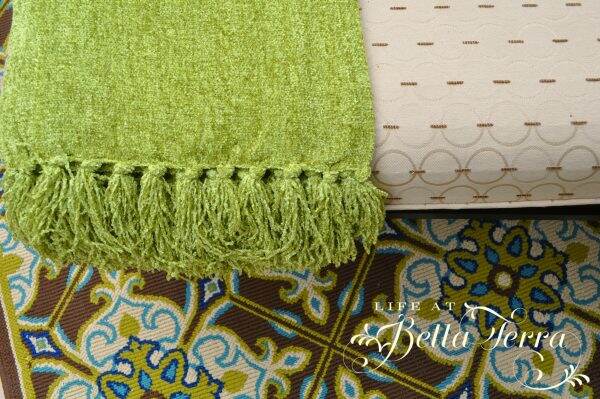
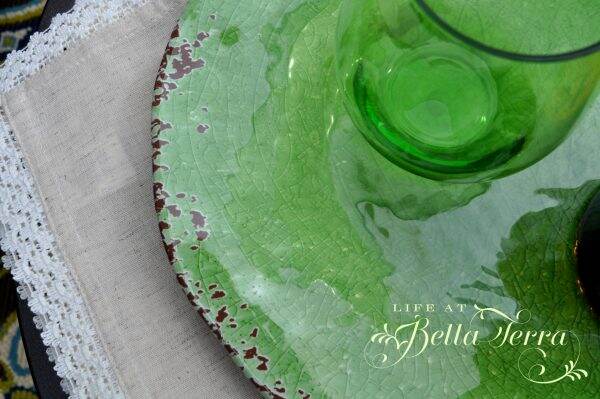
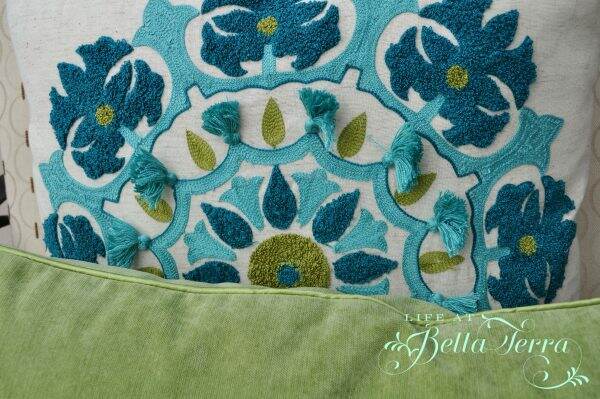
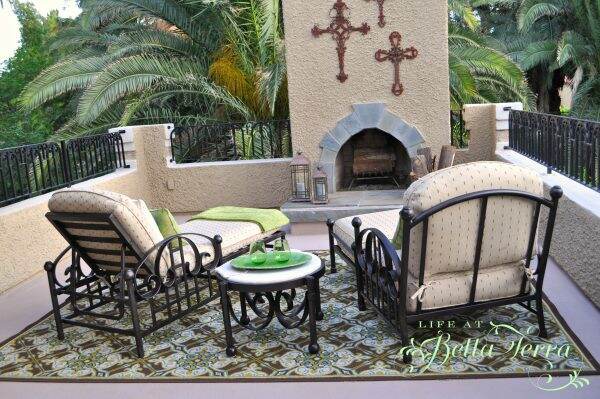
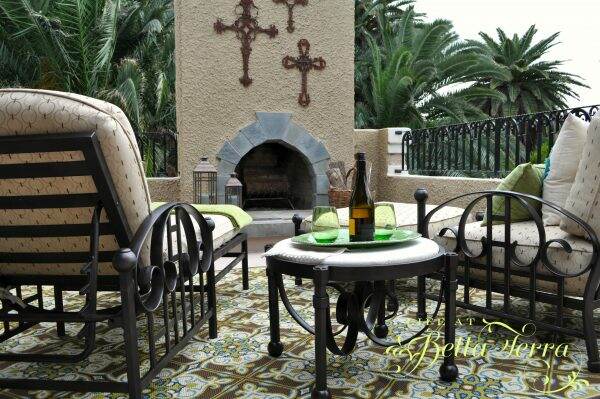
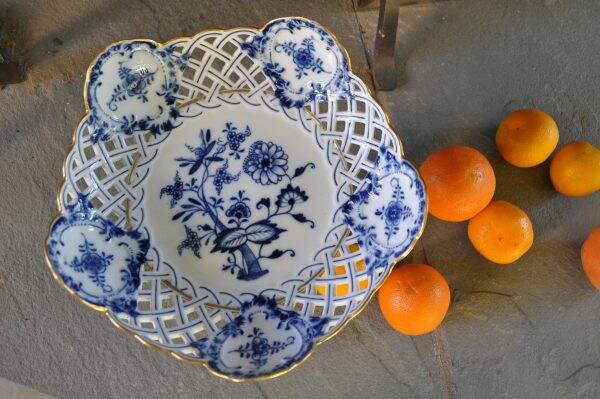
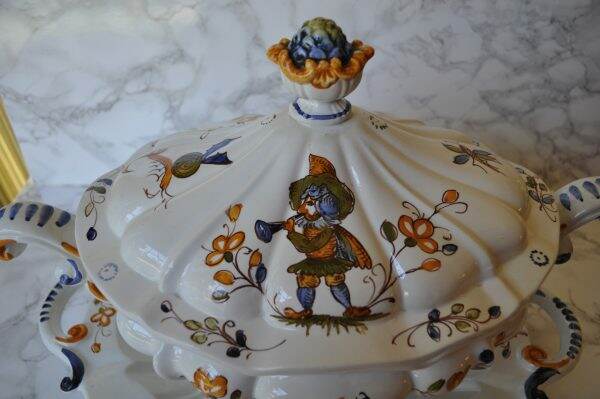
Decorating and Design…


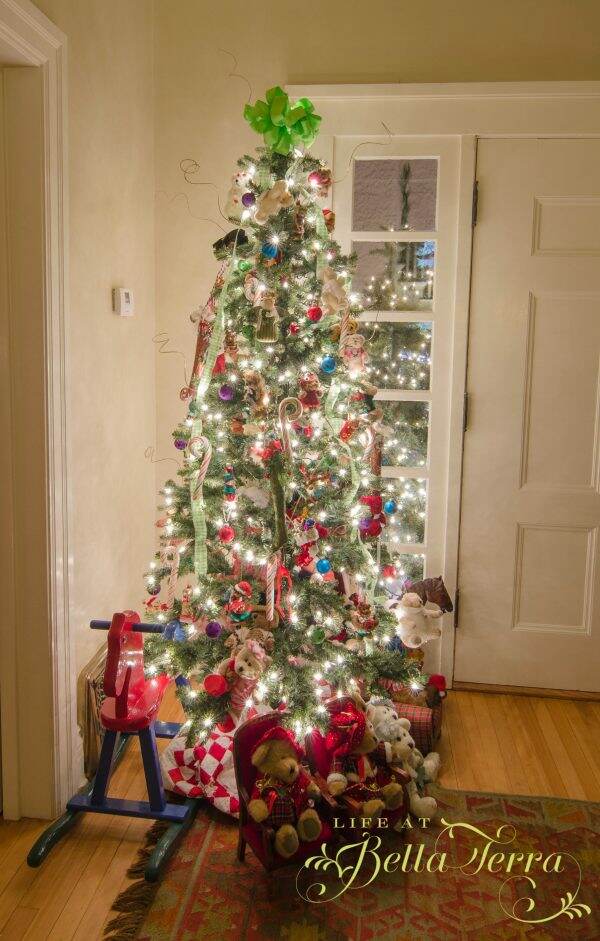
The holidays….


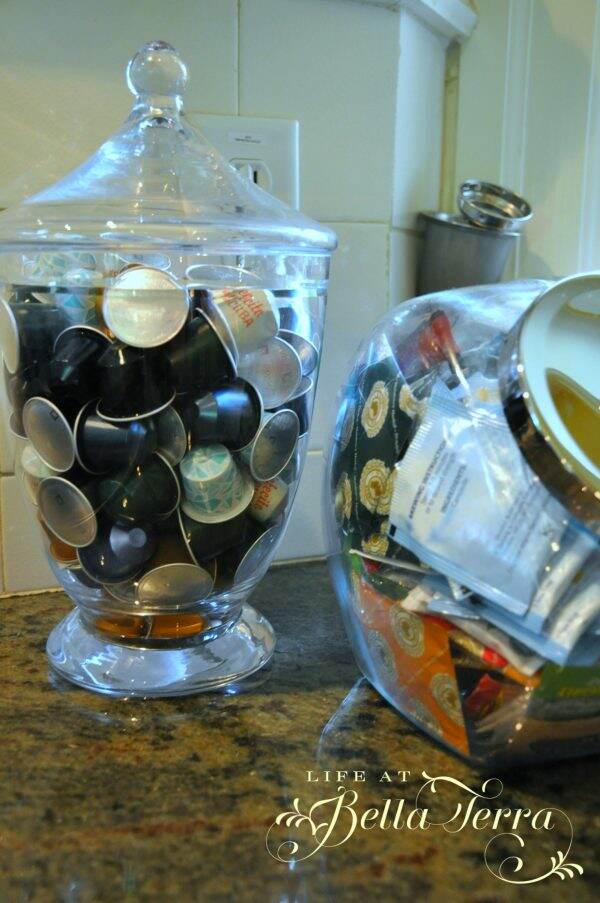
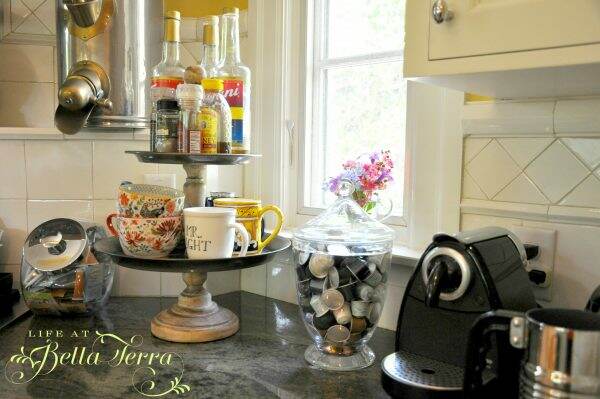
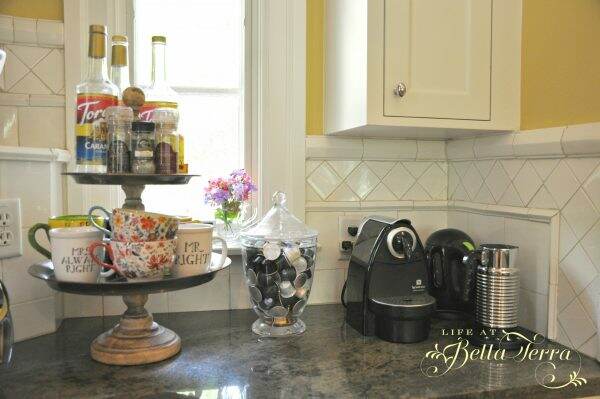
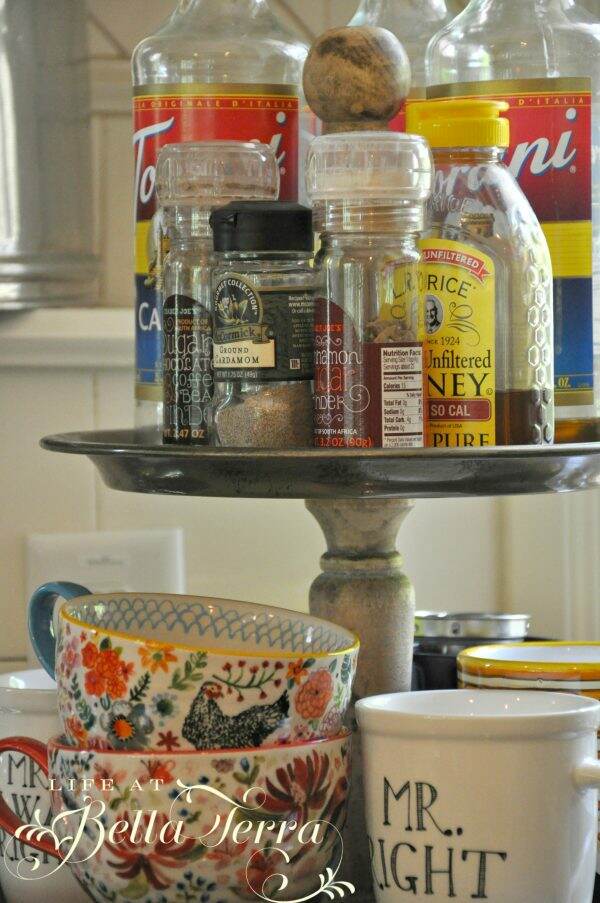
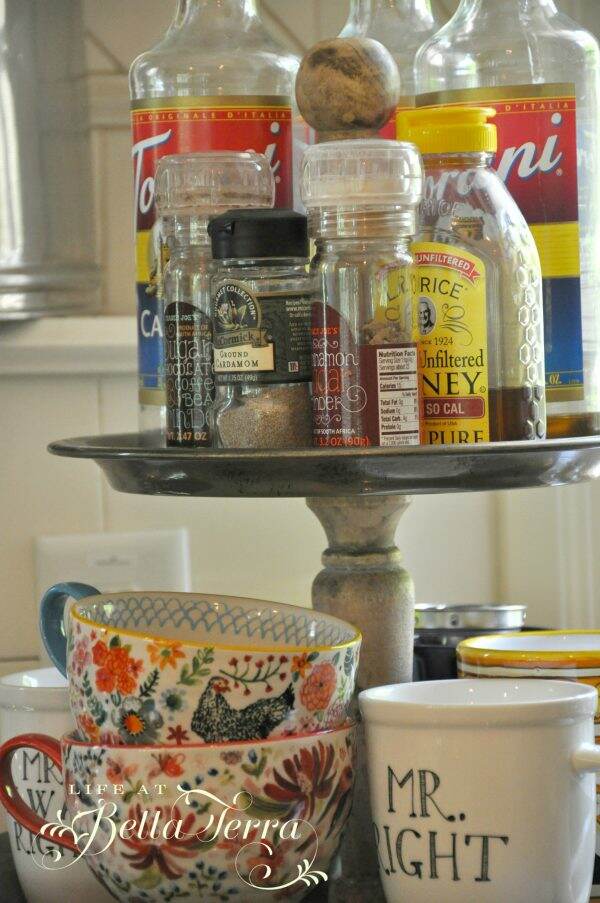
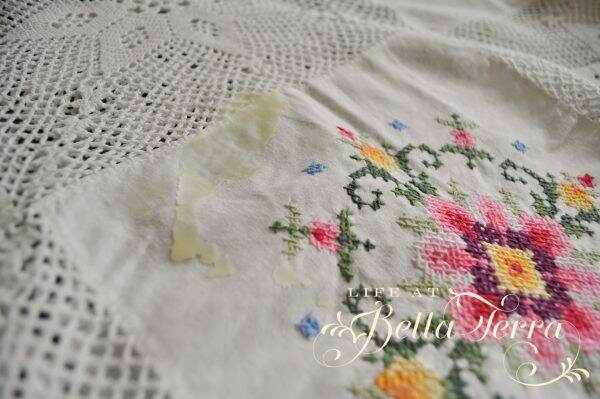
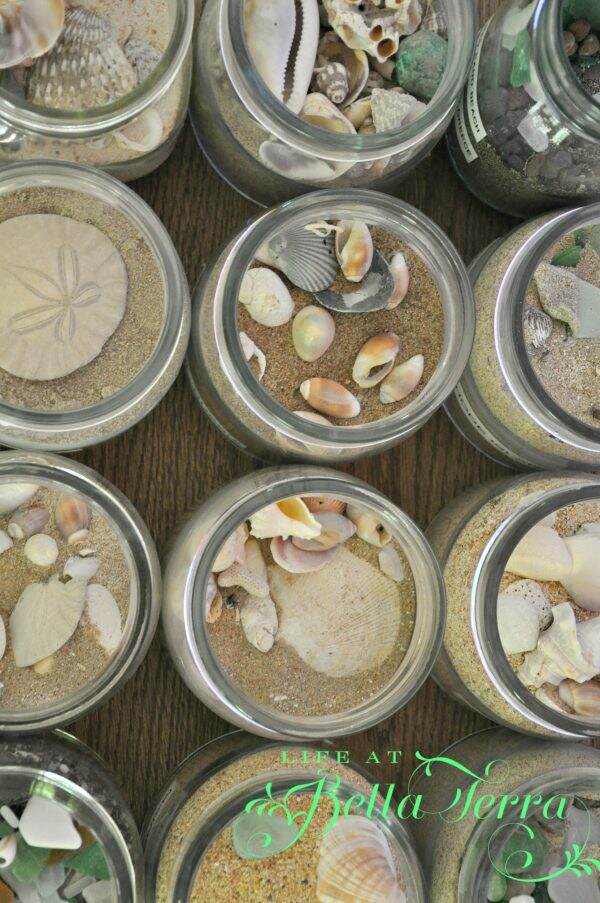
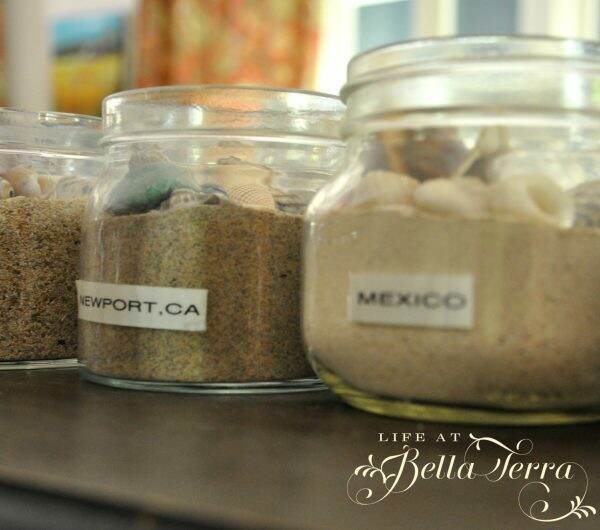
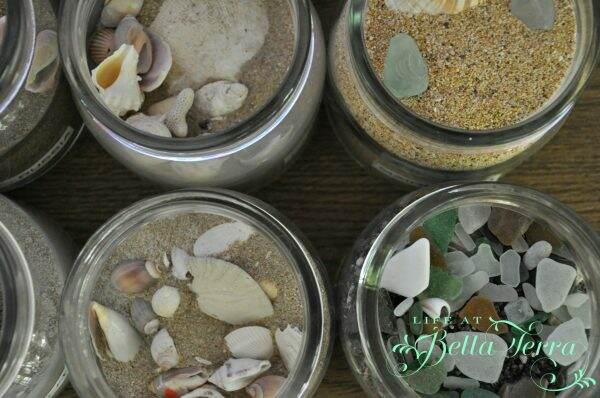
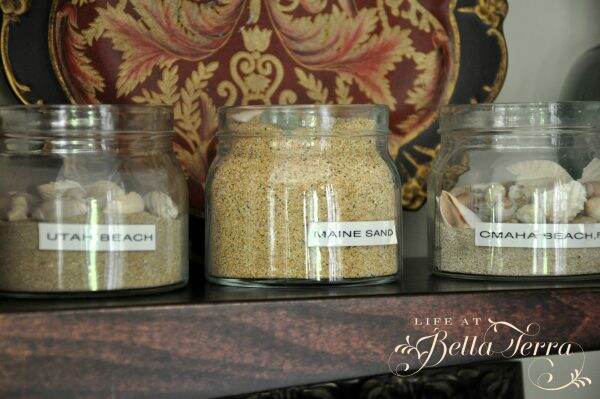
Cleaning, Organizing, and Updating…
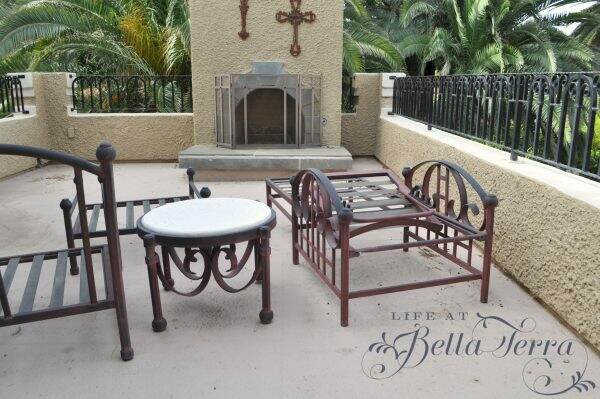
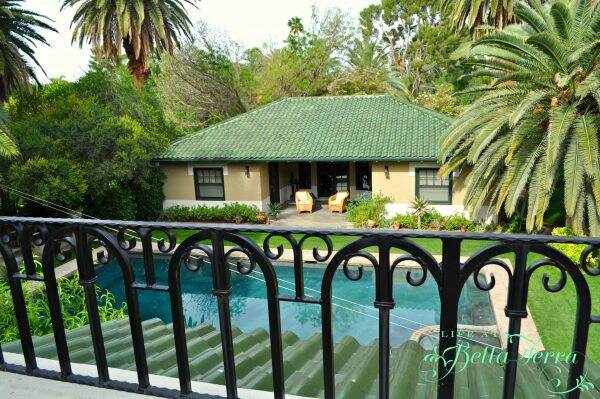
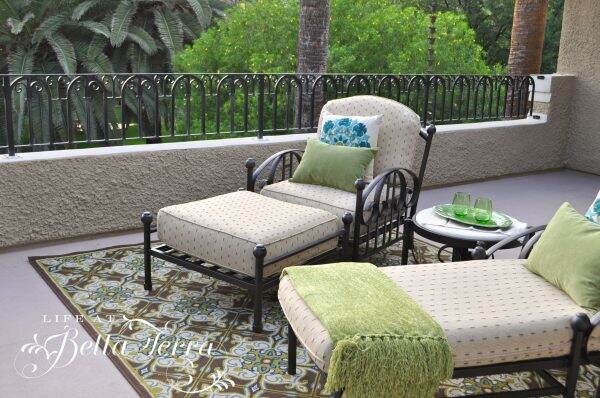
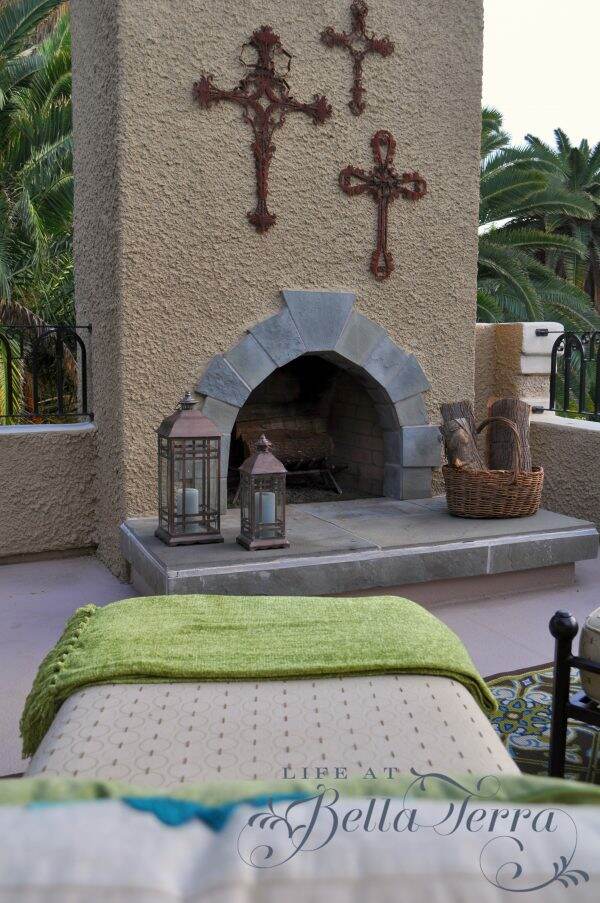
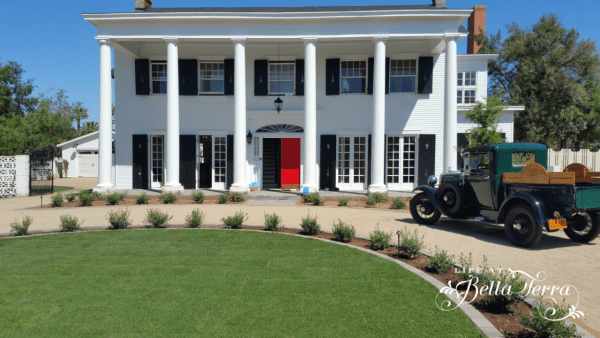
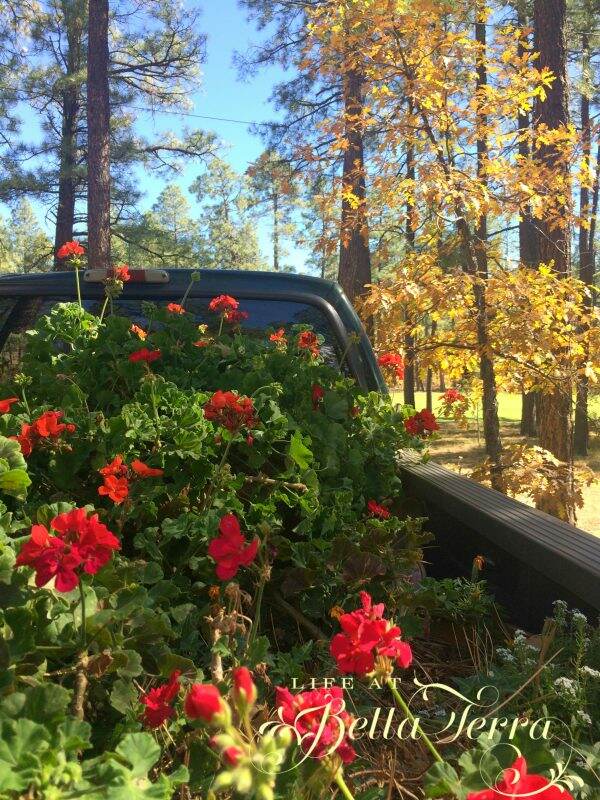
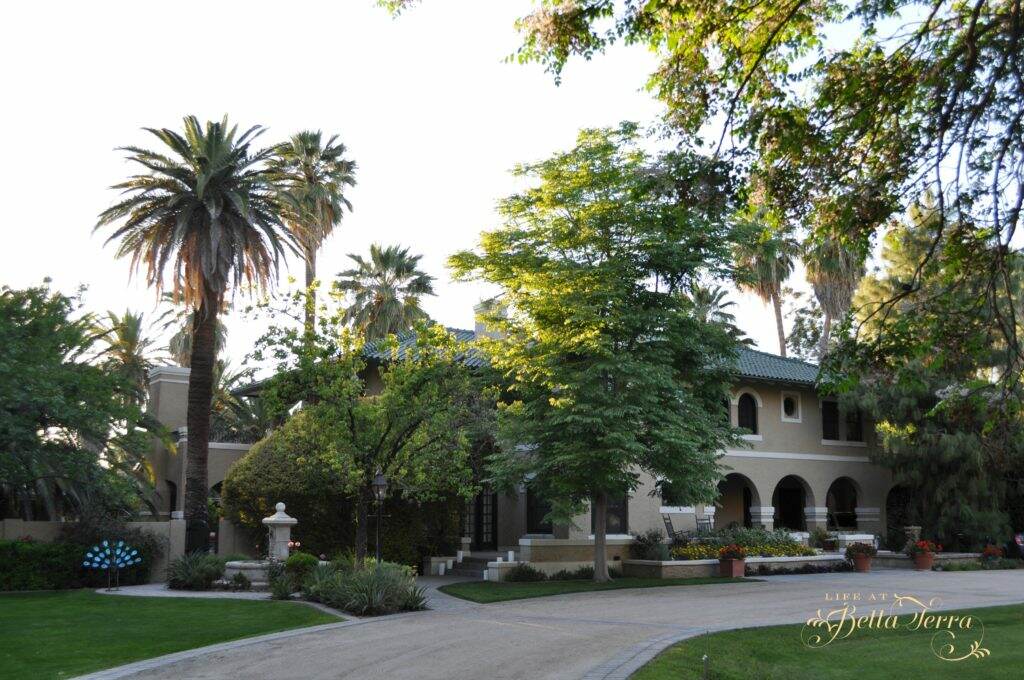
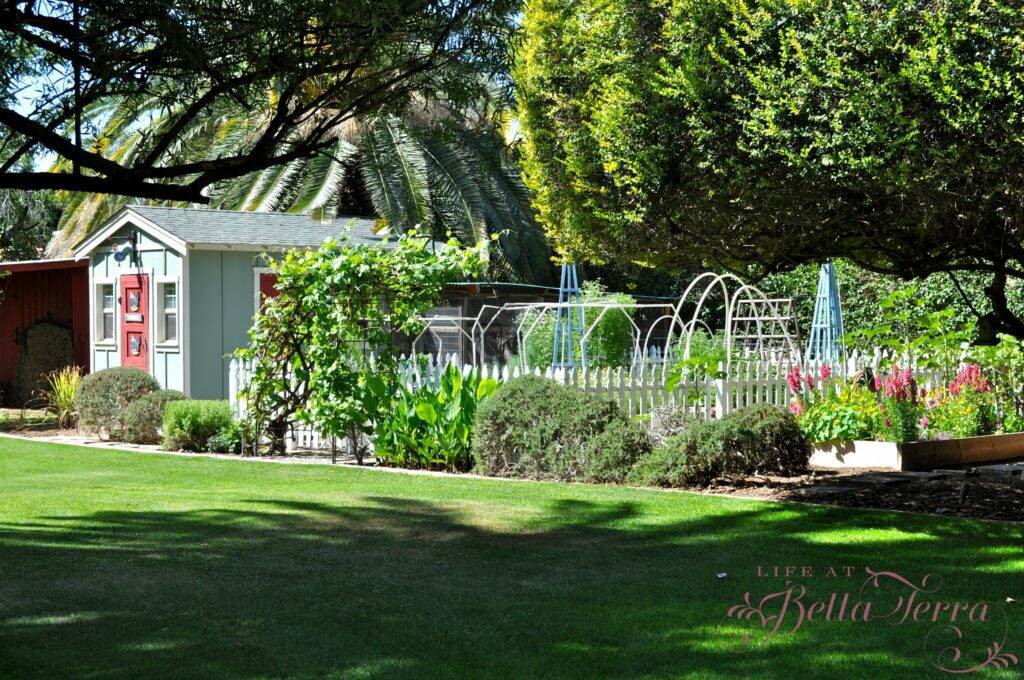
Sharing our home and yard….
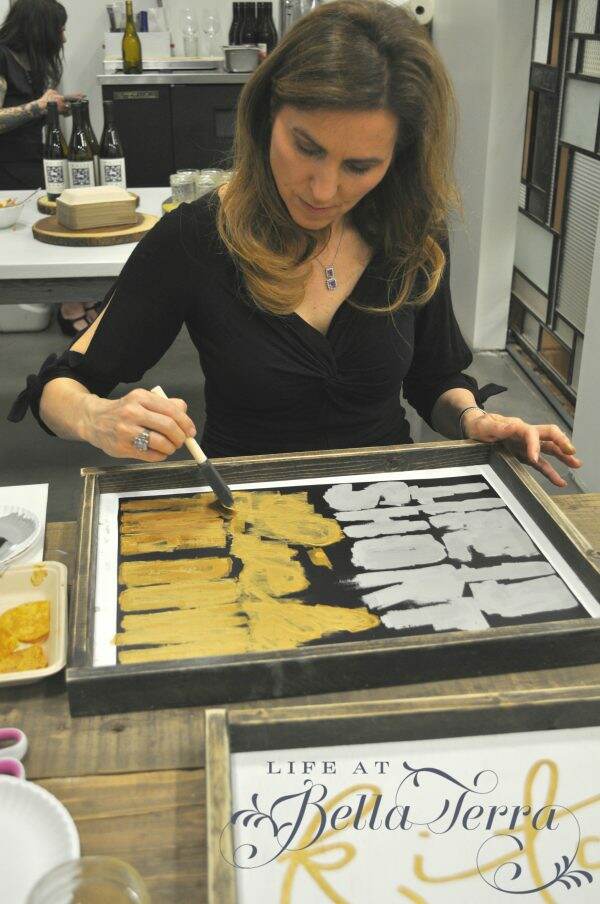
My attempt at art….


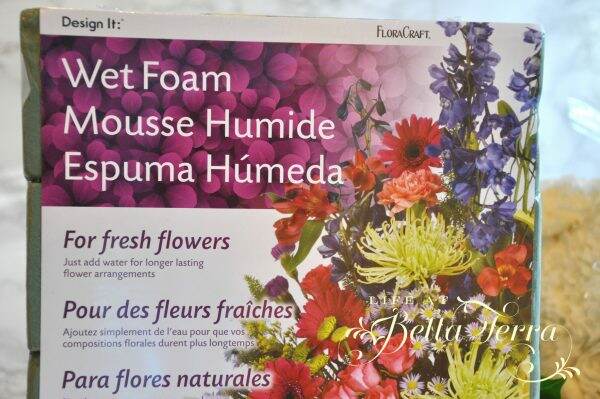
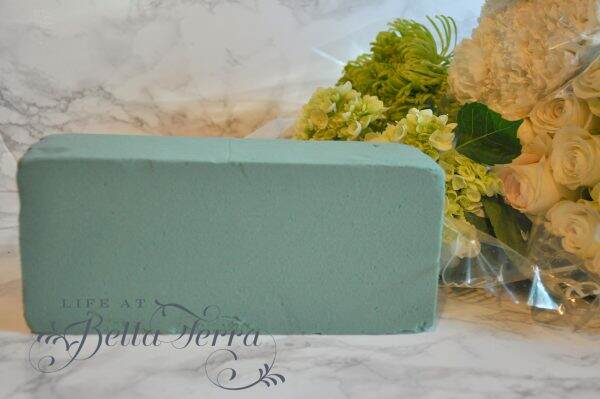
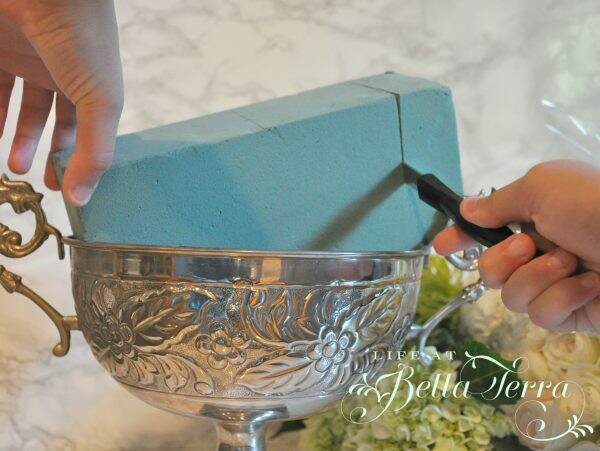
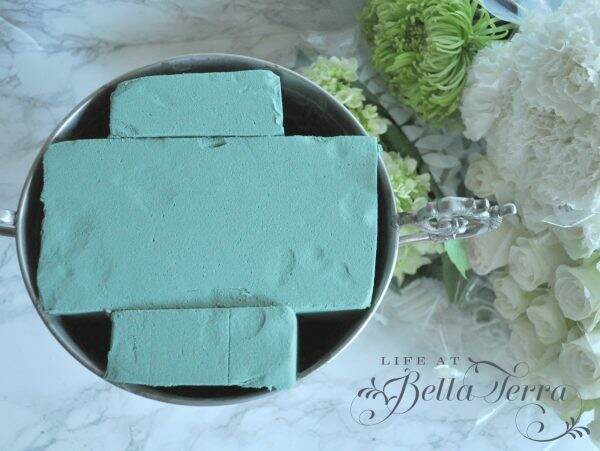
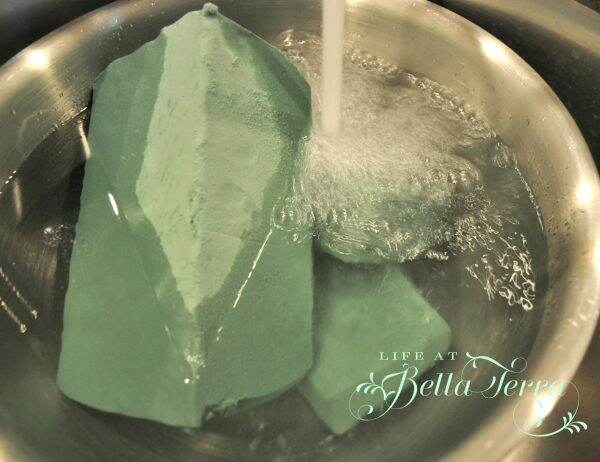
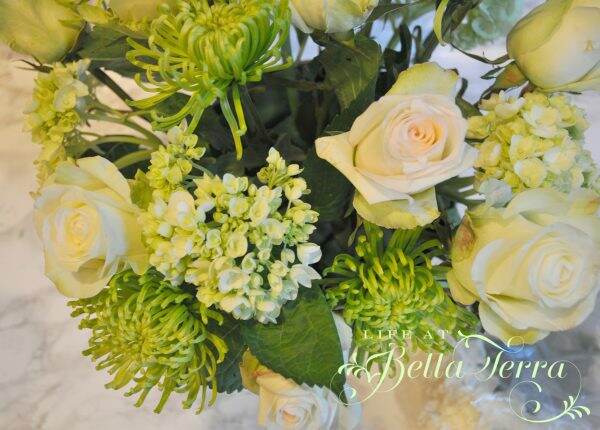
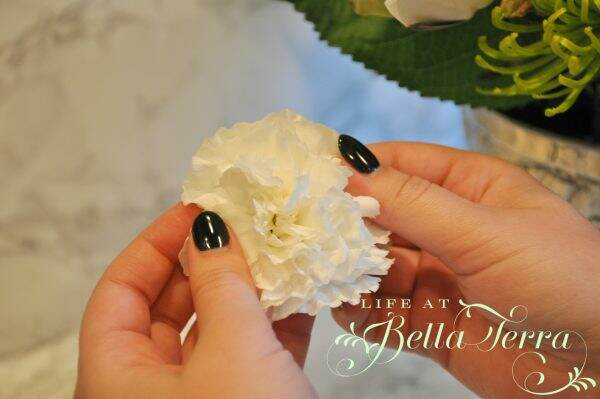
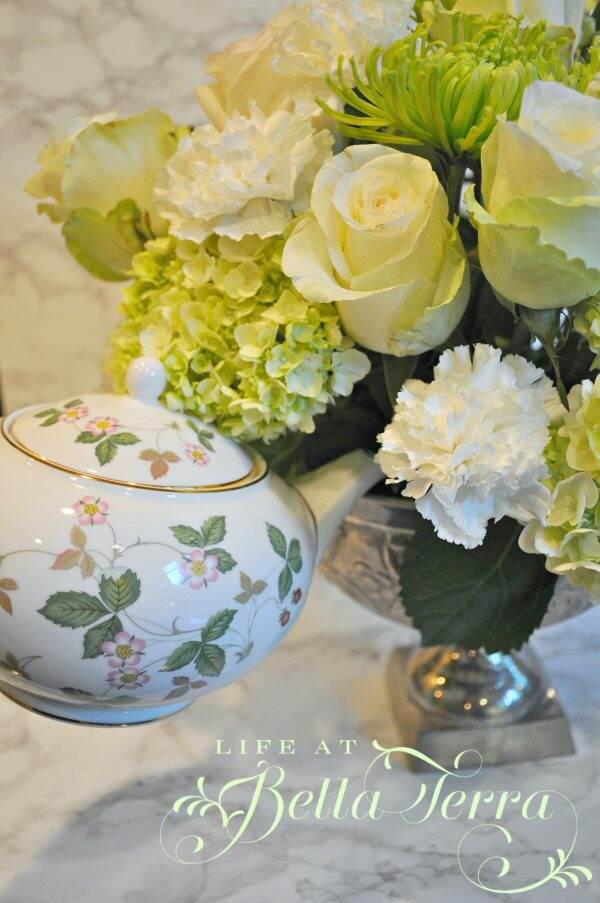
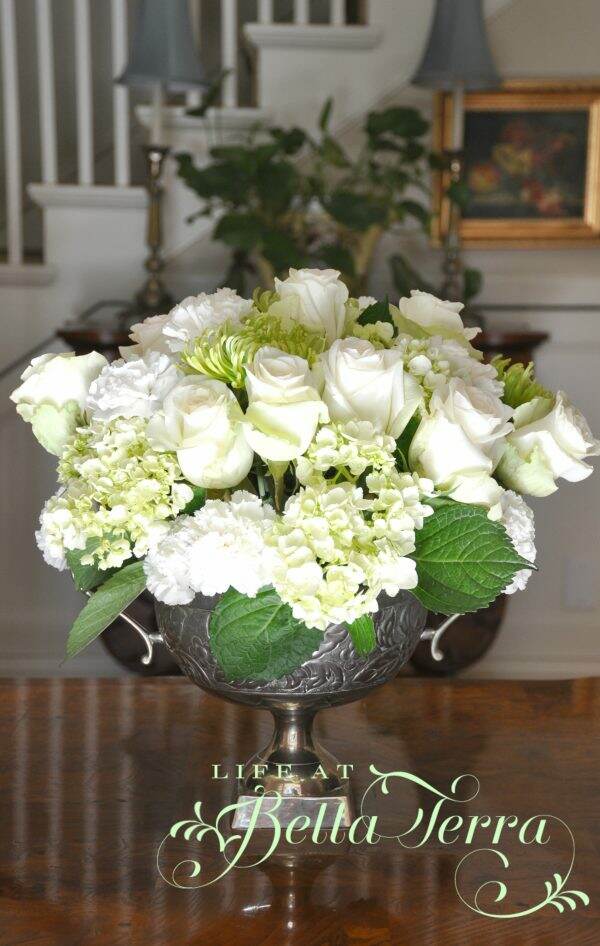
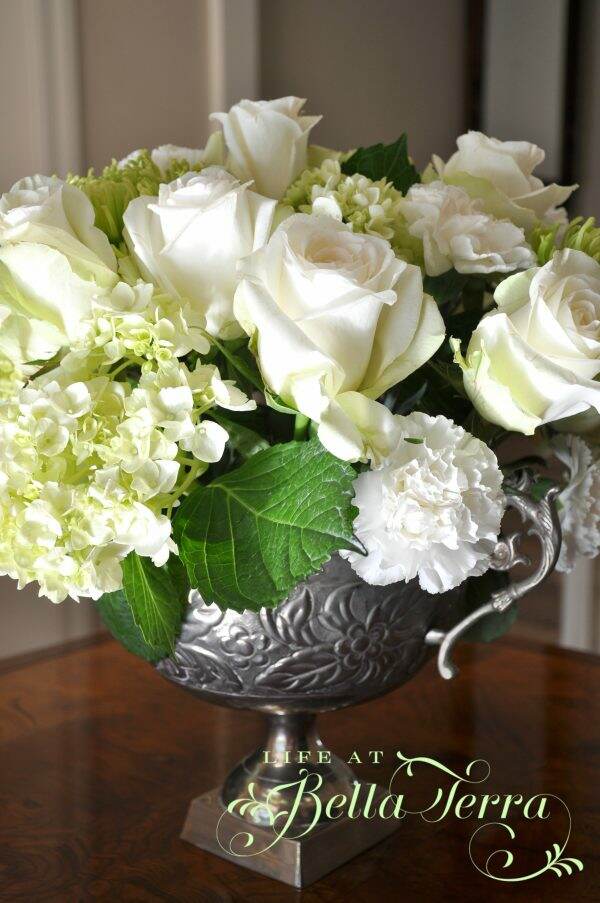
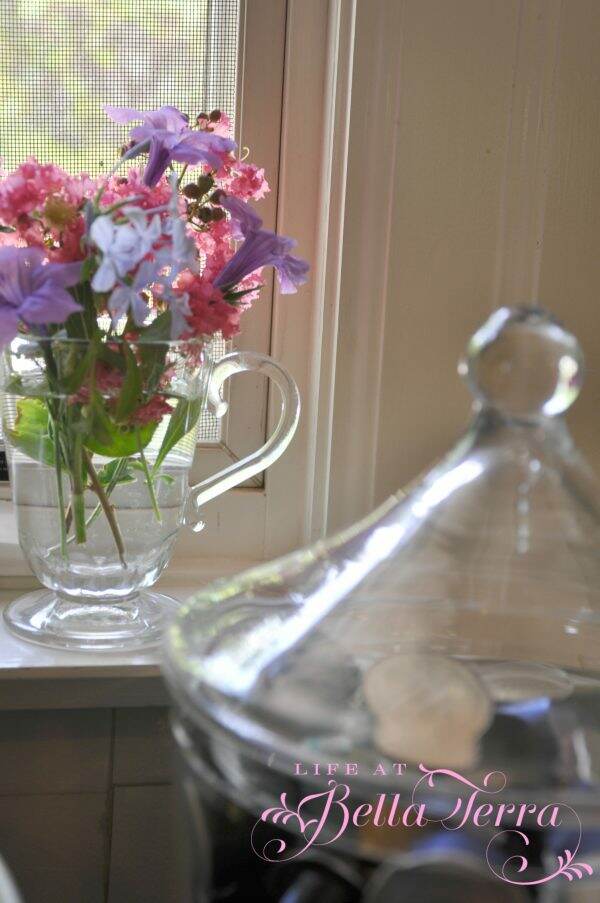
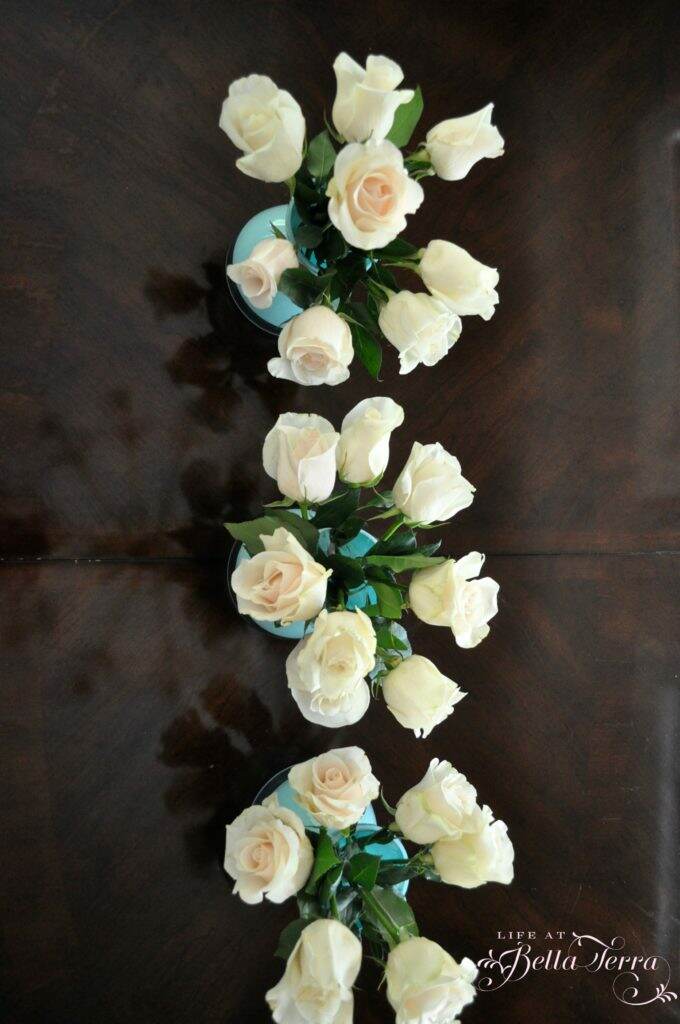
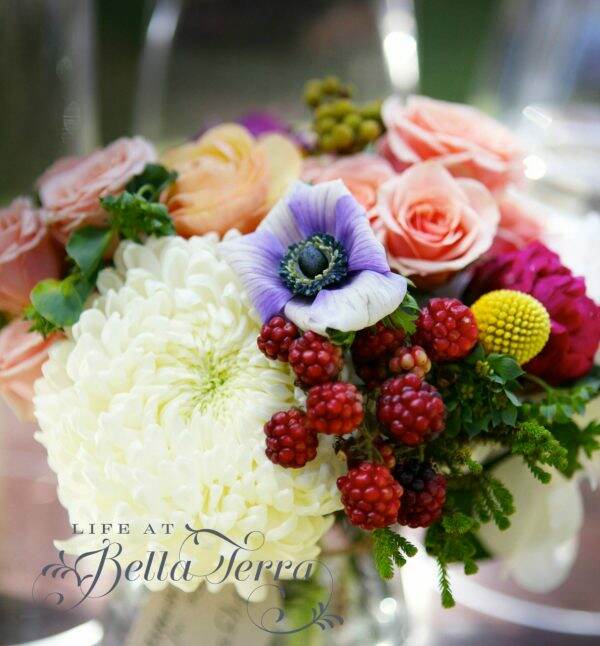
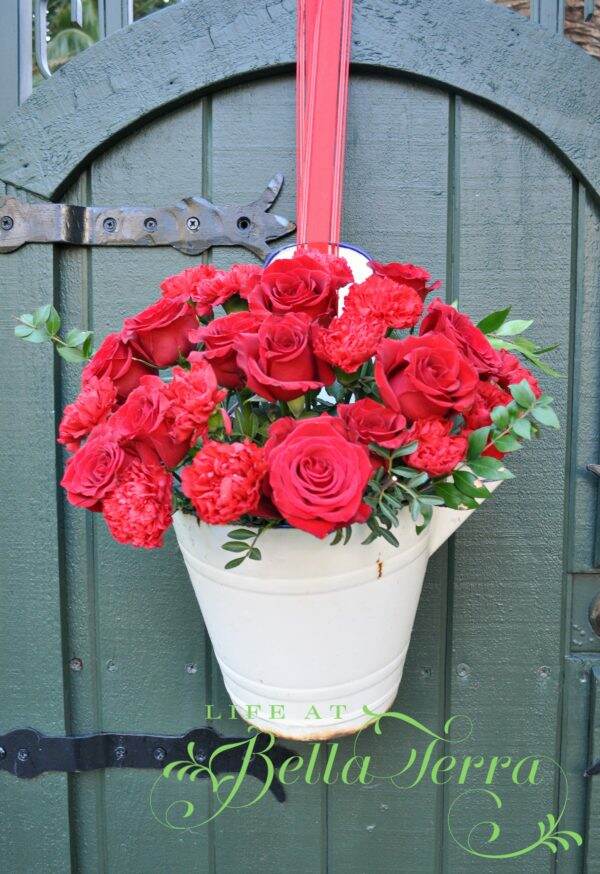
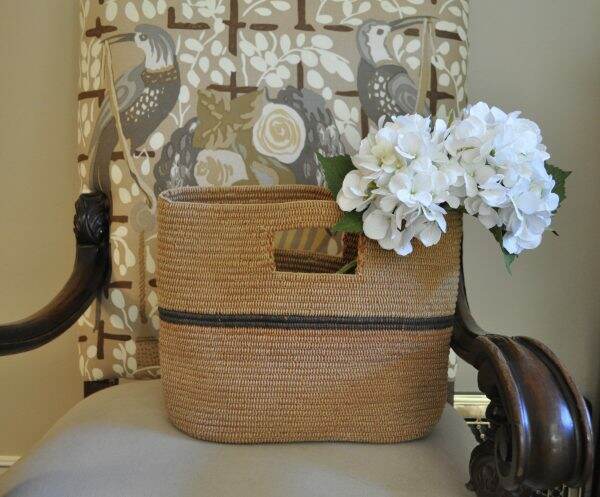
Flower arranging..

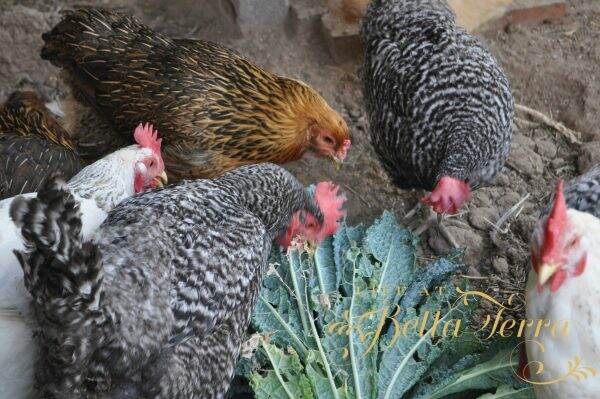
Our pets…


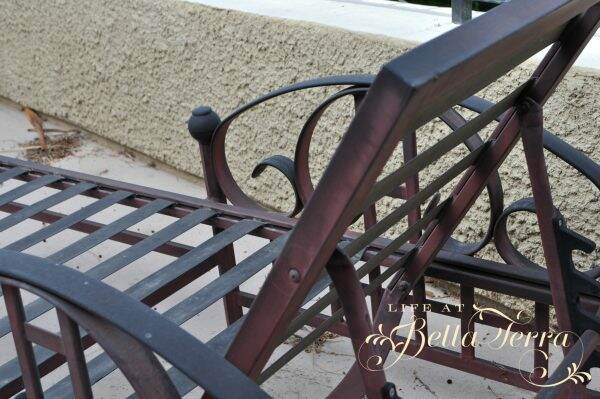
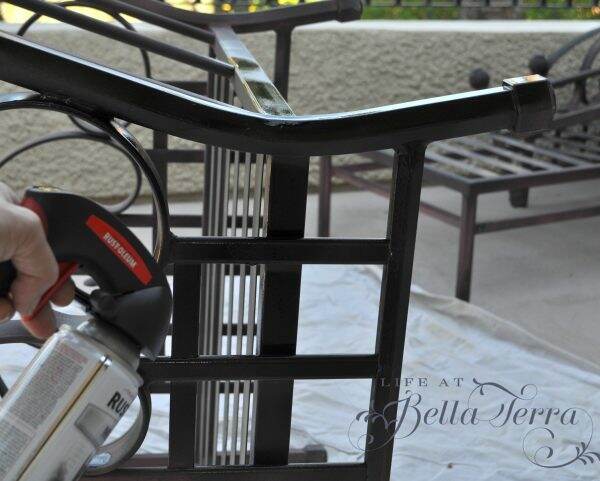
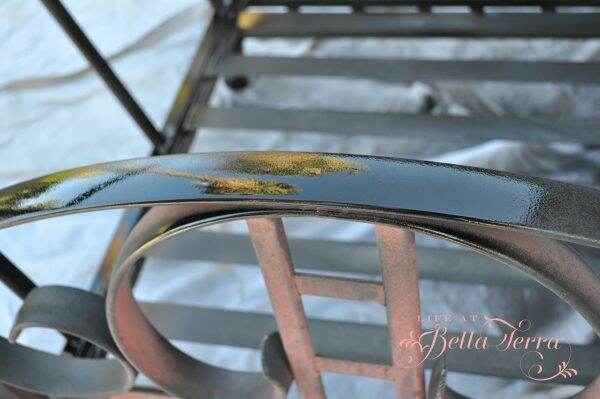
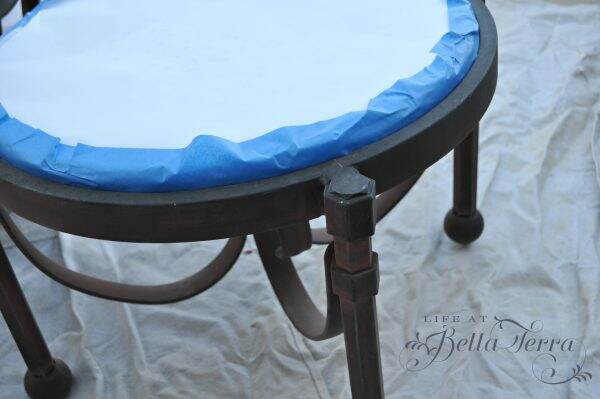
And a few DIYs….

My online store….
There is still so much to learn, especially better photography, writing and getting my watermarks the same size on every photo. So thank you again for following me and sharing my blog with others.
PLEASE send in your comments~~What area of interest would you like for me to expand? What are your favorite topics? How often should I post (trying to do a maximum of twice per week)? What can I do to be better for you? My goals for the next year are to do a contest or giveaway and conduct a real survey into your likes and interests.

Here’s to one year and onto the next!! I couldn’t have done it without you.
![]()


 The centerpiece had to include a keepsake item (etched wine bucket) and be in the school colors (red and white). The good news was the event was a success, the centerpieces were perfect and it only took a few weeks for my back to stop aching.