1

Our Back Staircase~~help!

Having a back staircase is such a blessing. Located off the mudroom, this leads to the 2nd landing on the main staircase. Hundreds of trips have been made up and down this staircase by many feet. Suffice to say, the back staircase is used much more than the main entry staircase.

Both staircases have the same type of carpeting-a sisal natural fiber runner.

Initially I selected sisal because I thought it would keep the children, as toddlers from playing on the stairs~~their soft little feet weren’t attracted to the feel of it. I also really like the look of sisal and find it softer than jute or other natural fibers .

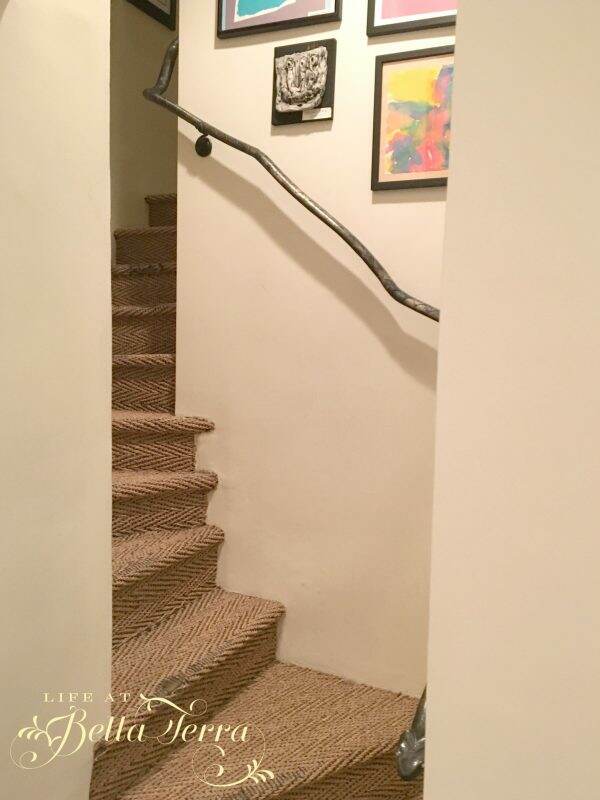
But, with heavy foot traffic, the back staircase sisal now looks like this on each of the treads. Since 2001, this will be the 3rd time I need to replace it.

To make matters worse, Cooper, in the last year or so, has found pleasure in scratching at it (on the top step), rolling it up and then laying on it. As a result it now looks like this! (sorry for the bad photo!)

I am really not sure what to do. Do I replace the sisal for a 3rd time, knowing that we have less feet in the house and therefore it won’t break down as quickly?

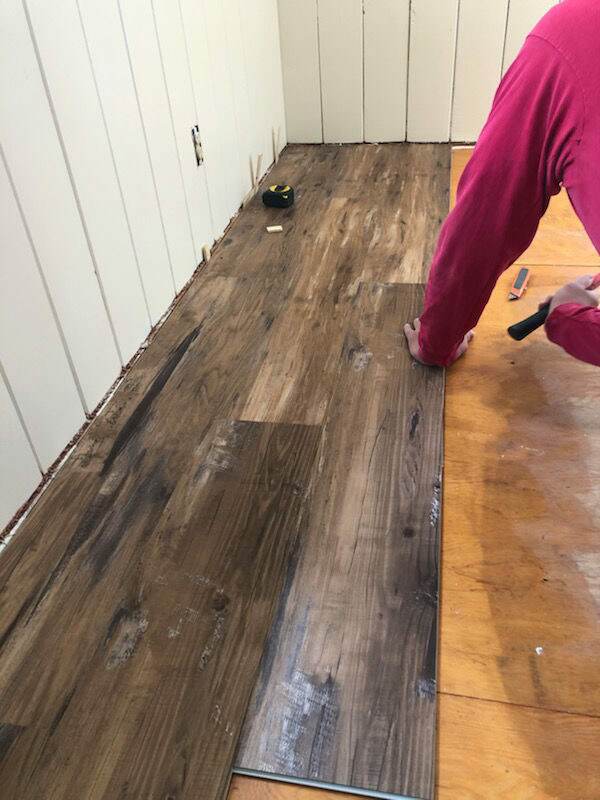
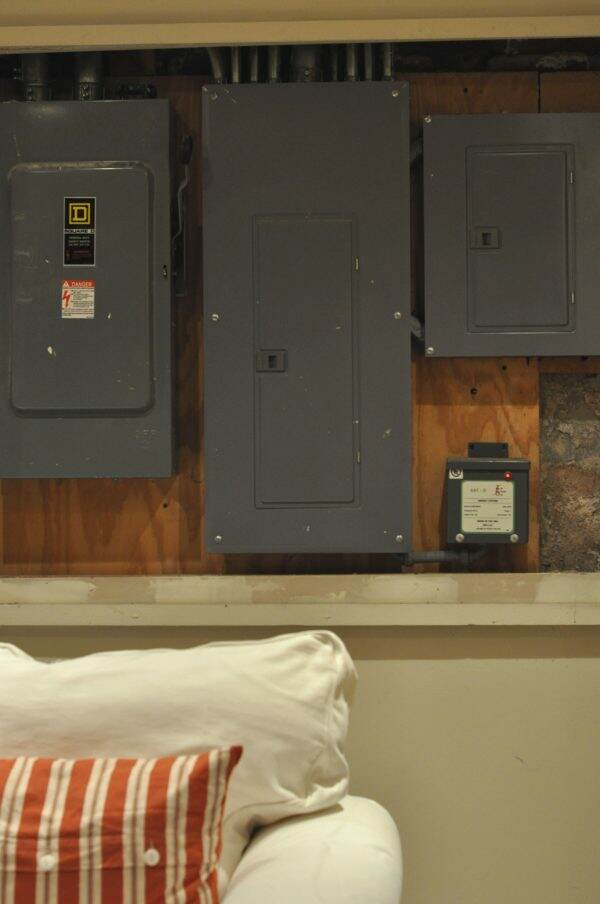
We have started removing the carpet. The sisal was put down by professionals with boatloads of glue. I was even considering painting the stairs but tackling old glue removal will be a considerable effort. What a mess! The carpet covered up many plaster wall problems too.

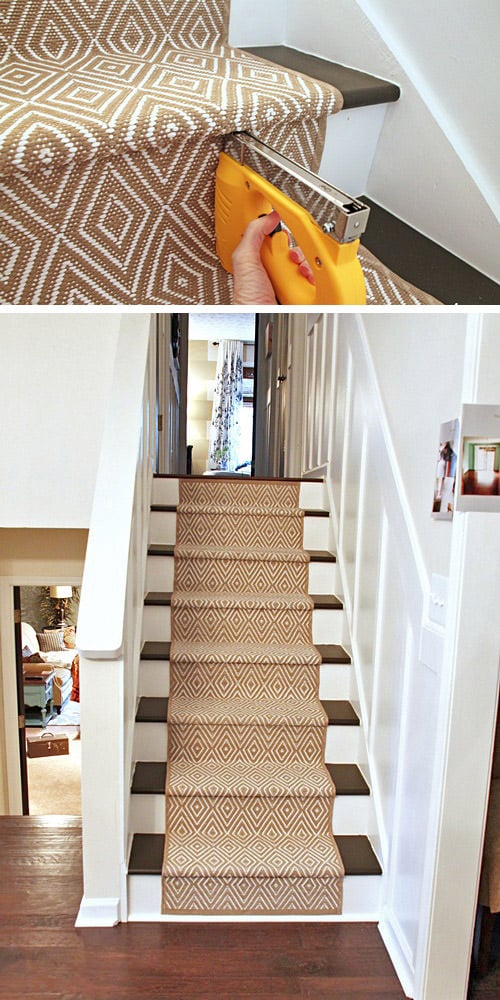
This project will take quite some time to finish. But in the meantime, I’d like your help in determining what I should do next. I’d love to paint the stairs and put in a runner, but I’m not sure I can fix or hide all the plaster issues.

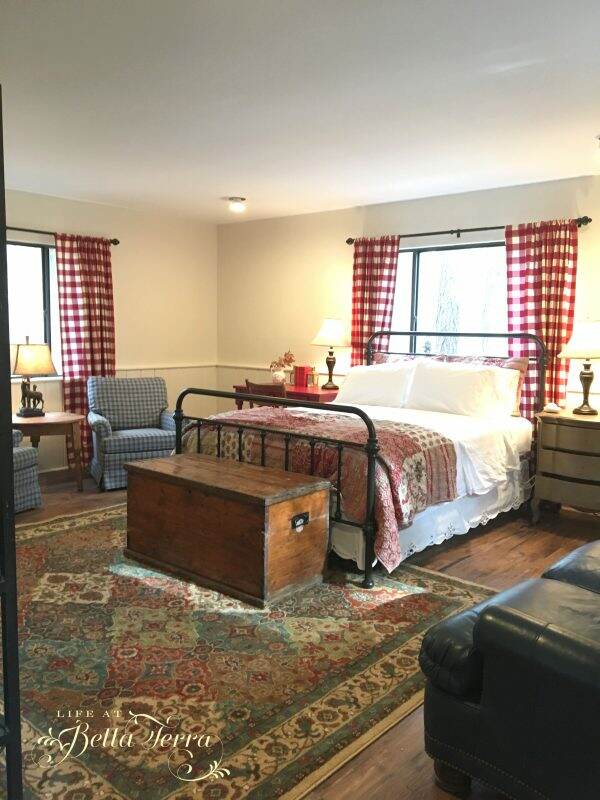
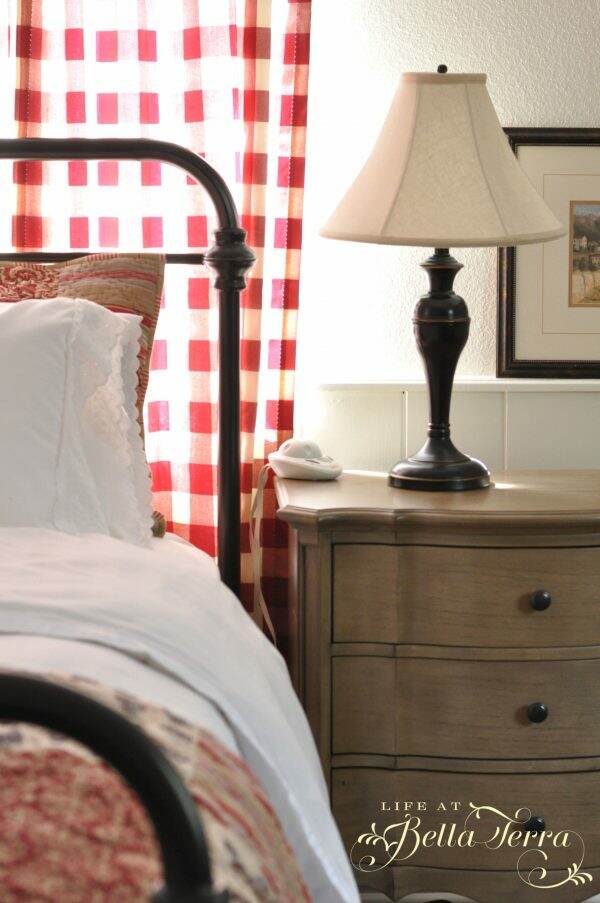
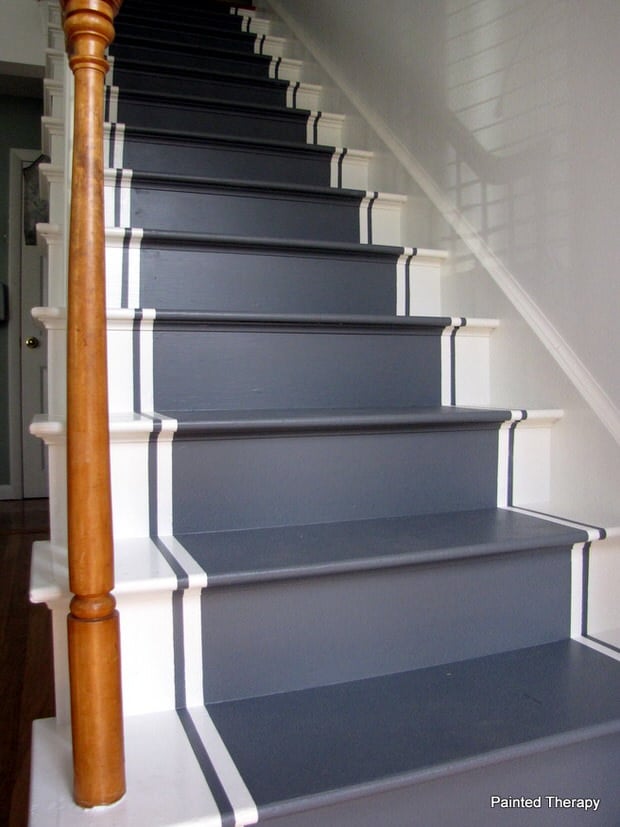
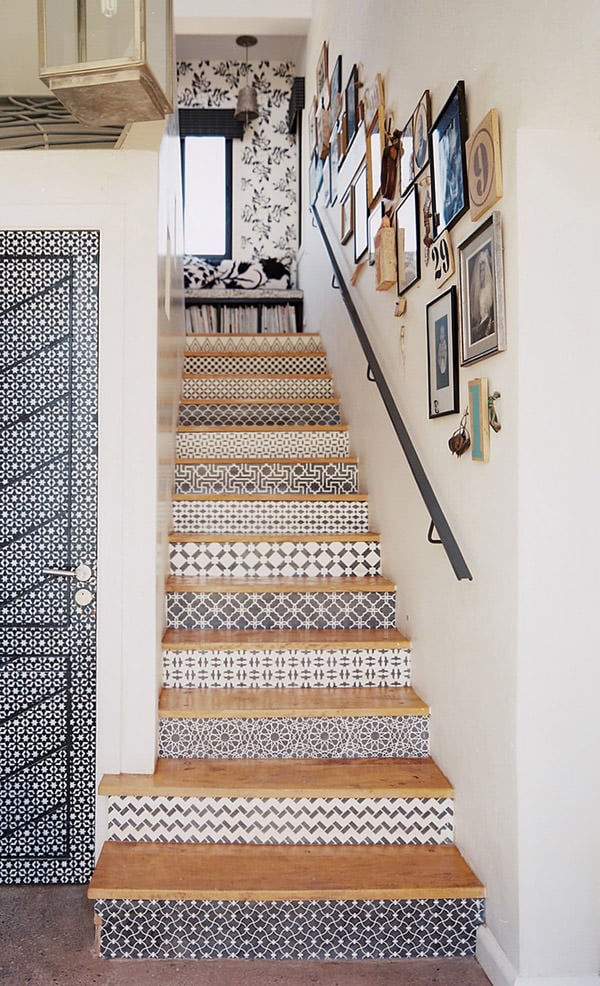
Here are some inspiration pictures. Do you have a favorite? Remember that the stairs are angled and not a straight shot like some of these photos.

Luxury Stair Runner Design Ideas For Your Classy Home
Carpet Runners With Rubber Backing #CarpetRunnersForMoving ID:4802712919
This one would require me to paint first, then add the edged runner
stair-makeovers-2
IMG_4995
Staircase+Stenciled+stair+risers
Looking for an inexpensive option for a stair runner?  Here's an easy idea....an indoor/outdoor  runner!  thistlewoodfarms.com

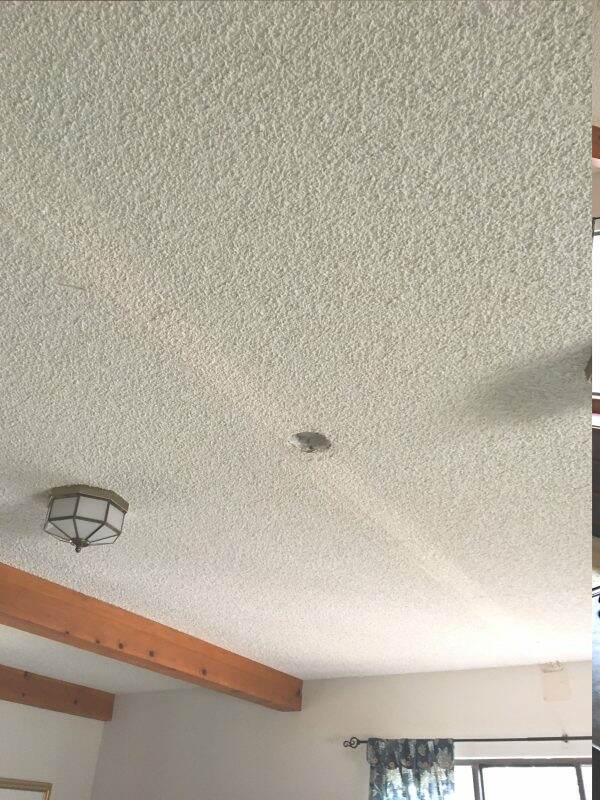
In addition to replacing the carpet, there must be a way to improve the lighting. The ceiling height obviously varies depending on what step you are on, but at the greatest point, I’d say it’s approximately 18-20 feet to the ceiling. It might be time for a chandelier?

Please send me your thoughts or ideas~~as I am not sure I need to match the front staircase runner with the back. There is a door separating the two.

Thank you in advance for your help!


Setting the July 4th table

We are up in the cooler mountains for the July 4th holiday week. The temperatures have soared in Phoenix so we are truly enjoying the higher altitude.

Since the homespun Bull Frog Loop parade goes right by our cabin, we typically host a patriotic brunch set up in the kitchen ~~an easy spread so our guests can grab and go while watching the parade.

For several years we had an unused side deck that we recently converted to seating and dining rooms. Here is where we will have our sit-down dinner.

I’ve never used a paper table runner, but I ordered this red and white striped one from Hester & Cook (a great tip from friend and fellow blogger, Lory from To Have To Host)

The white enamel metal plates (from Formation purchased from Target)I borrowed from my dear friend, Janie.

The antique blue Staffordship Rowland & Marsellus Co. plates were purchased on Etsy. I love how each plate is different~~from Cincinnati City Hall to Theodore Roosevelt images!

The napkins are from my collection. I made a simple napkin ring from red. white and blue ribbon I had from years ago. I just stapled the ends together!

The flowers were purchased from the local Safeway. Since I don’t have many vases here at the cabin, I used dessert dishes instead.

Whatever your plans are for the 4th of July, I wish you a safe and patriotic one. We live in such a wonderful country and have enjoyed our freedoms for nearly 250 years. Happy July 4th, my friends!!

I like to see a man proud of the place in which he lives. I like to see a man live so that his place will be proud of him.” – Abraham Lincoln


Cleaning out the Barn

Old English Pub sign hangs out front

We have an old 2 stall horse barn on our property. We’ve never had horses even though the girls REALLY wanted them. I am always so impressed with those that do take care of animals larger than themselves.

Here’s what the barn looked like when we first purchased our home in 1999.

In 2011, my friend Susan and I turned the barn into a base for our business, 2 Connecticut Yankees. Susan LOVES to shop for unique items, which we would offer at a small mark up. The idea was to come to the barn, have a bite to eat, shop and socialize.

We freshened up the exterior of the barn with Ralph Lauren Barn Red paint. New flooring was added and the interior painted a bright white. String lights helped with the dismal lighting.

We had great fun and this venture lasted a few years. But we both got busy with our lives. Most of the items have sold, but the barn is still full of “stuff”.

It was finally time for me to sweep out the cobwebs and see what was behind the barn doors.

As dirty as the barn was, it was fun to find some treasures that I had forgotten about. Here is an old 1894 hope chest I had purchased for my daughter, Elisabeth.

Elisabeth also fell in love with a set of Limoges china when she was a little girl. I finally found the original set of dishes and some linens to match.

Each piece needed cleaning as years’ worth of dust had settled on them.

But slowly things sprang into life.

Old metal wind-up toys
Vintage pottery
Beautifully carved bird cage with porcelain water/feed bowls

Here is the barn, all fresh and clean.

Susan and I need to decide what to do with the remaining items in the barn. I personally LOVE this piece I got at Round Top antique fair. Originally a display counter at one of the high end retailers in the early 1940s, it would make a fabulous kitchen island.

You may not know this but my website has a STORE tab with items that are still available. They’ve been all wrapped up and protected. If you are interested in any of them, please email me directly at marycrz@cox.net. I imagine that we will try to sell the rest on eBay, once I get my act together!

If you have a big project to tackle, happy cleaning! This was a very satisfying project.


Cabin Master Bedroom Remodel

First of all, thank you SO much for all the well wishes and prayers for a quick recovery to my eye injuries. Yes, I am feeling much better and my vision is almost back to normal. Prayers answered.

Our sweet little cabin in Pinetop, Arizona was in dire need of a master bedroom re-do. The original cabin has lots of knotty pine and charm. We use this small cabin as a vacation rental from Memorial Day to October.

Prior to purchasing it over 25 years ago, someone had built a rather odd master bedroom addition. With popcorn ceilings, faux beams, inadequate lighting and too much drywall, the old master bedroom looked like this.

We didn’t help the look by using Scott’s bachelor furniture and leftover pieces. Though a rather large room with 3 big windows, I never gave much thought to the furniture placement. Though unattractive, it was functional.

The first weekend, Tony (the BEST electrician/contractor) took down the faux beams, scrape off the popcorn ceiling, added lighting and ripped up the carpet.

The natural wood wainscoting chopped up the room so we painted it the same color as the walls- Sherwin Williams Cottage White. Since the room is so big and now so white, I chose a vinyl flooring that looks like wood planks to anchor the space.

Here is the finished product. It took a few weekends and many hands, but it is nearly complete for our first guests in May.

I was able to retain a few pieces of furniture~~the Drexel blue checked chairs, the antique trunk and the blue leather sofa (not my favorite but my husband put his foot down on getting rid of it!)

The side table and red desk are new purchases. The pulls on this bedside table were a brushed silver (which was a strange choice) so I spray painted them anodized bronze.

I love how the flooring turned out. It looks like real wood and will be warmer during the winter months.

I was going to have the curtains made but it would have been cost prohibitive. These red/cream checked drapes are from The Vermont Country Store. I was so disappointed when Country Curtains closed their store. However, they now sell their products through The Vermont Country Store.

The round primitive table, desk chair and elk lamp were recently purchased from a local vintage store.

The 8′ x 10′ rug came from Home Depot. The metal etagere was purchased from Ballard Designs long ago as a staging piece in one of my previous remodels. I took these pictures before I pushed the can lights up to the ceiling!

I spent several weeks researching metal beds. I didn’t want one that was cheap and wobbly. I am so pleased with this selection from Wayfair. The quilt and shams were a 70% off purchase from Ballard Designs.

There are a few things left to do but all in all, I am very pleased with the change. Though the master bedroom will never look like the rest of the cabin, this room has a pleasant, mountain feel.

Before and After:

Before
After

Here is a list of resources:

Rug Persia Almond Buff 8′ x 10′ ~~ Home Depot. $225.00

Cavaillon Panel Metal Bed- queen from Wayfair ~~$275.00 (keep on eye on their sales)

Red Writing Desk~~Birch Lane $174.99

Chelmsford Antique Taupe Nightstand from Hayneedle ~~ $244.25

Vinyl Flooring from Home Depot ~~$1,108.70

Red Checked Curtains from the Vermont Country Store~ $59.95 for 2 panels. I doubled up on the windows so total cost was $359.70

Curtain Rods: Lowes

Annabel Patchwork Quilt/Shams from Ballard Design-discontinued but I know it was significantly discounted.

Art by the Bed: Local Goodwill $4.00

Also if you are ever in the White Mountains of Arizona and would like to stay at our cabin, please contact www.vrbo.com, property # 314250!


Tulips and Tulipiere

The first stop on our Baltic Sea tour (in 2007) was Amsterdam. Though it was not tulip season, we quickly learned about the importance of the tulip in their history. During many palace tours, I would spot one gorgeous tulipiere after another. What is a tulipiere?

Image result for images of tulipiere

tulipiere or tulip-holder is an ornate vessel in which to grow tulips, and is usually made of hand-crafted pottery, classically delftware. They are typically constructed to accommodate one single bulb per spout with a larger common water reservoir base. They were not designed as vases for a cut bloom, as is sometimes supposed, though they could also be used for this.

Image result for images of tulipiere

While fairly uncommon now, during the 17th century tulipieres were used to grow tulip bulbs indoors and were common pieces of decorative art that could often be found in the houses of European elites. Large floor-standing pyramid-shaped tulipieres were particularly ornate and were used as a status symbol to indicate the owner’s wealth.

Since 2007, I have wanted to own a tulipiere. I finally broke down and bought two medium-sized ones from The Enchanted Home. She recently did a blog post on it and I just caved. And I am so glad I did!

Around Valentine’s Day I tend to buy tulips. It is my secret protest to the 2 to 3x increase in rose prices. I am very excited to use my newly acquired tulipieres and share how they work.

This one comes in 4 separate pieces. I was doing this on my dining room table, I always put down a towel to protect the surface.

Each section requires water.

I cut the tulip stem to the size of the vessel as the length varies with each section.

I like my stem mine a bit longer because I like the gentle, loopy arc.

Each section holds 4 tulips.

When the bottom portion was filled with water and flowers, I repeated the same process with the rest of the sections.

Here is how they look finished!

The Enchanted Home did send me adhesive to glue all the sections together, but I don’t see why I would do that. Each section requires its own water and if they were glued together you wouldn’t have access to the opening on the top.

I believe the water and weight of each section keeps the tulipiere supported. Of course, if someone were to grab them quickly and move them, it could be disastrous.

I’m always trying new ways to photograph things for you and I thought you’d enjoy my latest picture. It’s a top down view of the tulipiere~~of course I am standing on the table in my athletic shoes (yikes!) and failed to get my feet out of the picture! Artistic, huh?

I wonder if I should try planting bulbs inside and see what happens?


Finally, a CLEAN basement!

I am officially embarrassed to say that this was the condition of the middle room of the basement. I cleaned it 18 months ago, but it’s an easy dumping spot for, well, just about everything. I know the intention was to “put it away later”, but things just kept accumulating.

After taking donating three carloads of “stuff”, the basement is MOSTLY clean. I clearly hadn’t done any life-stage cleaning over the last several years. The basement was filled with old toys, games, VHS videos, DVDs and CDs.

This center room used to be a play space for the children during the summer~~mostly because it is too hot here in Phoenix to play outside during the day (unless you are in the pool). It hasn’t been used for that for a very long time.

Here is the AFTER:

I found another set of sofa slipcovers so I replaced the red (which were stained) with the white. I also removed the rug underneath the sofa~~the backing had deteriorated. The nap of the carpeting was pressed down by the area rug so I’m hoping it will fluff up soon. If not, I will need to get the carpets cleaned.

Years ago, we installed these IKEA kitchen cabinets. Since the ceiling height is rather low in the basement, we couldn’t appropriately hang the upper cabinets. Instead, we rested them on a butcher block counter on top of the lower cabinets. This counter space gives me enough room to place items from the cabinet.

I still need to sort through some of those games!

All my vases are stored in one cabinet. I have quite a few but you should have seen how many I donated!!!

The next two sets of cabinets, both upper and lower, house all my china and dishware as indicated by my last blog post (see here).

The final set of cabinets holds miscellaneous candles, fabric and disposable cups, plates and napkins.

Across from the sofa, is an old pine table that I use as my sewing area.

Behind the sofa, is a large blackboard. I am still hoping to learn calligraphy so I can write something profound on it. The blackboard has a piano hinge on one side and opens….

…to reveal the electrical panels for the house. I’ve never liked the look of those and hiding them is the perfect solution.

The basement has access to an outside staircase, which was very helpful when schlepping all the stuff to donate.

I still have a few things to do…get rid of the DVD shelves and re-purpose the armoire in the room. But for the most part, I am VERY happy this project is nearly completed. Let’s see how long it STAYS this way!