1

Simplifying Christmas

My Christmas painting from 2017

I don’t know about you, but I am STILL cleaning up after Thanksgiving. It was a wonderful day, especially with the weather being moody and overcast.

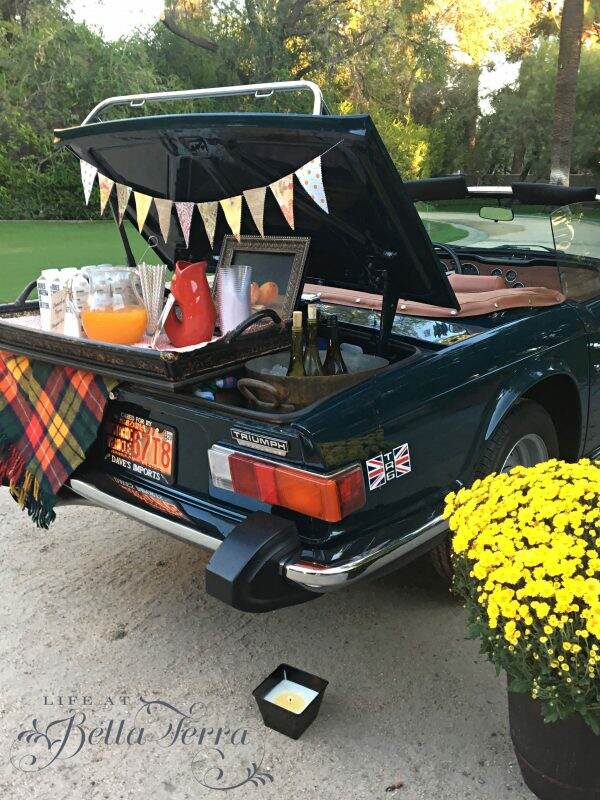
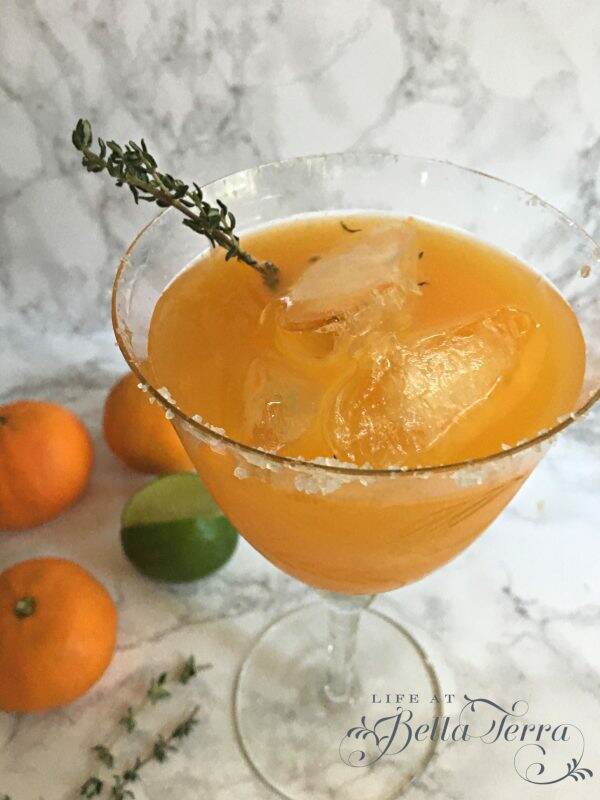
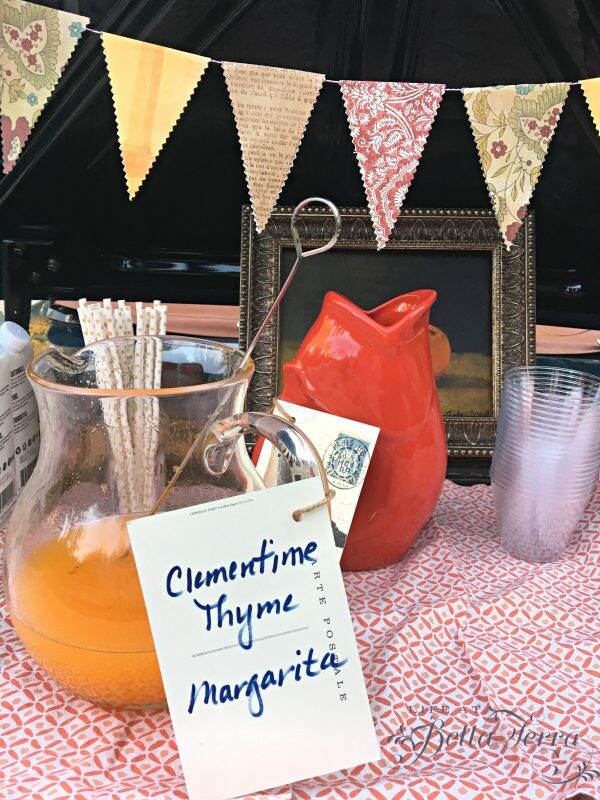
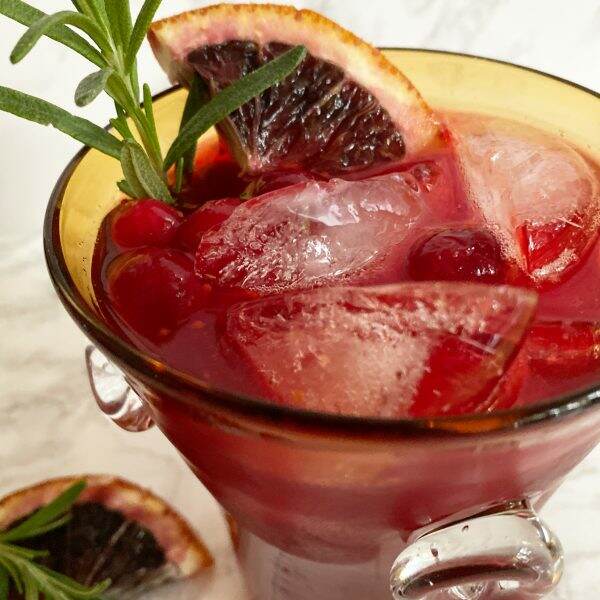
If you are looking for a cocktail (or can be made without alcohol) for Christmas, this one is certainly the right color! I am not a fan of anything too sweet, and these Cranberry Bourbon Sours were tart and refreshing. Click here for the recipe from Half Baked Harvest. We made a pitcher of them this week which was perfect for drop-in guests.

One of our family holiday traditions is collectively selecting a cake from Tessa Huff’s book Layered and then baking it. The Bittersweet Chocolate Orange Spice Cake was not as labor intensive as some of the other cakes we’ve made, but the flavors were rich and perfect for the season. Sprinkled with salt and decorated with kumquats from our tree, made this 3 layer cake even more attractive.

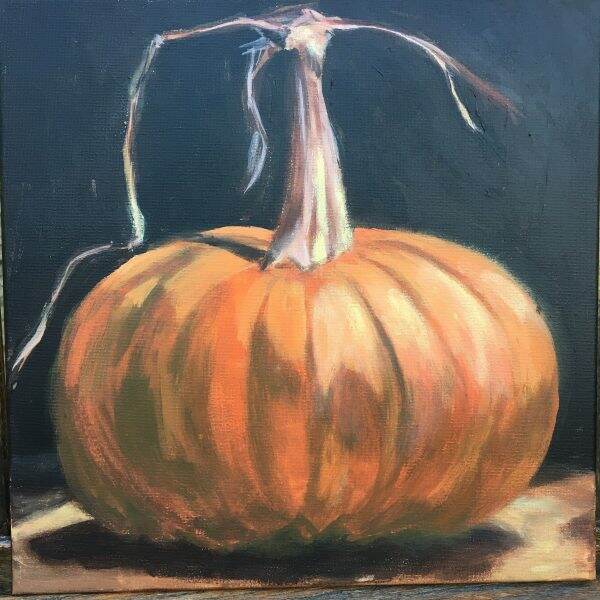
Now we are onto Christmas. Can you believe it is 25 days away? I woke up in the middle of the night a bit worried about getting everything accomplished-our Christmas card, my annual Christmas painting, decorating the house, entertaining~~the thought of it all swirling around in my head. I came to the conclusion at some early hour in the morning that maybe this is the year to just simplify it all.

I know many bloggers have had Christmas up since Halloween, but I am a bit of a traditionalist and remember the days when the Christmas season officially began the day after Thanksgiving.

The downside to waiting is the rush to get it all done. However, I am now debating whether I truly need to build the glitter village and the unpack the numerous snow globes.

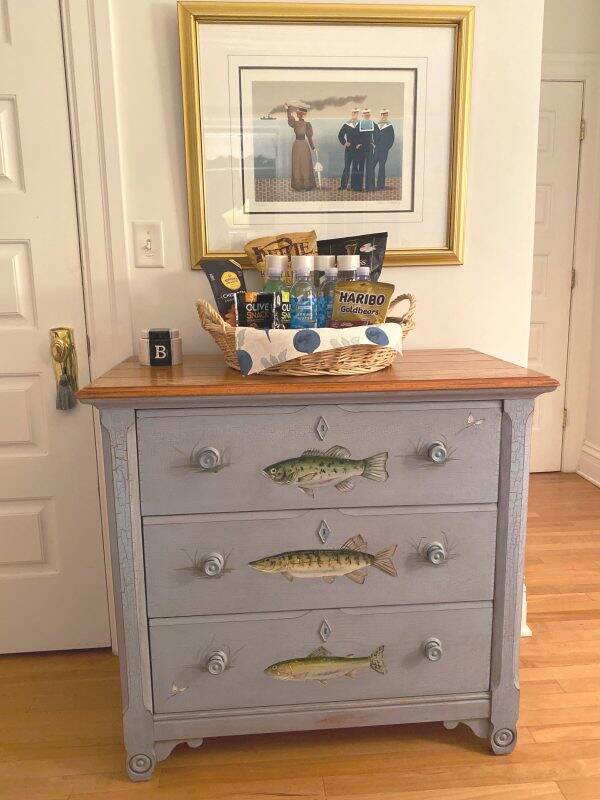
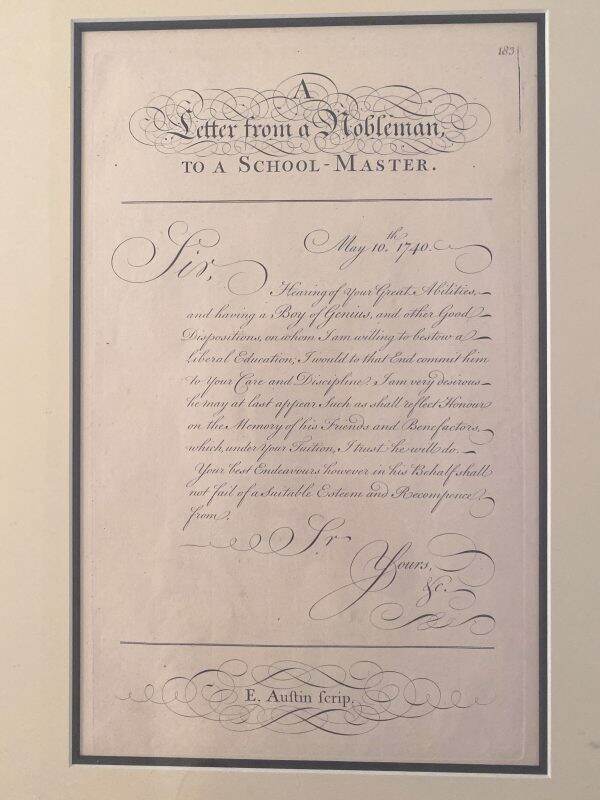
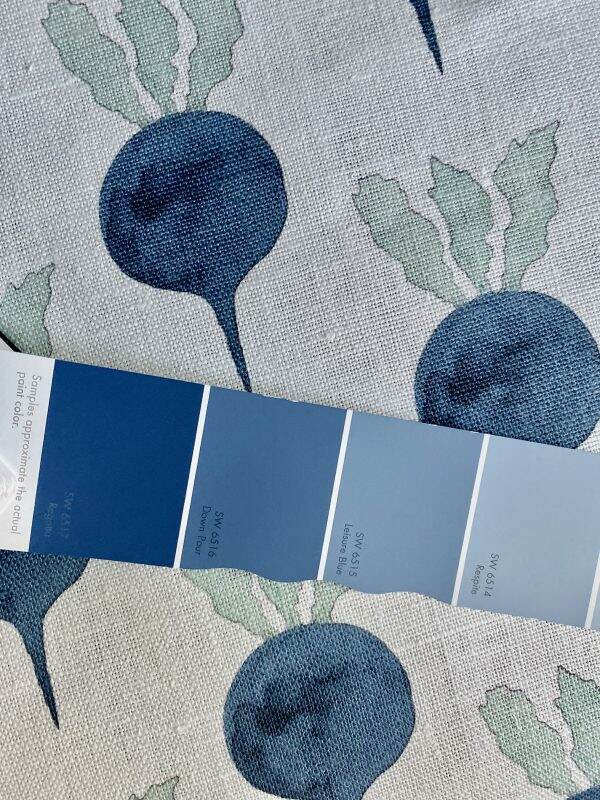
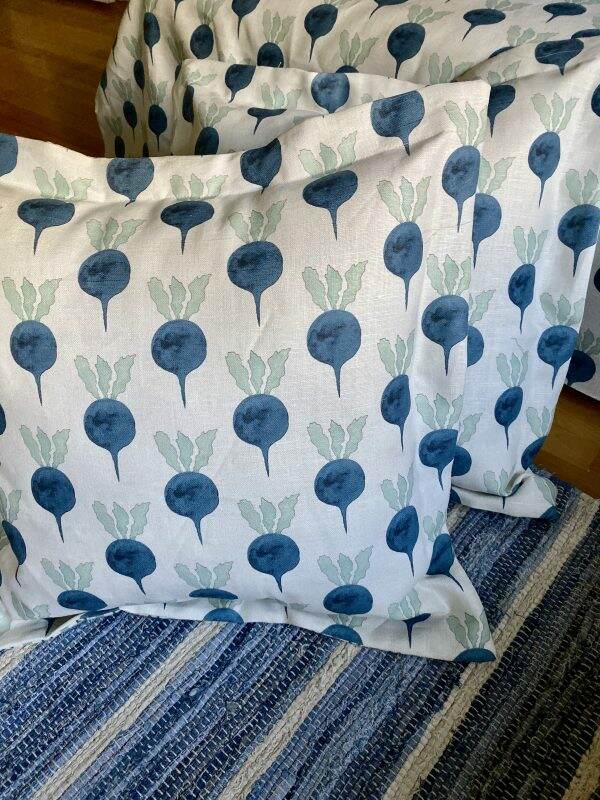
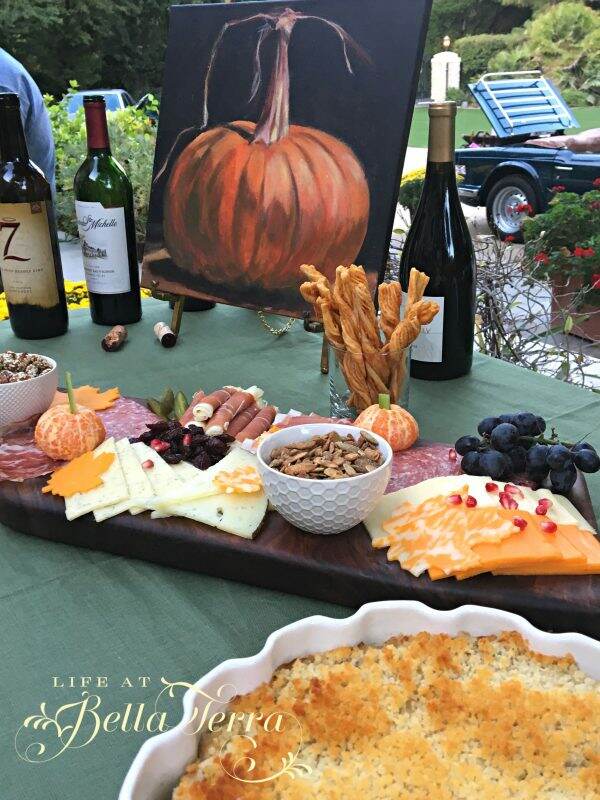
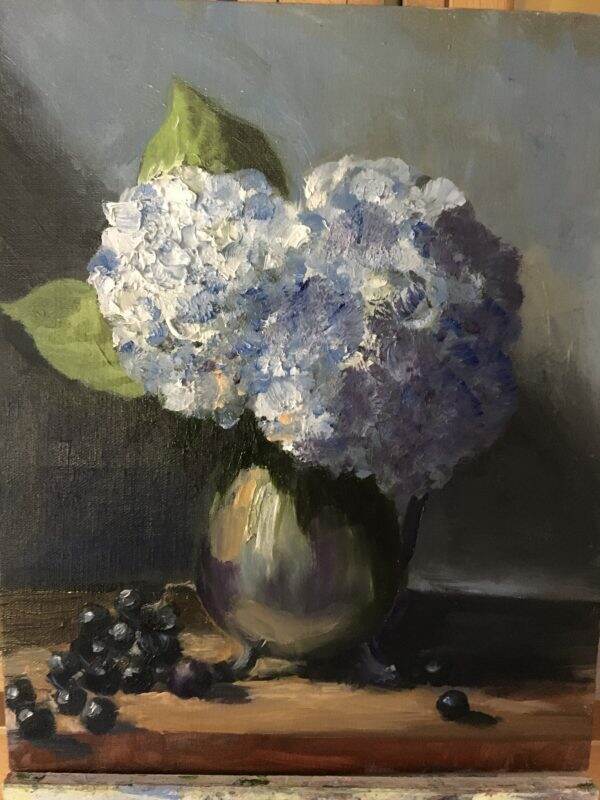
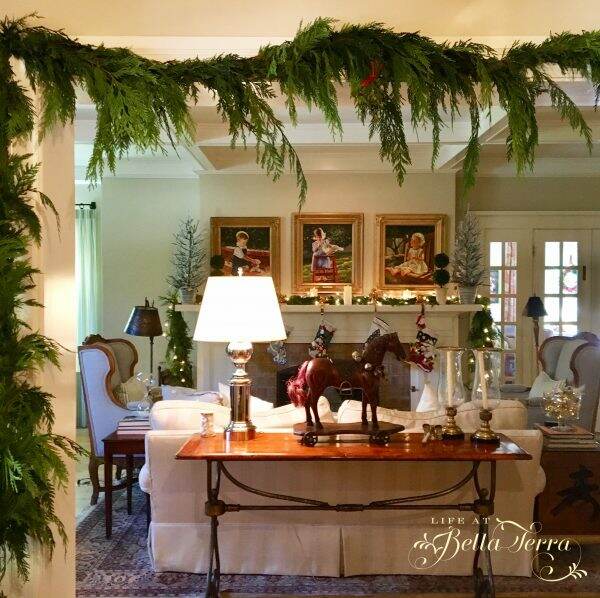
Perhaps this is the year to just decorate with fresh greens and a few traditional items like our Christmas art. I am spending this weekend getting the house back in order and then re-thinking a new way to decorate for Christmas. Maybe less is more?

However, it ALL does comes together somehow and that is the magic of the holidays. The goal is to welcome it with a jolly spirit and not sweat the small stuff. Remember to do things that “spark joy”

Wishing you a wonderful weekend. I hope your Thanksgiving was filled with family and love.


Bedroom Remodel Reveal

My son’s bedroom re-do has taken longer than I would have liked. Am I completely finished? No, but I am close. There are window treatments to complete and of course, sorting through years of his belongings. I want to accomplish that with him, because I would probably keep all the grammar and high school projects just for the glorious trip down memory lane.

Here is the bedroom before. The last time we did anything to his room was on his 14th birthday. It was time to get rid of the whimsical child’s room and do something more suitable for a teenager. His colors at the time were mostly red, blue and brown. Benjamin now lives in Washington, DC so his room hasn’t really been touched in quite a long time.

As you may recall, this was my inspiration for the remodel. You can read the entire blog post here.

Here is the bedroom after (and nearly done)! We moved the bed to the opposite wall to get the wonderful views out the 2 northern windows, and the view to the outside terrace.

Using leftover Blue Radish linen fabric, I slipcovered the bench under the black writing desk that I moved from the family room. The desk now gets such better light from the western window.

I kept the small dresser with the hand painted fish as our son LOVED having fish when he was younger. Plus the scale and color goes nicely with the rug and rest of the room.

A guest basket is filled with waters and snacks for his week long stay with us. In keeping with the blue/nautical theme, a limited edition print by Jan Balet from is hung above the dresser.

On the desk is an antique letter “from a Nobleman to a School Master” dated May 10, 1740 about a man sending his “Boy of Genius” off to get a liberal education. I love the lettering, the grace and tone ~~so civilized.

A fresh bouquet of flowers perks up the room.

I started a custom painting for the area above his bed, however, it’s not finished so we hung a limited edition nautical lithograph from the British maritime artist, John Stobart. If you want to read the blog post on the making of the pillow shams, click here.

We still need to go through items on his shelves, but I tried to organize it the best you can with items from a boy’s life.

Happy Saturday, my friends. The best part of this bedroom is that my son is home and filling the room with his presence. I hope you enjoyed the fresh and updated changes! Below is a list of resources.

This post shared with:

Between Naps on the Porch Metamorphosis Monday #601

Silver Pennies Sunday #369

Eddie Bauer Blue Cotton Blanket on bed; $27. 19 ordered from Amazon

Sheets and Duvet Cover from The Company Store

Denim Rag Rug from Annie Selke by Dash and Albert

Blue/white chinoiserie lamp on desk from Overstock

Blue Radish fabric by Radish Moon

Radish Moon
648 Broadway suite 600
NY NY 10012
917.279.5465
www.radishmoon.com

All artwork is from our collection

Candlestick lamps from thrift store and repainted

Flowers from Trader Joe’s


Refinishing Lamps

My son’s bedroom remodel is taking FOREVER. I wish I had one week without interruptions to finish it, however, that is not my life right now. But this weekend I was able to refinish 2 lamps and wanted to share the process with you.

You know you are blessed with good friends when they are out shopping, see a bargain and call you. My friend, Janie, found 2 sets of candlestick lamps at a thrift store. Personally, I have difficulty finding lamps that I like. I bought both sets, knowing that I could probably use them SOMEWHERE, plus they had really nice silk shades.

The lamps will sit on the headboard table attached to the existing Ikea bed, which is a java finish. All just too dark. Not thrilled with the style of the bed, however, I couldn’t justify buying a new one right now. Since the bed color isn’t something I can change, I decided to repaint the lamp bases. Working with my primary fabric, I selected a shade of blue, Down Pour by Sherwin Williams.

My husband was kind enough to pick up a sample size of the paint, but I failed to tell him to get enamel. I went with what he purchased~~~a satin latex, not confident if it would work. At this point, it would have been much easier to use spray paint, but if you want a custom color vs. something over the counter, you have to use a brush (or add it to a paint sprayer, which I don’t own).

Prepping for a painting project is important and I used Frog Tape to cover the areas I wanted to protect.

The minute I started painting, I wasn’t wild about the color. It was a little too bright for me….and reminded me of the 70s.

Fortunately, latex paint is very forgiving and the brush strokes melted away during the drying time. Both lamps were done and I clearly didn’t like the color. In order to paint the top shade lock, I inserted a screw into a piece of cardboard and then mounted the lock on top so I could paint around it.

I stepped back after I was finished and didn’t like the color AT ALL. So I waited a day as paint tends to darken as it dries.

The next day I still wasn’t fond of the color and then remembered I had some wax metallic finish somewhere. Here is Rub ‘n Buff and it comes in a variety of finishes from gold to ebony.

At this point, I felt like I couldn’t lose anything by trying this product. Worst case I could just repaint the lamp bases and start over.

The instructions say to apply it with your fingertips, which was messy. But by the end I was adding it with a soft cloth. The Spanish Copper highlighted the details of the lamp nicely. It adheres very quickly so apply with caution.

The metallic wax toned down the bright blue and I actually started liking it.

The original shades were too dark. The room is painted a crisp white (not sure why my photos seem so yellow). I went online to buy new shades and my, oh my, are silk shades expensive! I only paid $25.00 for each lamp and I couldn’t justify spending over $300 for a new shade.

I continued my search online and finally found a Royal Design shade on Amazon, in white, for $39.99* each! I quickly ordered 2 and got them within a day or two (how do they do that?)

So here is the finished product. Again, the walls are white, the shades are white~~must be the northern light from the windows in the opposite wall creating a yellowing effect.

Such terrible pictures but hopefully you get the gist of the DIY project.

I think the blue contrasts nicely with the dark bed and compliments the pillow shams. Can’t wait to finish the rest of the room!

Hope you had a wonderful Veterans Day weekend. I keep thinking today is Monday!

*When I purchased these lamp shades they were $39.99 each. However, when I included the link to Amazon, the price was $59.99. If you were to buy these shades, I would recommend checking to see if they lower the price back down to $39.99.


The “Not So Simple” Pillow Shams

In a previous post, I discussed re-doing my son’s bedroom. I finally got the fabric and it didn’t disappoint. There was the typical anxiety in making my own pillow shams~~what if I cut the material wrong? What if they come out wonky? What if I ruin this expensive fabric? But nothing ventured, nothing gained, right?

Like painting, the most important and most tedious steps are in the prep work. As my Dad always said, measure twice, cut once.

I sketched out the dimensions for a 24″ Euro square pillow. In order to get a fluffy look, the actual dimensions would be an 1″ less. I also added a 2″ flange and made allowances for 1/2″ seam.

Now it was time to design the back, adding 8″ for the overlay pocket to insert the pillow. This is when I realized I didn’t have enough fabric to do the backs. Whaaaaat? I could have patch worked it together, but the thought of jury rigging this expensive fabric was discouraging. What to do?

Fortunately I had some leftover blue striped fabric from another project. I dug it out of the basement and it was a relatively good color match. However, the fabric’s weight and thickness were completely different. Sigh.

I measured the back fabric, adding a center cut for the pocket opening, still debating on whether this stretchier fabric would work against a heavier weight linen.

I decided the only thing I could do was to add interfacing. I ran to Walmart hoping they would have what I need. Once I ironed the fusible interfacing to the striped fabric I was pleased with the solution.

With all the pieces finally measured, cut and the striped sections interfaced, I was ready to sew. The first step was creating a clean edge for the pocket panels in the back.

I rolled the edge once and then again and pinned it.

A quick and easy stitch on both back panels.

Laying the front sides of the fabric together, I stitched a 1/2″ seam on all 4 sides.

I clipped the corners to create square edges.

Next, I created a 2″ marker to be used as a guide to stitch the flange.

Scotch Expressions colorful tape worked perfectly as my edge to guide the fabric.

Starting and ending 2″ from each corner, I sewed all 4 sides.

Turned the fabric inside out and inserted the pillow. I was relieved when everything fit!

It has been ages since I have sewed anything and I am delighted with the end product.

All in all, in spite of the obstacles, this was a simple DIY project. Just plan ahead, make sure you have enough fabric and you will be successful! Now onward with the rest of the room remodel!

Resources:

Blue Radish Fabric by: Radish Moon, 648 Broadway suite 600, NY NY 10012 917.279.5465 www.radishmoon.com  

Blue Striped Fabric by Waverly

Pellon 950F ShirTailor Fusible Interfacing purchased at Walmart


Autumn Entertaining

My last art class creation!

Autumn in Phoenix is a time to reconnect. Everyone scatters to their cooler locations during our hot summers, but when the temperatures begin to fall, the sidewalks roll out and the town becomes lively again.

We had missed seeing many of our friends the last few months and decided to have a gathering to celebrate friendships and good health.

I have always believed that the first hour of any event is an indicator of the success or failure of said event. In order to make this extra special, a fall theme was in order.

Painting of the oranges done by Joann Augur (my art teacher)

For the cocktail hour, tailgating came to mind. The front of our home faces east, and at 5:30 p.m. it’s the ideal time to hang out on the front terrace.

Using our vintage 1974 Triumph TR6, the trunk became the basis for the cocktail distribution. I made the banner from old scraps of decorative paper, carefully selecting those patterns that look most like fall.

Since some of our friends drink and others don’t, we always offer both alcoholic and non-alcoholic beverages. The non-alcoholic options were apple cider and boxed water. The boxed water is my attempt to cut down on plastic bottled water and can be ordered online at https://boxedwaterisbetter.com.

A deep copper tub is tucked to the right of the TR6’s trunk and houses both red and white wine. My cocktail of the evening was a Clementine Thyme Margarita. The recipe from Hola Jalapeno calls for tangerines but they are not in season yet so I substituted Cuties for the juice. Here is the link to recipe.

The Gurgling Red pitcher was a gift from my son’s girlfriend.

The porch and front entrance were colorfully appointed for the season.

After securing their drinks, the guests lingered on the front porch with simple appetizers. A dear friend of mine, Joe Pepe is a fabulous woodworker. I was so delighted and surprised when he sent me this charcuterie board. This is the first time I have used it! To see his amazing creations click here.

Using maple leaf cookie cutters, the cheese shapes add a bit of fun to the fall theme.

This beautifully grained board is 29″ long and 9″ wide ~~the perfect size for entertaining!

In addition to the charcuterie board, I made a Maryland crab dip that was warm and bubbling out of the oven, served with Stacey’s pita chips. Click here for the recipe.

The weather was pleasant and it was a delightful evening under a full moon. Dinner followed on the back porch but that will be a separate post! Looking forward to reconnecting with all of you this fall!


September Projects

Front Door Fall Wreath

Happy Saturday! It has been a whirlwind lately~~so many meetings and pending projects. I keep reprimanding myself that I want to post a new blog once a week, but I blink and time has slipped away.

Been baking ALOT of quick breads lately

There is a distinct weather change here, finally! This morning it was 68 degrees. Though that may sound warm to you, it is a cool relief from our sweltering summer.

Fall gardening is happening now and though my vegetable garden is non-existent, I did start working on my newly designated bulb garden. Several years ago I planted many bearded irises and have never taken the time to divide them properly.

Snoring Sox helping me divide the irises!

In doing so, I realized the watering system was rather inefficient, so we replaced the drips with spray heads. The rhizomes needed to be dug up, divided, checked for infestation, soaked in water, trimmed and replanted. The end result was 108 rhizomes planted in one afternoon. I also planted some salmon-colored iris given to me by my new gardening friend, Denise!! Thank goodness for soaking tubs and Epsom salts.

In early October, I am expecting a bulb shipment from Longfield Gardens with 100 each of alliums, tulips and hyacinths. The bed is ready to go and I’m hoping my back will hold up after setting the 300 bulbs in the ground. Photos below are from Longfield Gardens.

Allium Purple Sensation - Longfield Gardens
Tulip Red Impression - Longfield Gardens
Hyacinth Shades of Blue - Longfield Gardens

House projects~~this is the time of year that I start looking at the house with a critical eye. It’s time to touch up all the paint chips/cracks, wash the windows, fix anything that is broken all in time for the holidays.

My son’s room is on the agenda to remodel. My first inspiration was a scarf I received from the May installment of My Stylish French Box. This Létol scarf is 100% cotton Jacquard weave. I absolutely LOVE it!

French Létol scarf sent by My Stylish French Country Box

My next inspiration is this fabric designed by Sarah Nicholas Williams from Radish Moon Textiles. It is a heavy Oyster 100% linen and the indigo color is spectacular. My friend, Janie, thinks it looks more like a kitchen fabric, but my son loves food. I’ve yet to find a fabric that thrills me like this one and for some reason it just makes me happy 🙂

The Dash & Albert rug sample is from Annie Selke and again, it captures this sense of blue that I think will work wonderfully in his very white room. Just ordered it so when it comes in, then the work begins!

Over the summer I subscribed to an online artist series by Kelli Folsom. She typically does still life paintings in oil. Since I have little to no experience in oil paints, it has been a bit of a stretch for me to try this. This is my first attempt of learning how to paint online~~hydrangeas in a silver pot. Maybe it will work in the bedroom remodel?

I hope you are enjoying the beginnings of fall weather. One of my favorite bloggers, Karianne at Thistlewood Farms, shared this on her post recently and I thought it made me happy. I thought I would share it with you! Click here for the download image. The colors are much more vibrant than the photo below.

Welcome autumn free printable
From Blogger: Anderson + Grant

Hope to do more fall decorating this weekend! I hope yours is a relaxing one.