Do you do any decorating for Halloween? My youngest LOVES Halloween! She is a senior in high school and since this is her last year at home, I’ve decided to pull out ALL the boxes from the garage. We are going BIG for this holiday.
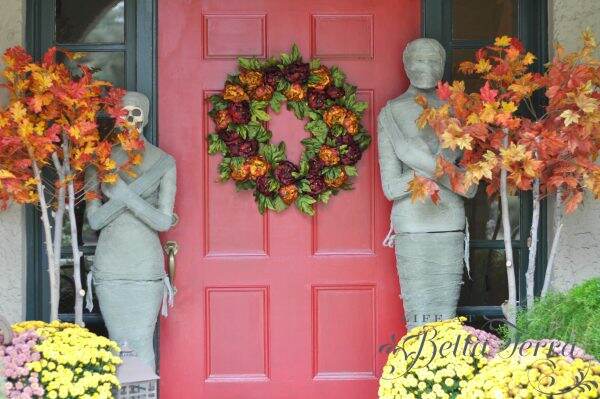
The mummies are by the front door.
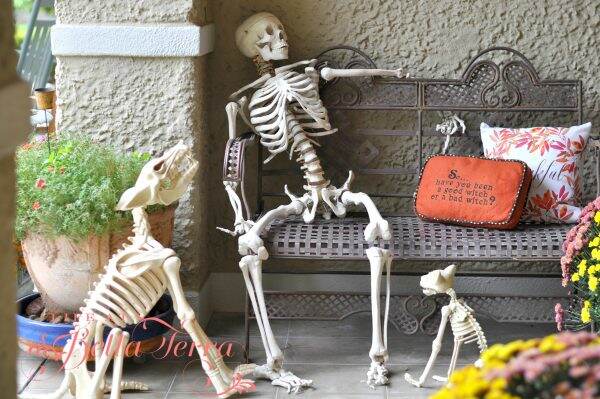
Mr. Bones has two new companions this year.
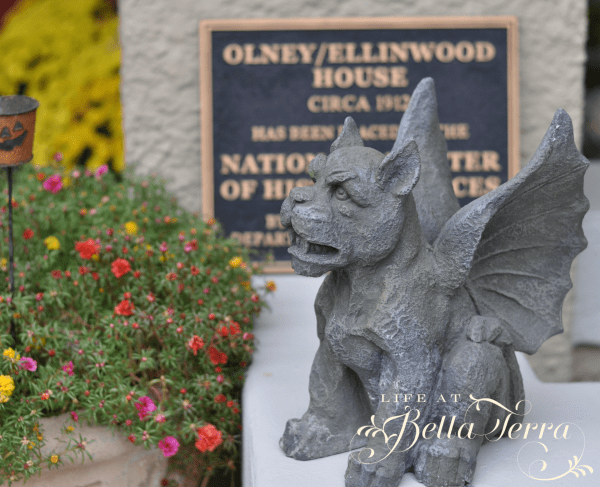
And the graveyard is back, with a gargoyle nearby.
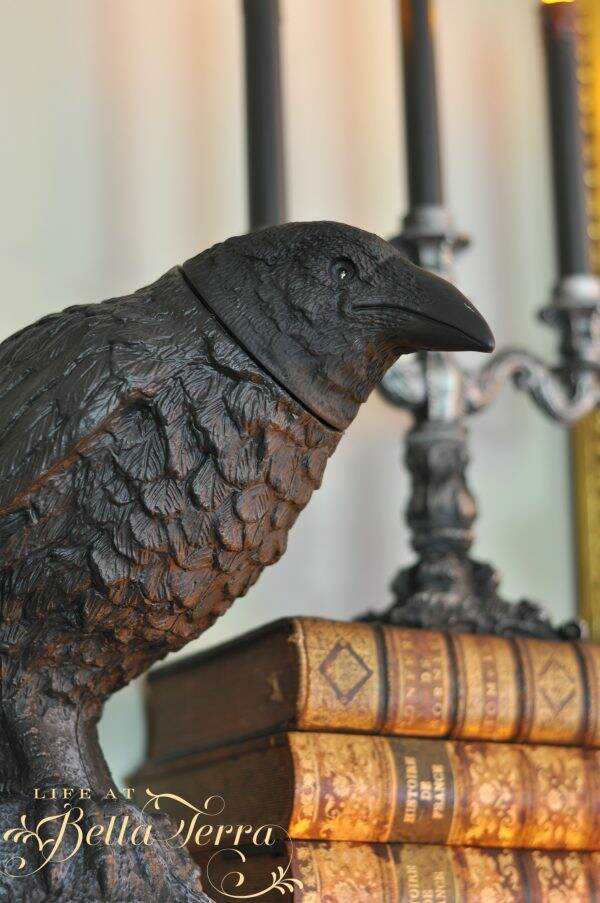
The dining room gets the bulk of the decorations. The raven is motion-sensitive. Its red eyes light up and head moves, while cawing.
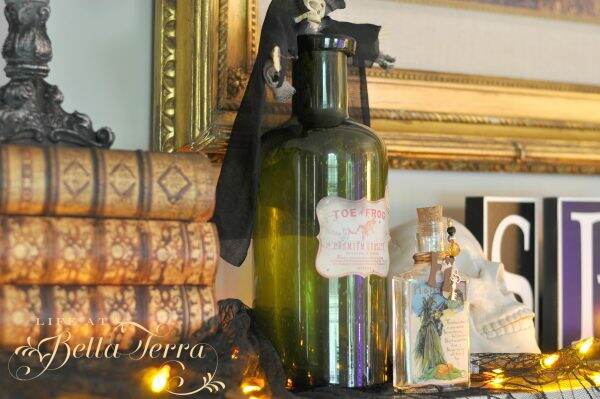
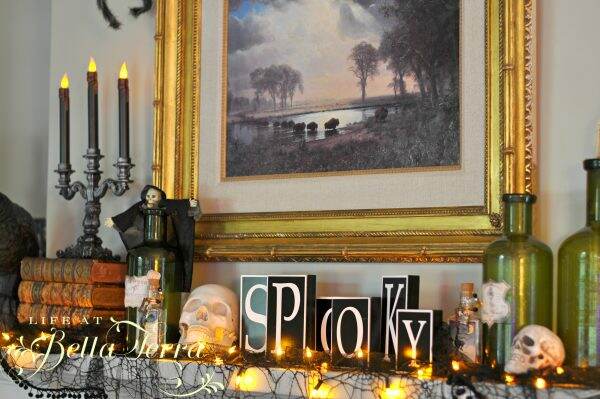
The deep mantle allows for old books, chemistry bottles, skulls, and lights.
What is Halloween without a really large spider?
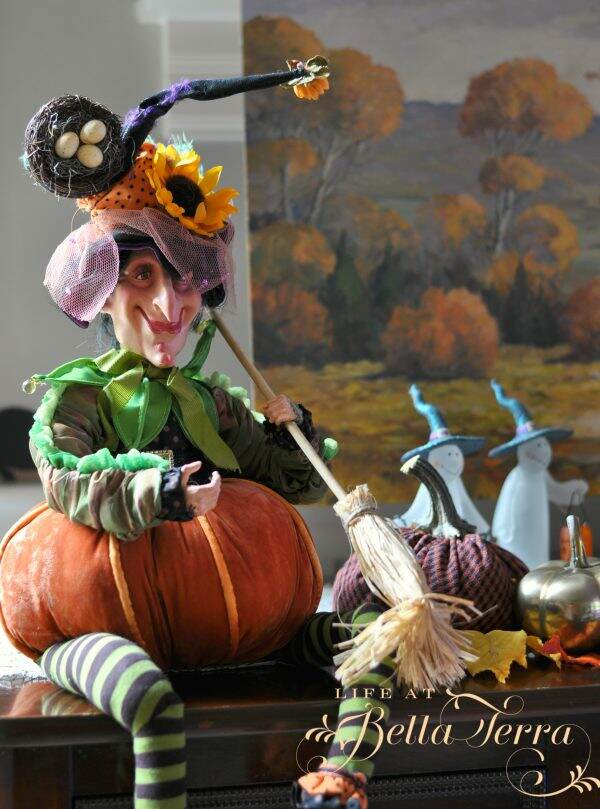
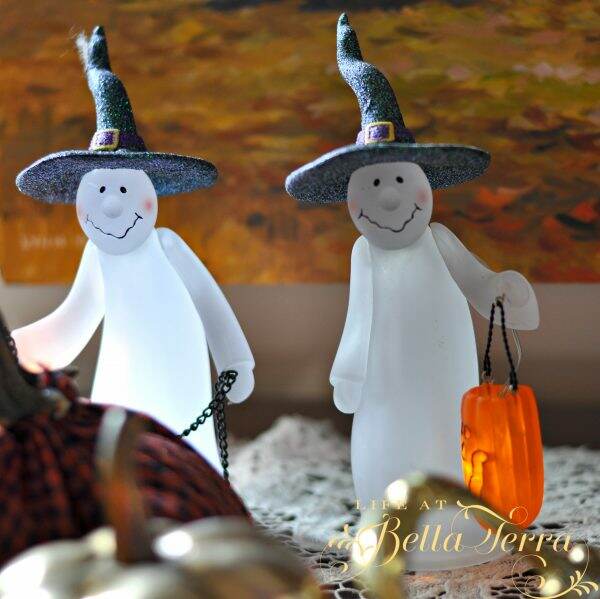
The buffet has been transformed with witches, skulls, libations and crows.
We haven’t finished decorating….yet but are having fun with the mice!
There is a benefit to taking out all the Halloween boxes. I’ve been going through them, sorting and organizing and donating. Three children and multiple Halloweens equals way too much stuff. I am enjoying decorating with my 17-year old as next year she will be away at college 🙁
Dog and cat skeleton, raven – Home Depot
Candelabras-Home Depot
Mr. Bones and tombstone-back in the day that Restoration Hardware had cool things
Mouse cut-outs- Martha Stewart
Mummies- Grandinrod
Fall Decor Touches in the Living Room
|
It is that time of year when the temperatures are shifting ever so slightly lower, that I am inspired to add a few fall decor touches to the living room. I recently went to Trader Joe’s to buy pumpkins for my living room mantle and they had NONE. They had not shipped yet from the warehouse and no pumpkins were to be had in Phoenix.
As a result, I will show you the living room fall decorations sans fireplace mantle. Hopefully that will happen in the next week or so. The challenges of living in the hot southwest!
The living room colors are mostly linen white and French blues accents, with a richly color Oriental rug. Orange is a complement to blue so I sprinkled in some, along with white and neutrals.
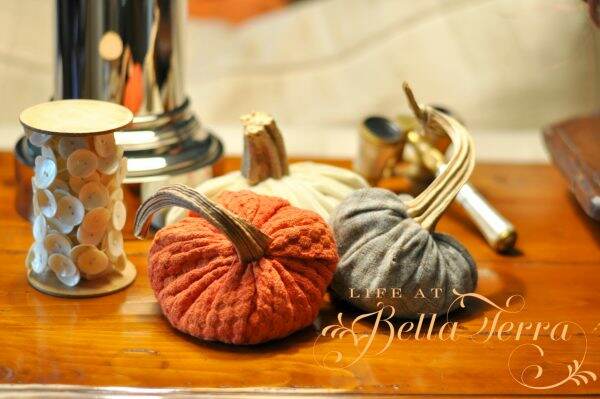
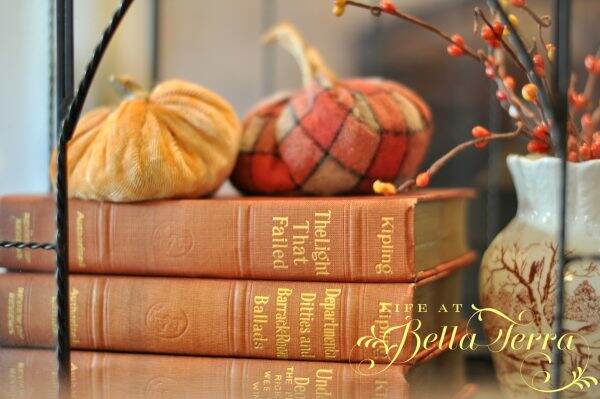
Thankfully I have a rather large selection of fabric pumpkins, and placed a few on the sofa table.
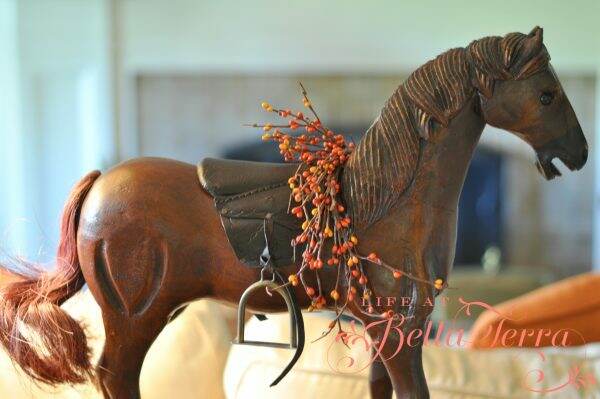
The horse sitting on the table behind the sofa did need something for this time of year, so a sprig of artificial berries did the trick.
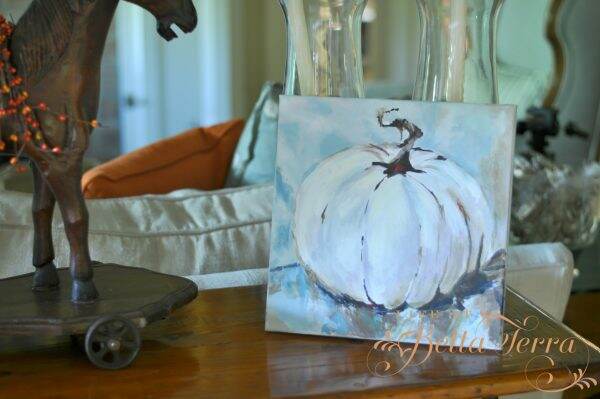
My pumpkin painting has the appropriate colors for this room. Completed a few years ago, it was one of my first autumn paintings.
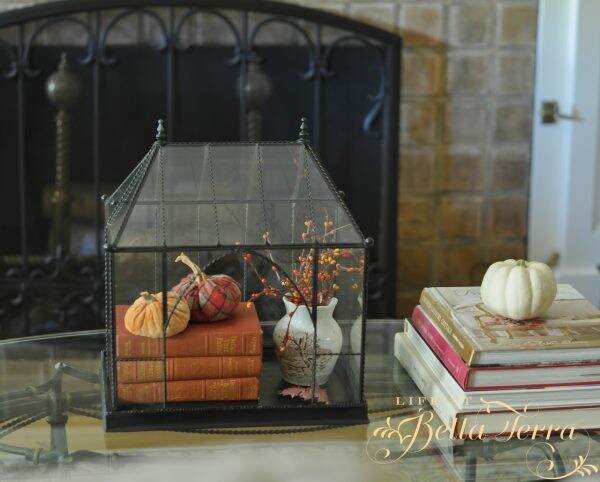
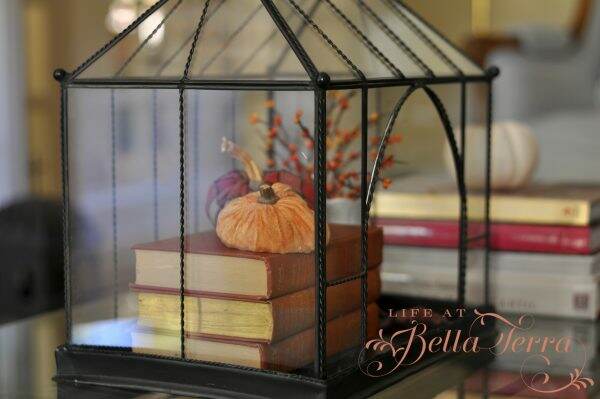
The coffee table’s English terrarium received a fall theme~~adding books, fabric pumpkins and some berries.
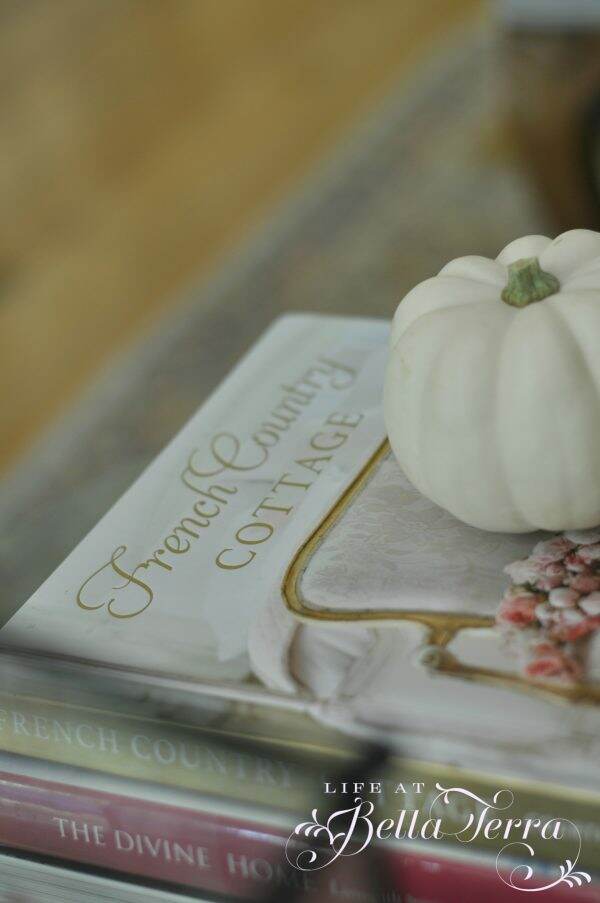
A blogger I follow, Courtney Allison from French Country Cottage, just released her first book. It is truly spectacular! I am getting ready to attend a book signing by Courtney~~cannot wait to meet her in person!
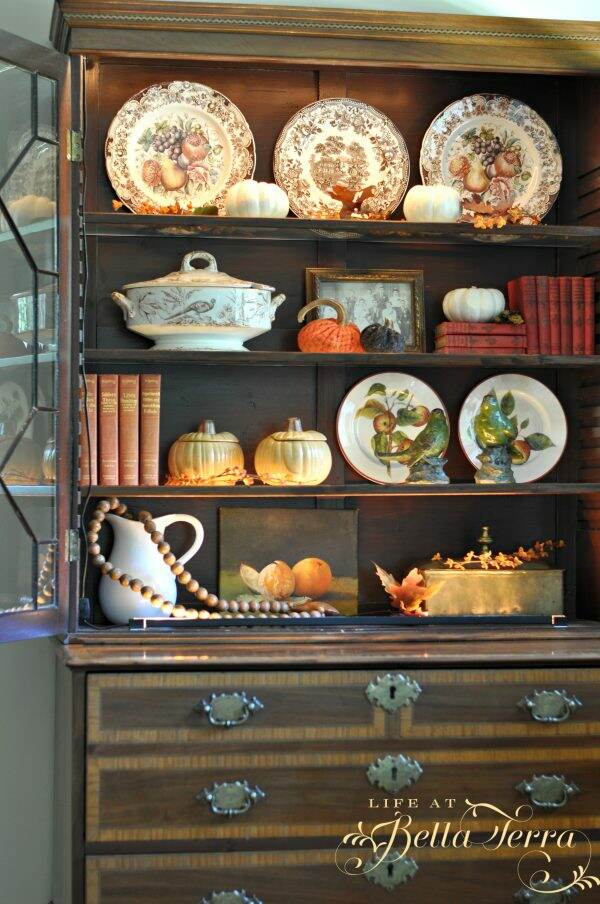
Perhaps the oldest piece of furniture I own, is a Hepplewhite Secretary, dating from 1790-1800. The glass doors are designed with 13 panels for the original 13 colonies. The lower portion opens up into a desk with beautiful inlaid wood cubbies. I purchased this many moons ago when I could barely afford anything. But I knew this was a special piece and have cherished it for decades.
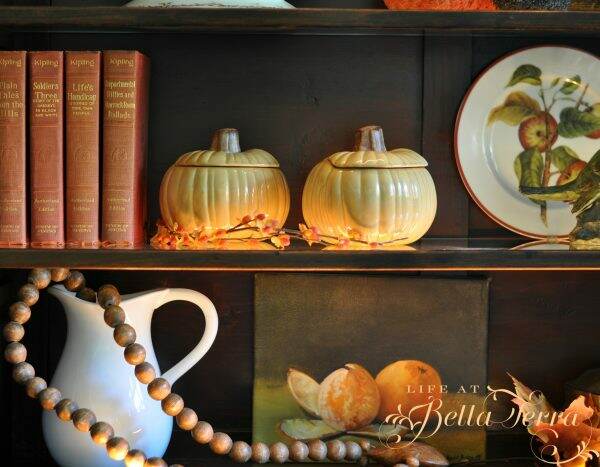
The shelves are glass and edged in wood. There is a strip of lighting both on the inside top and bottom of the shelves. If you look closely you can see the electrical wire on the right hand side. The light illuminates through the shelves and creates a warm, magical glow.
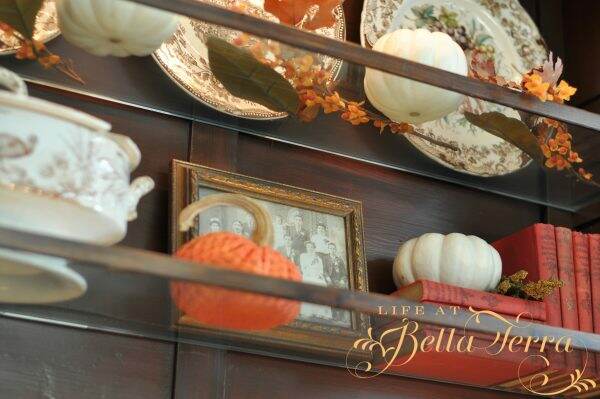
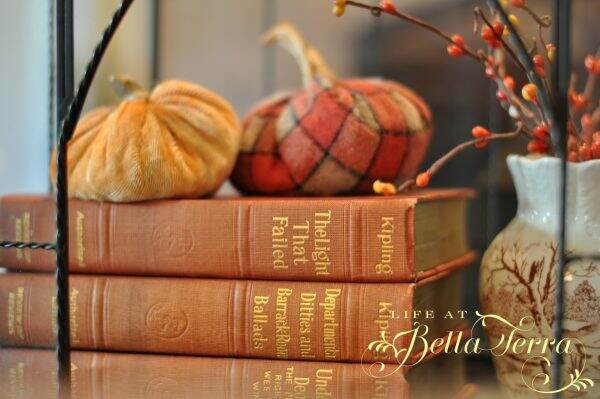
A few pieces of my English autumn china grace the top shelf. Windsor Ware Harvest Fruit by Johnson Brothers has the fruit center and Tonquin by Royal Staffordshire is the other. I would love to keep adding to this collection so if you see any in your travels, keep me in mind!
Here is the view with the lights on.
The soup tureen is Indus RSR, an English brown transferware pattern from the 1870s. It’s missing the ladle but I love the pheasant pattern.
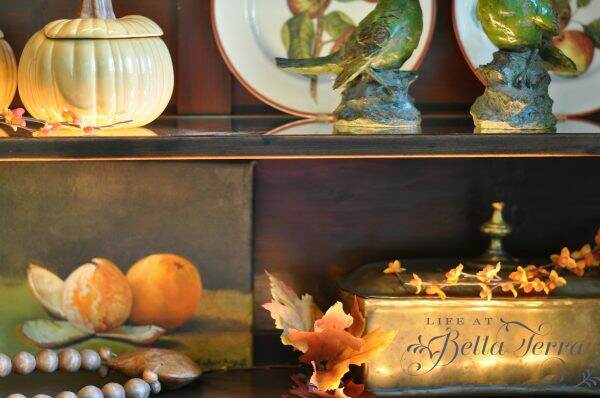
The pumpkin soup tureens and apple plates are from Williams Sonoma.
The wooden beads with a heart I purchased from Painted Fox. I have no recollection where I got the birds, white pitcher or brass box. The painting was a gift from my friend and art teacher, JoAnn Augur. To see another post about my art classes, click here.
With a hint of cooler temperatures in the morning, I am getting more inspired to add fall touches to the rest of the house. Can’t wait to share them with you! To see some fall decor from last year, click here.
Making Fall Trees – DIY
|
The first day of autumn is September 22nd. However, now that we are nearing that date, I can finally embrace fall decor, in spite of the heat here.
In August I visited a store filled with fall decorations. They had artificial fall trees that were quite attractive. I miss the beautiful autumn colors of New England and wanted to purchase two of the trees….until I saw the price tag ~ a whopping $350 each! So what does a typical Yankee do? Take lots of pictures and try to re-create them for far less money.
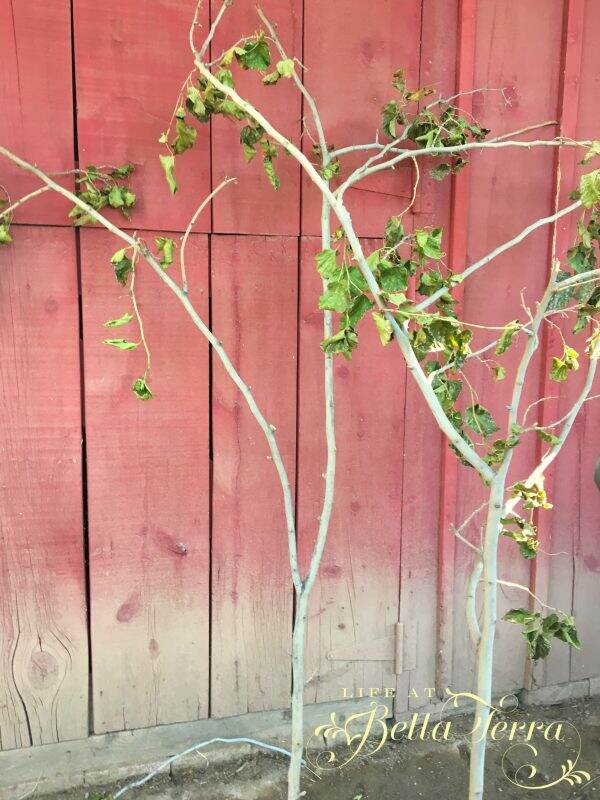
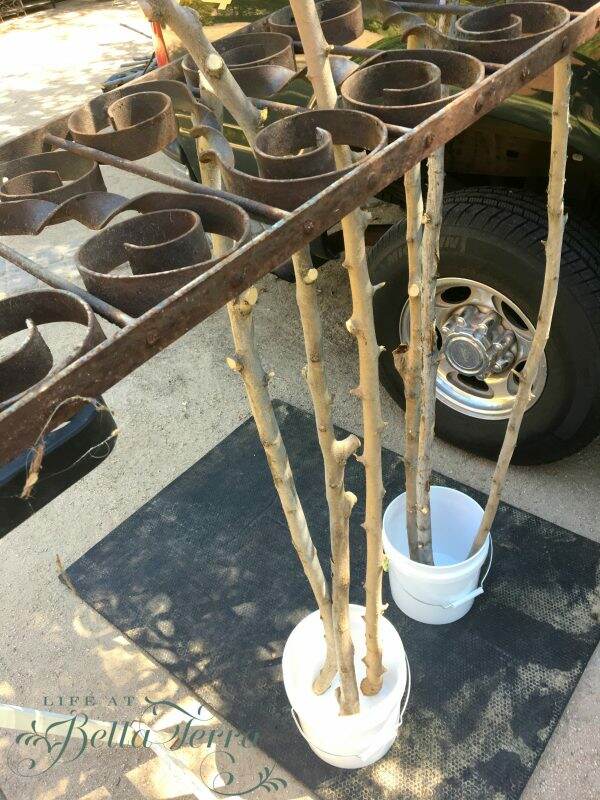
We’ve had several storms here in the last few months and lost many tree branches. I picked through the debris pile and found these.
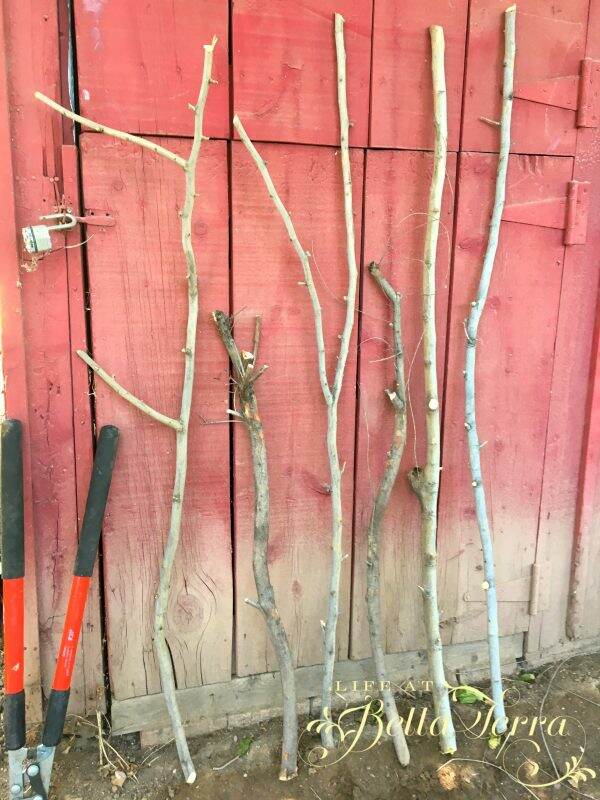
I trimmed off the side branches.
And ended up with six trunks. This view is the back of the old original barn-looks like it’s time to repaint!
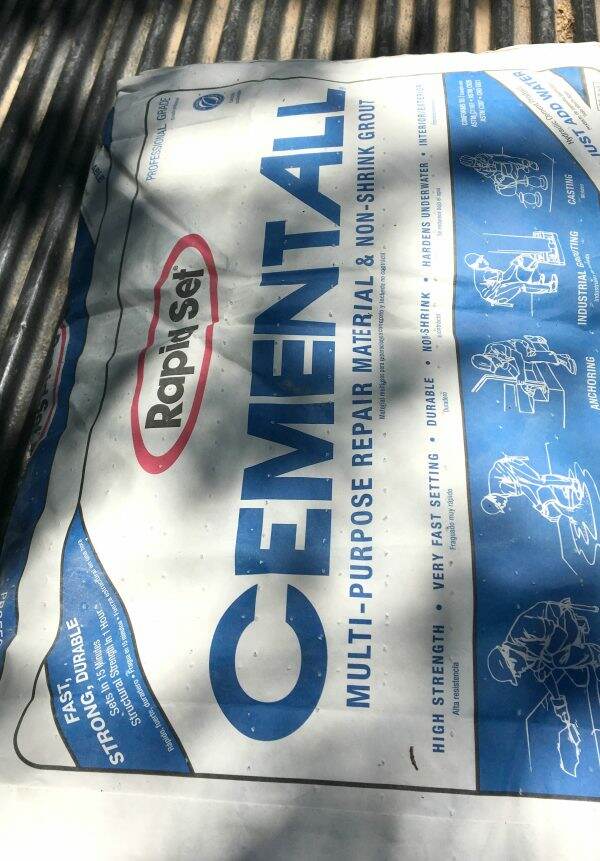
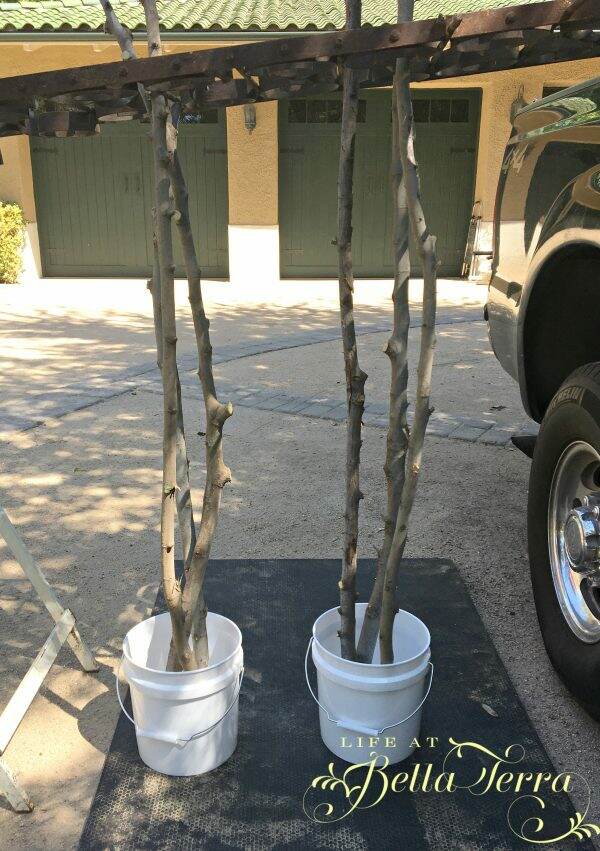
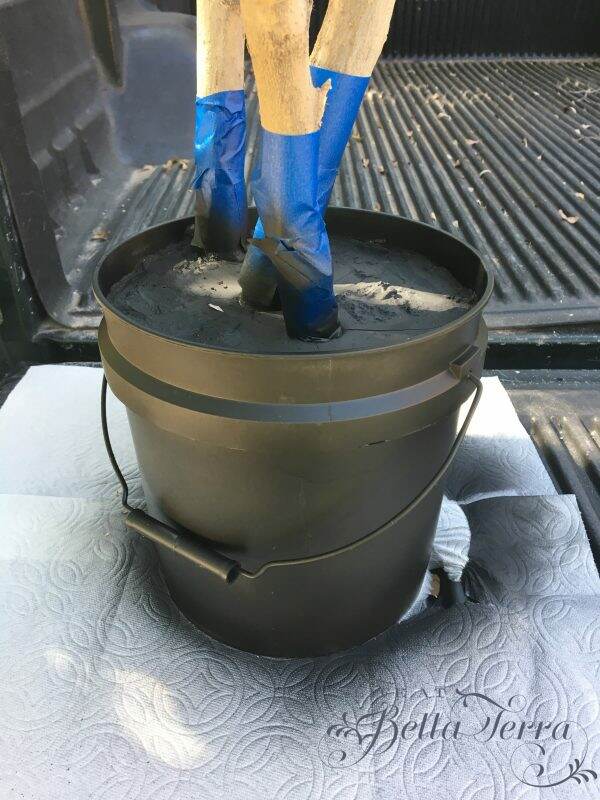
Using a fast drying cement, my husband secured the branches into two buckets. Cement is a good choice for the bucket because it will secure the branches, but also weight them so they don’t tip over.
Look at the ingenious way he stabilized the branches while the cement dried. This short piece of decorative railing was left over from my last historical restoration. I hope to use it somewhere in our yard or garden.
The bases were sprayed with black paint. Remember to tape off the trunks with blue painter’s tape so they remain a natural color.
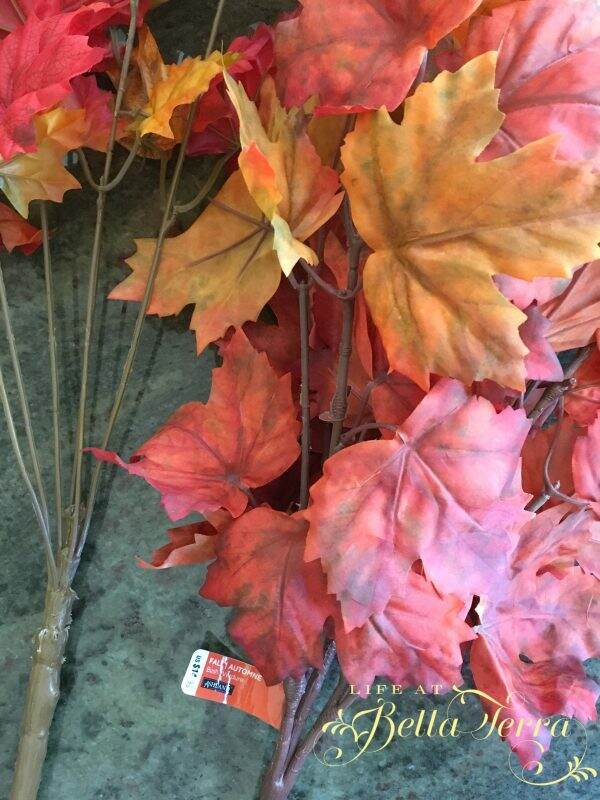
I purchased a few bunches of fall leaves from Michaels when they were having a buy one get one free sale. Unfortunately, I wasn’t paying much attention to the leaf style so I ended up getting both maple and oak leaves. I suppose you could mix them on the same tree but I chose to be a purist and make one maple and one oak tree.
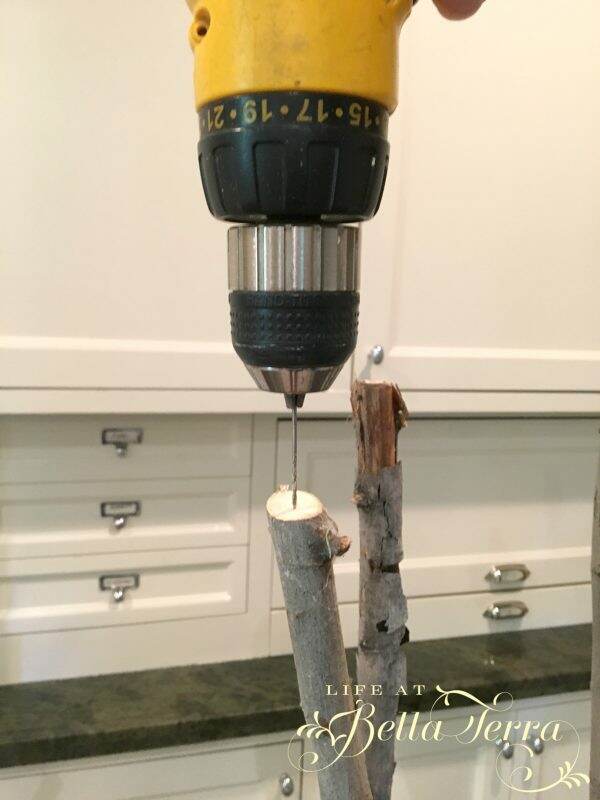
Using a small drill bit, drill holes into the trunks.
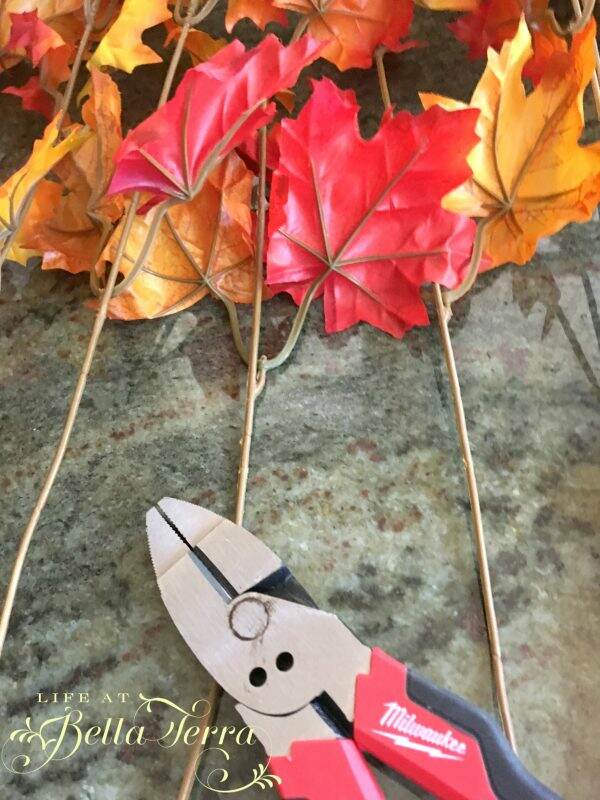
Remove the stems from the artificial bunches using wire cutters and expose the bottom of the wire.
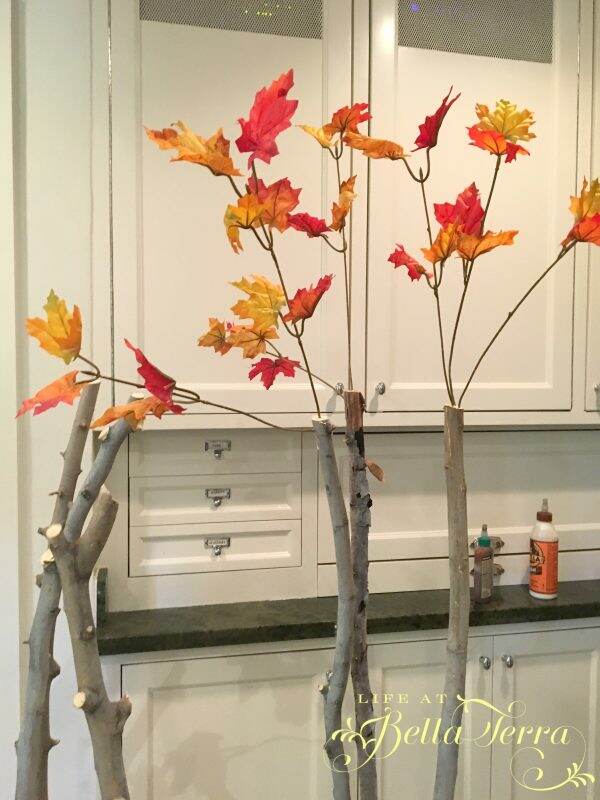
Insert the stems into the holes that were drilled in the trunks.
Keep repeating until the trunks are filled with leaves. We used a liquid glue to secure the branches.
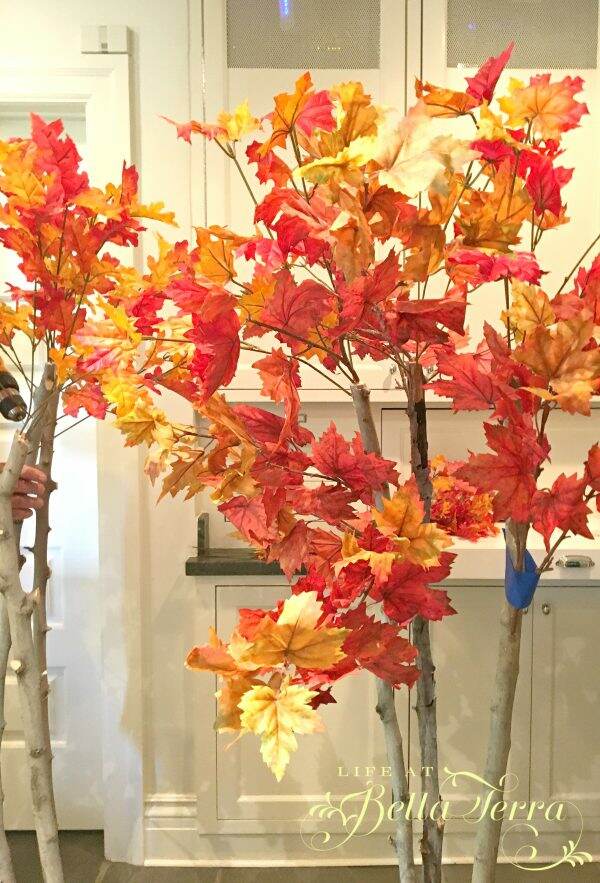
After the glue dries, the branches will easily bend to the position you want. We used some blue tape during the drying process on those branches that were floppy.
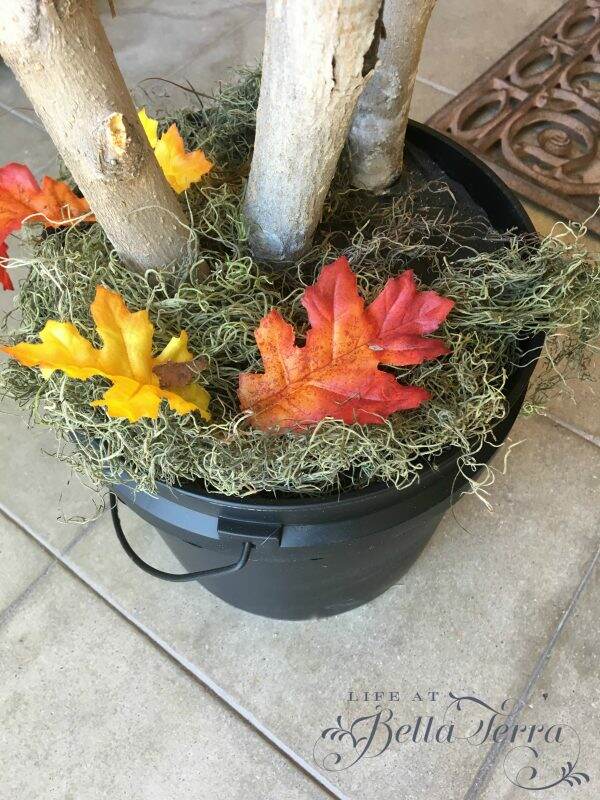
When the top was finished, I used moss and a few artificial leaves to soften the base.
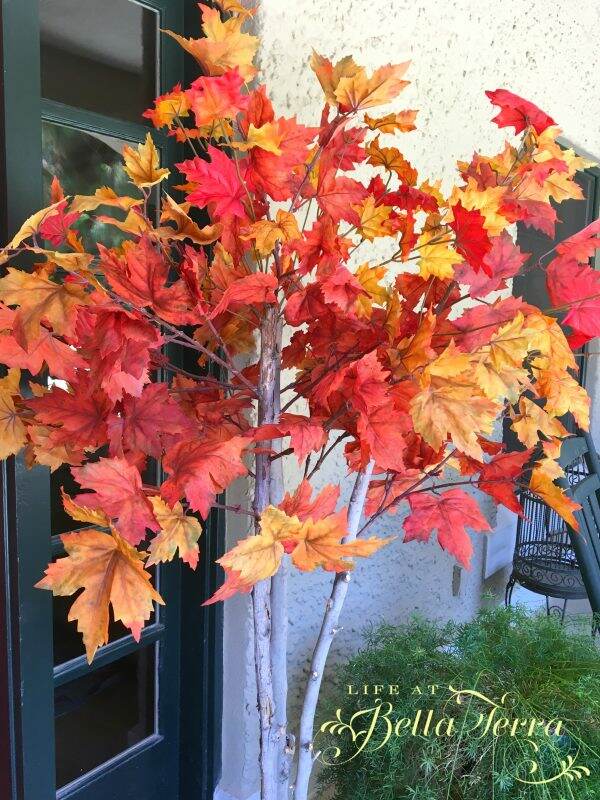
Here is my maple tree:
And here is the oak:
I can’t wait to share with you how I will incorporate these fall trees into my autumn decorating! I know the trend is to decorate with monochromatic colors (white pumpkins, white gourds), however, I LOVE the oranges, reds and browns that this season brings.
Happy Fall Decorating!
Family, Food, Friends, Fun and Fatigue
|
I hope you had a wonderful Thanksgiving. It was so nice having all the children home and the house filled with their friends. Today, as I take all the Thanksgiving items and store them away until next year, here are some random musings about the holiday.
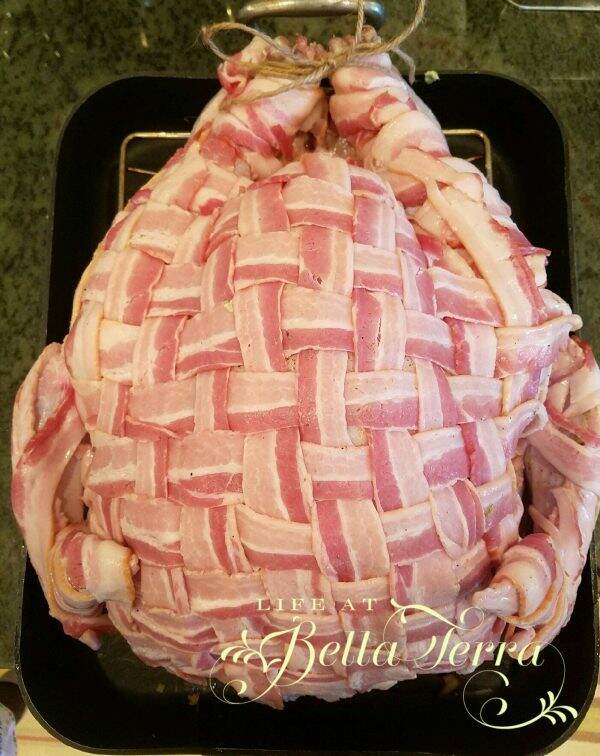
We had the biggest turkey ever~~a whopping 28 lbs, delivered by Jimmy from Personal Gourmet, a local company who specializes in restaurant grade meat and fish. Typically, we have done this to our turkey:
But this year, my foodie son suggested we dry brine the turkey for 24 hours. Honestly, I have never heard of dry brining and was a bit skeptical but it was so easy. After patting the turkey dry, we sprinkled the bird with a combination of salt and baking powder. This apparently changes the pH of the skin. We refrigerated it uncovered for 15 hours (can do up to 3 days).
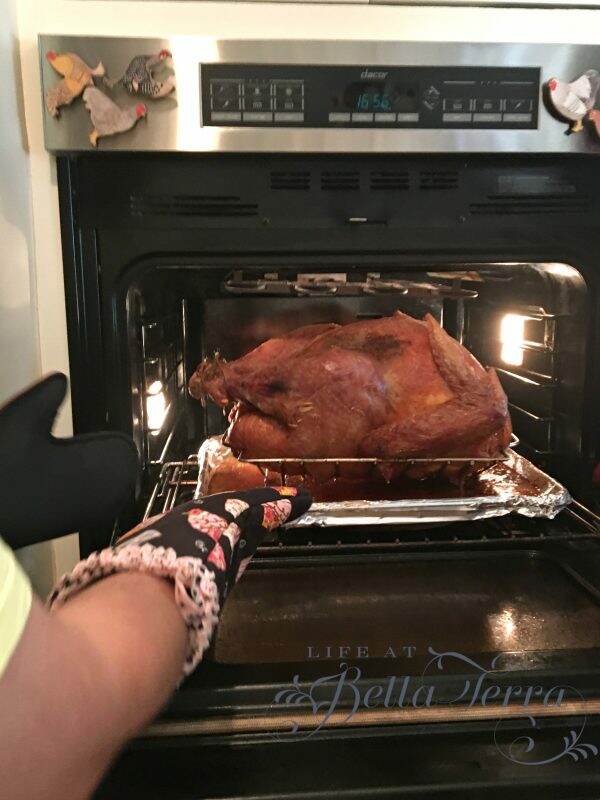
Instead of a roasting pan, we put the bird in a V-rack on a cookie sheet. According to Serious Eats, this increases air flow for even cooking. In order to have the dark meat cook at the same rate of the white breast meat, we placed the cookie sheet on a preheated pizza stone. You can find all the details on how to do this by clicking here.
This was, hands down, the most delicious turkey we have ever had. The dry brining was SO easy. I did add some herb butter between the skin and the breast meat before roasting, but other than that, we hardly basted it (maybe once). The skin was so crispy and it sealed in most of the juices. We declared this a winner and this will be the recipe of choice when we roast a turkey in the future.
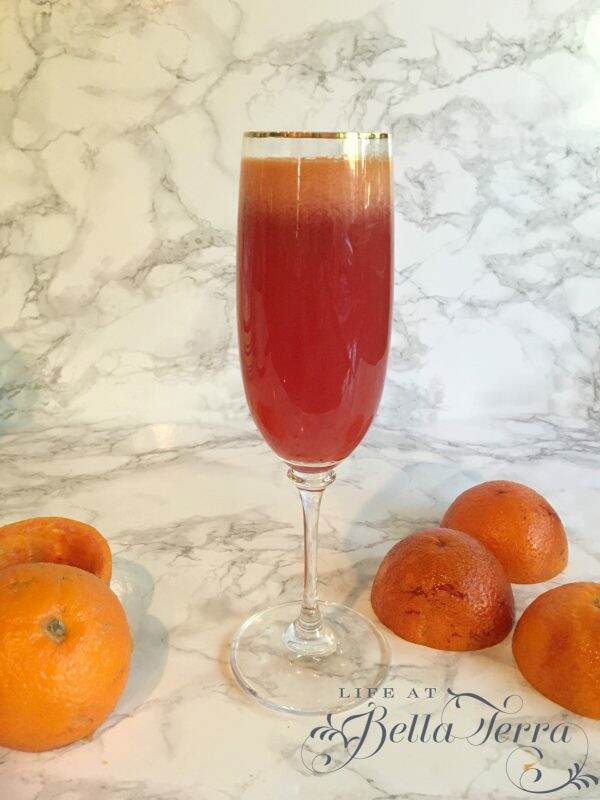
Thanksgiving Day started with blood orange mimosas. We found the oranges at Whole Foods and it was a nice alternative to regular orange juice mimosas.
Every year, my husband makes his famous pumpkin pies.
And my son, Benjamin and I make a cake from Tessa Huff‘s incredible cake book, Layered.
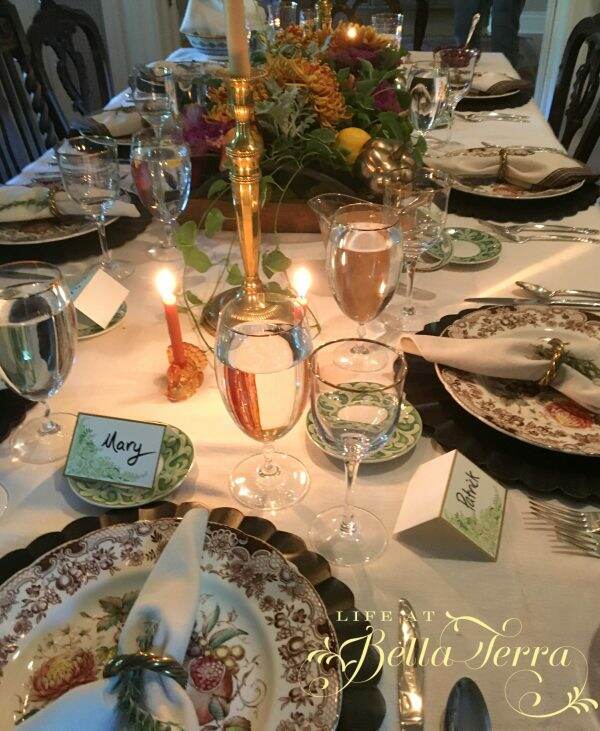
With the table set and ready to go, we enjoyed a delicious meal with family and friends.
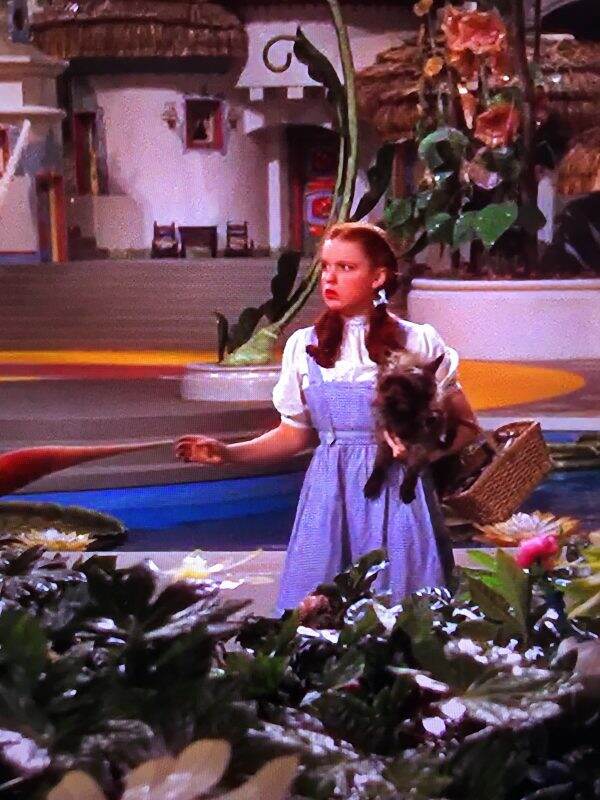
Friday was a relaxing day (thank goodness as I was pooped) and, as we do each year, watched the Wizard of Oz, which is my favorite movie.
And took our annual family photo~~it seems to be more difficult to get everyone looking somewhat normal at the same time. Of course, the battery was low in the camera and hopefully with some editing, we will have a Christmas photo for our card.
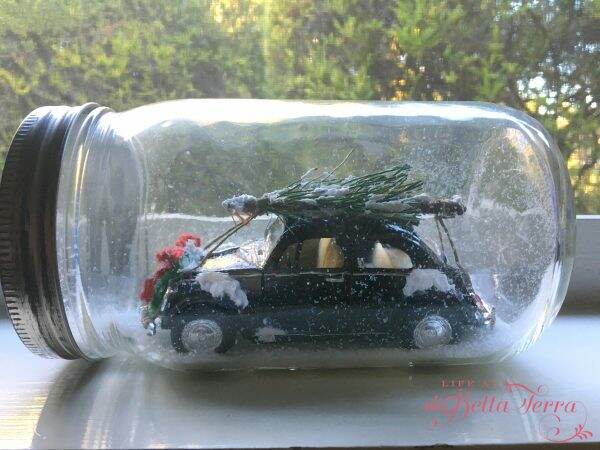
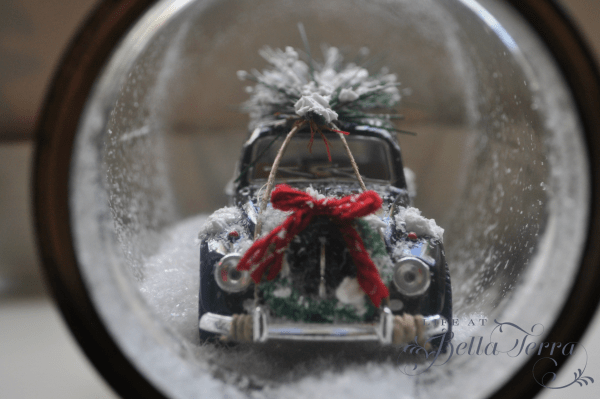
Hope you had a relaxing Thanksgiving. Today, all the autumn decorations come down and onto Christmas! I leave one Christmas related item out all year long and this sits on the mantle in the breakfast room. I purchased this Christmas car waterless “snowglobe”from eBay. Created by artist Alicia Reiner, each is hand signed and numbered.
Enjoy the rest of the weekend!
Setting the Thanksgiving Table
|
Food seems to taste much better when served in a beautiful setting. Even though I didn’t have an extravagant childhood, my mother always set a lovely table for the holidays, using her Franciscan Ware apple pattern.
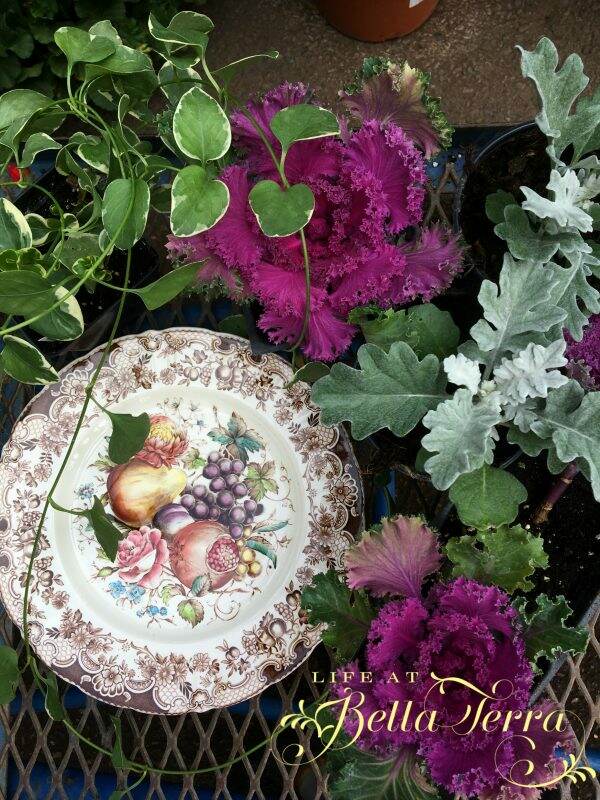
I wanted to purchase items I could use again~~plants and herbs. Of course, I needed a few flowers for additional color.
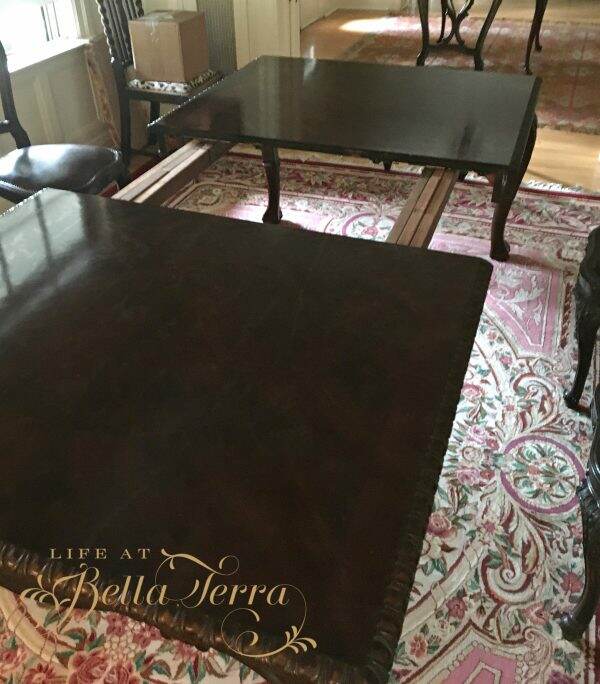
We are having 10 for Thanksgiving dinner so we extended the table. I wonder why they are called leaves?
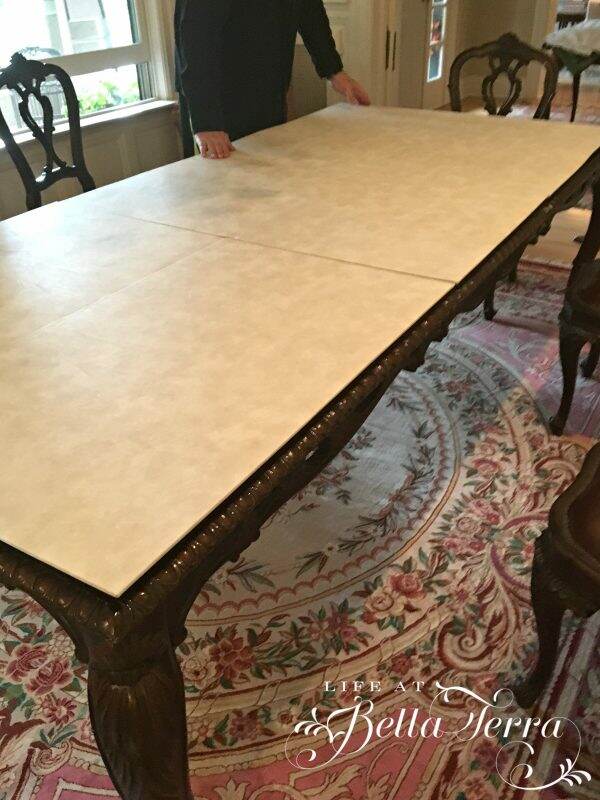
It was a worthwhile investment purchasing a table pad to protect the surface of the dining room table. One side of the pad is felt and the other is a protective plastic. This one was custom made by Guardian and it has 3 parts.
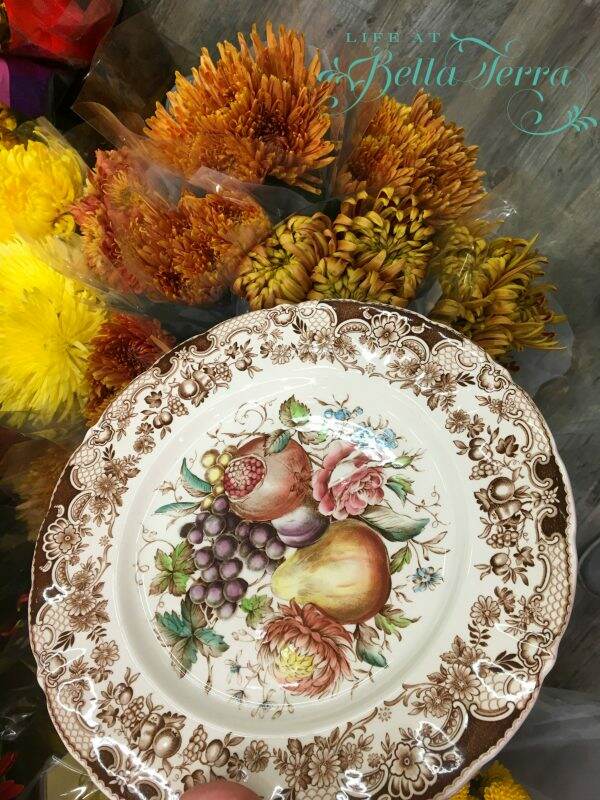
Next, I layered my table cloths, starting with a Battenburg lace one, and adding 3 smaller muslin sheets on top. I purchased the vintage muslin sheets from one of my favorite bloggers, Miss Mustard Seed. The lighter ivory tone and texture of the muslin matches the background of the dinner plate.
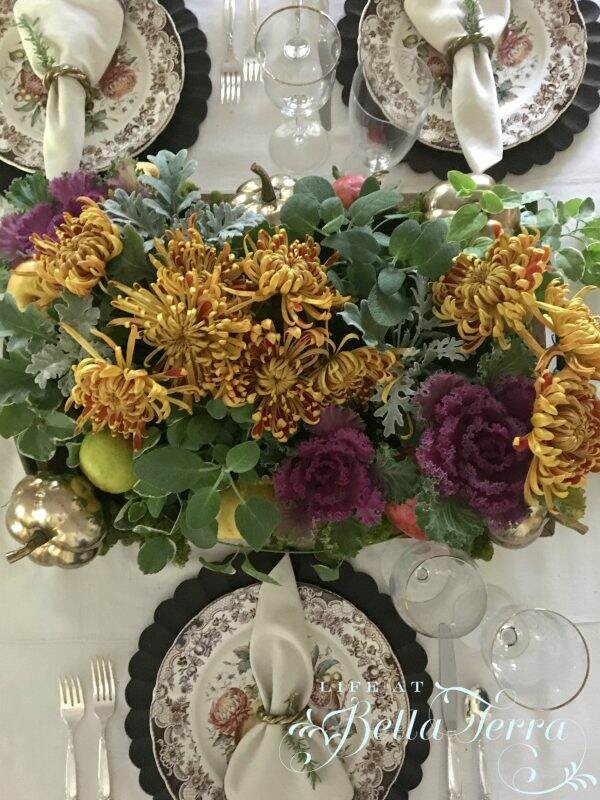
For the centerpiece, I lined a rectangular wooden tray with both plastic and foil, and then filled it with the plants, herbs, and pomegranates, pears and flowers. The brass pumpkins were on sale at Safeway ~~and add a bit of sparkle.
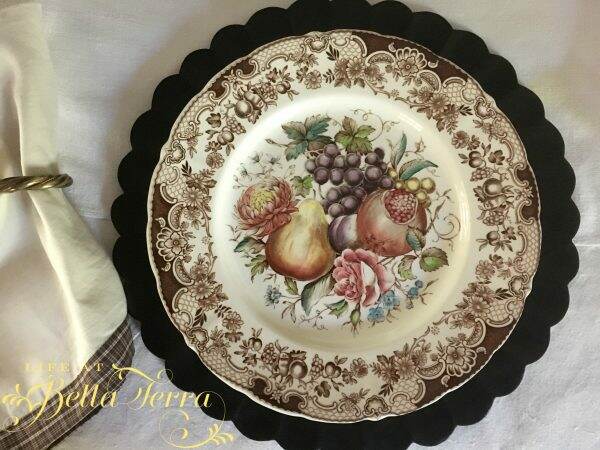
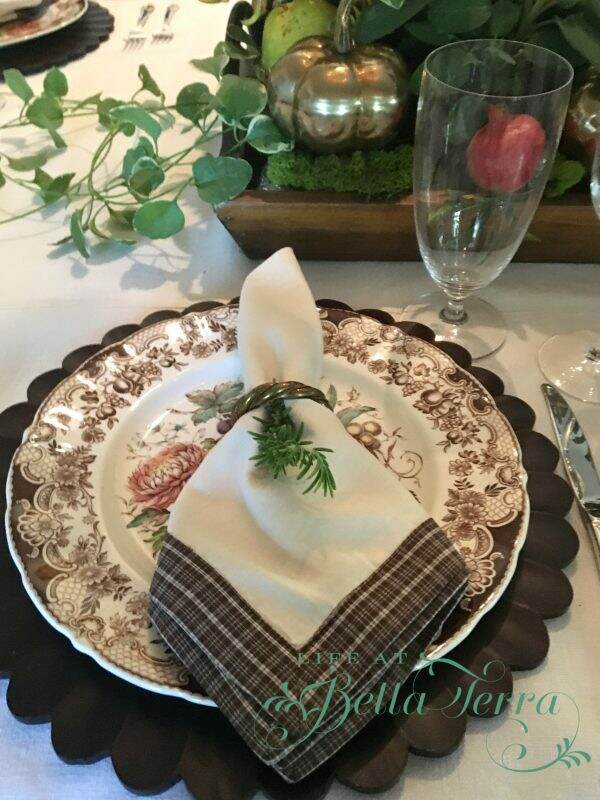
Since, at the time of writing this post, I had not finalized my menu, I was experimenting with adding different plates/bowls in case we have a first course salad or soup. The wooden charger is from Pier 1 Imports, providing a great back drop for my china pattern.
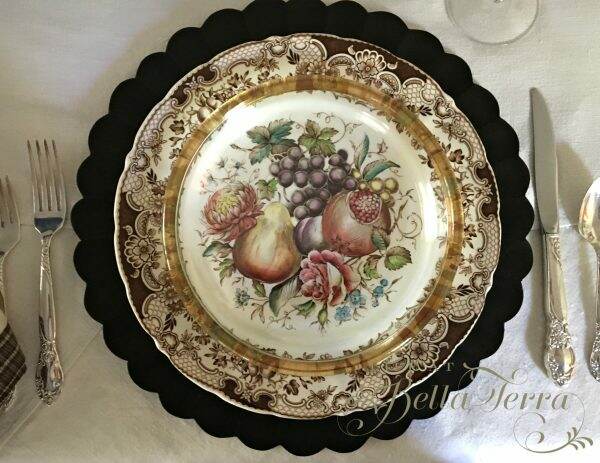
The glass, gold trim salad plate is from Lesley Roy. I like that the design in the center of the plate is visible.
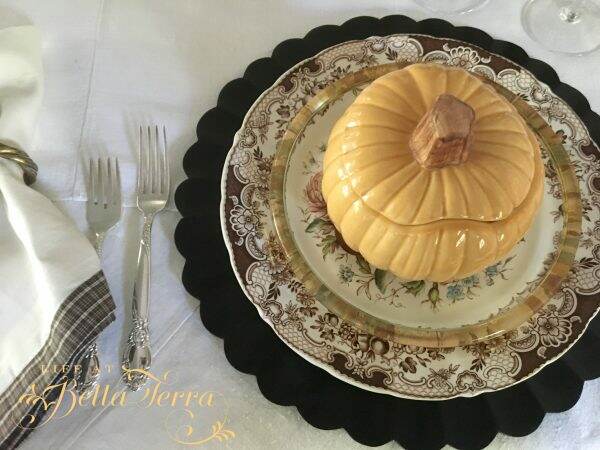
I love these pumpkin soup tureens from Williams-Sonoma, but I rarely use them.
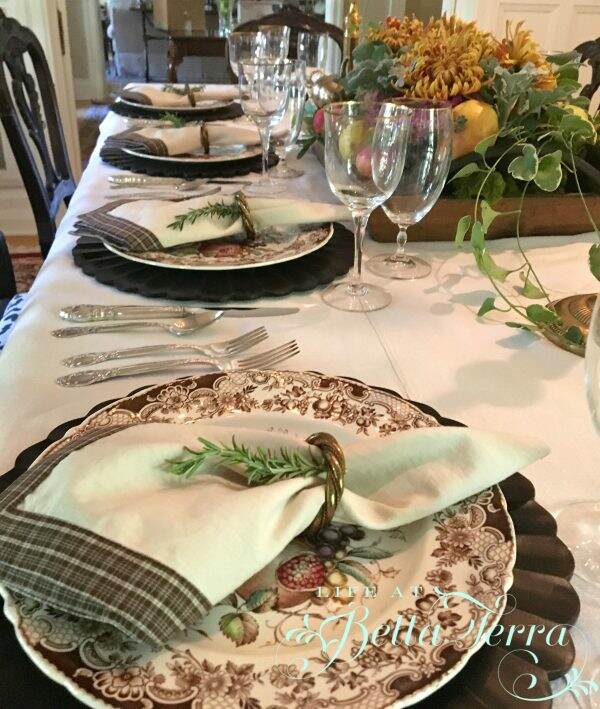
The napkins were a recent purchase (on sale!) from Ballard Designs. They are the perfect creamy color and the plaid trim complements the brown tones.
A fresh sprig of rosemary from the garden is tucked in the napkin ring.
Looking forward to spending the next few days baking and cooking. Funny how Thanksgiving dinner takes hours to prepare and such a short time to eat!
Fall=Outdoor Living
|
I understand some of the country is having extremely cold weather. But here in Phoenix, we are experiencing ideal fall temperatures. The air conditioners are officially off and windows are open. It’s time to remove the outdoor furniture covers and spend time outside for the next several months.
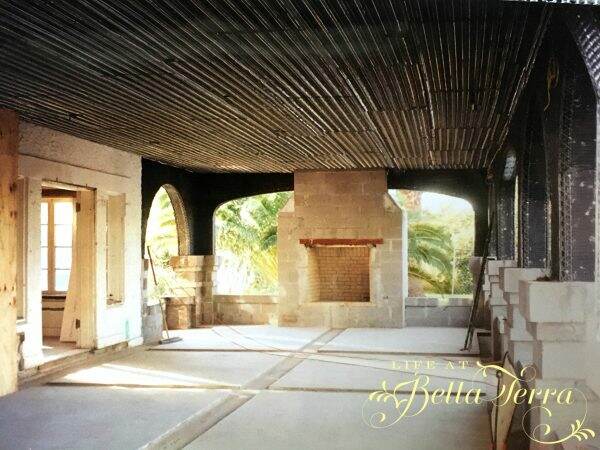
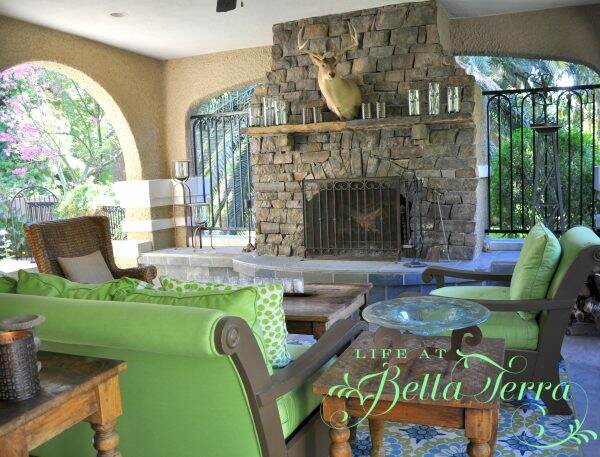
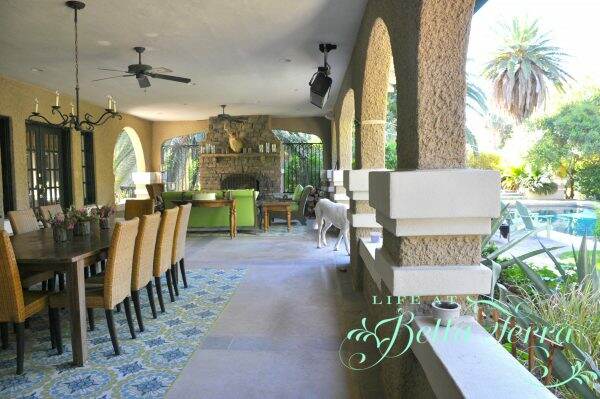
One of the entertaining spaces at Bella Terra is the back terrace. This was added during our extensive historical renovation, replacing a small landing and steps down to the pool.
Connected to the new kitchen addition, the back terrace can be accessed from the interior of the house through the kitchen, library and family room. It’s the perfect place for entertaining under cover.
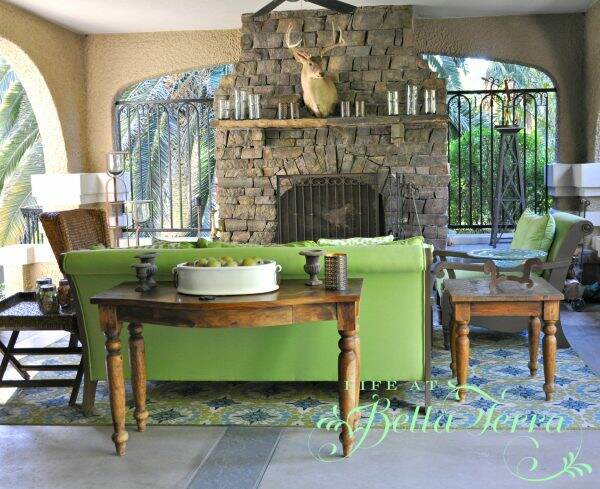
The area is split into two functions. There is seating around the fireplace. All upholstery is Sunbrella fabric. The furniture was purchased several years ago from Crate and Barrel. We cover the furniture during the summer months and it has held up nicely over time.
The outdoor rugs are a relatively new purchase from the Rug Studio. These indoor/outdoor rugs are so affordable and can be cleaned with a garden hose. I love the pop of color and whimsy they add to the space.
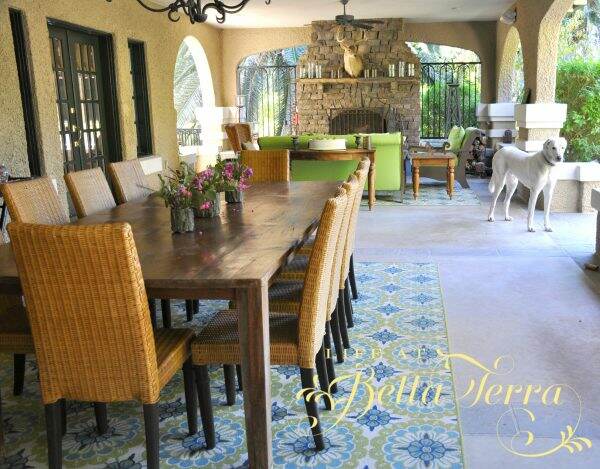
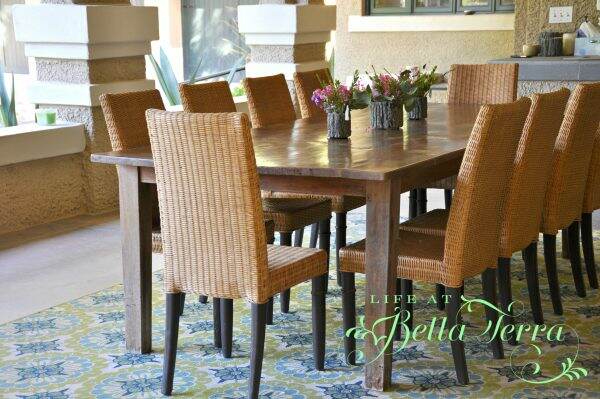
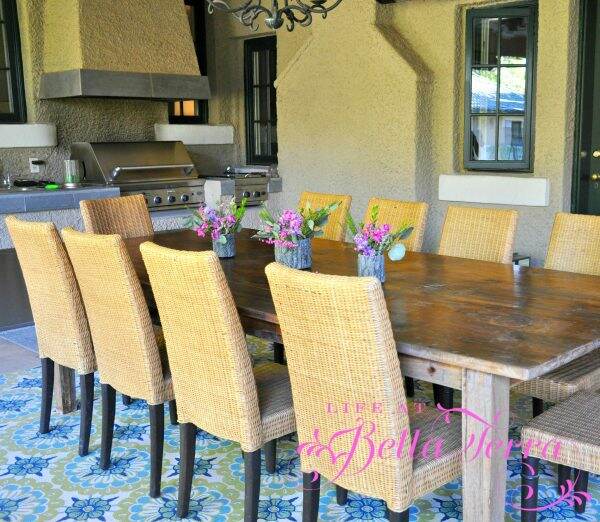
The other half of the terrace is home to a large table with 10 chairs. The BBQ and sink is nearby.
The back terrace overlooks the pool. Space heaters were added to the ceiling and are used frequently during the winter months.
The repeating arches is an abundant architectural feature of our 1910 historical home.
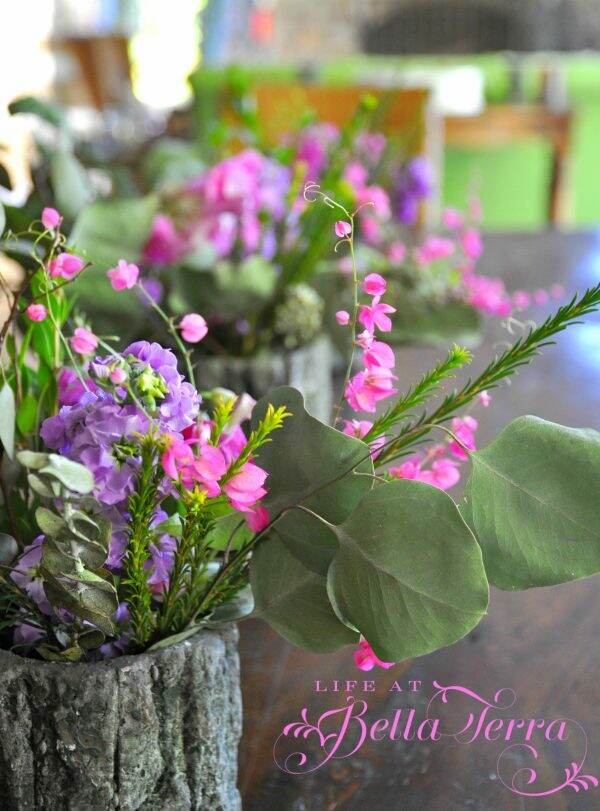
I gathered some flower clippings from the yard and used my favorite faux bois outdoor containers from the Painted Fox.
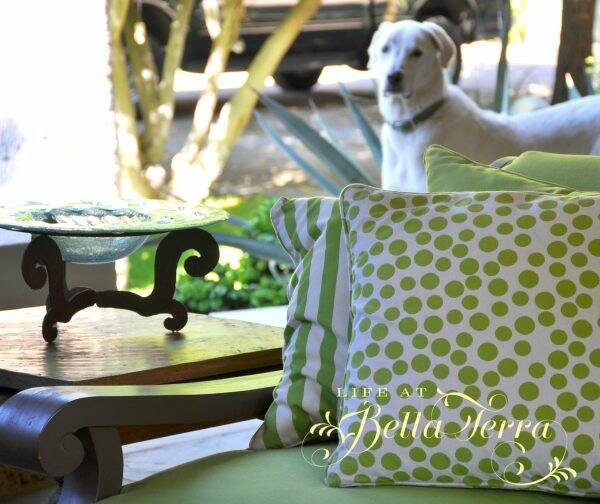
Of course, what is a photo shoot without my faithful companions.Sox is curled up on a chair below and Cooper, our Anatolian shepherd is in a few of the photos above.
I hope you are enjoying the cooler temperatures and I look forward to the start of our entertaining season!