1

Peony-Themed Luncheon
Teaming up with Kristin from White Arrows HomeAndrea from Design Morsels, Tarah from Grandma’s House DIY and Chas from Chas’s Crazy Creations for our DIY Blog Hop this month with projects for our dining rooms! (Make sure and check out all of the dining room projects following this tutorial) 

Many of my friends are still hunkering down due to the virus, but I long to have them over for a meal. I dream about entertaining again and since it is June, it is peony season. Unfortunately we cannot grow these beauties in Phoenix~~way too hot. Getting peonies at the store is unpredictable due to lack of inventory or poor quality.

But I love this ruffly, delicate flower and I wish I could just go outside and cut them. Instead, I get to create the atmosphere of peony abundance in our dining room and thankfully there are items that can help.
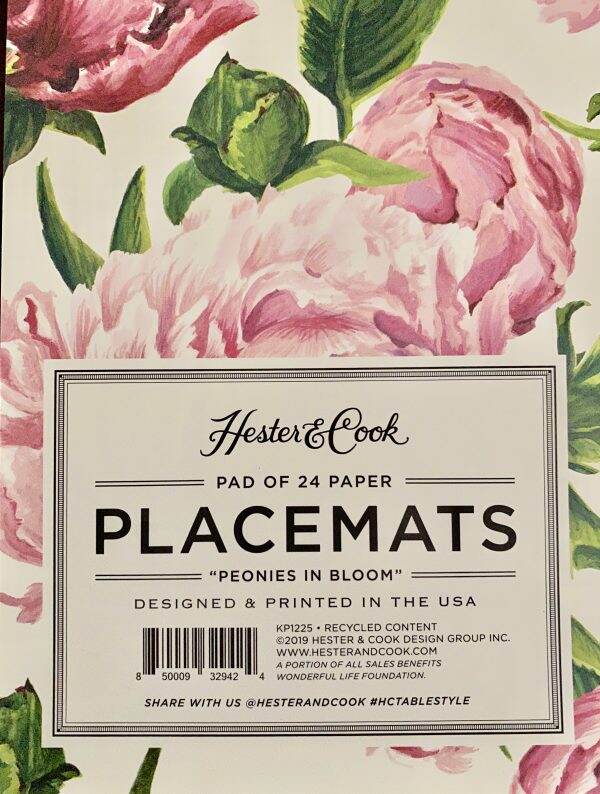
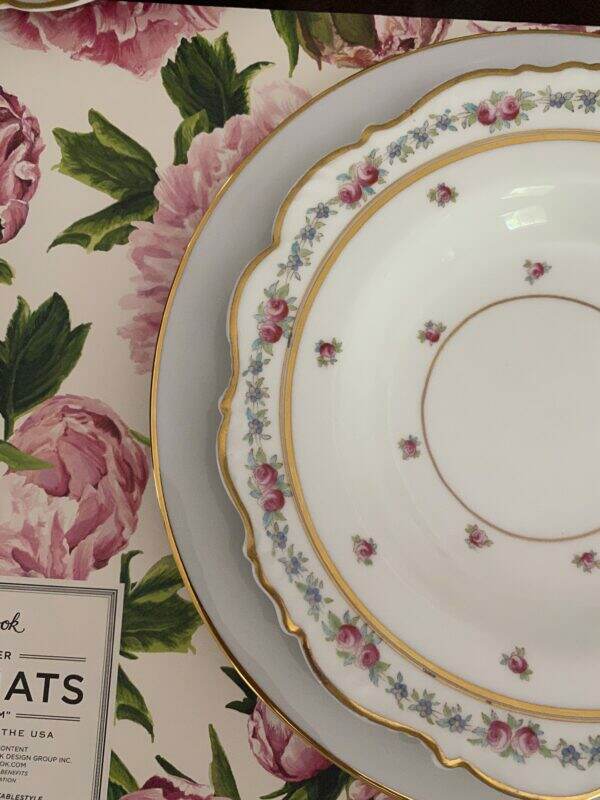
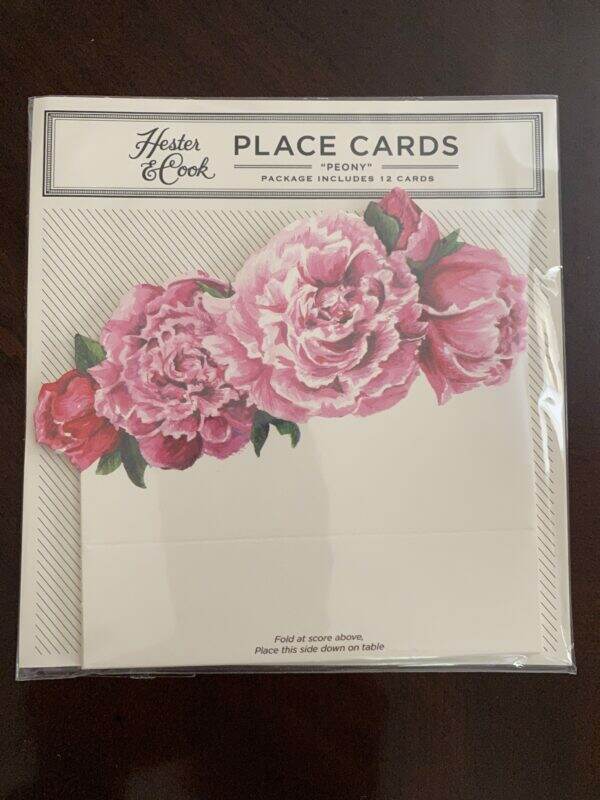
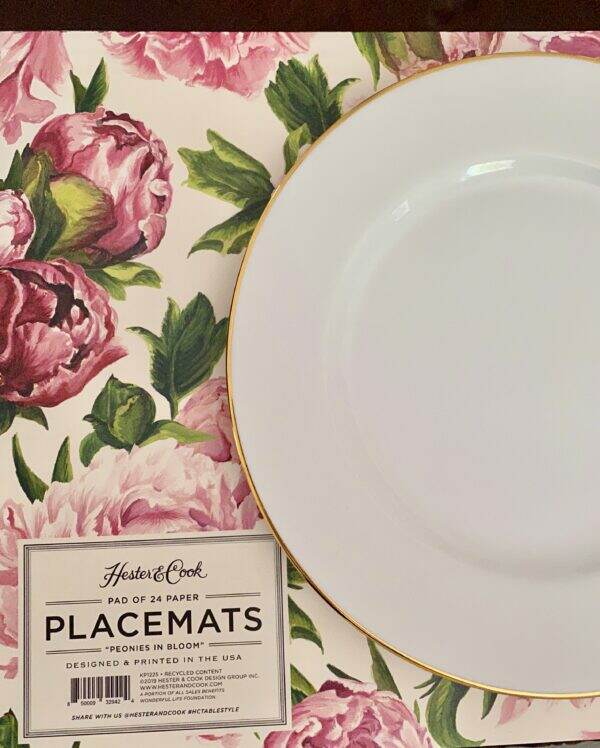
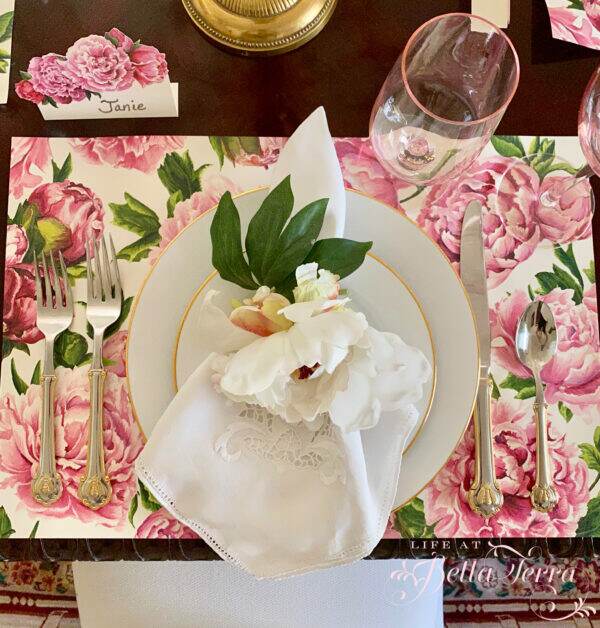
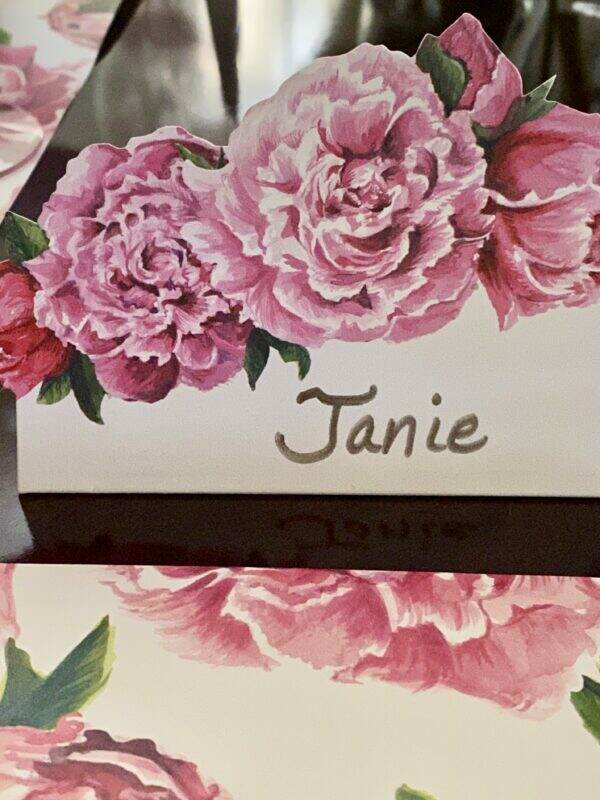
Hester & Cook sells “Peonies in Bloom” placemats, wrapping paper and place cards. The placemats are in a pad of 24 and they are designed and printed in the USA. I love the size~~12 1/4″ x 18 1/4″ ~~large enough for a full place setting.
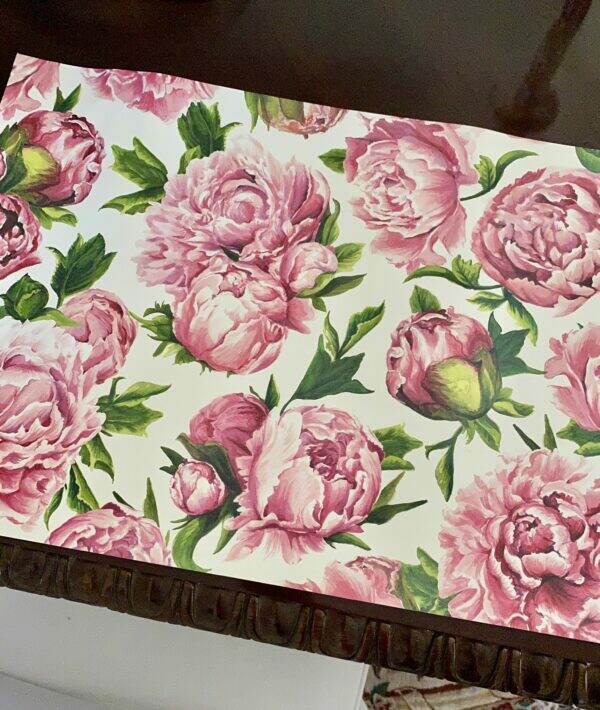
Their coordinating wrapping paper is perfect for small guest gifts or to use as a runner down the center of the table. The place cards come in a pack of 12.
I tend to over think the dishes I will use. Selecting a plain white plate (from Pottery Barn) with a simple gold edge doesn’t compete with the beautiful peony pattern.
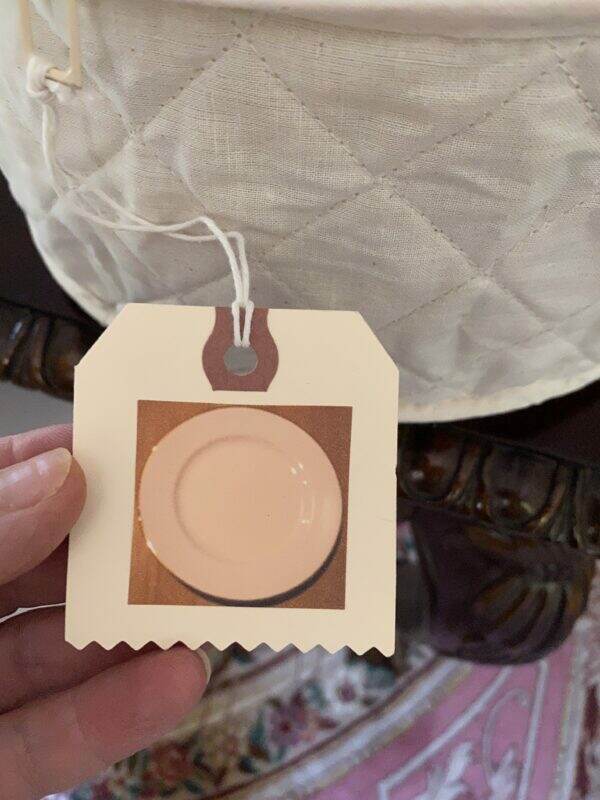
Organizing my china storage with photo labels

Though the dishes are a bit whiter than the placemats, I like them better than a creamier pattern. After trying multiple combinations of different china, I stick with my first choice. To see how I organize my china, please click here.
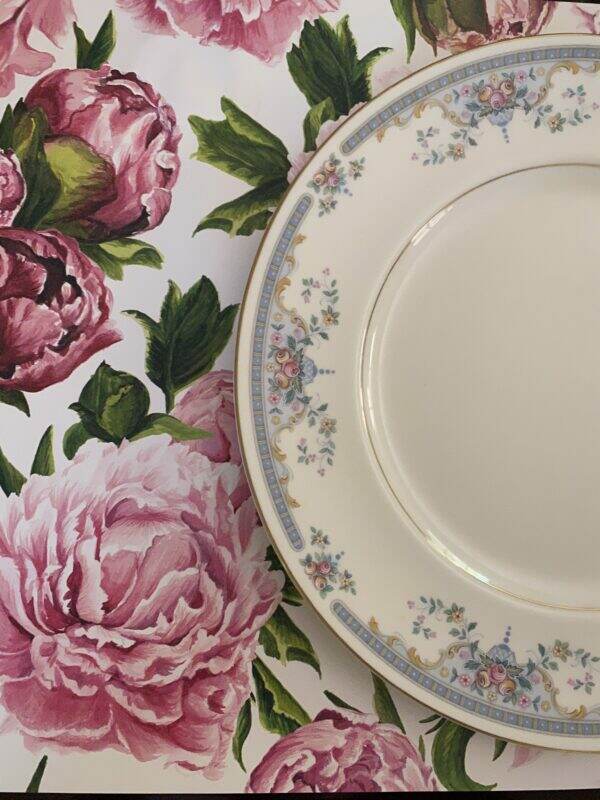
Once the dishes are selected, the table is able to come together rather quickly.

Using artificial white and blush peonies, I make simple napkin rings by wrapping the stem in a circle. These silk peonies are from The Enchanted Home.
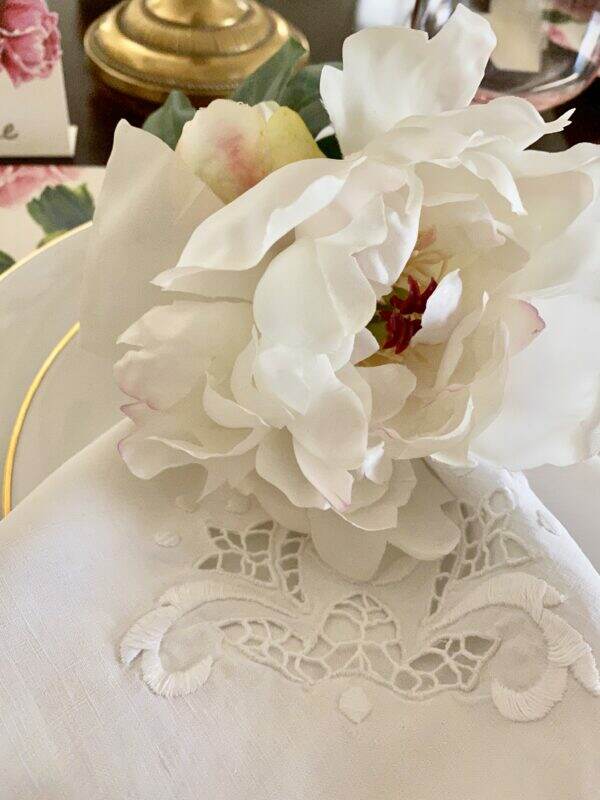
Faux peony napkin holder with antique napkins

The pink stemware is a combination of new and old. The wine glass is a Pier 1 Imports purchase, while the water glass is a vintage shop find.
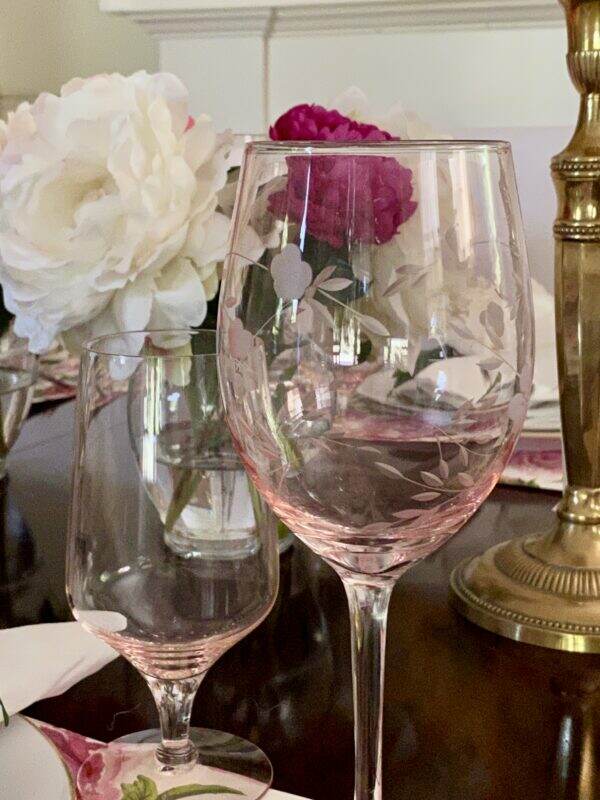
Wine glass from Pier 1

The flatware is from Horchow and I find it so versatile because of the combination of gold and silver. The bee motif complements the flower theme. It appears that Horchow is out of stock but you can get this flatware through Wayfair.
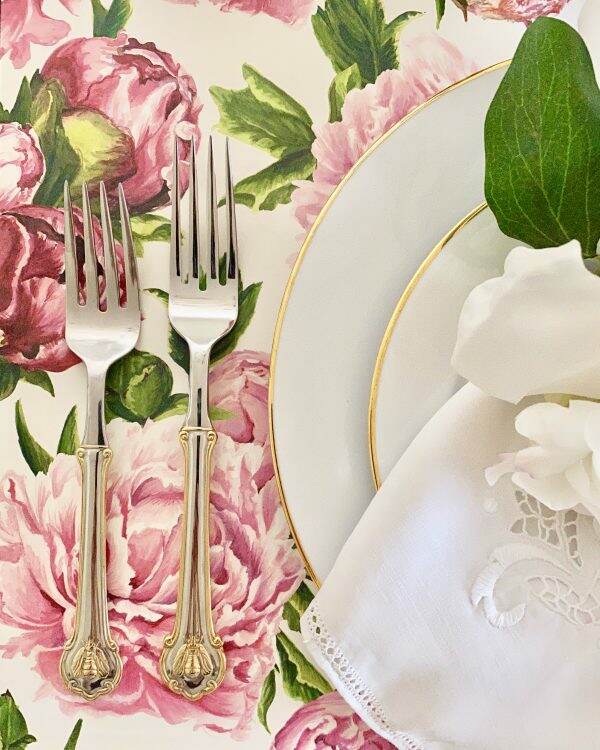
The peony place cards fold and stand by themselves.
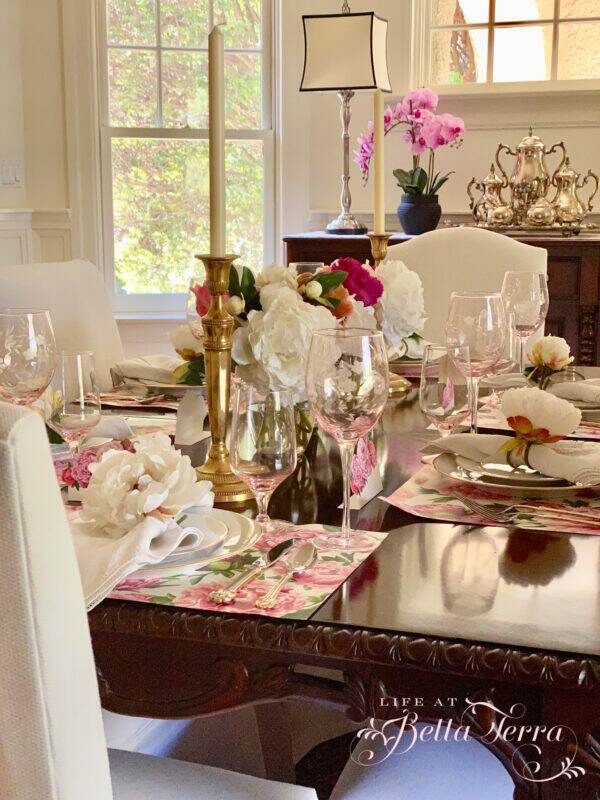
The dining room table is set for 6. The floral arrangements are a combination of fresh and faux peonies, cut low enough for conversation.
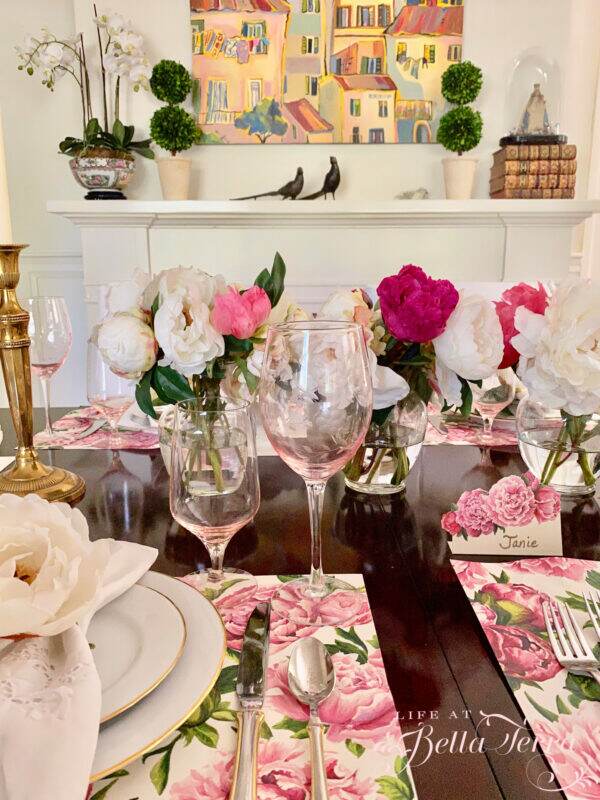
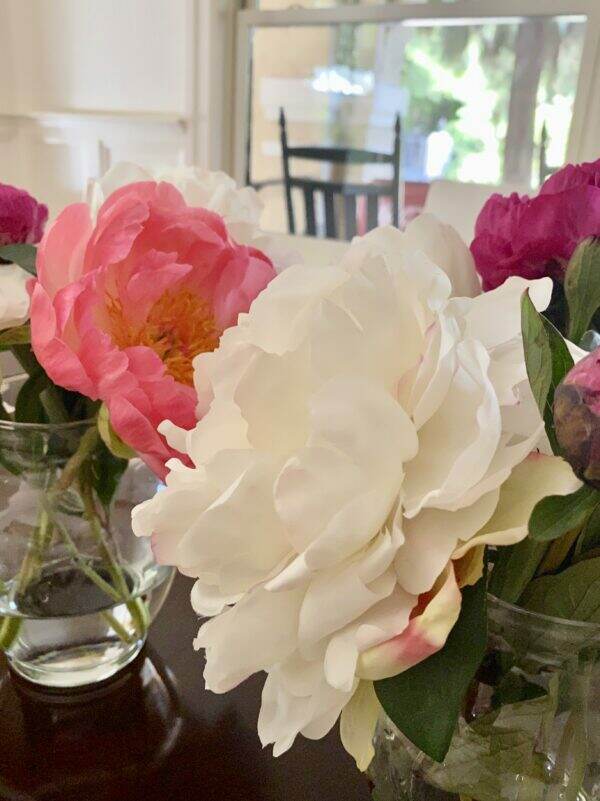
I like the colorful placemats against the mahogany table. I may not be able to grow fresh peonies here in the Valley of the Sun, but this happy, colorful and floral setting is perfect for a June luncheon.
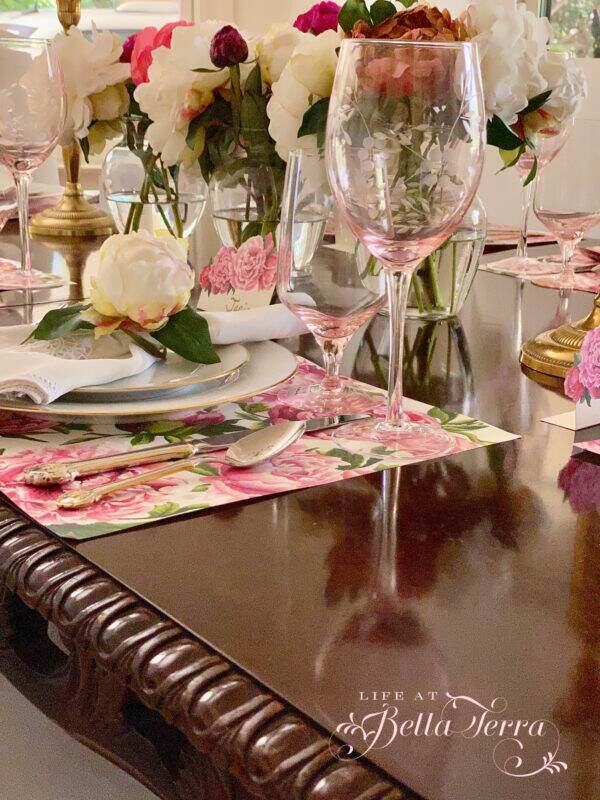
So now that I have the table all set, my family will get the chance to enjoy it this weekend. I hope everyone can enjoy some peace and quiet this weekend. Have a blessed weekend.

This is my first “link” party and here is some information about the other participants.

Andrea from Design Morsels has such an eye for great design. Check out her custom dining room bookcases!

Kristin from White Arrows Home has a fabulous lakeside log cabin in Wisconsin and I love her mountain style.
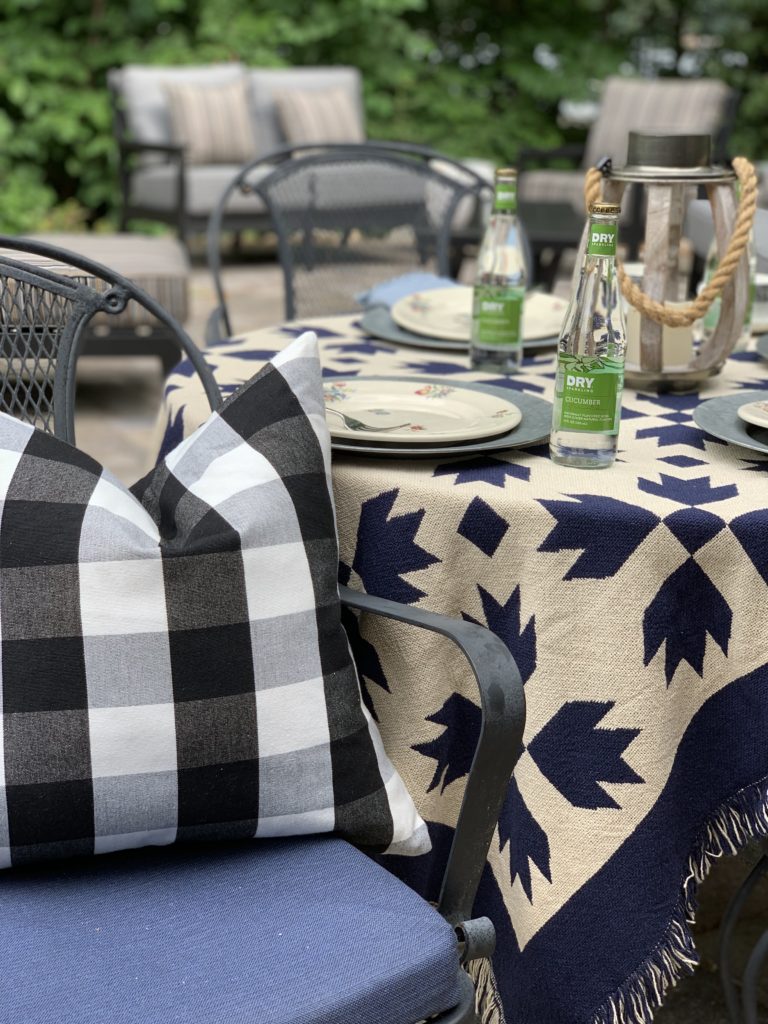
Summer outdoor tablescape with buffalo plaid pillow

Chas from Chas’s Crazy Creations is so innovative! She can turn just about any thrift store item into something delightful!
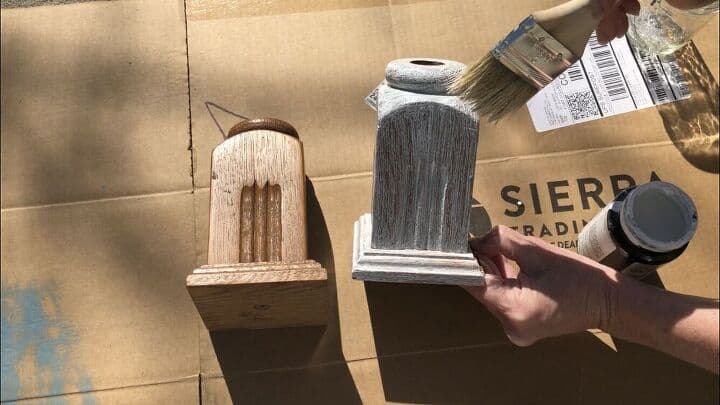
I painted each candle holder with Folk Art White Wood Tint using a chip brush going for a Farmhouse look. I painted on 2 coats and let them dry completely.

Tarah from Grandma’s House DIY lives in a 1915 farmhouse in Minnesota and is constantly sharing her renovations and inspirations.

May 2020 was a far less freaky month for me than April was - I guess I adapted to the pace of quarantine. The farm here bleeding heart spring photo gallery

Now if you would like to share your dining room projects or ideas, please click on the link below.

This Post Shared With


You are invited to the Inlinkz link party!

Click here to enter


Happy Memorial Day Weekend!

Greetings from the White Mountains of Arizona. We are up at our cabin and the weather is 60 degrees this morning with sunny, clear blue skies.

The community in Pinetop-Lakeside is small, with limited shopping and resources. Other than a few local grocery stores, you need to drive to the next largest town, which is Show Low for a Walmart or a Home Depot.
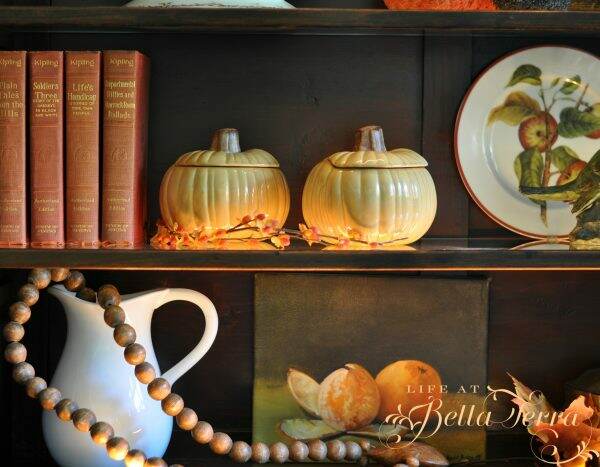
True confessions first. I am not a shopper. It is one of my least favorite things to do. Given the choice between spending the day shopping or cleaning toilets, I would choose the toilets. However, there are bloggers I follow who seem to discover hidden gems at WalMart so yesterday I decided to muster up the courage and go.

Trip to Walmart

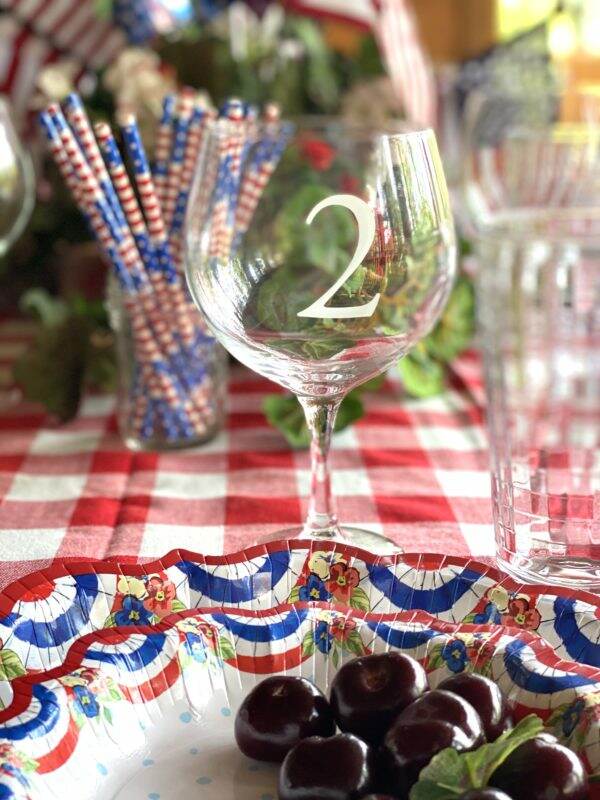
With the Memorial holiday upon us, Walmart has an aisle display with their seasonal items. Here is where I found Ree Drummond’s The Pioneer Woman line of products.
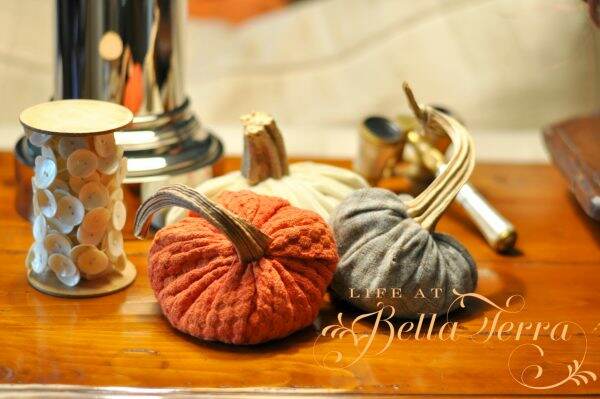
Ree Drummond is a blogger, author, food writer and television personality who lives on a working ranch in Oklahoma. Her style is mix and match, flea market and everything handed down from your grandmother.

Quite honestly, I don’t know much about her but I like her charming brand. She apparently has a line of dishes and other products there which I didn’t seek.

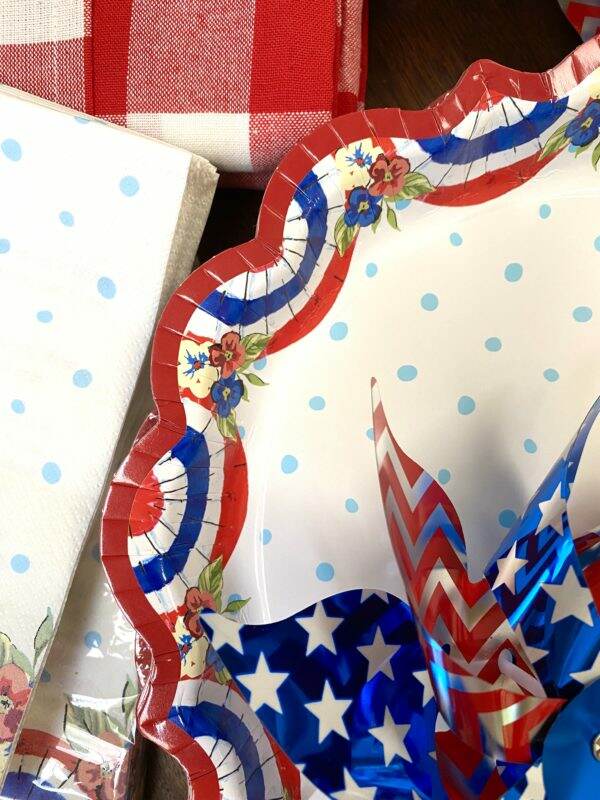
Please note that I am not fond of paper anything as I would much rather use dishes. But these dinner plates are 11” wide and 1.25” deep and do not feel flimsy.

The ruffled edge has such a vintage feel and look. The coating on the plates gives some substance to the paper, vs. styrofoam or plain paper plates.

The Buffalo check tablecloth is 60” x 84”, slightly smaller than our outside primitive pine dining table, but I like some of the wood showing on the ends. It is a light weight fabric but it does the trick!

The napkins have a cute pale blue dot and a gingham decorative edge. I like how they feel patriotic without being obvious.

Inside the napkin there is a recipe printed for Ree’s Spicy Dr. Pepper Shredded Pork, which serves 18! Cute idea.

The Centerpiece

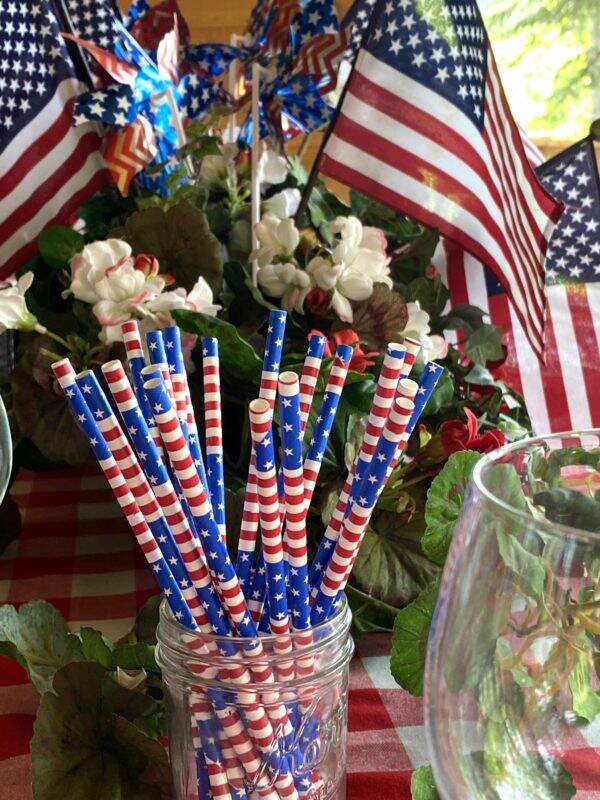
With no fresh flowers and outdoor plants limited to pine trees, I found artificial geraniums and ivy in the garage. Using an old wooden dough bowl as the base, I spread the geraniums out and stuck flags and pinwheels in for color and theme.

All in all, I am pleased with The Pioneer Woman products! They certainly provide a festive, patriotic theme for this Memorial Day weekend and at an affordable cost.

What are your plans for this weekend? I plan on spending some time today painting on a canvas and just enjoying the peace and quiet of the pines. We went out to dinner to a real restaurant last night~~the first time in months! It is so joyful to be able to carefully socialize again.

Let us pause to reflect upon the selfless men and women who have honorably served our nation and made the ultimate sacrifice to allow us our freedom. We pay tribute to their memory and remain forever indebted to them for their service. Happy Memorial Day!

Tablecloth $14.99

Napkins- 20 count $2.98

Dinner Plates 8 count $2.98

Salad Plates 12 count $2.98

Pinwheels $0.98 each


Escaping to the Cabin

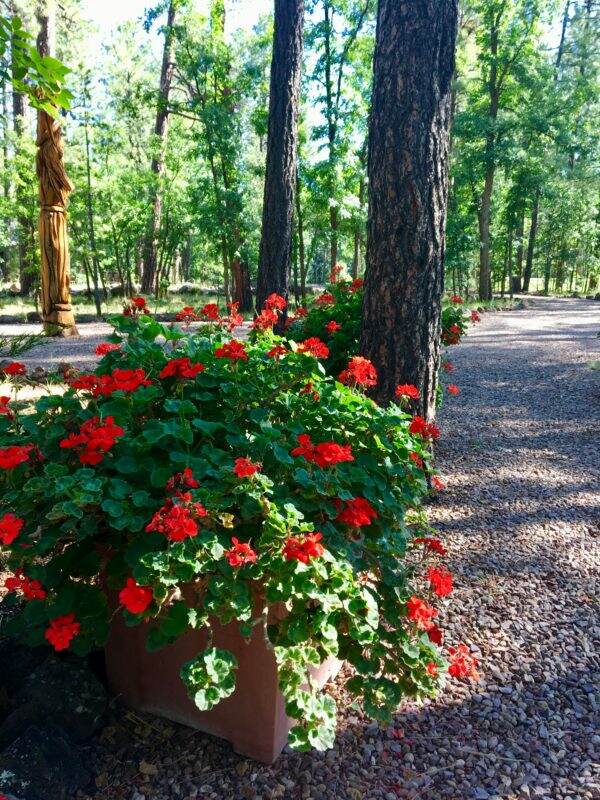
After a very stressful week meeting unpleasant deadlines, I jumped at the chance to join my husband in his annual “take the geraniums to the mountain” trip. The high temperatures in Phoenix are distressing the many potted geraniums we have. Each spring we pile them in the back of the pickup and drive them to moderate temperatures for the summer.

We arrived late last night to a cool and windy 65 degrees. This morning, the skies are clear and blue and sunny.

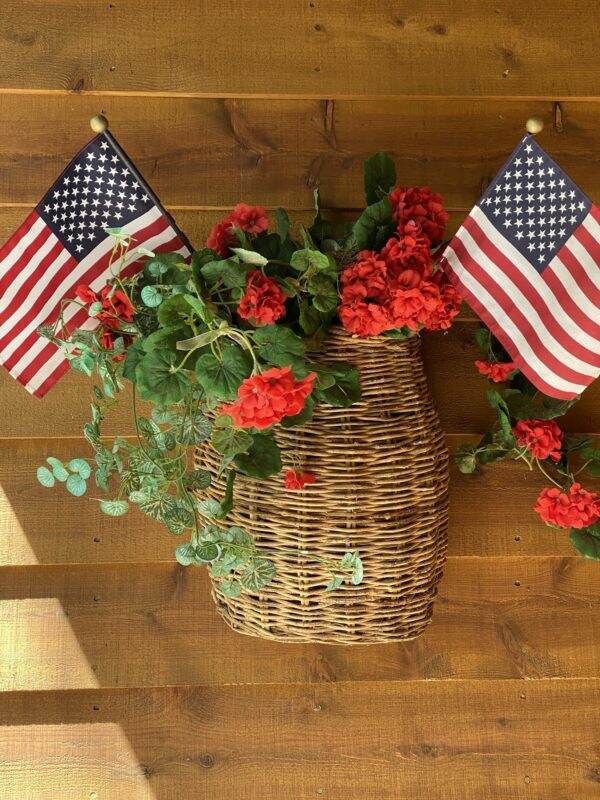
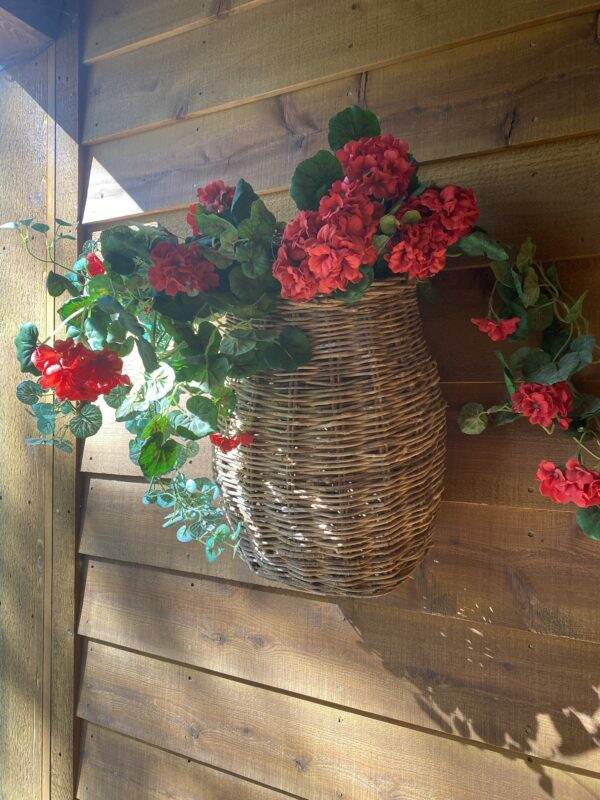
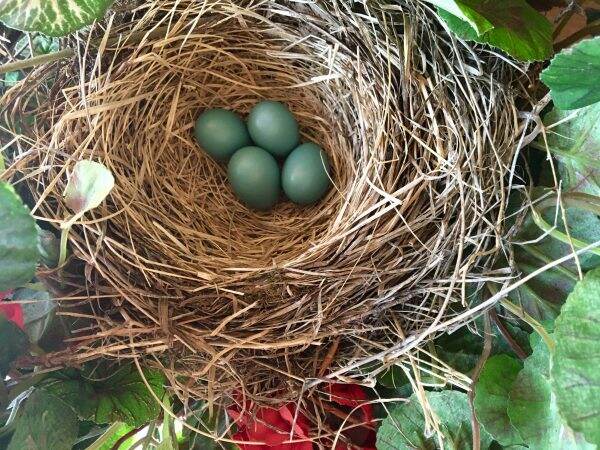
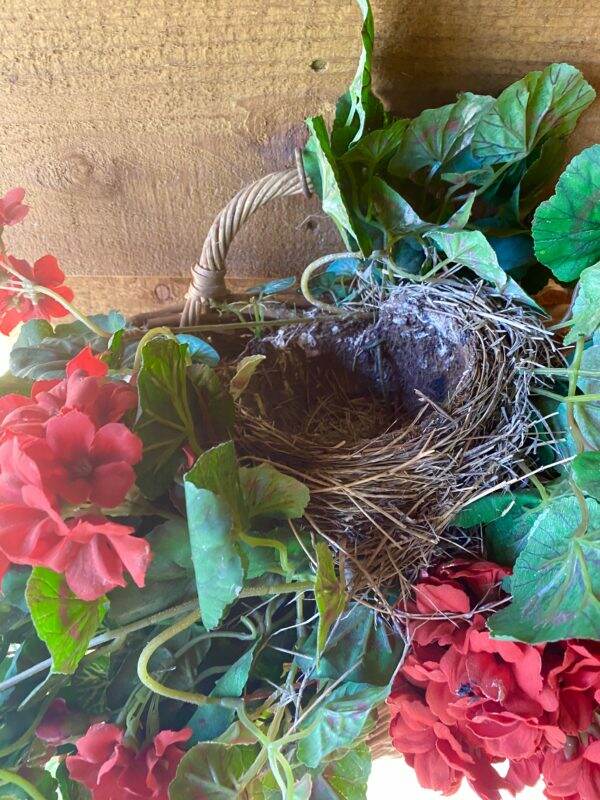
Since we haven’t been here since November today will be cobweb cleaning and opening up all the windows. One of the first things I check is the basket of geraniums hanging outside the front door. A few years back, a momma bird built a nest and has been returning each spring.

Here is a picture of the nest this morning. No eggs, but the photo with eggs was taken at the end of May 2019.

Though it will be a day of chores, there is something cathartic about letting in the fresh air and getting rid of the dust and winter staleness. We will unveil Gandalf, our carved pine tree. The tree died a few years ago and a talented wood carver created our one of a kind yard art piece.

The pear and apple trees have blooms on them~a good sign that we will have fruit again this year. I still find it so strange that we didn’t even know we had a pear tree until last year, as it did not bear fruit for the last 7 years.

As I wrap up the last of my coffee, I hope my stress less vibes reach all of you today! Have a glorious weekend and happy May! If you would like to see more pictures of our cabin, please click here.


All About Wreaths

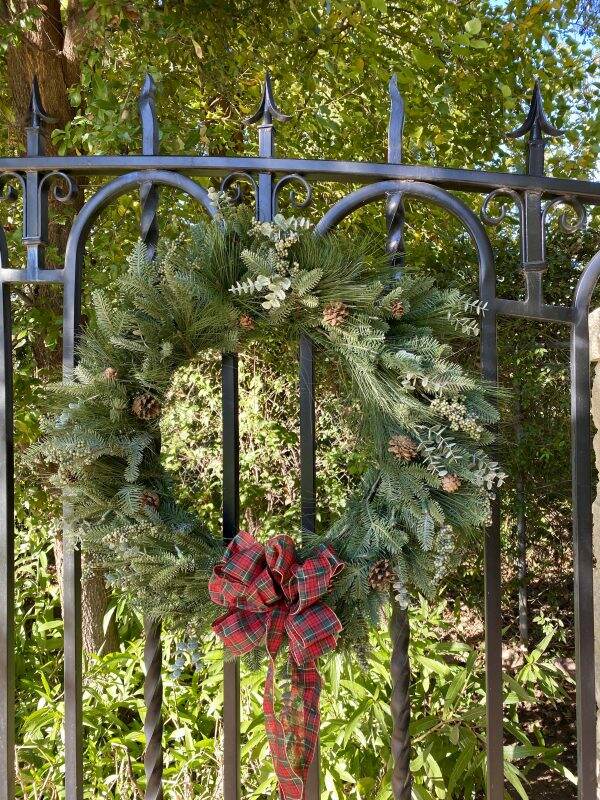
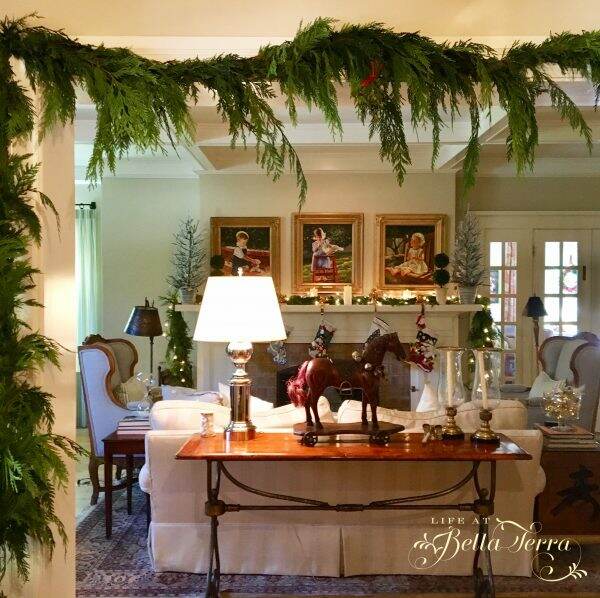
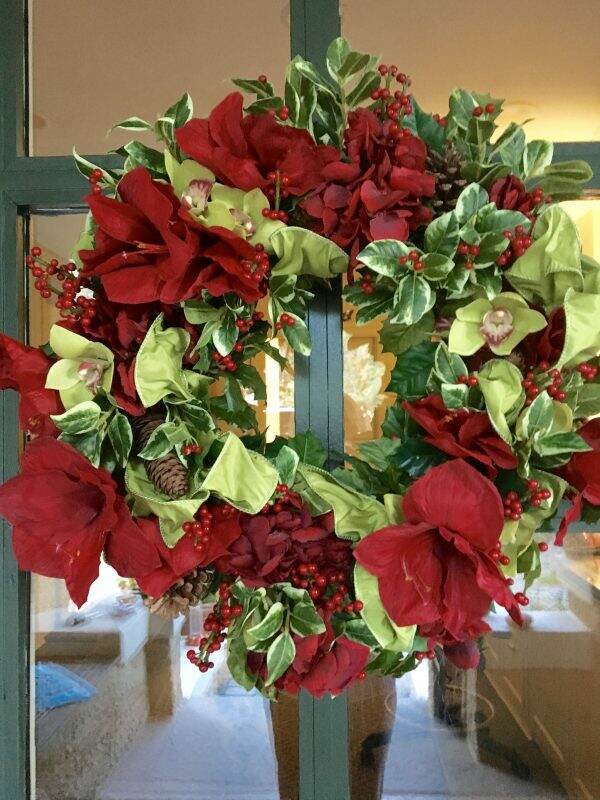
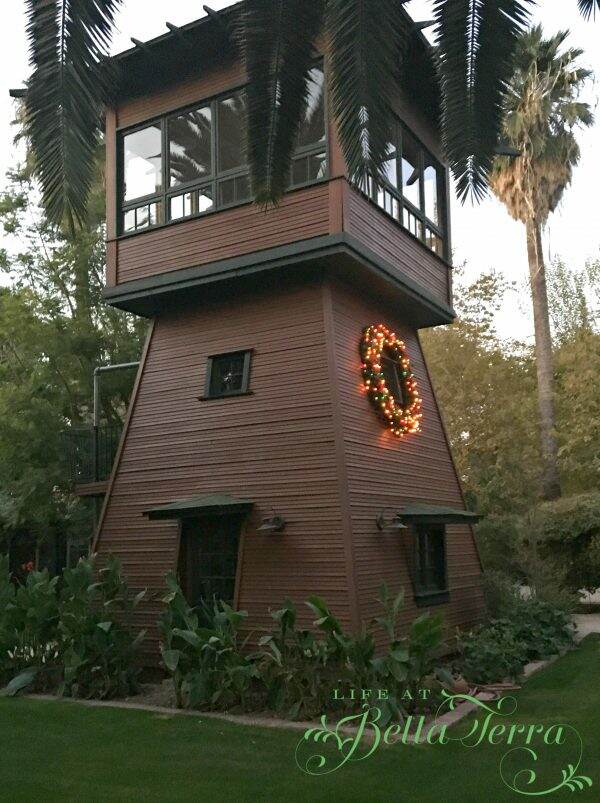
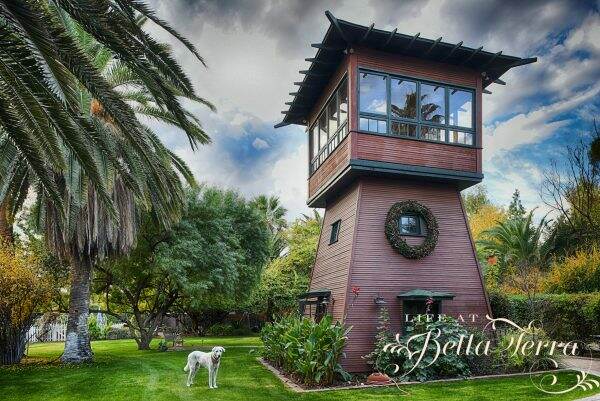
In addition to showing you beautiful pictures of the many wreaths we hang at Bella Terra during the holidays, the purpose of this post is the “behind the scenes” about wreaths.

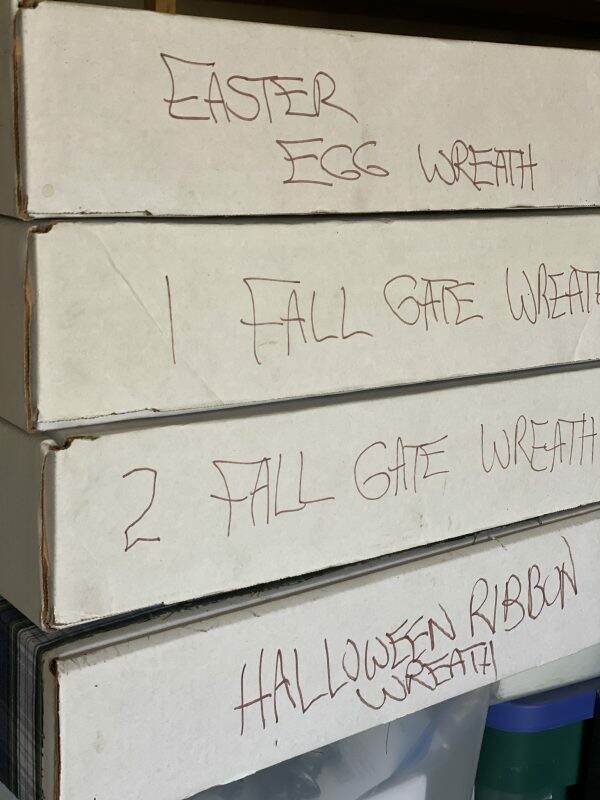
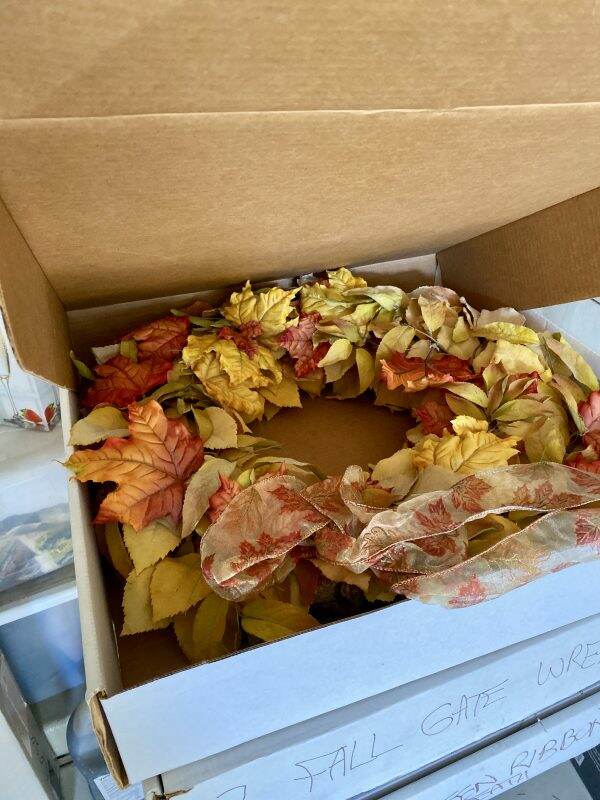
I am often asked where we put all our “things”. If you invest in a well-made, substantial wreath you know they can cost a pretty penny. By accident, I found this storage system works for most of our wreaths.

Many years ago I was in charge of the grammar school memory boxes, you know those containers where the teachers put a year’s worth of student work and give it to parents on the last day of school. I found these large “pizza” style boxes measuring 14″ x 14″ x 3″ which worked perfectly for collecting all that paperwork.

With several boxes leftover, I found they also work well for storing our wreaths. I bought them in bulk and am not sure they can be purchased in small quantities. However, if you live in Phoenix, maybe we can get a small group together and split a bundle.

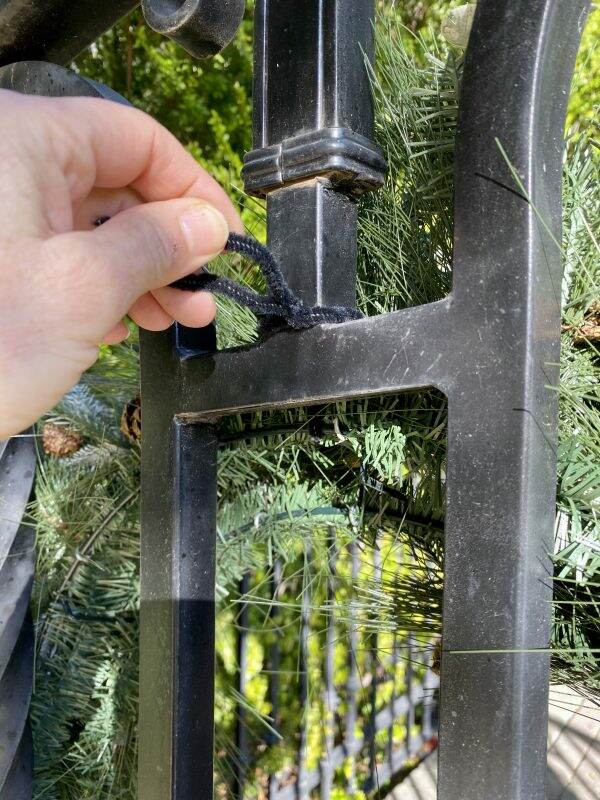
I use so many pipe cleaners in my decorating. I still have many left over from all those school art projects and this tip came from my friend, Janie. I use pipe cleaners to hang my wreaths and also to secure bows to wreaths. They are also great for hanging garland on bannisters because their fuzzy exterior protects the surface. Pipe cleaners are perfect for securing ornaments to tree branches too!

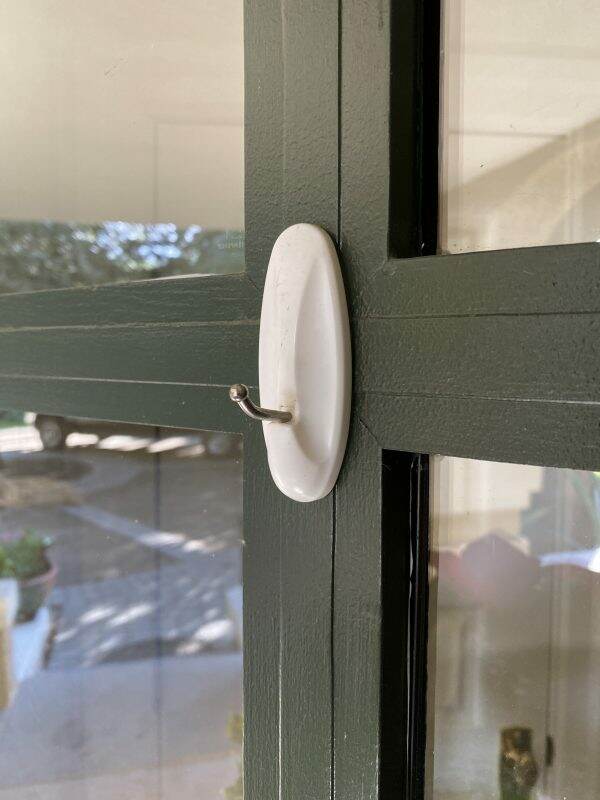
What did we do before Command Brand hooks? It has only been in the last few years that I have hung a wreath on our Dutch door that leads from the mudroom to the back porch. That Command hook is still strongly affixed and now it is so easy to hang seasonal wreaths.

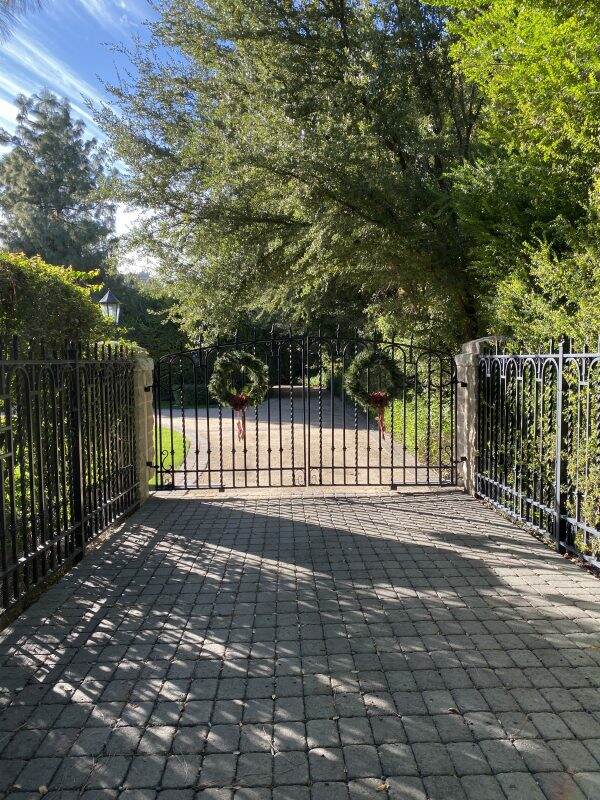
On the much larger wreaths, like the one on the well tower, those are just wrapped in plastic and hung in the garage.

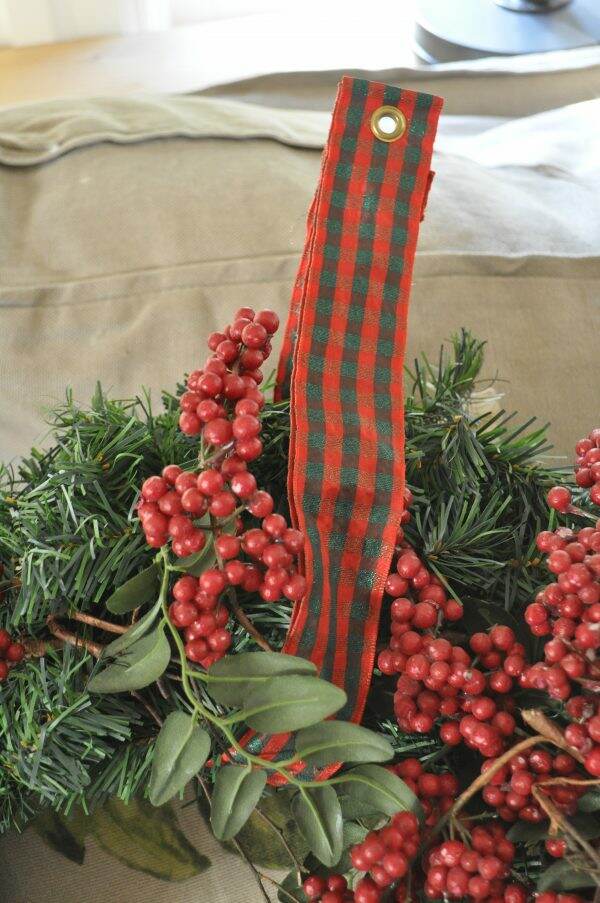
The wreaths in the family are hung with small hooks (that we leave up all year). My husband added grommets to the ribbons which are left attached to the wreath. With this easy system, the wreaths are up in under 5 minutes.

Wreaths are an easy way to transition from season to season. Generally, it is the first decoration we tackle to start the holidays.

Any fun holiday decorating tips/shortcuts you would like to share? December is quickly upon us and now it’s a dash to Christmas! Happy decorating and have a wonderful Tuesday!


Fall Decor Touches in the Living Room

It is that time of year when the temperatures are shifting ever so slightly lower, that I am inspired to add a few fall decor touches to the living room. I recently went to Trader Joe’s to buy pumpkins for my living room mantle and they had NONE. They had not shipped yet from the warehouse and no pumpkins were to be had in Phoenix.

As a result, I will show you the living room fall decorations sans fireplace mantle. Hopefully that will happen in the next week or so. The challenges of living in the hot southwest!

The living room colors are mostly linen white and French blues accents, with a richly color Oriental rug. Orange is a complement to blue so I sprinkled in some, along with white and neutrals.

Thankfully I have a rather large selection of fabric pumpkins, and placed a few on the sofa table.

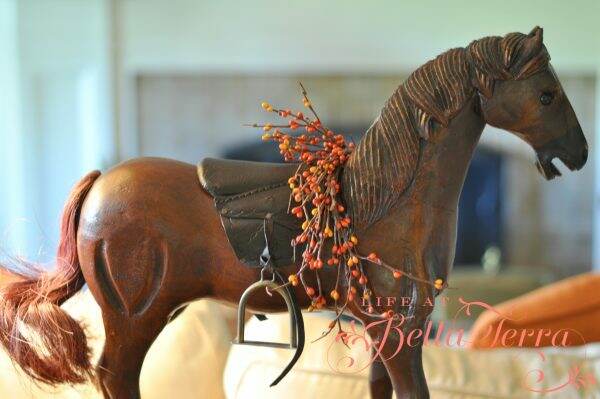
The horse sitting on the table behind the sofa did need something for this time of year, so a sprig of artificial berries did the trick.

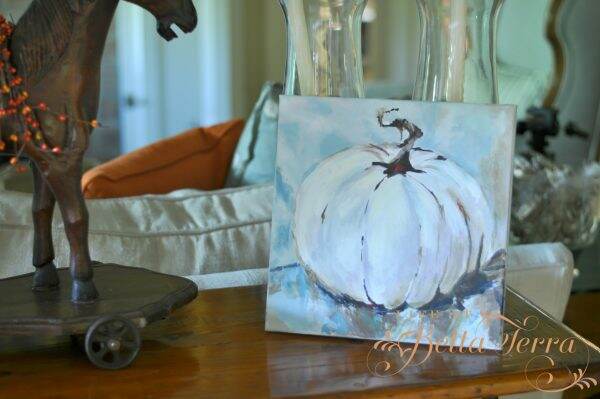
My pumpkin painting has the appropriate colors for this room.  Completed a few years ago, it was one of my first autumn paintings.

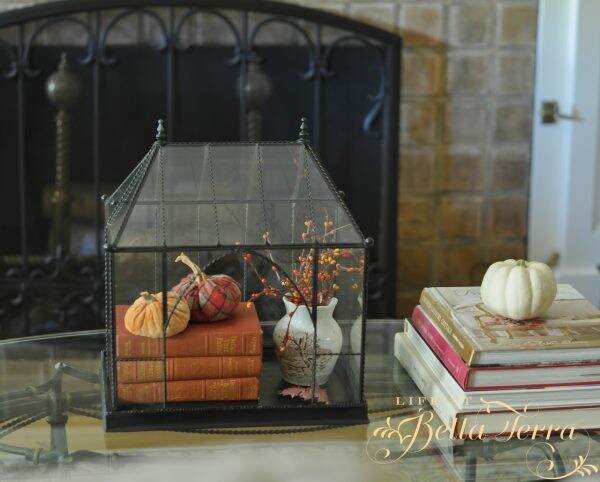
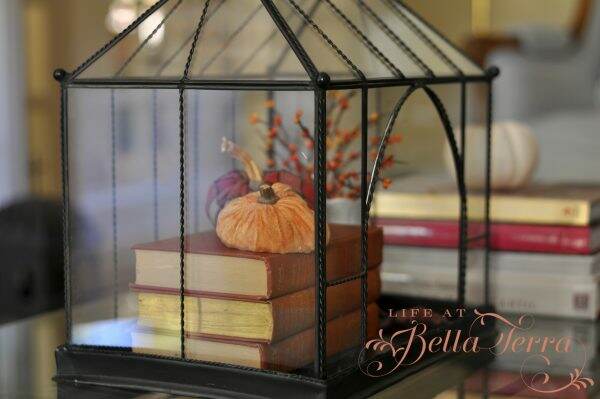
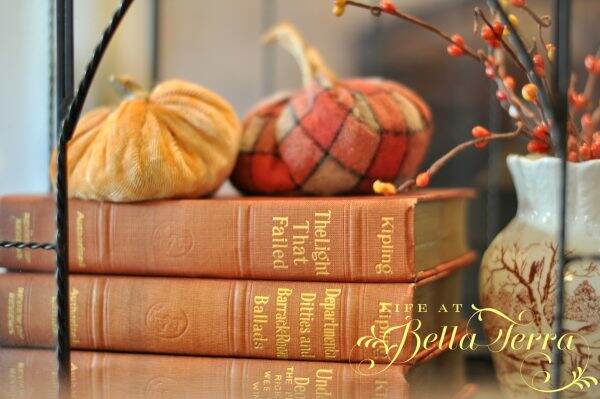
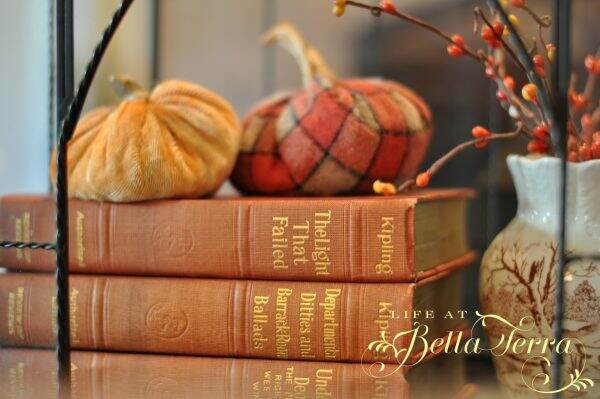
The coffee table’s English terrarium received a fall theme~~adding books, fabric pumpkins and some berries.

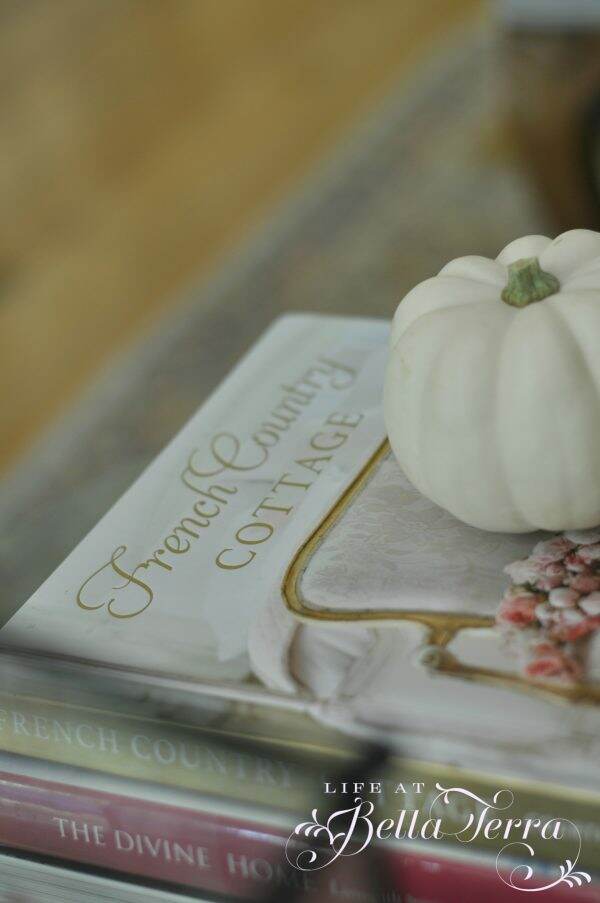
A blogger I follow, Courtney Allison from French Country Cottage, just released her first book. It is truly spectacular! I am getting ready to attend a book signing by Courtney~~cannot wait to meet her in person!

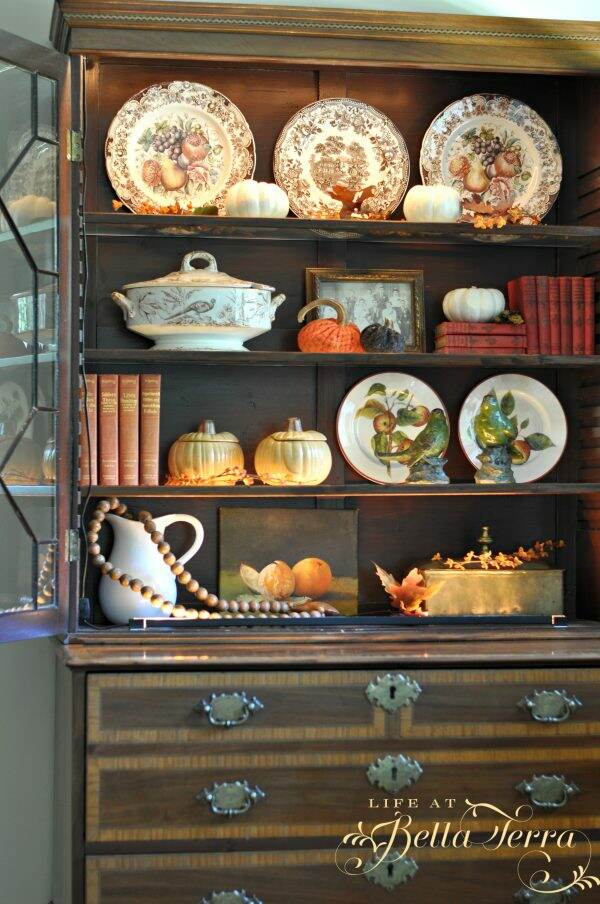
Perhaps the oldest piece of furniture I own, is a Hepplewhite Secretary, dating from 1790-1800. The glass doors are designed with 13 panels for the original 13 colonies. The lower portion opens up into a desk with beautiful inlaid wood cubbies. I purchased this many moons ago when I could barely afford anything. But I knew this was a special piece and have cherished it for decades.

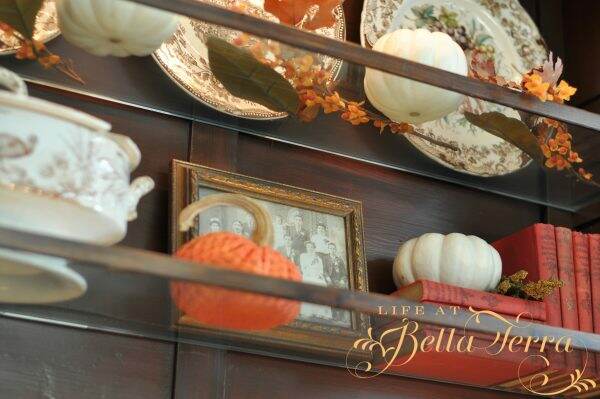
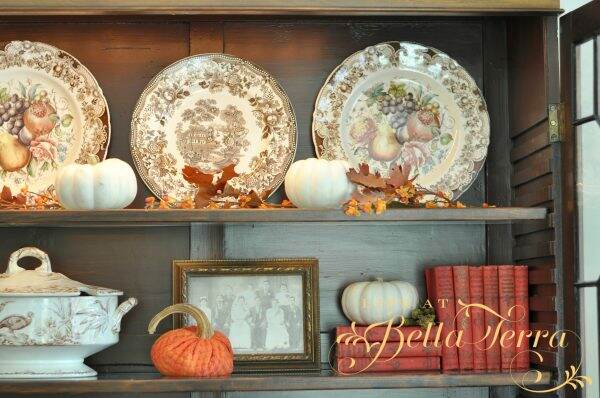
The shelves are glass and edged in wood. There is a strip of lighting both on the inside top and bottom of the shelves. If you look closely you can see the electrical wire on the right hand side. The light illuminates through the shelves and creates a warm, magical glow.

A few pieces of my English autumn china grace the top shelf.  Windsor Ware Harvest Fruit by Johnson Brothers has the fruit center and Tonquin by Royal Staffordshire is the other. I would love to keep adding to this collection so if you see any in your travels, keep me in mind!

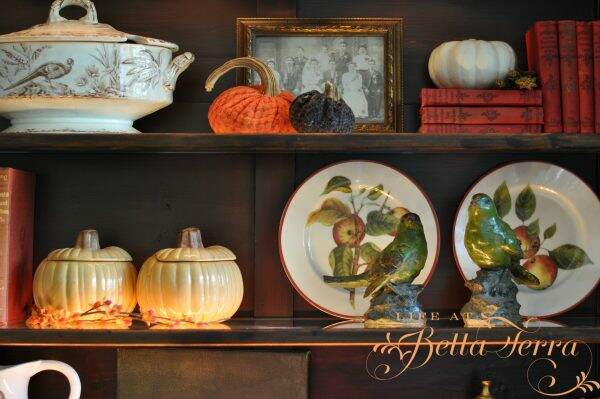
Here is the view with the lights on.

The soup tureen is Indus RSR, an English brown transferware pattern from the 1870s.  It’s missing the ladle but I love the pheasant pattern.

The pumpkin soup tureens and apple plates are from Williams Sonoma.

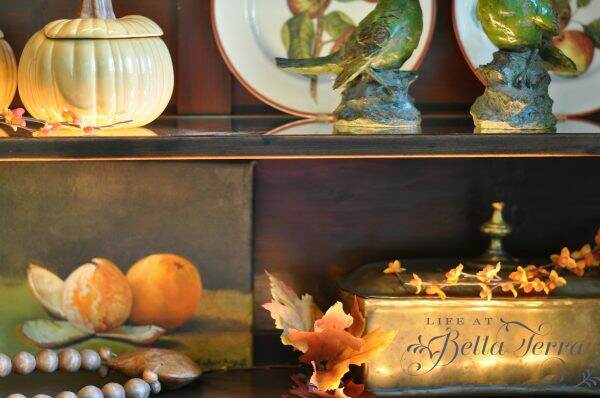
The wooden beads with a heart I purchased from Painted Fox.  I have no recollection where I got the birds, white pitcher or brass box.  The painting was a gift from my friend and art teacher, JoAnn Augur. To see another post about my art classes, click here.

With a hint of cooler temperatures in the morning, I am getting more inspired to add fall touches to the rest of the house.  Can’t wait to share them with you! To see some fall decor from last year, click here.


Making Fall Trees – DIY

The first day of autumn is September 22nd. However, now that we are nearing that date, I can finally embrace fall decor, in spite of the heat here.

In August I visited a store filled with fall decorations. They had artificial fall trees that were quite attractive.  I miss the beautiful autumn colors of New England and wanted to purchase two of the trees….until I saw the price tag ~ a whopping $350 each! So what does a typical Yankee do? Take lots of pictures and try to re-create them for far less money.

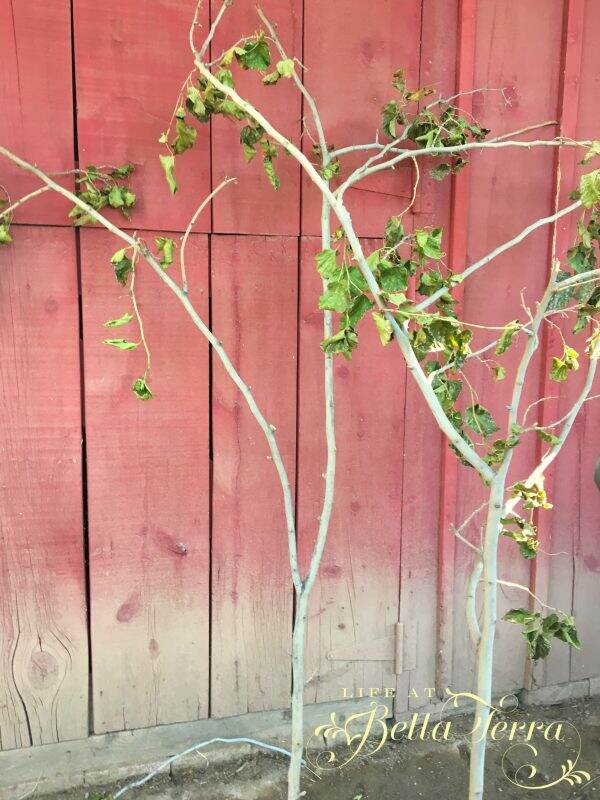
We’ve had several storms here in the last few months and lost many tree branches.  I picked through the debris pile and found these.

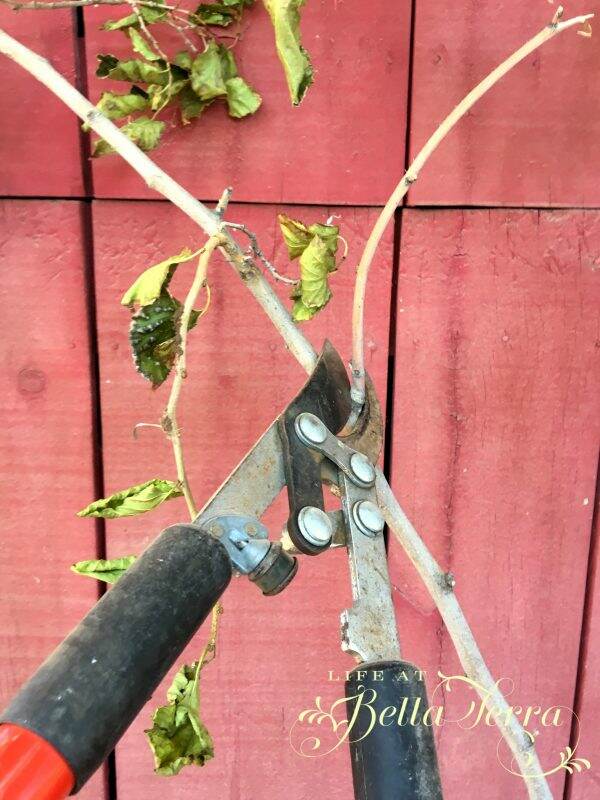
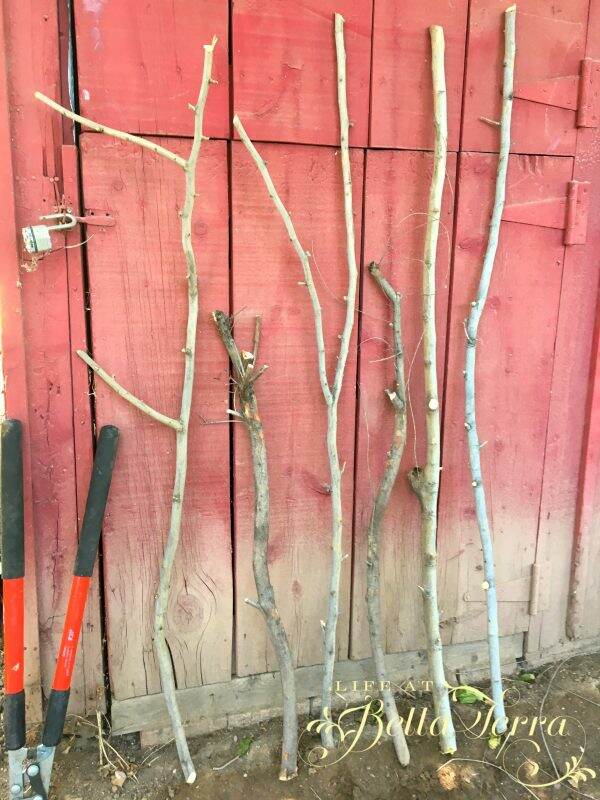
I trimmed off the side branches.

And ended up with six trunks. This view is the back of the old original barn-looks like it’s time to repaint!

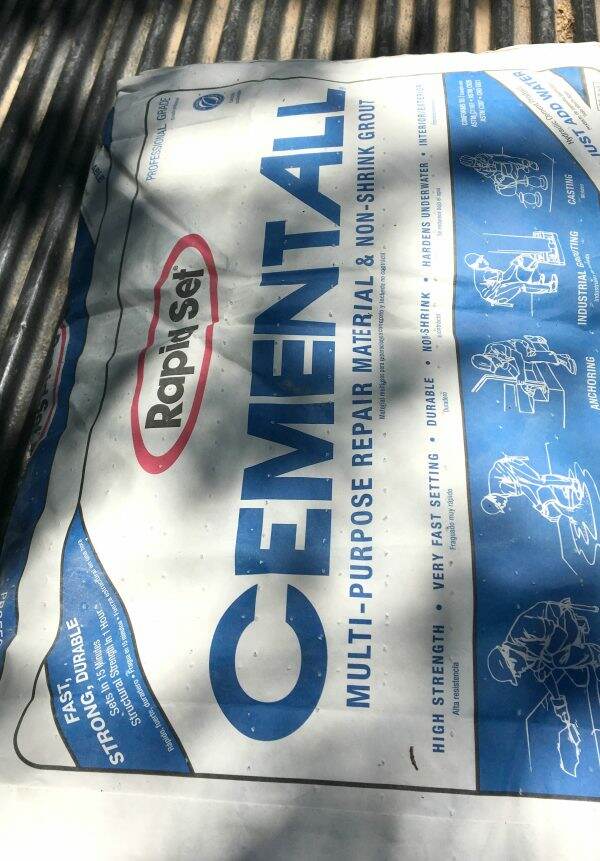
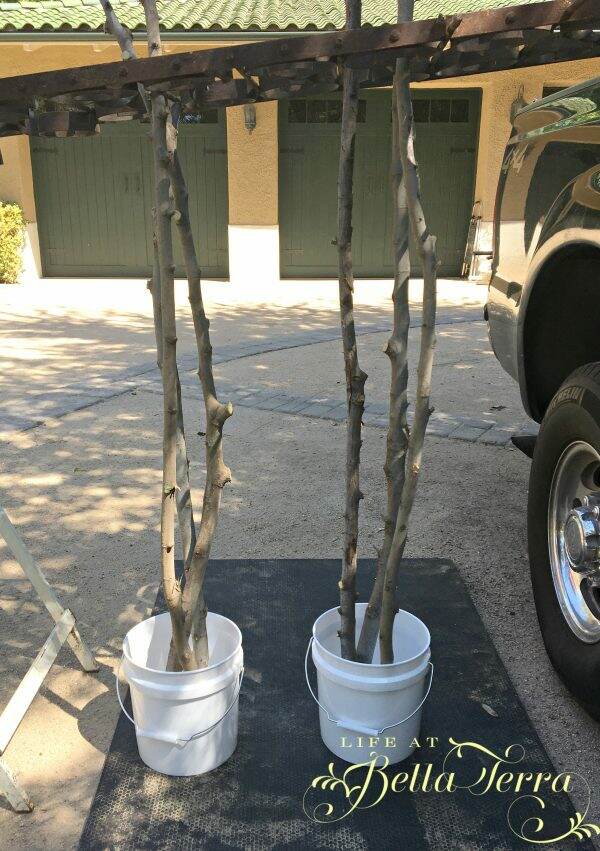
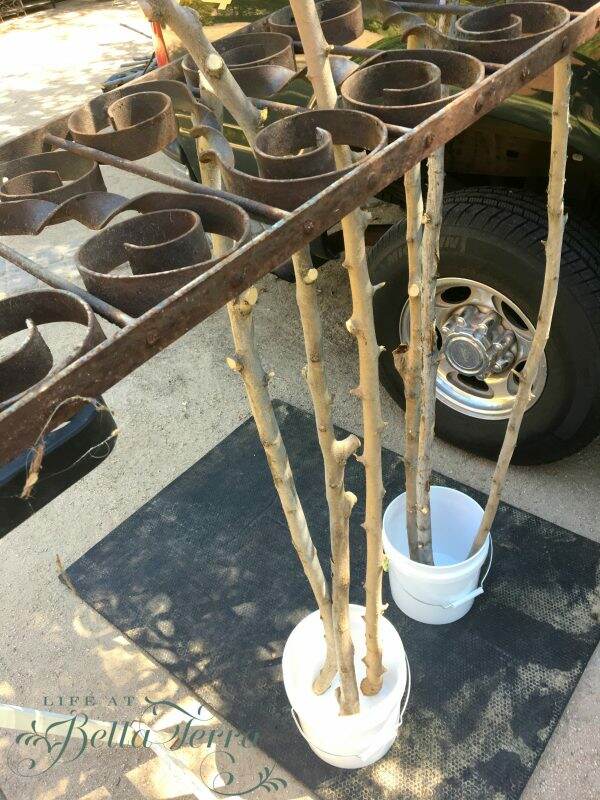
Using a fast drying cement, my husband secured the branches into two buckets. Cement is a good choice for the bucket because it will secure the branches, but also weight them so they don’t tip over.

Look at the ingenious way he stabilized the branches while the cement dried.  This short piece of decorative railing was left over from my last historical restoration. I hope to use it somewhere in our yard or garden.

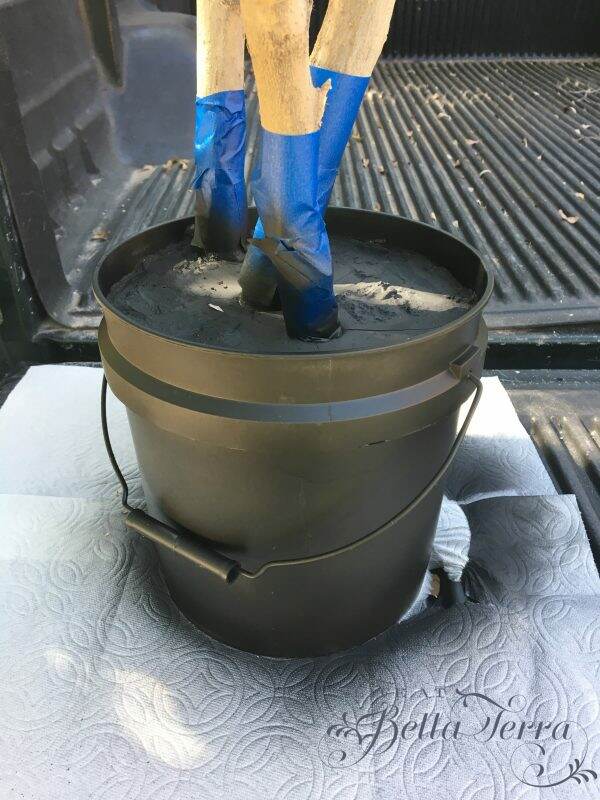
The bases were sprayed with black paint. Remember to tape off the trunks with blue painter’s tape so they remain a natural color.

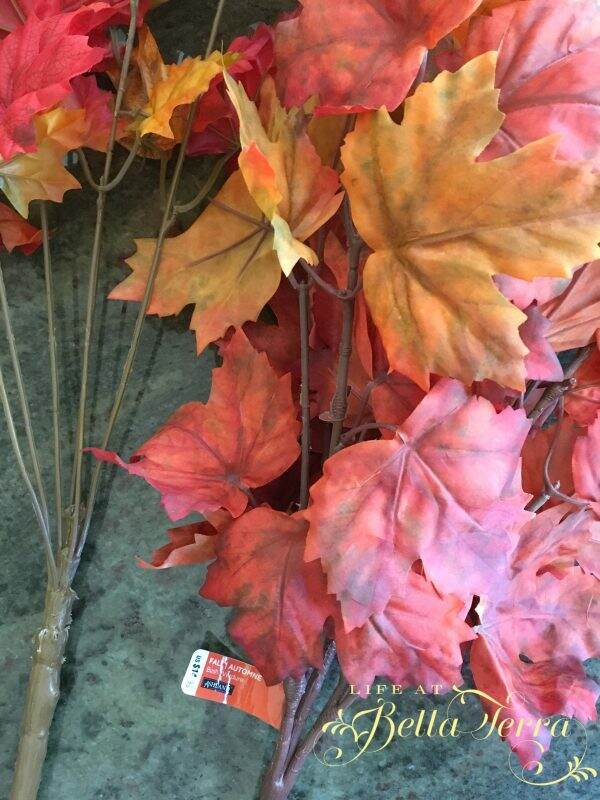
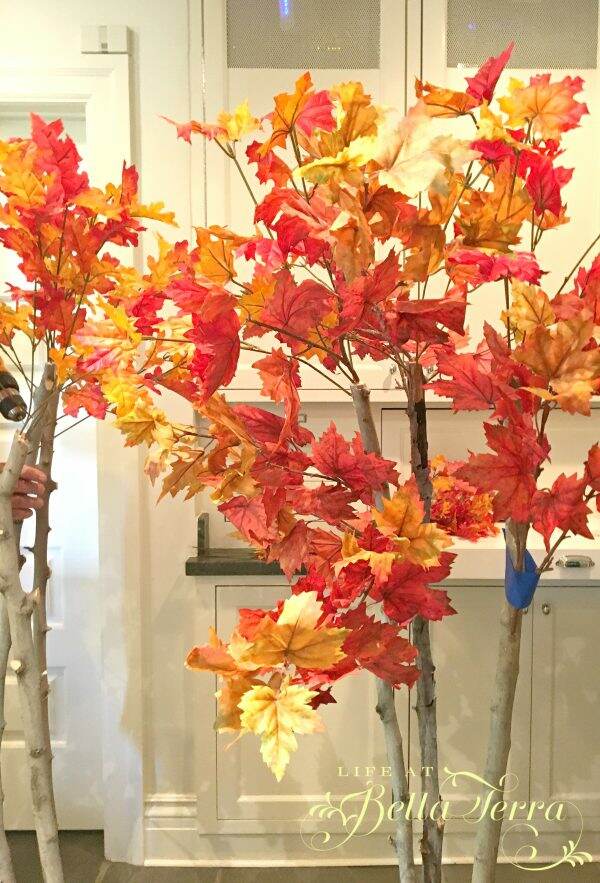
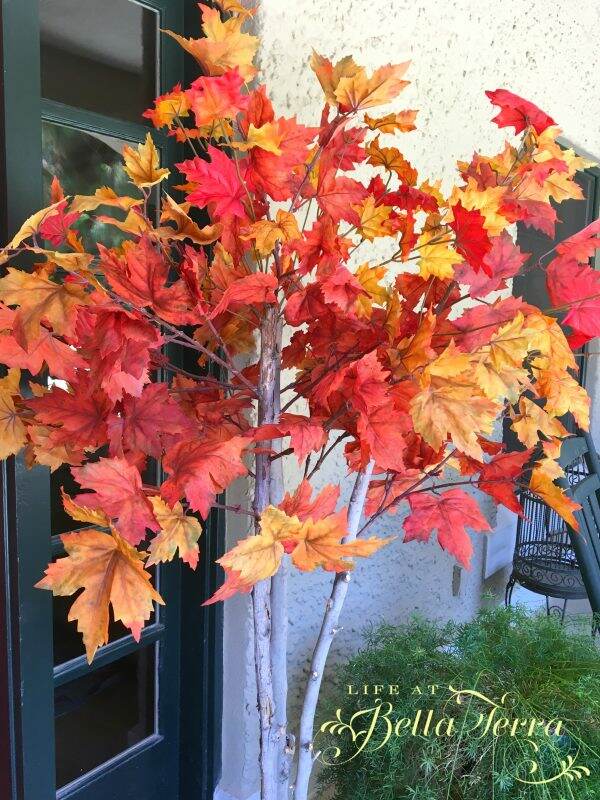
I purchased a few bunches of fall leaves from Michaels when they were having a buy one get one free sale. Unfortunately, I wasn’t paying much attention to the leaf style so I ended up getting both maple and oak leaves. I suppose you could mix them on the same tree but I chose to be a purist and make one maple and one oak tree.

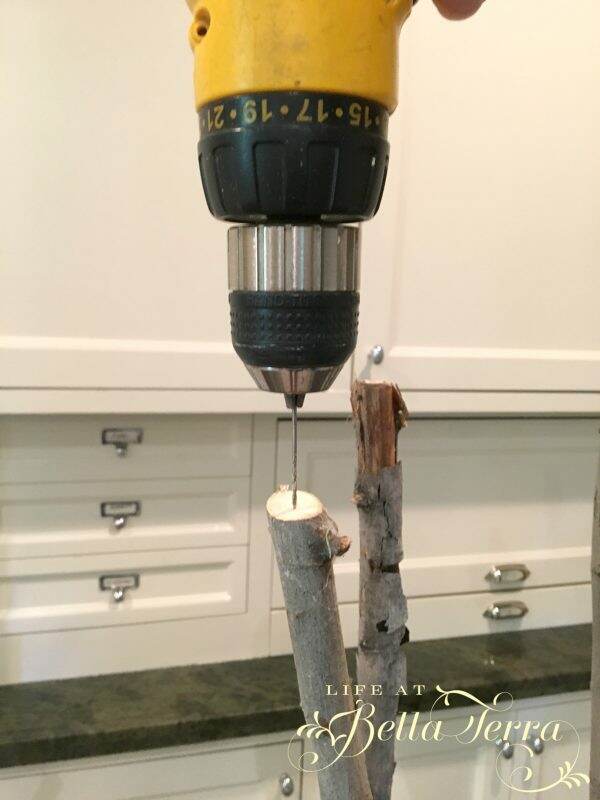
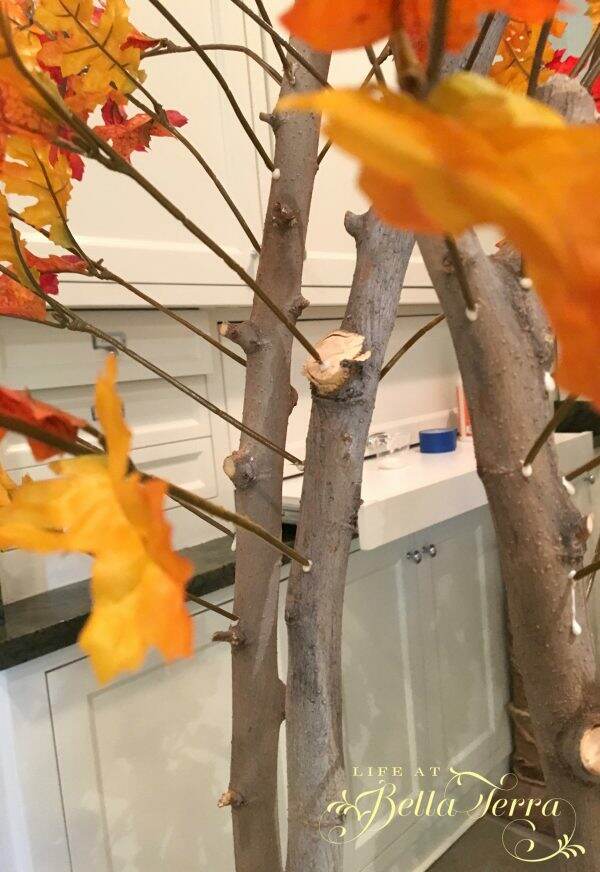
Using a small drill bit, drill holes into the trunks.

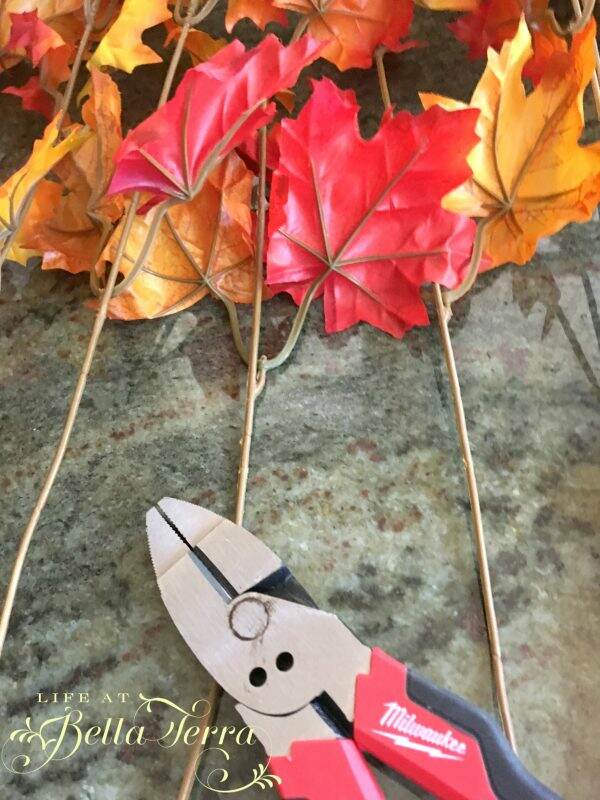
Remove the stems from the artificial bunches using wire cutters and expose the bottom of the wire.

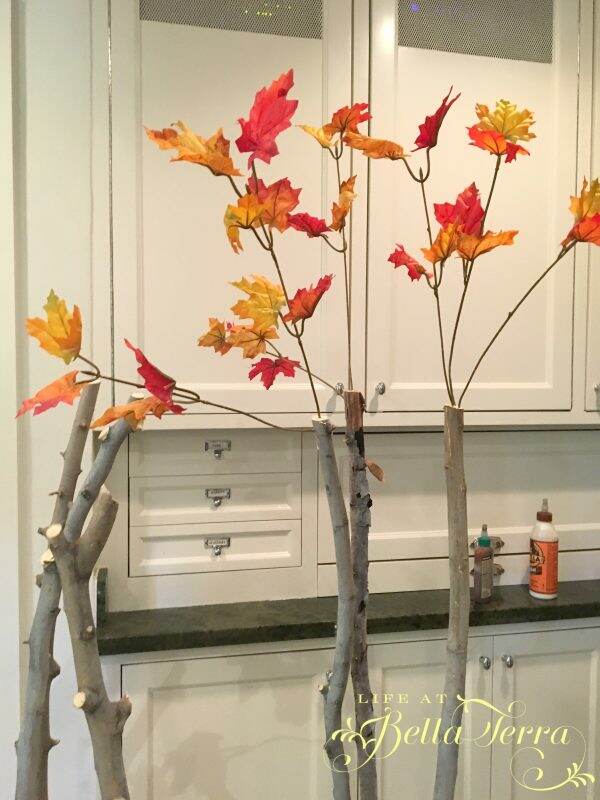
Insert the stems into the holes that were drilled in the trunks.

Keep repeating until the trunks are filled with leaves.  We used a liquid glue to secure the branches.

After the glue dries, the branches will easily bend to the position you want. We used some blue tape during the drying process on those branches that were floppy.

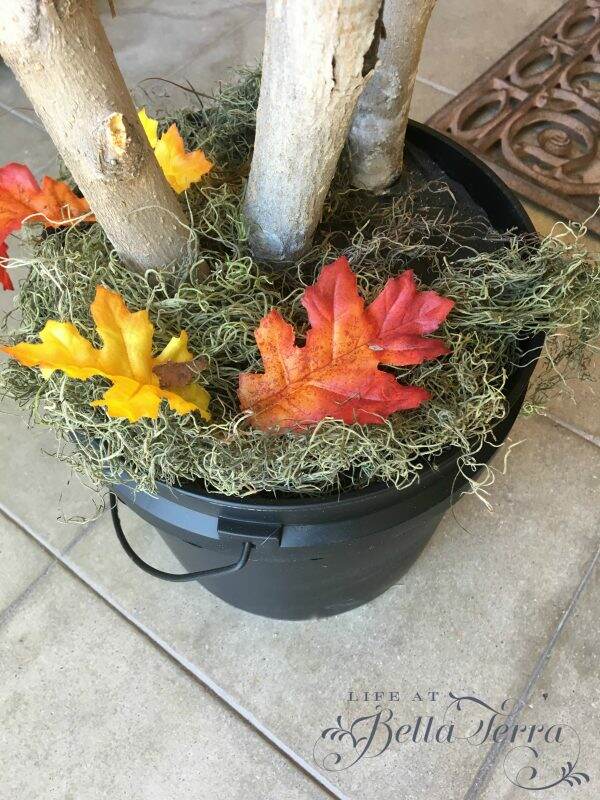
When the top was finished, I used moss and a few artificial leaves to soften the base.

Here is my maple tree:

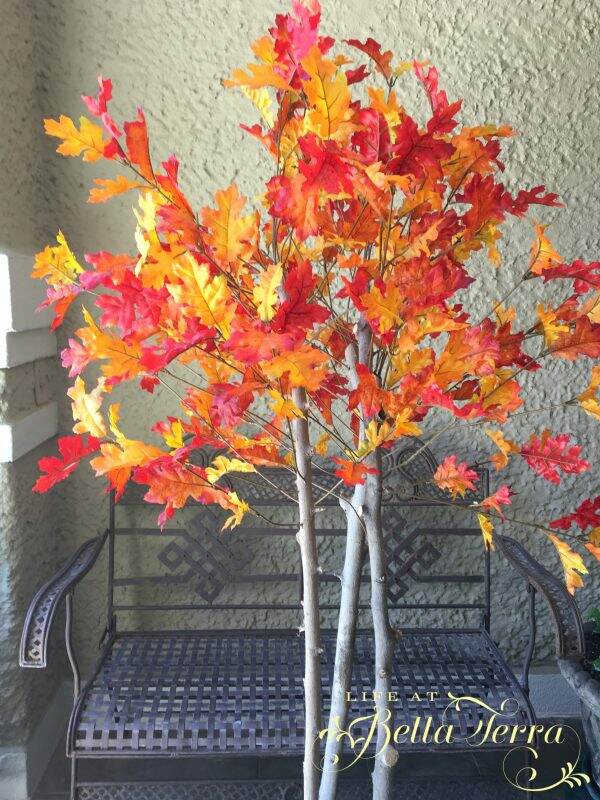
And here is the oak:

I can’t wait to share with you how I will incorporate these fall trees into my autumn decorating! I know the trend is to decorate with monochromatic colors (white pumpkins, white gourds), however, I LOVE the oranges, reds and browns that this season brings.

Happy Fall Decorating!